

Wooden Cutting Board Maintenance: It’s more than just wiping down your trusty kitchen companion! Have you ever stopped to think about the stories your wooden cutting board could tell? From chopping vegetables for your grandma’s secret recipe to slicing the celebratory cake for your best friend’s birthday, it’s been there for countless culinary adventures. But are you giving it the TLC it deserves?
For centuries, wooden cutting boards have been a staple in kitchens worldwide. Their natural beauty and durability make them a favorite among chefs and home cooks alike. However, unlike their plastic counterparts, wooden boards require a little extra care to keep them hygienic and looking their best. That’s where these DIY tricks come in!
I’m here to share some simple, yet effective, wooden cutting board maintenance hacks that will not only extend the life of your board but also ensure it remains a safe and sanitary surface for food preparation. Let’s face it, nobody wants to risk foodborne illnesses, and a well-maintained cutting board is your first line of defense. Plus, a beautifully cared-for wooden board adds a touch of rustic charm to any kitchen. So, grab your apron, and let’s get started on these easy DIY projects that will keep your wooden cutting board happy and healthy for years to come!
Revive Your Beloved Wooden Cutting Board: A DIY Maintenance Guide
Hey there, fellow DIY enthusiasts! I’m so excited to share my tried-and-true method for keeping wooden cutting boards in tip-top shape. A well-maintained wooden cutting board is a kitchen essential, not only for its aesthetic appeal but also for its hygienic properties. Unlike plastic boards, wood possesses natural antibacterial qualities. However, these qualities diminish if the board isn’t properly cared for. So, let’s dive into how to bring your tired, scratched, and potentially germy cutting board back to life!
What You’ll Need
Before we get started, let’s gather our supplies. This is a pretty straightforward project, and you probably have most of these items already!
* Coarse Salt: Regular table salt works, but I prefer kosher or sea salt for its larger granules.
* Lemon (or White Vinegar): Lemon juice acts as a natural disinfectant and deodorizer. White vinegar is a great alternative if you don’t have a lemon on hand.
* Food-Grade Mineral Oil: This is crucial for rehydrating the wood and preventing it from cracking. Don’t use vegetable oil, olive oil, or other cooking oils, as they can go rancid.
* Beeswax (Optional): If you want to create a cutting board butter for extra protection and water resistance, you’ll need beeswax.
* Clean Rags or Paper Towels: For cleaning and applying the oil.
* Scraper or Spatula: To remove any stubborn debris.
* Sandpaper (Various Grits): We’ll need different grits for smoothing out the surface. I recommend starting with 80-grit for deep scratches, then moving to 120-grit, 180-grit, and finally 220-grit for a super smooth finish.
* Double Boiler or Microwave-Safe Bowl: For melting the beeswax (if making cutting board butter).
* Heat-Resistant Container: For storing the cutting board butter.
* Safety Glasses and Dust Mask: To protect your eyes and lungs while sanding.
* Gloves (Optional): To protect your hands from the oil and sanding dust.
Phase 1: Cleaning and Sanitizing
This is the first and most important step. We need to get rid of any lingering food particles and bacteria before we start sanding.
1. Scrape Away Debris: Use a scraper or spatula to remove any stuck-on food particles from the surface of the cutting board. Pay close attention to grooves and corners.
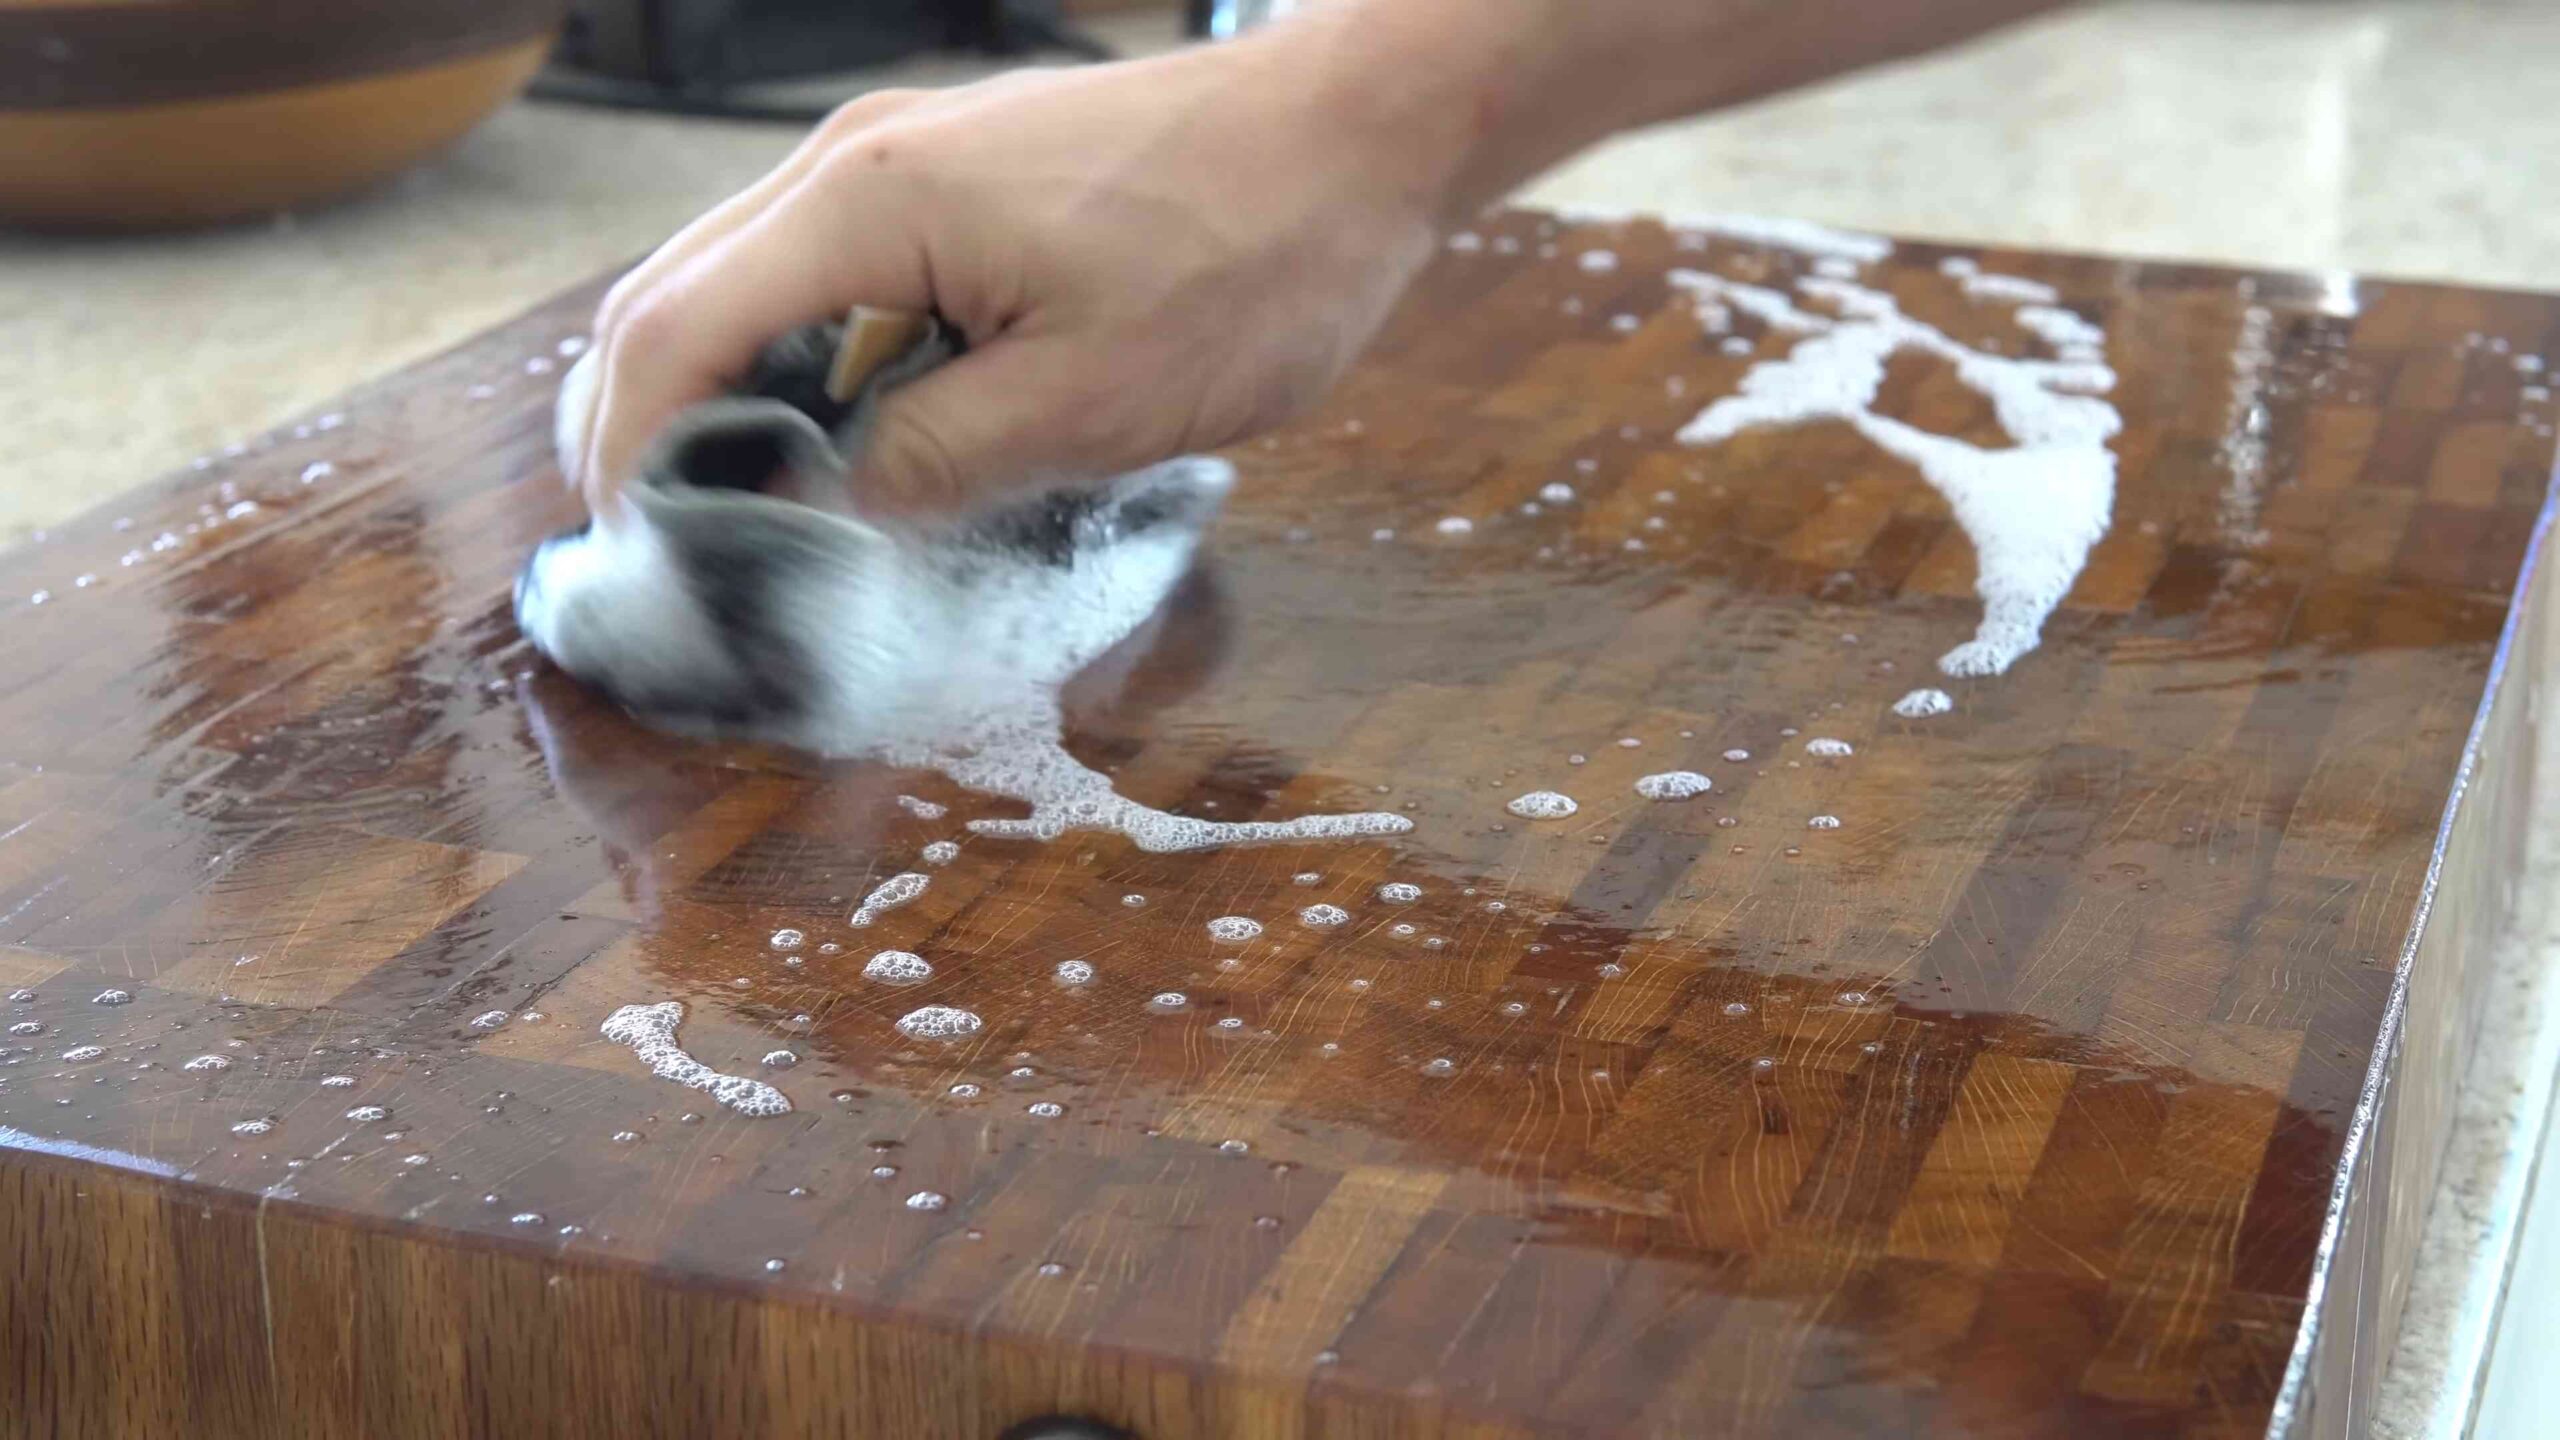
2. Salt and Lemon Scrub: Sprinkle a generous amount of coarse salt over the entire surface of the cutting board. Cut a lemon in half and use it to scrub the salt into the wood. The salt acts as an abrasive, while the lemon juice disinfects and deodorizes. If you’re using white vinegar, simply pour it over the salt and scrub with a clean rag.
3. Let it Sit: Allow the salt and lemon (or vinegar) mixture to sit on the cutting board for about 5-10 minutes. This gives the disinfectant time to work its magic.
4. Rinse Thoroughly: Rinse the cutting board thoroughly with warm water. Make sure to remove all traces of salt and lemon/vinegar.
5. Dry Completely: Use a clean rag or paper towels to dry the cutting board completely. It’s crucial that the board is completely dry before moving on to the next step. You can even let it air dry for a few hours to ensure all moisture is gone.
Phase 2: Sanding and Smoothing
Now comes the fun part – sanding! This is where we’ll remove scratches, knife marks, and any other imperfections.
1. Prepare Your Workspace: Set up your workspace in a well-ventilated area. Put on your safety glasses and dust mask to protect yourself from sanding dust.
2. Start with Coarse Grit (80-grit): If your cutting board has deep scratches or gouges, start with 80-grit sandpaper. Sand in the direction of the wood grain, using even pressure. Don’t press too hard, let the sandpaper do the work. The goal here is to remove the imperfections, not to reshape the board.
3. Move to Medium Grit (120-grit): Once you’ve removed the major imperfections with the 80-grit sandpaper, switch to 120-grit sandpaper. Again, sand in the direction of the wood grain, using even pressure. This will smooth out the surface and remove any scratches left by the 80-grit sandpaper.
4. Refine with Fine Grit (180-grit): Next, use 180-grit sandpaper to further refine the surface. Continue sanding in the direction of the wood grain.
5. Final Smoothing (220-grit): For the final sanding step, use 220-grit sandpaper. This will give your cutting board a super smooth finish. Sand lightly, focusing on removing any remaining imperfections.
6. Clean the Dust: After sanding, use a clean rag or a vacuum cleaner with a brush attachment to remove all sanding dust from the cutting board. A tack cloth works wonders for this! Make sure the surface is completely clean before moving on to the next step.
Phase 3: Oiling and Sealing
This is where we rehydrate the wood and protect it from future damage.
1. Apply Mineral Oil: Pour a generous amount of food-grade mineral oil onto the cutting board. Use a clean rag or paper towel to spread the oil evenly over the entire surface, including the edges and bottom.
2. Let it Soak: Allow the oil to soak into the wood for at least 2-4 hours, or even overnight. The longer you let it soak, the better. The wood will absorb the oil, replenishing its moisture and preventing it from cracking. You’ll likely see the oil disappear as it’s absorbed.
3. Apply More Oil (If Needed): After the initial soaking period, check the cutting board. If it looks dry or the oil has been completely absorbed, apply another coat of mineral oil. Repeat this process until the wood is saturated and no longer absorbs the oil.
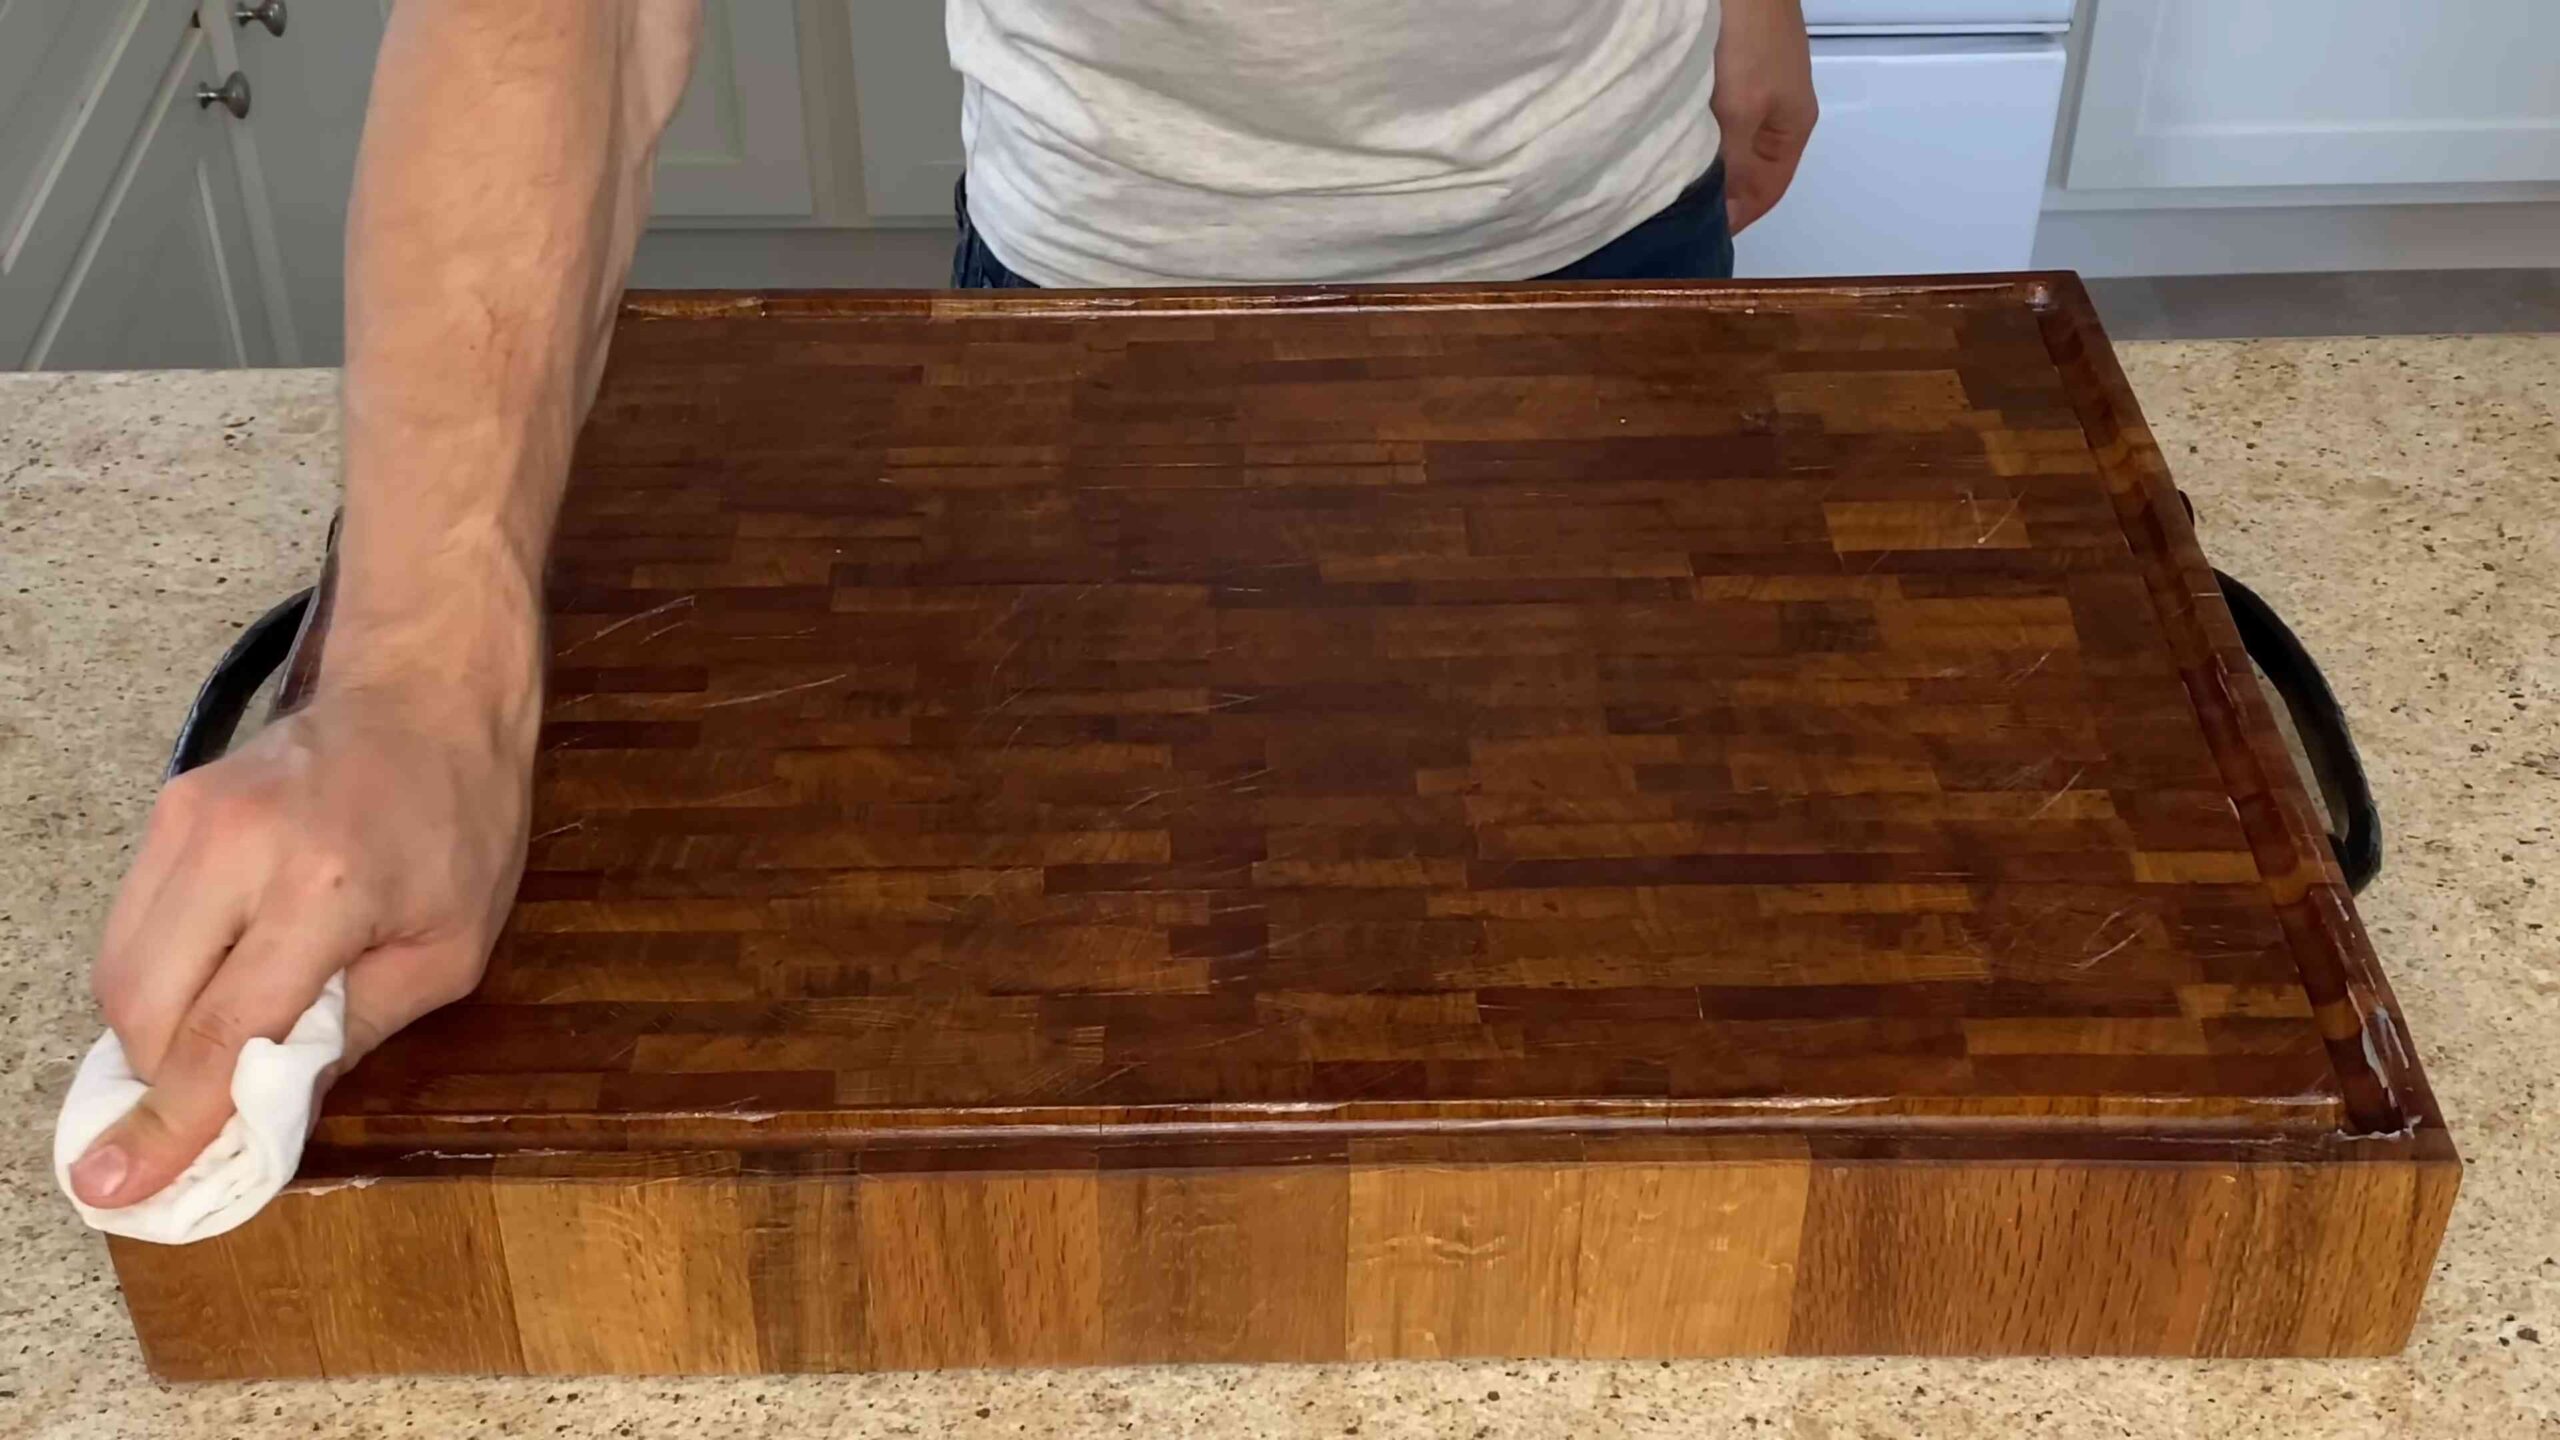
4. Wipe Off Excess Oil: Once the wood is saturated, use a clean rag or paper towel to wipe off any excess oil from the surface. You don’t want the cutting board to be sticky or greasy.
5. Let it Dry: Allow the cutting board to dry completely for at least 24 hours before using it. This will give the oil time to fully penetrate the wood and create a protective barrier.
Phase 4: (Optional) Making and Applying Cutting Board Butter
This step is optional, but I highly recommend it for added protection and water resistance. Cutting board butter is a mixture of mineral oil and beeswax that creates a durable, water-repellent finish.
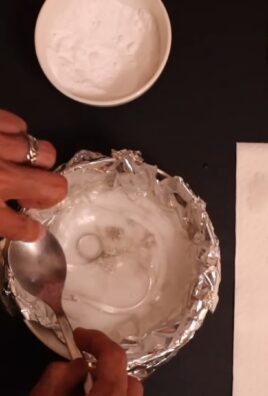
1. Melt the Beeswax: In a double boiler or microwave-safe bowl, melt the beeswax. If using a microwave, heat in 30-second intervals, stirring in between, until completely melted.
2. Add Mineral Oil: Once the beeswax is melted, slowly add mineral oil to the melted beeswax, stirring constantly. The ratio of beeswax to mineral oil is typically 1:4 or 1:5 (e.g., 1 ounce of beeswax to 4-5 ounces of mineral oil). Adjust the ratio to your preference. More beeswax will create a harder, more water-resistant butter, while less beeswax will create a softer butter.
3. Stir Well: Continue stirring until the beeswax and mineral oil are completely combined and the mixture is smooth.
4. Pour into Container: Pour the mixture into a heat-resistant container and let it cool completely. As it cools, the mixture will solidify into a butter-like consistency.
5. Apply the Cutting Board Butter: Once the cutting board butter is solid, use a clean rag or your fingers to apply a thin layer to the entire surface of the cutting board.
6. Let it Sit: Allow the cutting board butter to sit on the cutting board for about 30 minutes to an hour.
7. Buff the Surface: Use a clean rag to buff the surface of the cutting board, removing any excess butter and creating a smooth, protective finish.
Maintaining Your Revived Cutting Board
Now that you’ve put in all this effort, you’ll want to keep your cutting board looking its best! Here are a few tips for maintaining your revived cutting board:
* Wash After Each Use: Wash your cutting board with warm, soapy water after each use. Avoid soaking it in water, as this can cause it to warp or crack.
* Dry Thoroughly: Always dry your cutting board thoroughly after washing it.
* Oil Regularly: Reapply mineral oil (or cutting board butter) every few weeks, or whenever the wood starts to look dry.
* Avoid Harsh Chemicals: Don’t use harsh
Conclusion
So, there you have it! Mastering the art of wooden cutting board maintenance isn’t just about keeping your kitchen looking spick and span; it’s about extending the life of a valuable tool, preventing the spread of bacteria, and ultimately, ensuring the safety of the food you prepare for yourself and your loved ones. This simple DIY approach, using readily available ingredients like lemon, salt, and mineral oil, is a game-changer. Forget expensive commercial cleaners filled with harsh chemicals. This method is natural, effective, and incredibly budget-friendly.
Why is this DIY trick a must-try? Because it’s a holistic solution. The salt acts as a gentle abrasive, scrubbing away stubborn food particles and stains. The lemon disinfects and deodorizes, leaving your cutting board smelling fresh and clean. And the mineral oil penetrates the wood, preventing it from drying out, cracking, and becoming a breeding ground for bacteria. It’s a triple threat against common cutting board woes!
But don’t stop there! Feel free to experiment and tailor this method to your specific needs and preferences. For instance, if you’re dealing with particularly stubborn odors, try adding a tablespoon of baking soda to the salt and lemon mixture. Baking soda is a natural deodorizer and will help to neutralize even the strongest smells, like garlic or onions. Another variation involves using beeswax in addition to mineral oil for a more durable and water-resistant finish. Simply melt beeswax with mineral oil in a double boiler, let it cool slightly, and then apply it to your cutting board. This creates a protective barrier that will help to repel water and prevent staining.
For boards that have seen better days, consider a light sanding before applying the cleaning mixture. Use fine-grit sandpaper (220 grit or higher) to smooth out any rough spots or knife marks. This will not only improve the appearance of your cutting board but also make it easier to clean and maintain. Remember to always sand in the direction of the wood grain to avoid scratching.
And if you’re looking for a more aromatic experience, try adding a few drops of your favorite essential oil to the mineral oil before applying it to the board. Lavender, tea tree, and lemon essential oils are all known for their antibacterial properties and can add a pleasant scent to your kitchen. Just be sure to use food-grade essential oils and avoid using too much, as some essential oils can be irritating to the skin.
We are confident that once you try this simple yet effective DIY method for wooden cutting board maintenance, you’ll never go back to using harsh chemicals again. It’s a sustainable, eco-friendly, and cost-effective way to keep your cutting boards in top condition for years to come.
So, what are you waiting for? Grab your lemon, salt, and mineral oil, and give your wooden cutting board the TLC it deserves. We’re eager to hear about your experience! Share your before-and-after photos and any variations you tried in the comments below. Let’s build a community of happy, healthy, and well-maintained cutting boards! We encourage you to share this article with your friends and family so they can benefit from this simple yet effective DIY trick as well. Let’s spread the word about the importance of proper wooden cutting board maintenance and help everyone keep their kitchens clean and safe.
Frequently Asked Questions (FAQ)
Why is wooden cutting board maintenance so important?
Wooden cutting boards, while beautiful and durable, are porous. This means they can absorb liquids and food particles, creating a breeding ground for bacteria if not properly maintained. Regular cleaning and oiling prevent bacterial growth, extend the life of the board, and ensure food safety. Neglecting maintenance can lead to unpleasant odors, staining, cracking, and even the risk of foodborne illness. Proper wooden cutting board maintenance is an investment in your health and the longevity of your kitchen tools.
How often should I clean and oil my wooden cutting board?
You should clean your wooden cutting board after each use with warm, soapy water. For a deeper clean, use the salt and lemon method described in this article at least once a week, or more often if you’ve been cutting raw meat or poultry. Oiling your cutting board should be done whenever it starts to look dry or feels rough to the touch, typically every few weeks. The frequency depends on how often you use the board and the humidity of your environment. A well-oiled board will repel water and resist staining.
What kind of oil should I use on my wooden cutting board?
The best oil for wooden cutting boards is food-grade mineral oil. It’s odorless, tasteless, and won’t go rancid. You can find it at most pharmacies or kitchen supply stores. Avoid using vegetable oils like olive oil or canola oil, as they can go rancid and create an unpleasant smell. Some people also use beeswax in combination with mineral oil for added protection. Walnut oil is another option, but be aware that it can cause allergic reactions in people with nut allergies. Always ensure the oil you choose is food-safe.
Can I put my wooden cutting board in the dishwasher?
No! Never put your wooden cutting board in the dishwasher. The high heat and harsh detergents will dry out the wood, causing it to crack and warp. Hand washing is the only safe way to clean a wooden cutting board.
How do I get rid of stubborn stains or odors on my wooden cutting board?
For stubborn stains, try making a paste of baking soda and water and applying it to the stain. Let it sit for a few minutes, then scrub with a soft cloth or sponge. For lingering odors, try rubbing the cutting board with a cut lemon or a paste of baking soda and lemon juice. Let it sit for 15-20 minutes, then rinse thoroughly. Sunlight can also help to naturally bleach stains and eliminate odors.
How do I store my wooden cutting board?
Store your wooden cutting board in a dry place, away from direct sunlight and heat. Avoid storing it flat on a countertop, as this can trap moisture and lead to warping. Instead, store it on its side or in a cutting board rack to allow air to circulate.
My wooden cutting board has cracks. Can I still use it?
Small cracks can be repaired with wood glue. However, if the cracks are large or numerous, it’s best to replace the cutting board. Large cracks can harbor bacteria and are difficult to clean properly. A cracked cutting board is no longer a safe surface for food preparation.
Is it safe to cut raw meat on a wooden cutting board?
Yes, it is safe to cut raw meat on a wooden cutting board, as long as you clean and disinfect it thoroughly afterward. Use the salt and lemon method described in this article, or wash the board with hot, soapy water and then disinfect it with a solution of one tablespoon of bleach per gallon of water. Rinse thoroughly and allow to air dry. Consider having separate cutting boards for raw meat and other foods to minimize the risk of cross-contamination.
Can I use this method on other wooden kitchen utensils?
Yes, this method can be used on other wooden kitchen utensils, such as wooden spoons, salad bowls, and rolling pins. Just be sure to use food-grade mineral oil and avoid using harsh chemicals. Regular cleaning and oiling will help to keep your wooden utensils in good condition and prevent them from drying out and cracking.
What are the benefits of using a wooden cutting board over a plastic one?
Wooden cutting boards are often preferred by chefs and home cooks for several reasons. They are gentler on knives, helping to keep them sharper for longer. They also have natural antibacterial properties, which can help to reduce the risk of foodborne illness. Wooden cutting boards are also more sustainable and environmentally friendly than plastic cutting boards. Plus, they add a touch of natural beauty to your kitchen.


Leave a Comment