

Vase stain removal DIY – sounds like a chore, right? But trust me, it doesn’t have to be! Have you ever admired a beautiful vase, only to be disheartened by stubborn stains clouding its brilliance? I know I have! It’s like a masterpiece marred by an unwanted blemish. For centuries, vases have held a special place in our homes, not just as containers for flowers, but as decorative objects, sometimes even heirlooms passed down through generations. From ancient Egyptian pottery to delicate porcelain from the Ming Dynasty, vases have always been cherished.
But life happens, and those beautiful vases often fall victim to hard water stains, mineral deposits, and that dreaded cloudy film. Instead of hiding them away or resorting to harsh chemicals, I’m here to share some simple, effective, and budget-friendly vase stain removal DIY tricks that will restore your vases to their former glory. These aren’t just cleaning hacks; they’re about preserving the beauty and history held within these vessels.
Why do you need these DIY tricks? Because nobody wants to display a dull, stained vase! These methods are gentle on your precious glass, ceramic, or crystal, and they use ingredients you probably already have in your pantry. Let’s get those vases sparkling again, shall we? You’ll be amazed at how easy it is to bring back their shine!
DIY Vase Stain Removal: Sparkling Clean in No Time!
Okay, so you’ve got a beautiful vase, right? Maybe it’s a family heirloom, a flea market find, or just a piece you really love. But, uh oh, it’s got that dreaded cloudy film or stubborn stains inside. Don’t despair! I’ve been there, and I’m here to tell you that you can absolutely get your vase looking sparkling clean again without harsh chemicals or expensive cleaners. I’m going to walk you through a few different methods, from gentle to more aggressive, so you can choose the one that’s right for your vase and the type of stain you’re dealing with. Let’s get started!
Understanding the Stains
Before we dive in, it’s helpful to understand what we’re up against. Most vase stains are caused by:
* Hard Water Deposits: These are the most common culprits, leaving a white, chalky film.
* Mineral Buildup: Similar to hard water, but can include other minerals from tap water or flower food.
* Algae Growth: Especially in vases that hold water for extended periods, algae can leave green or brown stains.
* Dried Flower Residue: Sometimes, bits of petals or stems can decompose and leave a sticky residue.
Knowing the type of stain will help you choose the most effective cleaning method.
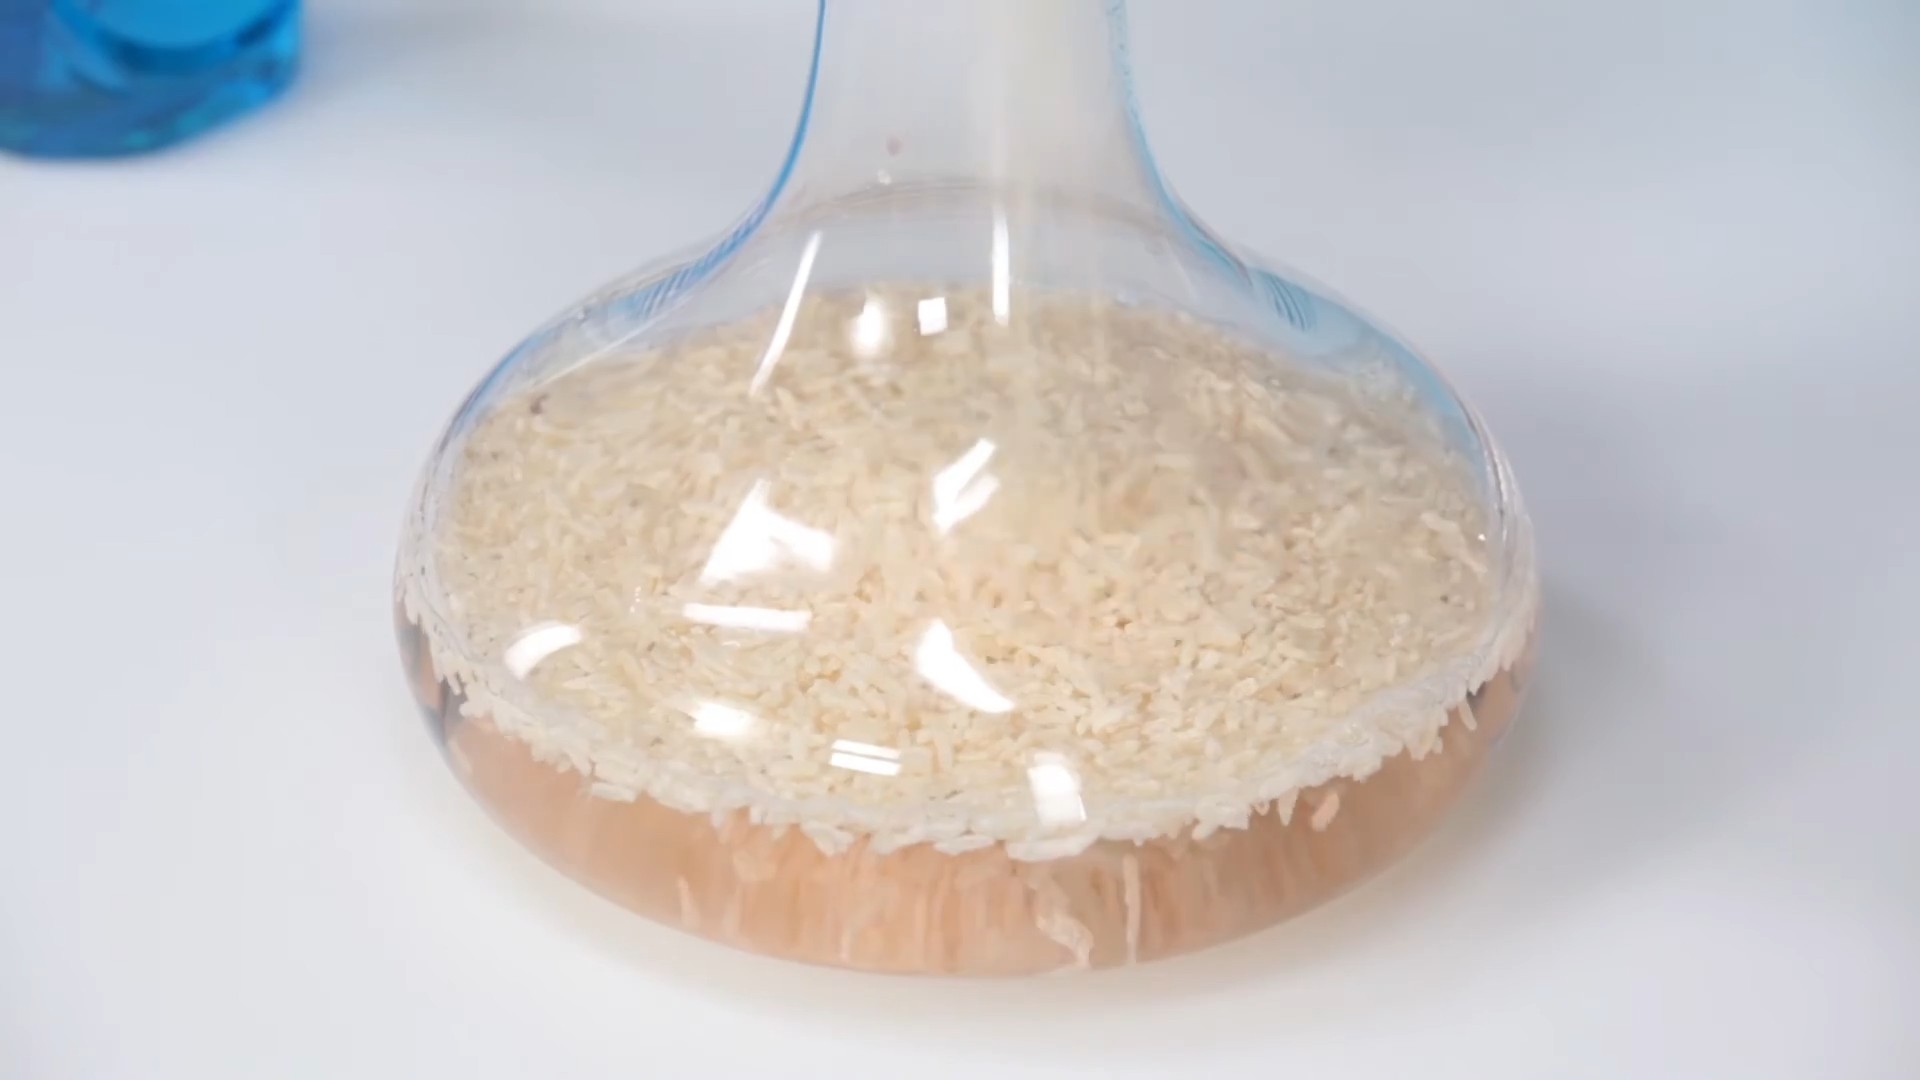
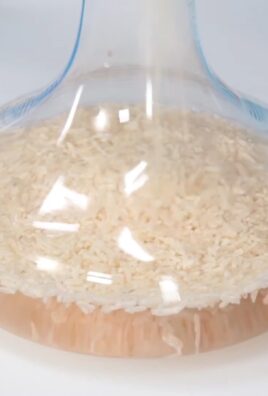
Method 1: The Gentle Approach – Vinegar and Rice
This is my go-to method for lightly stained vases. It’s gentle, effective, and uses ingredients you probably already have in your pantry.
What you’ll need:
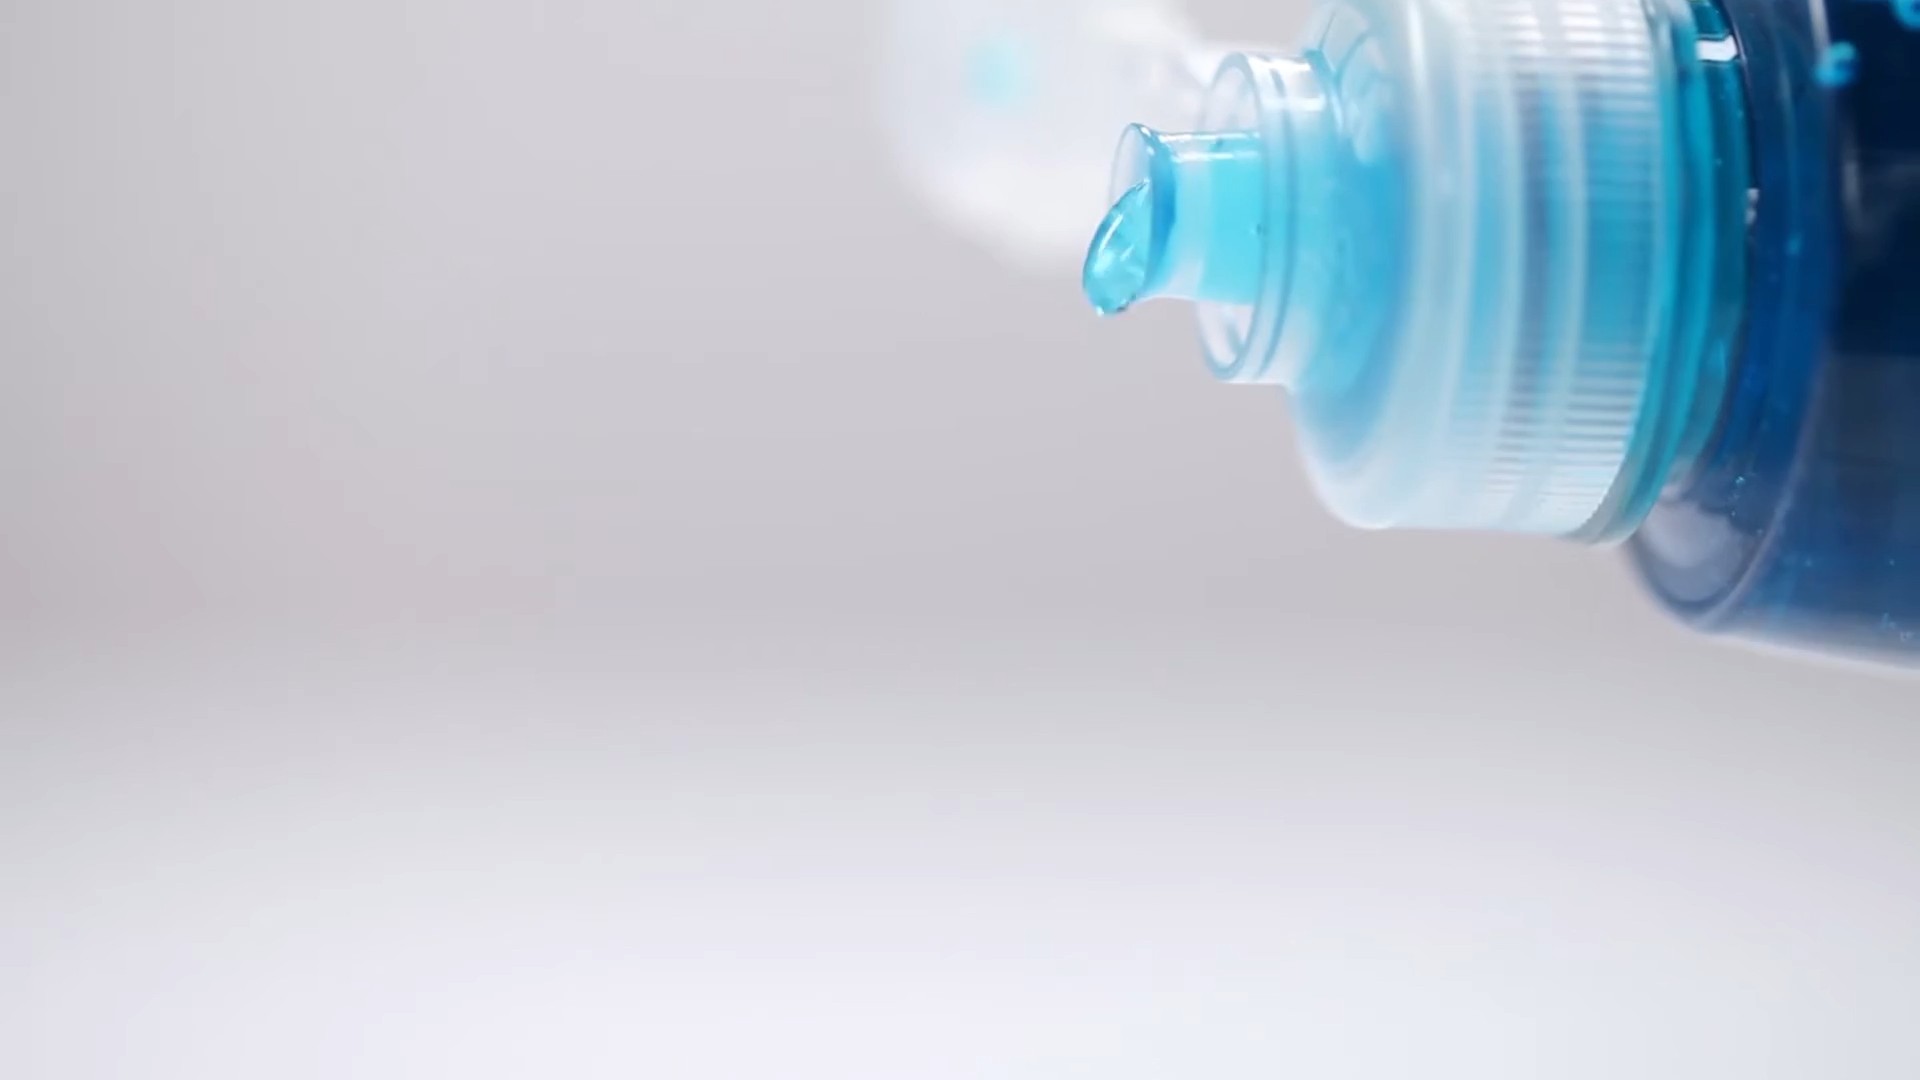
* White vinegar
* Uncooked rice (long grain or short grain, it doesn’t really matter)
* Warm water
* Dish soap (optional, for extra cleaning power)
* A bottle brush or long-handled sponge (if needed)
Step-by-step instructions:
1. Rinse the vase: Start by rinsing the vase with warm water to remove any loose debris.
2. Add vinegar and rice: Pour about 1/2 cup of white vinegar into the vase. Then, add about 1/4 cup of uncooked rice. The rice acts as a gentle abrasive to scrub the stains.
3. Add warm water: Fill the vase about halfway with warm water.
4. Swirl and shake: Cover the opening of the vase with your hand (or a cork) and gently swirl and shake the mixture for a few minutes. The rice will help to loosen the stains.
5. Let it sit: Let the mixture sit for at least an hour, or even overnight for stubborn stains. The vinegar will help to dissolve the mineral deposits.
6. Shake again: After soaking, shake the vase vigorously again to dislodge any remaining stains.
7. Rinse thoroughly: Pour out the vinegar and rice mixture and rinse the vase thoroughly with warm water until all traces of vinegar and rice are gone.
8. Inspect and repeat: Check the vase for any remaining stains. If necessary, repeat the process.
9. Dry completely: Once the vase is clean, dry it completely with a soft cloth to prevent water spots.
Method 2: Baking Soda Power
Baking soda is another fantastic natural cleaner that’s great for tackling tougher stains. It’s mildly abrasive and helps to neutralize odors.
What you’ll need:
* Baking soda
* Warm water
* Dish soap (optional)
* A bottle brush or long-handled sponge (if needed)
Step-by-step instructions:
1. Rinse the vase: As always, start by rinsing the vase with warm water.
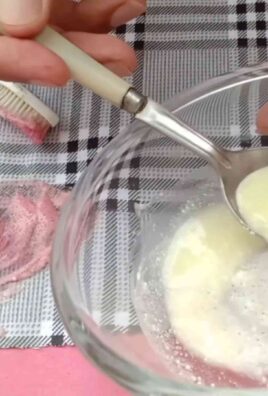
2. Make a baking soda paste: In a small bowl, mix baking soda with enough warm water to form a thick paste.
3. Apply the paste: Apply the baking soda paste to the stained areas inside the vase. You can use your fingers, a spoon, or a bottle brush to spread it evenly.
4. Let it sit: Let the paste sit for at least 30 minutes, or longer for stubborn stains.
5. Scrub gently: Use a bottle brush or long-handled sponge to gently scrub the stained areas. The baking soda will help to loosen the stains.
6. Rinse thoroughly: Rinse the vase thoroughly with warm water until all traces of baking soda are gone.
7. Inspect and repeat: Check the vase for any remaining stains. If necessary, repeat the process.
8. Dry completely: Dry the vase completely with a soft cloth.
Method 3: The Heavy Hitter – Denture Tablets
This method might sound a little strange, but trust me, it works wonders! Denture tablets are designed to remove stains and buildup from dentures, and they can do the same for your vases.
What you’ll need:
* Denture cleaning tablets (the effervescent kind)
* Warm water
Step-by-step instructions:
1. Rinse the vase: Rinse the vase with warm water to remove any loose debris.
2. Fill with warm water: Fill the vase with warm water.
3. Add denture tablets: Drop one or two denture cleaning tablets into the water. The number of tablets you need will depend on the size of the vase and the severity of the stains.
4. Let it fizz: Let the tablets fizz and dissolve completely. This usually takes about 15-30 minutes.
5. Let it soak: Let the solution soak for several hours, or even overnight for really stubborn stains.
6. Rinse thoroughly: Rinse the vase thoroughly with warm water until all traces of the denture cleaning solution are gone.
7. Inspect and repeat: Check the vase for any remaining stains. If necessary, repeat the process.
8. Dry completely: Dry the vase completely with a soft cloth.
Method 4: The Last Resort – Commercial Vase Cleaners
If none of the natural methods work, you can try a commercial vase cleaner. These cleaners are specifically designed to remove tough stains and mineral deposits from vases.
What you’ll need:
* Commercial vase cleaner (follow the manufacturer’s instructions)
* Gloves (to protect your hands)
* A bottle brush or long-handled sponge (if needed)
Step-by-step instructions:
1. Read the instructions: Carefully read and follow the manufacturer’s instructions on the vase cleaner.
2. Protect your hands: Wear gloves to protect your hands from the chemicals in the cleaner.
3. Apply the cleaner: Apply the cleaner to the stained areas inside the vase, following the instructions on the bottle.
4. Scrub gently: Use a bottle brush or long-handled sponge to gently scrub the stained areas.
5. Rinse thoroughly: Rinse the vase thoroughly with warm water until all traces of the cleaner are gone.
6. Inspect and repeat: Check the vase for any remaining stains. If necessary, repeat the process.
7. Dry completely: Dry the vase completely with a soft cloth.
Important Note: When using commercial vase cleaners, always work in a well-ventilated area and avoid contact with your skin and eyes.
Tips for Preventing Future Stains
Now that you’ve got your vase sparkling clean, here are a few tips to help prevent future stains:
* Use filtered water: Using filtered water instead of tap water can help to reduce mineral buildup.
* Change the water frequently: Change the water in your vase every day or two to prevent algae growth and bacterial buildup.
* Clean the vase after each use: After each use, rinse the vase with warm water and a little dish soap.
* Dry the vase completely: After cleaning, dry the vase completely to prevent water spots.
* Consider using vase liners: Vase liners can help to protect the inside of your vase from stains and buildup.
Dealing with Narrow-Necked Vases
Cleaning vases with narrow necks can be a bit tricky. Here are a few tips:
* Use a bottle brush: A bottle brush is essential for reaching the bottom of narrow-necked vases.
* Use smaller rice grains: If you’re using the vinegar and rice method, use smaller rice grains, like sushi rice, to make it easier to pour them in and out of the vase.
* Be patient: It may take a little longer to clean a narrow-necked vase, so be patient and persistent.
Testing Delicate Vases
If you have a delicate or antique vase, it’s always a good idea to test any cleaning method in an inconspicuous area first. This will help you to ensure that the cleaner doesn’t damage the vase.
I hope these tips help you get your vases looking their best! Happy cleaning!
Conclusion
So, there you have it! This simple, yet incredibly effective, DIY trick for vase stain removal is a game-changer for anyone who loves displaying flowers but hates the unsightly residue they often leave behind. We’ve all been there, admiring a beautiful bouquet only to be faced with a stubborn, cloudy film clinging to the inside of our favorite vase. Store-bought cleaners can be harsh, expensive, and sometimes just plain ineffective. This method, however, utilizes common household ingredients and a little bit of elbow grease to restore your vases to their sparkling glory.
Why is this a must-try? Because it’s economical, environmentally friendly, and, most importantly, it works! Think about the money you’ll save on specialized cleaning products. Consider the peace of mind knowing you’re not introducing harsh chemicals into your home. And imagine the satisfaction of seeing your vases looking brand new again, ready to showcase your next floral arrangement.
But don’t stop there! Feel free to experiment with variations to find what works best for your specific needs. For particularly stubborn stains, try letting the solution sit in the vase overnight. You could also add a tablespoon of white vinegar to the mixture for an extra boost of cleaning power. If you’re dealing with a delicate vase, use a softer brush or cloth to avoid scratching the surface. Remember to always test a small, inconspicuous area first, just to be safe.
Beyond the basic method, consider the type of stain you’re dealing with. Hard water stains might respond better to a vinegar-heavy solution, while organic residue from flowers might benefit from the enzymatic action of baking soda. The key is to observe, adapt, and find the perfect balance for your specific situation.
We are confident that this DIY vase stain removal technique will become your go-to solution for keeping your vases looking their best. It’s a simple, effective, and sustainable way to maintain the beauty of your home.
Now, it’s your turn! We encourage you to try this DIY trick and see the amazing results for yourself. Don’t just take our word for it – experience the difference firsthand. And most importantly, share your experience with us! Let us know what worked for you, what variations you tried, and any tips you discovered along the way. Your feedback will help us refine this method and make it even better for everyone. Post your before-and-after photos, share your stories on social media, and let’s create a community of sparkling vase enthusiasts! We can’t wait to hear from you and see your beautifully restored vases. This simple solution to vase stain removal is something you’ll use again and again.
Frequently Asked Questions (FAQ)
What causes stains in vases?
Vase stains are typically caused by a combination of factors. Hard water, which contains minerals like calcium and magnesium, leaves behind a cloudy film. Bacteria and algae can also grow in the water, creating a slimy residue. Additionally, organic matter from flowers, such as sap and pollen, can contribute to staining. Over time, these elements build up and create stubborn stains that are difficult to remove with just water and soap.
Is this DIY method safe for all types of vases?
Generally, yes, this DIY method is safe for most types of vases, including glass, ceramic, and crystal. However, it’s always a good idea to test a small, inconspicuous area first, especially if you’re dealing with a delicate or antique vase. Avoid using abrasive scrub brushes on delicate surfaces, as they can cause scratches. For particularly valuable or fragile vases, consider consulting a professional cleaner.
What if the stains are really stubborn and don’t come off easily?
If you’re dealing with particularly stubborn stains, there are a few things you can try. First, increase the concentration of baking soda or vinegar in your cleaning solution. You can also try letting the solution soak in the vase for a longer period of time, even overnight. For extremely tough stains, consider using a specialized vase cleaner or a mild abrasive cleaner like Bar Keepers Friend, but always test it in an inconspicuous area first. Another option is to use denture cleaning tablets, which contain enzymes that can break down organic matter.
Can I use something other than rice as an abrasive?
Yes, you can use other materials as an abrasive, depending on the size and shape of your vase. Coarse salt, sand, or even small pebbles can work well. Just be sure to choose a material that won’t scratch the surface of your vase. For delicate vases, consider using a softer abrasive like crushed eggshells or baking soda paste.
How often should I clean my vases to prevent stains?
The frequency of cleaning depends on how often you use your vases and the type of water you use. Ideally, you should clean your vases after each use to prevent stains from building up. If you use hard water, you may need to clean them more frequently. A quick rinse with soap and water after each use can go a long way in preventing stubborn stains.
Will this method remove hard water stains?
Yes, this method is effective at removing hard water stains. The combination of baking soda and vinegar helps to dissolve the mineral deposits that cause hard water stains. For particularly stubborn hard water stains, you may need to increase the concentration of vinegar in your cleaning solution or let it soak for a longer period of time.
Can I use this method on other glass items besides vases?
Absolutely! This method can be used on other glass items that are prone to staining, such as carafes, pitchers, and even fish tanks. Just be sure to adjust the amount of cleaning solution based on the size of the item.
Is baking soda safe to use on all types of vases?
Baking soda is generally safe to use on most types of vases, but it’s always a good idea to test a small, inconspicuous area first, especially if you’re dealing with a delicate or antique vase. Baking soda is a mild abrasive, so avoid using excessive pressure when scrubbing.
What are some tips for preventing vase stains in the first place?
There are several things you can do to prevent vase stains from forming in the first place. Use filtered or distilled water instead of tap water, as it contains fewer minerals. Change the water in your vases frequently, at least every other day. Add a floral preservative to the water to help prevent bacterial growth. And, of course, clean your vases after each use.
What if I don’t have baking soda or vinegar? Are there any alternatives?
If you don’t have baking soda or vinegar, you can try using other household ingredients. Lemon juice is a natural acid that can help to dissolve mineral deposits. Denture cleaning tablets contain enzymes that can break down organic matter. You can also try using a commercial vase cleaner, but be sure to follow the instructions carefully.

Leave a Comment