

Toilet cleaning hacks – who knew such simple tricks could save you so much time, money, and elbow grease? Let’s face it, cleaning the toilet is nobody’s favorite chore. It’s right up there with doing taxes and visiting the dentist! But what if I told you that you could drastically reduce the amount of time you spend scrubbing, and achieve a sparkling clean toilet with items you probably already have in your home?
For generations, people have been searching for the ultimate shortcut to a pristine bathroom. From ancient civilizations using natural herbs and oils to disinfect their latrines, to our modern obsession with bleach and specialized cleaners, the quest for a clean toilet is a timeless pursuit. But the truth is, you don’t need harsh chemicals or expensive gadgets to get the job done right.
That’s where these amazing toilet cleaning hacks come in. In this article, I’m going to share some of my favorite DIY tricks that will not only make your toilet cleaning routine easier, but also more eco-friendly and budget-friendly. We all want a clean and hygienic bathroom, but nobody wants to spend hours scrubbing away. These hacks will help you achieve a sparkling clean toilet with minimal effort, leaving you with more time to enjoy the things you actually love. So, grab your gloves and let’s get started!

DIY Toilet Bowl Cleaning Bombs: A Sparkling Clean Throne Awaits!
Hey there, fellow DIY enthusiasts! Are you tired of those harsh chemical toilet bowl cleaners that smell awful and cost a fortune? I know I was! That’s why I decided to create my own toilet bowl cleaning bombs, and let me tell you, they’re a game-changer. They’re easy to make, use natural ingredients, and leave your toilet sparkling clean and smelling fresh. Plus, it’s a fun project! So, grab your supplies, and let’s get started!
What You’ll Need: The Arsenal of Clean
Before we dive in, let’s gather all the necessary ingredients and equipment. This will make the whole process smoother and more enjoyable.
* 1 ½ cups Baking Soda: This is the workhorse of our cleaning bomb. It’s a mild alkali that helps to dissolve dirt and grime.
* ½ cup Citric Acid: This adds fizz and helps to remove hard water stains and mineral deposits. You can find it at most health food stores or online.
* ½ cup Cornstarch: This acts as a binder, helping the ingredients stick together and preventing the bombs from crumbling.
* ½ cup Epsom Salts: These add a bit of extra cleaning power and can also help to harden the bombs.
* 25-30 drops Essential Oil(s): This is where you can get creative! I love using a combination of tea tree oil (for its antibacterial properties) and lemon or lavender oil for a fresh scent. Peppermint, eucalyptus, and orange are also great options.
* Water in a Spray Bottle: We’ll use this to lightly moisten the mixture so it holds its shape. Be careful not to add too much!
* Silicone Molds: You can use any shape you like! I prefer using silicone molds because they’re flexible and make it easy to remove the bombs. Ice cube trays, muffin tins (lined with parchment paper), or even cookie cutters can work in a pinch.
* Mixing Bowl: A large bowl to combine all the dry ingredients.
* Gloves (Optional): If you have sensitive skin, you might want to wear gloves to protect your hands from the citric acid.
* Spoon or Whisk: For mixing the ingredients.
* Airtight Container: To store your finished toilet bowl cleaning bombs.
Step-by-Step Guide: Bomb-Making Time!
Now that we have everything we need, let’s get down to the nitty-gritty of making these fantastic toilet bowl cleaning bombs.
1. Combine the Dry Ingredients: In your mixing bowl, add the baking soda, citric acid, cornstarch, and Epsom salts. Whisk them together thoroughly until they are evenly distributed. This ensures that each bomb will have the same cleaning power.
2. Add the Essential Oils: Now, it’s time to add your favorite essential oils. I usually go for about 25-30 drops in total. Remember, you can mix and match scents to create your own unique fragrance. Drip the oils evenly over the dry mixture.
3. Moisten the Mixture (Very Carefully!): This is the trickiest part, so pay close attention! Fill your spray bottle with water. Lightly spritz the dry mixture with water, one or two sprays at a time. Immediately mix the ingredients with your hands or a spoon after each spray. You want the mixture to be just damp enough to hold its shape when you squeeze it in your hand, like wet sand. Be very careful not to add too much water, as this will activate the citric acid and cause the mixture to fizz prematurely. If it starts to fizz, you’ve added too much water! You can try adding a bit more baking soda to counteract the fizzing.
4. Pack the Mixture into Molds: Once the mixture is the right consistency, it’s time to pack it into your silicone molds. Press the mixture firmly into each mold, making sure to fill it completely. You want to pack it tightly so the bombs hold their shape.
5. Let Them Dry: Now comes the waiting game. Let the bombs dry in the molds for at least 24 hours, or even longer if you live in a humid climate. You want them to be completely dry and hard before you try to remove them from the molds. I usually leave mine for 48 hours just to be sure.
6. Remove from Molds: Once the bombs are completely dry, carefully remove them from the molds. If you’re using silicone molds, they should pop out easily. If you’re using other types of molds, you might need to gently tap them to release the bombs.
7. Store in an Airtight Container: Store your finished toilet bowl cleaning bombs in an airtight container in a cool, dry place. This will prevent them from absorbing moisture and losing their fizz.
Using Your Toilet Bowl Cleaning Bombs: A Sparkling Finale
Okay, you’ve made your bombs, now it’s time to put them to work!
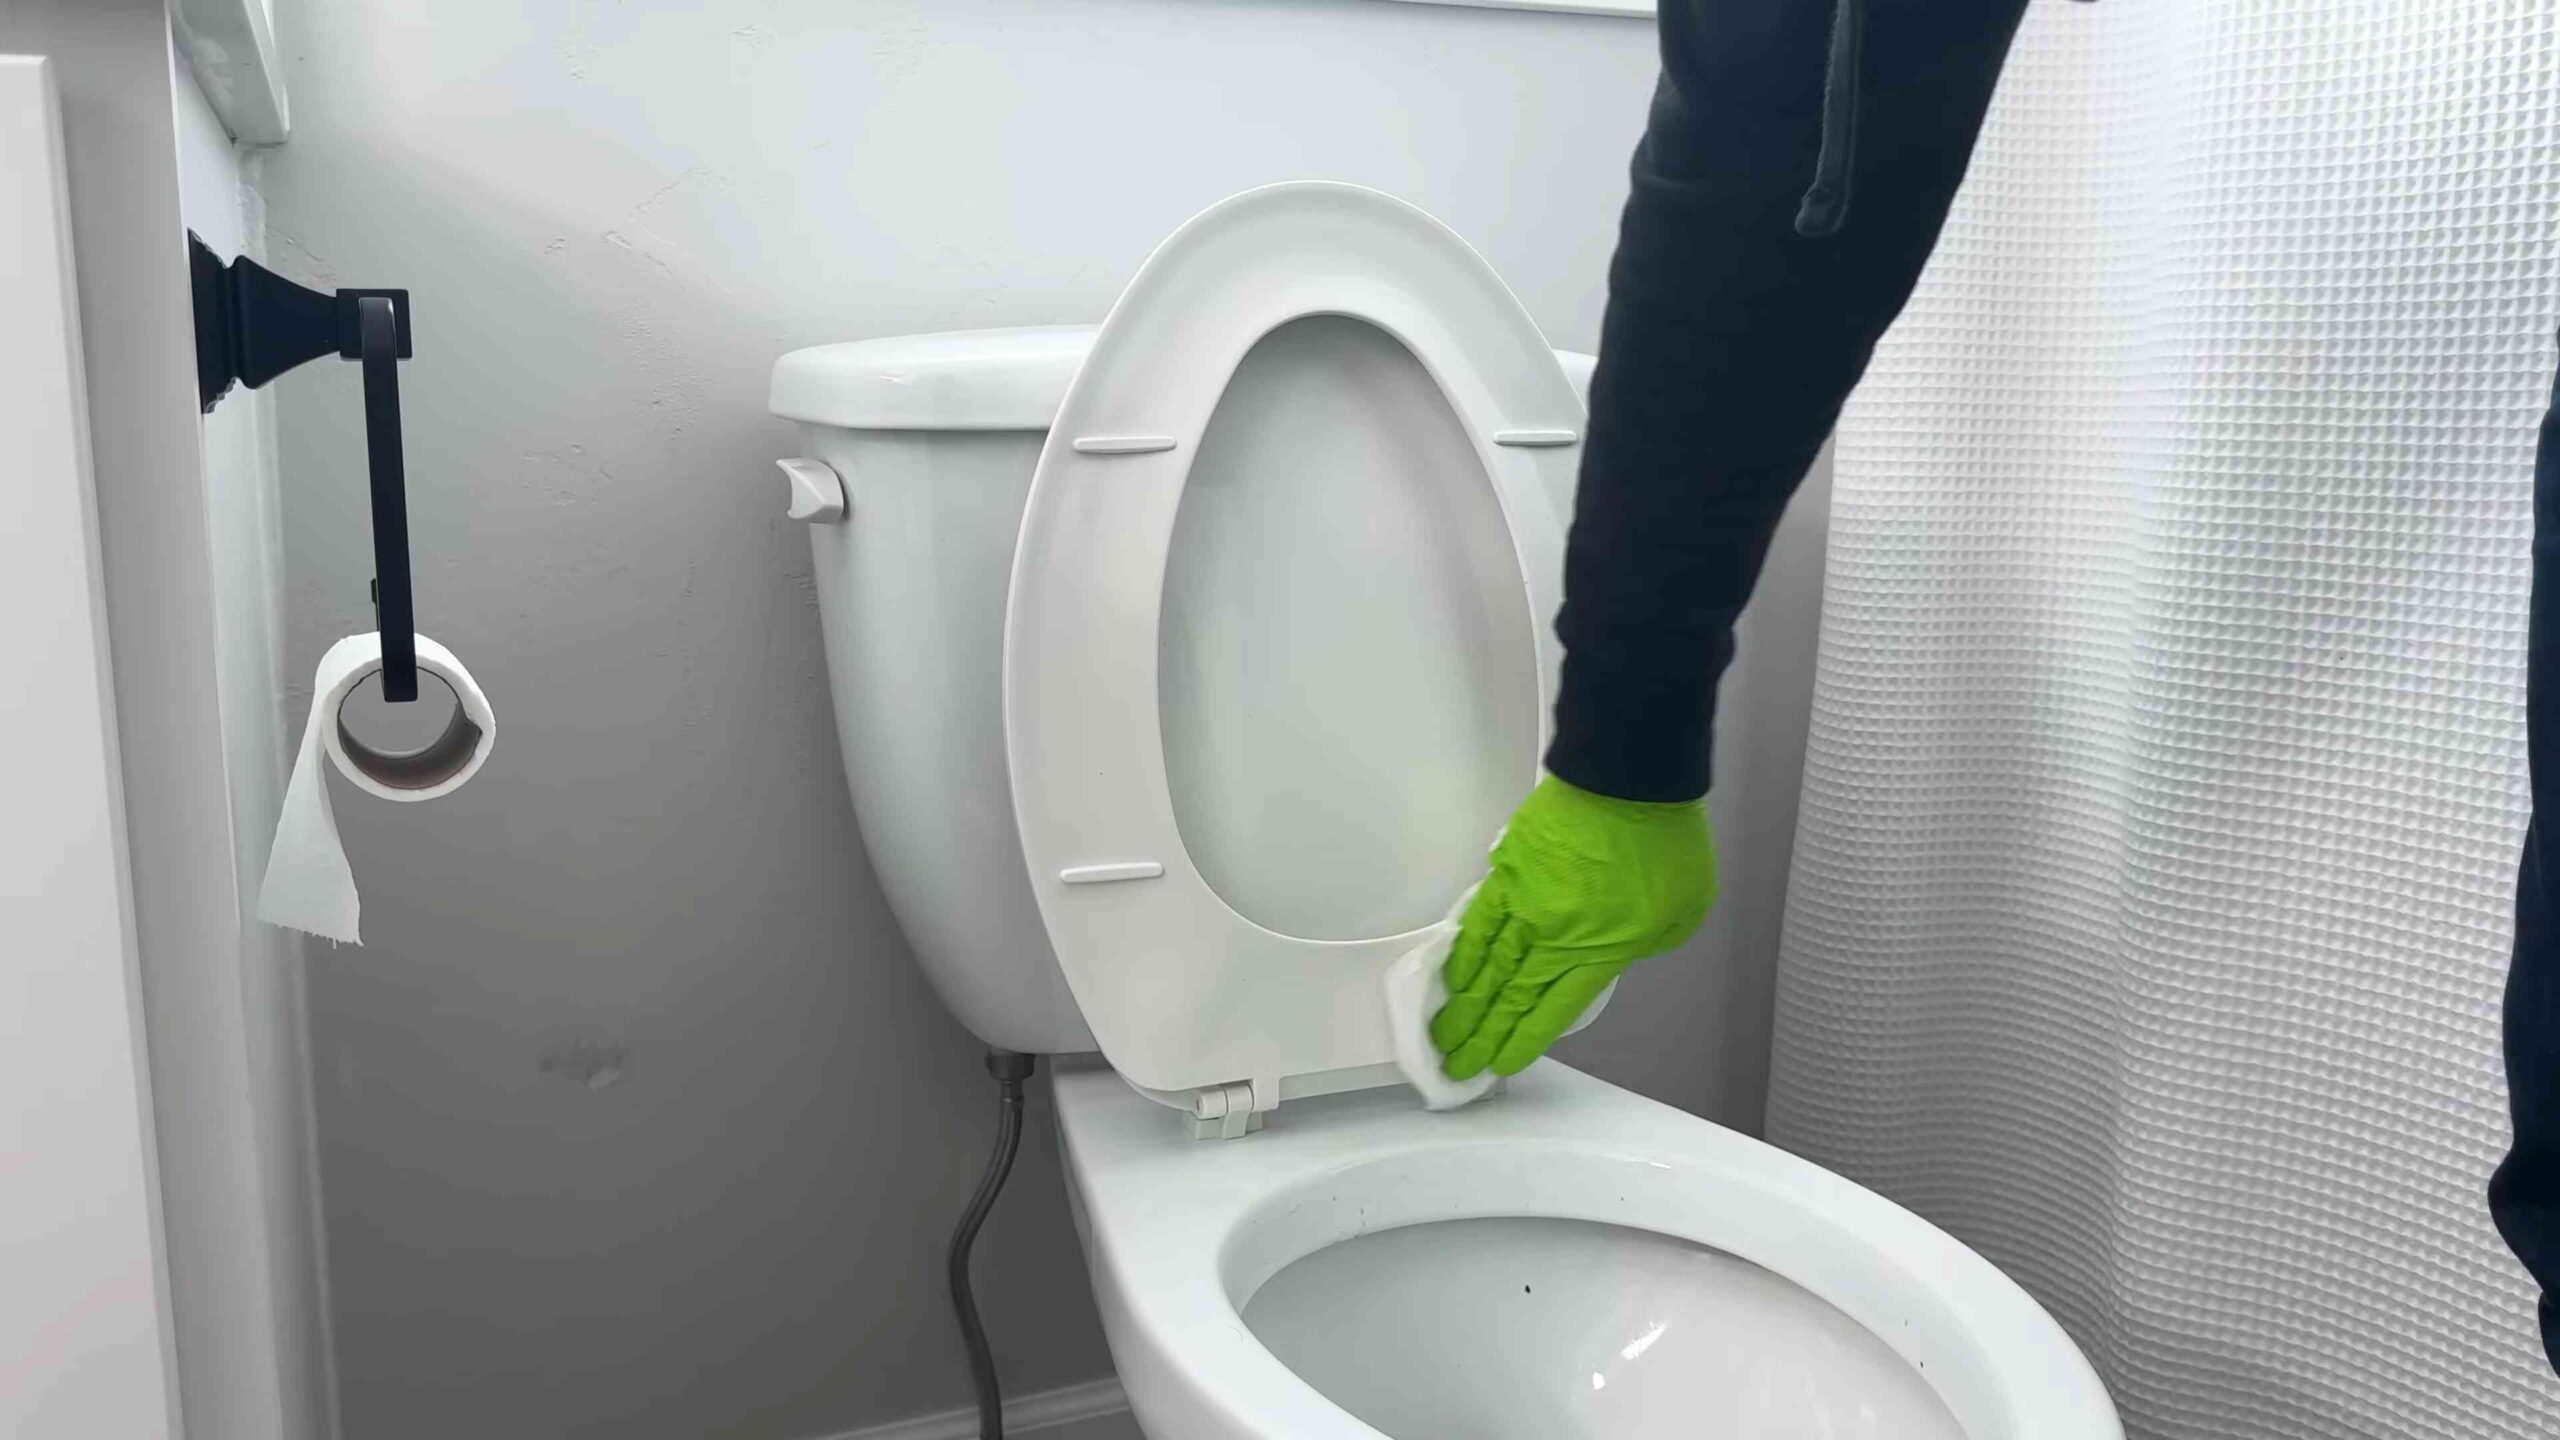
1. Drop a Bomb: Simply drop one toilet bowl cleaning bomb into your toilet bowl.
2. Let it Fizz: Watch the magic happen! The bomb will fizz and dissolve, releasing its cleaning power.
3. Let it Sit: Allow the bomb to sit in the toilet bowl for at least 20-30 minutes, or even overnight for a deeper clean.
4. Scrub (If Needed): If there are any stubborn stains, give the toilet bowl a quick scrub with a toilet brush.
5. Flush: Flush the toilet, and admire your sparkling clean toilet bowl!
Troubleshooting: When Things Don’t Go as Planned
Sometimes, even with the best instructions, things can go a little sideways. Here are a few common problems and how to fix them:
* Bombs are Crumbly: This usually means you didn’t add enough water. Next time, add a little more water, a spray or two at a time, until the mixture holds its shape. You can also try adding a bit more cornstarch to help bind the ingredients together.
* Bombs are Fizzing Prematurely: This means you added too much water! Try adding a bit more baking soda to counteract the fizzing. You can also try spreading the mixture out on a baking sheet to allow some of the moisture to evaporate.
* Bombs are Not Fizzing Enough: This could be due to a few reasons. Either your citric acid is old and has lost some of its potency, or your bombs have absorbed moisture from the air. Make sure to store your bombs in an airtight container to prevent them from absorbing moisture.
* Bombs are Sticking to the Molds: Make sure your bombs are completely dry before trying to remove them from the molds. If they’re still sticking, try gently tapping the molds or using a thin knife to loosen the edges.
Essential Oil Blends: Scent-sational Cleaning
Want to get creative with your essential oil blends? Here are a few of my favorite combinations:
* Tea Tree & Lemon: This is my go-to blend for its antibacterial and refreshing properties.
* Lavender & Eucalyptus: This blend is calming and soothing, while also providing a powerful cleaning boost.
* Peppermint & Orange: This blend is invigorating and uplifting, perfect for a morning cleaning session.
* Lemon & Rosemary: This blend is bright and herbaceous, leaving your bathroom smelling fresh and clean.
Remember to research the safety of essential oils before using them, especially if you have pets or small children.
Safety First: A Few Words of Caution
While these toilet bowl cleaning bombs are made with natural ingredients, it’s still important to take a few safety precautions:
* Keep out of reach of children and pets: Although the ingredients are generally safe, they can still be harmful if ingested.
* Avoid contact with eyes: Citric acid can be irritating to the eyes. If you get any in your eyes, rinse them thoroughly with water.
* Wear gloves if you have sensitive skin: Citric acid can also be irritating to sensitive skin.
* Don’t mix with other cleaners: Never mix these bombs with other toilet bowl cleaners, especially those containing bleach, as this can create dangerous fumes.
Beyond the Bowl: Other Uses for Your Cleaning Bombs
While these bombs are designed for cleaning toilet bowls, they can also be used for other cleaning tasks around the house!
* Shower Cleaner: Drop a bomb in your shower drain and let it fizz to help clean and deodorize.
* Sink Cleaner: Use a bomb to clean and freshen up your sink.
* Garbage Disposal Freshener: Drop a bomb in your garbage disposal and run it with water to eliminate odors.
Final Thoughts: A Cleaner, Greener Throne
So there you have it! A simple, effective, and eco-friendly way to keep your toilet bowl sparkling clean. I hope you enjoy making and using these toilet bowl cleaning bombs
Conclusion
So, there you have it! This simple, yet incredibly effective toilet cleaning hack is a game-changer for anyone looking to maintain a sparkling clean bathroom without resorting to harsh chemicals or spending a fortune on commercial cleaners. We’ve shown you how to leverage readily available ingredients to create a powerful cleaning solution that tackles stains, eliminates odors, and leaves your toilet bowl gleaming.
But why is this DIY approach a must-try? Beyond the cost savings and eco-friendliness, it’s about control. You know exactly what’s going into your cleaning solution, avoiding potentially harmful ingredients that can irritate skin or damage your plumbing over time. Plus, the satisfaction of creating something effective with your own two hands is a reward in itself.
Don’t just take our word for it, though. The real magic happens when you experience the results firsthand. Imagine effortlessly removing stubborn stains that have plagued your toilet bowl for months. Picture a fresh, clean scent replacing lingering odors. Envision a bathroom that sparkles with minimal effort. This toilet cleaning hack makes all of that a reality.
Ready to take it a step further? Consider these variations to customize your cleaning solution:
* **Essential Oil Boost:** Add a few drops of your favorite essential oil, such as tea tree (known for its antibacterial properties), lavender (for a calming scent), or lemon (for extra cleaning power). Just be sure to use essential oils that are safe for use in plumbing systems.
* **Vinegar Infusion:** For extra stubborn stains, pre-soak the toilet bowl with a cup of white vinegar for 30 minutes before applying the DIY cleaner. The vinegar’s acidity will help break down mineral deposits and grime.
* **Borax Power:** If you’re dealing with particularly tough stains or hard water, add a tablespoon of borax to your cleaning mixture. Borax is a natural mineral that acts as a powerful cleaning agent and deodorizer.
* Lemon Juice Brightener: A splash of lemon juice can act as a natural bleaching agent, helping to brighten the toilet bowl and leave a fresh, citrusy scent.
We are confident that this toilet cleaning hack will become a staple in your cleaning routine. It’s simple, effective, and environmentally friendly. But the best part is sharing your experiences! We encourage you to try this DIY trick and let us know how it works for you. Share your before-and-after photos, your favorite variations, and any tips you discover along the way. Let’s build a community of clean-bathroom enthusiasts!
Don’t delay, give this toilet cleaning hack a try today and experience the difference for yourself. Your toilet bowl (and your wallet) will thank you!
Frequently Asked Questions (FAQ)
Is this toilet cleaning hack safe for all types of toilets?
Generally, yes, this DIY toilet cleaning hack is safe for most types of toilets, including standard porcelain toilets. However, if you have a toilet with a sensitive or specialized finish (such as a vintage toilet or one with a unique coating), it’s always a good idea to test the cleaning solution in an inconspicuous area first. This will help you ensure that the ingredients won’t damage the finish. Avoid using abrasive scrub brushes on delicate surfaces, as they can scratch or dull the finish. If you are unsure, consult the manufacturer’s instructions for your toilet.
How often should I use this DIY toilet cleaner?
The frequency of use depends on how often you typically clean your toilet and how quickly it gets dirty. For regular maintenance, using this DIY cleaner once or twice a week should be sufficient to keep your toilet bowl clean and fresh. If you notice stains or odors developing more quickly, you can increase the frequency of use as needed. Remember to flush the toilet regularly to prevent buildup and maintain a clean environment.
Can I store the leftover cleaning solution?
While it’s best to use the cleaning solution fresh for optimal effectiveness, you can store any leftover solution in a sealed container for a short period (up to a week). Be sure to label the container clearly and keep it out of reach of children and pets. Over time, the ingredients may separate or lose their potency, so it’s best to make a fresh batch each time you clean. Avoid storing the solution in direct sunlight or extreme temperatures, as this can affect its stability.
What if I have hard water stains? Will this DIY cleaner work?
Hard water stains can be particularly stubborn, but this DIY cleaner can still be effective, especially with a few modifications. As mentioned earlier, pre-soaking the toilet bowl with white vinegar for 30 minutes before applying the cleaner can help break down mineral deposits. You can also add a tablespoon of borax to the cleaning mixture for extra cleaning power. For extremely stubborn stains, you may need to use a pumice stone specifically designed for cleaning toilets. Be gentle when using a pumice stone to avoid scratching the porcelain.
Is this DIY cleaner septic-safe?
Yes, the ingredients used in this DIY toilet cleaning hack (baking soda, vinegar, and essential oils) are generally considered safe for septic systems. Unlike harsh chemical cleaners, these natural ingredients won’t disrupt the balance of bacteria in your septic tank. However, it’s always a good idea to use these cleaners in moderation and avoid flushing large quantities of any cleaning solution down the toilet at once. If you have any concerns about your septic system, consult with a professional.
What if I don’t have all the ingredients on hand?
The beauty of this DIY toilet cleaning hack is its flexibility. If you don’t have all the ingredients on hand, you can still create an effective cleaner with just a few basic items. For example, a simple mixture of baking soda and vinegar can work wonders on stains and odors. You can also use lemon juice as a natural bleaching agent and deodorizer. Experiment with different combinations of ingredients to find what works best for you.
Can I use this cleaner on other bathroom surfaces?
While this DIY cleaner is primarily designed for toilet bowls, it can also be used on other bathroom surfaces, such as sinks and tiles. However, it’s important to test the solution in an inconspicuous area first to ensure that it won’t damage the surface. Avoid using the cleaner on delicate surfaces, such as marble or granite, as the acidity of the vinegar can etch the stone. Always rinse the surface thoroughly with water after cleaning.
What are the benefits of using a DIY toilet cleaner over commercial cleaners?
There are several benefits to using a DIY toilet cleaner over commercial cleaners. DIY cleaners are typically more cost-effective, as they use readily available and inexpensive ingredients. They are also more environmentally friendly, as they avoid harsh chemicals that can pollute waterways. DIY cleaners allow you to control the ingredients and avoid potentially harmful substances that can irritate skin or damage your plumbing. Finally, making your own cleaner can be a fun and rewarding experience.

Leave a Comment