

Things to clean more often – it’s a phrase that might not immediately spark joy, but trust me, diving into this topic will bring a surprising sense of calm and control to your life! We all have those cleaning tasks we put off, promising ourselves we’ll get to them “someday.” But what if I told you that tackling these often-overlooked chores more frequently could dramatically improve your health, happiness, and overall well-being?
Throughout history, cleanliness has been linked to prosperity and good fortune. Ancient civilizations understood the importance of hygiene in preventing disease and maintaining a healthy society. While our modern understanding of germs and bacteria has evolved, the fundamental principle remains the same: a clean environment is a healthier environment.
So, why is it so crucial to address things to clean more often? Think about it: your toothbrush holder is a breeding ground for bacteria, your kitchen sink harbors more germs than your toilet seat (yikes!), and your reusable shopping bags are practically mobile petri dishes. By incorporating these simple cleaning hacks into your routine, you’ll not only eliminate harmful bacteria and allergens but also create a more pleasant and inviting living space. I’m here to guide you through the essential areas you might be neglecting and provide easy, DIY solutions to keep them sparkling. Let’s get started!
DIY Deep Clean: The Often-Forgotten Spots in Your Home
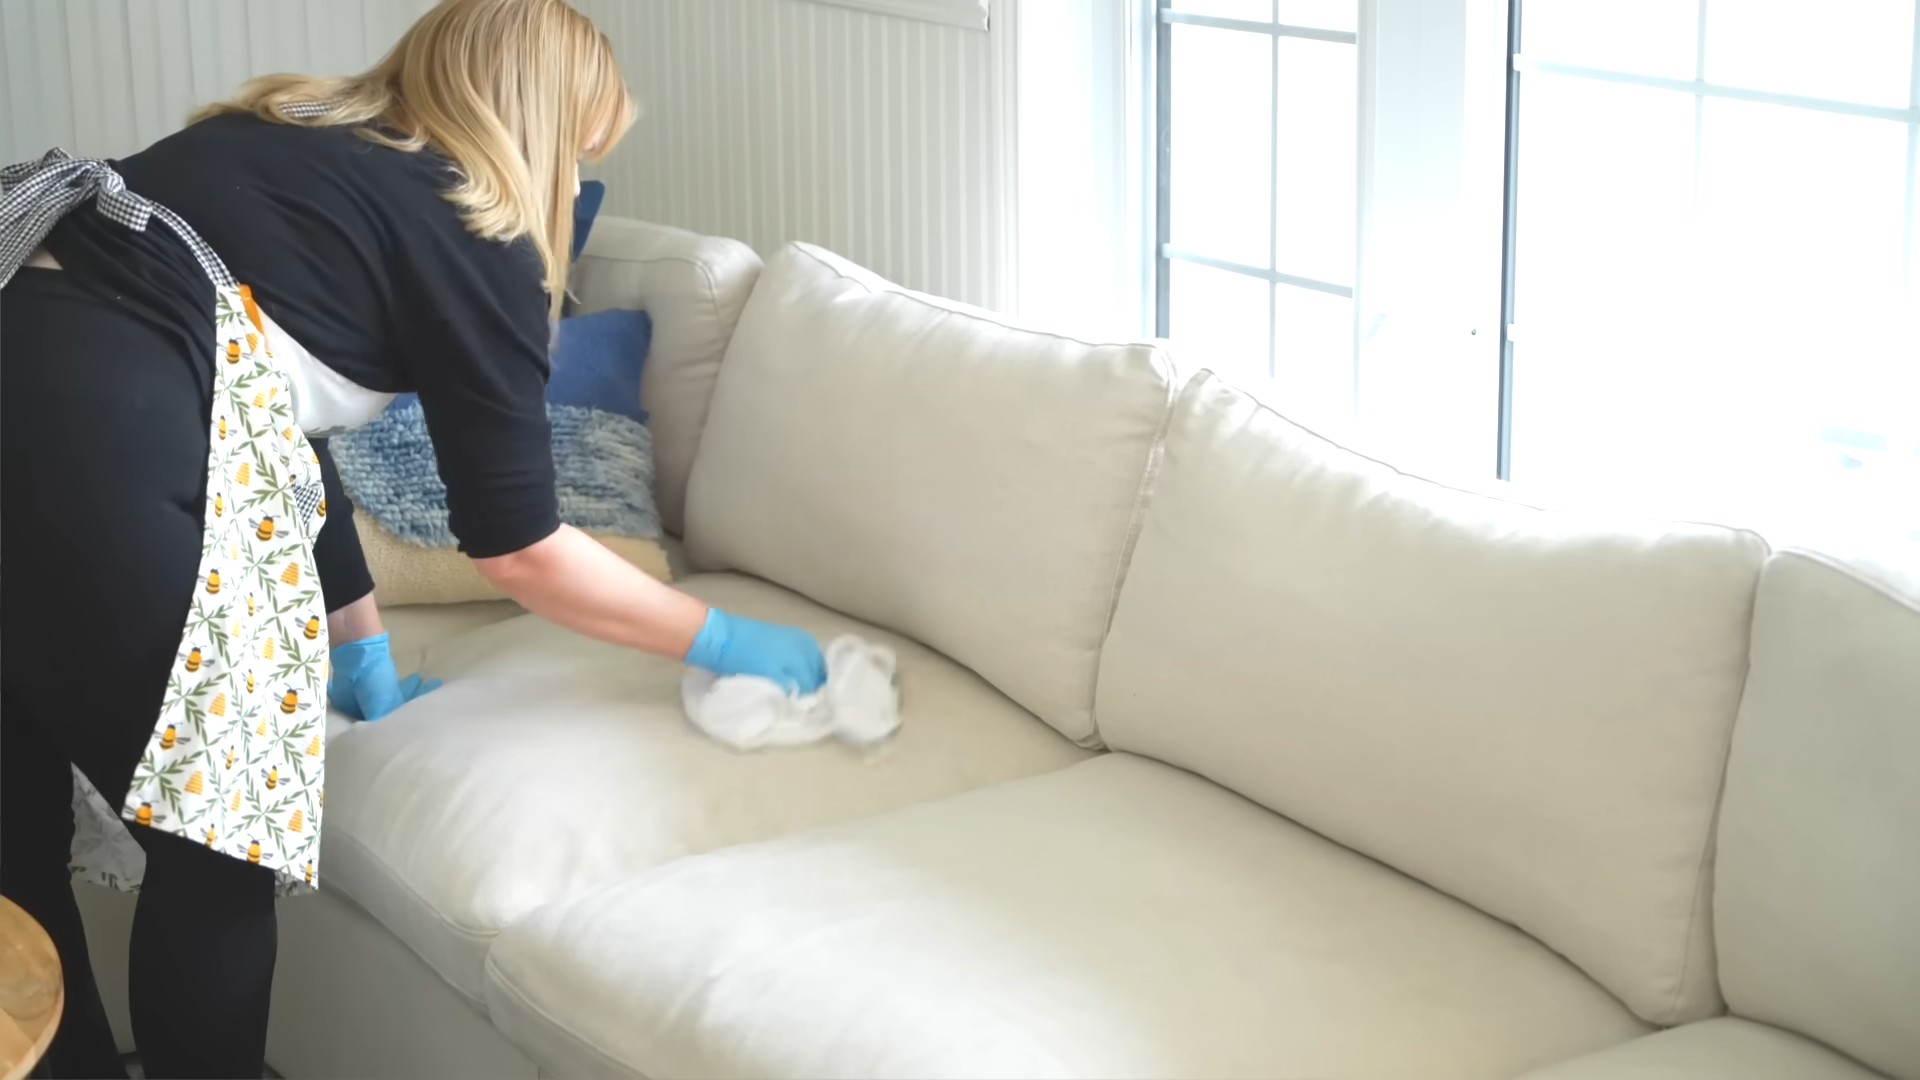
Okay, let’s be honest, we all have those spots in our homes that we *know* we should clean more often, but they just seem to slip through the cracks. Life gets busy, and suddenly, it’s been months (or maybe even years!) since you last tackled that dusty ceiling fan or grimy grout. Well, fear not! I’m here to guide you through a deep clean of those often-overlooked areas, making your home feel fresher and healthier. We’ll break it down into manageable steps, so you can conquer these cleaning challenges without feeling overwhelmed.
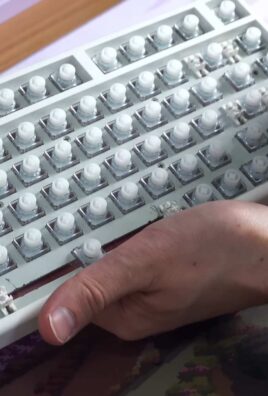
Cleaning Electronics: Remote Controls, Keyboards, and Phones
Electronics are germ magnets! We touch them constantly, transferring oils, dirt, and who-knows-what-else onto their surfaces. Let’s get them sparkling clean.
What You’ll Need:
* Microfiber cloths (at least two)
* Isopropyl alcohol (70% or higher is ideal)
* Cotton swabs
* Compressed air (optional, but helpful for keyboards)
* Small bowl
* Distilled water (optional, for stubborn grime)
Step-by-Step Instructions:
1. Power Down: Before you even *think* about cleaning, turn off and unplug any electronic device. This is crucial for safety! Remove batteries from remote controls.
2. Dry Dusting: Use a dry microfiber cloth to wipe down the surfaces of the remote, keyboard, or phone. This removes loose dust and debris. For keyboards, turn them upside down and gently tap to dislodge any trapped crumbs.
3. Alcohol Solution: Pour a small amount of isopropyl alcohol into a bowl. Dampen (don’t soak!) a microfiber cloth with the alcohol. Wring out any excess liquid. You want the cloth to be damp, not dripping.
4. Wipe Down Surfaces: Carefully wipe down all surfaces of the electronic device with the damp cloth. Pay special attention to areas that get a lot of contact, like buttons on the remote or keys on the keyboard. For phones, avoid getting moisture into any ports.
5. Detail Cleaning: Use cotton swabs dipped in alcohol to clean hard-to-reach areas, such as the crevices around buttons, the spaces between keys on a keyboard, and the charging port on your phone. Be gentle and avoid pushing too hard.
6. Stubborn Grime (Optional): If you encounter stubborn grime, you can try using a slightly damp cotton swab dipped in distilled water followed by a dry swab.
7. Compressed Air (Keyboards): If you have compressed air, use it to blow out any remaining dust or debris from the keyboard. Hold the can upright and use short bursts of air.
8. Dry Thoroughly: Allow the electronic devices to air dry completely before reassembling or using them. This is very important to prevent damage.
9. Final Wipe: Once dry, give everything a final wipe with a clean, dry microfiber cloth.
Tackling Light Fixtures and Ceiling Fans
Dusty light fixtures and ceiling fans not only look bad, but they can also reduce the amount of light in your room and even contribute to allergies.
What You’ll Need:
* Ladder or step stool (use caution!)
* Microfiber cloths (at least two)
* All-purpose cleaner (or a mixture of warm water and dish soap)
* Vacuum cleaner with a brush attachment (optional, but helpful)
* Bucket (if washing removable parts)
* Screwdriver (if removing light fixture covers)
Step-by-Step Instructions:
1. Safety First: Turn off the power to the light fixture or ceiling fan at the circuit breaker. This is absolutely essential to prevent electric shock.
2. Prepare the Area: Cover the floor beneath the light fixture or ceiling fan with a drop cloth or old sheet to catch any falling dust or debris.
3. Dusting (Dry Method): Use a dry microfiber cloth to dust the light fixture or ceiling fan. For ceiling fans, use a fan duster or a microfiber cloth attached to an extension pole to reach the blades. Wipe each blade individually, making sure to get both sides. For light fixtures, carefully dust the shades, globes, and any decorative elements.
4. Vacuuming (Optional): If you have a vacuum cleaner with a brush attachment, you can use it to vacuum the light fixture or ceiling fan. This is especially helpful for removing large amounts of dust.
5. Washing Removable Parts: If the light fixture has removable shades or globes, carefully remove them and wash them in a bucket of warm water and dish soap. Rinse them thoroughly and allow them to air dry completely before reattaching them.
6. Cleaning Non-Removable Parts: For parts that cannot be removed, dampen a microfiber cloth with all-purpose cleaner or a mixture of warm water and dish soap. Wring out any excess liquid and carefully wipe down the surfaces. Be careful not to get any water or cleaner inside the electrical components.
7. Drying: Use a clean, dry microfiber cloth to dry all surfaces of the light fixture or ceiling fan.
8. Reassemble: Once everything is dry, reattach any removable parts and turn the power back on at the circuit breaker.
9. Final Check: Make sure everything is working properly and that there are no loose parts.
Deep Cleaning Grout
Grime and mildew love to hide in grout lines, making your tile look dull and dirty. Let’s bring back the sparkle!
What You’ll Need:
* Baking soda
* White vinegar
* Spray bottle
* Old toothbrush or grout brush
* Warm water
* Microfiber cloth or sponge
* Protective gloves
Step-by-Step Instructions:
1. Prepare the Paste: In a small bowl, mix baking soda and water to form a thick paste. The consistency should be similar to toothpaste.
2. Apply the Paste: Apply the baking soda paste to the grout lines. You can use your fingers (with gloves on!) or a small spatula to spread the paste evenly.
3. Spray with Vinegar: Fill a spray bottle with white vinegar. Spray the vinegar onto the baking soda paste. The mixture will fizz, which is a good sign that it’s working!
4. Let it Sit: Allow the baking soda and vinegar mixture to sit on the grout lines for at least 15-30 minutes. For heavily soiled grout, you can let it sit for up to an hour.
5. Scrub: Use an old toothbrush or grout brush to scrub the grout lines. Apply firm pressure and scrub in a back-and-forth motion. You’ll see the grime and mildew start to loosen.
6. Rinse: Rinse the grout lines with warm water. You can use a spray bottle or a damp sponge to remove the baking soda and vinegar mixture.
7. Wipe Clean: Wipe the tile and grout lines with a clean microfiber cloth or sponge to remove any remaining residue.
8. Repeat (If Necessary): If the grout is still dirty, repeat the process. For stubborn stains, you can try using a stronger cleaning solution, such as a bleach-based cleaner. However, be sure to test the cleaner in an inconspicuous area first to make sure it doesn’t damage the tile.
9. Dry Thoroughly: Allow the tile and grout to dry completely.
Cleaning Shower Heads
Over time, shower heads can become clogged with mineral deposits, reducing water pressure and affecting the quality of your shower.
What You’ll Need:
* White vinegar
* Plastic bag (gallon-sized)
* Rubber band or twist tie
* Old toothbrush or small brush
* Pin or needle (optional, for unclogging stubborn holes)
Step-by-Step Instructions:
1. Fill the Bag: Pour enough white vinegar into the plastic bag to completely submerge the shower head.
2. Attach the Bag: Carefully attach the bag to the shower head, making sure the shower head is fully submerged in the vinegar. Secure the bag with a rubber band or twist tie.
3. Soak Overnight: Allow the shower head to soak in the vinegar overnight (or for at least 8 hours). This will give the vinegar time to dissolve the mineral deposits.
4. Remove the Bag: Carefully remove the bag from the shower head and discard the vinegar.
5. Scrub: Use an old toothbrush or small brush to scrub the shower head, removing any remaining mineral deposits.
6. Unclog Holes (Optional): If some of the holes in the shower head are still clogged, you can use a pin or needle to gently poke them and remove any debris.
7. Rinse: Turn on the shower and let the water run for a few minutes to rinse out any remaining vinegar and debris.
8. Check Water Pressure:
Conclusion
So, there you have it! Mastering this simple DIY cleaning trick for those often-overlooked areas is a game-changer for maintaining a truly clean and healthy home. We’ve shown you how easy it is to create a powerful, yet gentle, cleaning solution using ingredients you likely already have in your pantry. No more expensive specialty cleaners or harsh chemicals – just effective, eco-friendly cleaning power at your fingertips.
Think about it: how often do you *really* clean those light switches, doorknobs, or the remote control? These high-touch surfaces are breeding grounds for germs and bacteria, and neglecting them can have a real impact on your overall well-being. This DIY cleaning solution offers a quick and easy way to tackle these problem areas, preventing the spread of illness and keeping your family healthy.
But the benefits don’t stop there. By making your own cleaning solution, you’re also reducing your environmental impact. You’re cutting down on plastic waste from disposable wipes and spray bottles, and you’re avoiding the harsh chemicals that can pollute our waterways. It’s a win-win for your home and the planet!
This DIY cleaning trick is a must-try because it’s:
* Effective: It cuts through grime and kills germs without harsh chemicals.
* Affordable: It uses ingredients you probably already have.
* Eco-friendly: It reduces plastic waste and harmful chemicals.
* Easy: It takes just minutes to make and use.
* Versatile: It can be used on a variety of surfaces.
Looking for variations? Consider adding a few drops of your favorite essential oil for a pleasant scent. Lavender, tea tree, and lemon are all great choices for their antibacterial and antiviral properties. You can also adjust the ratio of ingredients to suit your specific needs. For tougher grime, try adding a bit more vinegar. For more delicate surfaces, dilute the solution with more water.
Don’t just take our word for it – give this DIY cleaning trick a try and see the difference for yourself! We’re confident that you’ll be amazed at how easy and effective it is. Once you’ve tried it, we’d love to hear about your experience. Share your tips, variations, and before-and-after photos in the comments below. Let’s create a community of clean and healthy homes! We encourage you to share this article with your friends and family so they can benefit from this simple yet powerful cleaning solution. Let’s all work together to create cleaner, healthier, and more sustainable homes.
Frequently Asked Questions (FAQ)
What surfaces can I safely use this DIY cleaning solution on?
This DIY cleaning solution is generally safe for use on most non-porous surfaces, including:
* Hard surfaces: Countertops (granite, quartz, laminate), tile, stainless steel, glass, mirrors, sealed wood, plastic, and metal.
* High-touch areas: Doorknobs, light switches, remote controls, phones, keyboards, and faucet handles.
* Bathroom fixtures: Toilets, sinks, showers, and bathtubs.
However, it’s always a good idea to test the solution on a small, inconspicuous area first, especially on delicate or painted surfaces. Avoid using it on porous surfaces like unsealed wood, marble, or natural stone, as the vinegar can etch or damage them. Also, avoid using it on electronic screens, as the moisture can damage the internal components. For screens, use a microfiber cloth specifically designed for electronics.
How long does the DIY cleaning solution last?
Because this DIY cleaning solution doesn’t contain any preservatives, it’s best to use it within a week or two. Store it in a clean, airtight spray bottle in a cool, dark place to prolong its shelf life. If the solution starts to look cloudy or develop an odor, discard it and make a fresh batch. Making a new batch is quick and easy, so it’s not a big deal to whip up a fresh supply whenever you need it.
Can I use this DIY cleaning solution to disinfect?
While this DIY cleaning solution has some antibacterial properties thanks to the vinegar, it’s not a substitute for a disinfectant. To properly disinfect a surface, you need a product that is specifically labeled as a disinfectant and that is registered with the EPA. However, this DIY cleaning solution is great for everyday cleaning and removing dirt and grime, which can help reduce the number of germs on surfaces. For situations where you need to disinfect, such as after someone has been sick, use a registered disinfectant according to the manufacturer’s instructions.
What if I don’t have vinegar? Can I use something else?
Vinegar is a key ingredient in this DIY cleaning solution because of its acidity, which helps to cut through grease and grime and kill some bacteria. If you don’t have vinegar, you can try using lemon juice as a substitute. Lemon juice also has acidic properties and a pleasant scent. However, vinegar is generally more effective and less expensive. If you are using lemon juice, be sure to strain it to remove any pulp or seeds that could clog your spray bottle.
Is this DIY cleaning solution safe for pets and children?
This DIY cleaning solution is generally safe for pets and children, as it doesn’t contain any harsh chemicals. However, it’s still important to keep it out of reach of children and pets, as ingestion could cause irritation. If your pet or child ingests the solution, contact your veterinarian or doctor immediately. Also, be sure to rinse surfaces thoroughly after cleaning, especially if your pets or children are likely to come into contact with them.
Can I add essential oils to this DIY cleaning solution?
Yes, you can definitely add essential oils to this DIY cleaning solution! Essential oils can add a pleasant scent and also provide additional antibacterial and antiviral properties. Some popular choices for cleaning include lavender, tea tree, lemon, eucalyptus, and peppermint. Add a few drops of your favorite essential oil to the solution and shake well before using. Be sure to use pure essential oils and not fragrance oils, as fragrance oils don’t have the same beneficial properties. Also, be aware that some essential oils can be toxic to pets, so do your research before using them if you have pets in your home.
How often should I use this DIY cleaning solution?
How often you use this DIY cleaning solution will depend on your individual needs and lifestyle. For high-touch surfaces like doorknobs and light switches, it’s a good idea to clean them daily or at least several times a week. For other surfaces, such as countertops and bathroom fixtures, you can clean them as needed. Regular cleaning with this DIY solution will help keep your home clean and healthy and prevent the buildup of dirt and grime. Remember, consistency is key when it comes to maintaining a clean home.
What is the best way to store this DIY cleaning solution?
The best way to store this DIY cleaning solution is in a clean, airtight spray bottle. This will help prevent the solution from evaporating or becoming contaminated. Store the spray bottle in a cool, dark place, away from direct sunlight and heat. This will help prolong the shelf life of the solution. Be sure to label the spray bottle clearly so that you don’t accidentally mistake it for something else.
Can I use this DIY cleaning solution on my floors?
While you *can* use this DIY cleaning solution on some floors, it’s important to be cautious and test it on a small, inconspicuous area first. Avoid using it on unsealed wood floors, as the vinegar can damage the finish. It’s generally safe to use on tile, laminate, and vinyl floors, but be sure to dilute the solution with plenty of water to prevent streaking. Also, be sure to dry the floors thoroughly after cleaning to prevent water damage. For wood floors, it’s best to use a cleaning product specifically designed for wood.
What if I don’t like the smell of vinegar?
If you don’t like the smell of vinegar, you can try using distilled white vinegar, which has a milder odor than apple cider vinegar. You can also add a few drops of your favorite essential oil to the solution to mask the vinegar smell. Lemon, lavender, and eucalyptus are all great choices for their fresh and clean scents. The vinegar smell will dissipate quickly after cleaning, so it shouldn’t linger for long.
Leave a Comment