

Stainless Steel Stain Removal can feel like a daunting task, right? I know I’ve been there, staring at those unsightly water spots and fingerprints on my beautiful appliances, feeling defeated. But don’t worry, you’re not alone! For generations, keeping metal surfaces gleaming has been a concern, from polishing ancient armor to maintaining the sleek look of modern kitchens. While the materials and methods have evolved, the desire for a spotless finish remains constant.
Let’s be honest, nobody wants to spend hours scrubbing away at stubborn stains. That’s why I’m so excited to share these simple, yet incredibly effective, DIY tricks for stainless steel stain removal. These aren’t just random tips; they’re tried-and-true methods that will save you time, money, and a whole lot of frustration. Think of it as unlocking the secret to effortlessly maintaining the pristine look of your stainless steel items.
In this article, I’ll guide you through easy-to-follow steps, using common household items, to banish those blemishes for good. Get ready to say goodbye to dull, stained stainless steel and hello to a sparkling, like-new finish! Let’s dive in and discover the magic of DIY stain removal!

DIY Stainless Steel Stain Removal: A Comprehensive Guide
Hey there, fellow DIY enthusiasts! Are you tired of those unsightly stains and smudges ruining the sleek look of your stainless steel appliances? Don’t worry, I’ve got you covered! I’ve battled my fair share of stainless steel woes, and I’m here to share my tried-and-true methods for restoring your appliances to their former glory. This guide is packed with tips, tricks, and step-by-step instructions to help you tackle even the most stubborn stains. Let’s get started!
Understanding Stainless Steel and Its Enemies
Before we dive into the cleaning process, it’s important to understand what we’re dealing with. Stainless steel is a fantastic material, known for its durability and resistance to corrosion. However, it’s not invincible! Certain substances can leave marks, streaks, and even rust if left unattended.
Common culprits include:
* Hard Water: Those pesky water spots can be a real pain.
* Fingerprints: We all touch our appliances, leaving behind oily residue.
* Grease Splatters: Cooking can get messy, and grease loves to cling to stainless steel.
* Food Residue: Spills and splatters can dry and become difficult to remove.
* Rust: While stainless steel is rust-resistant, it’s not completely immune, especially in humid environments or if exposed to certain chemicals.
Knowing what causes these stains is half the battle! Now, let’s move on to the fun part: cleaning!
Choosing Your Weapon: Cleaning Supplies
The good news is that you probably already have most of the supplies you need right in your kitchen! Here’s a list of my go-to cleaning agents:
* Microfiber Cloths: These are essential! They’re gentle, absorbent, and won’t scratch the surface.
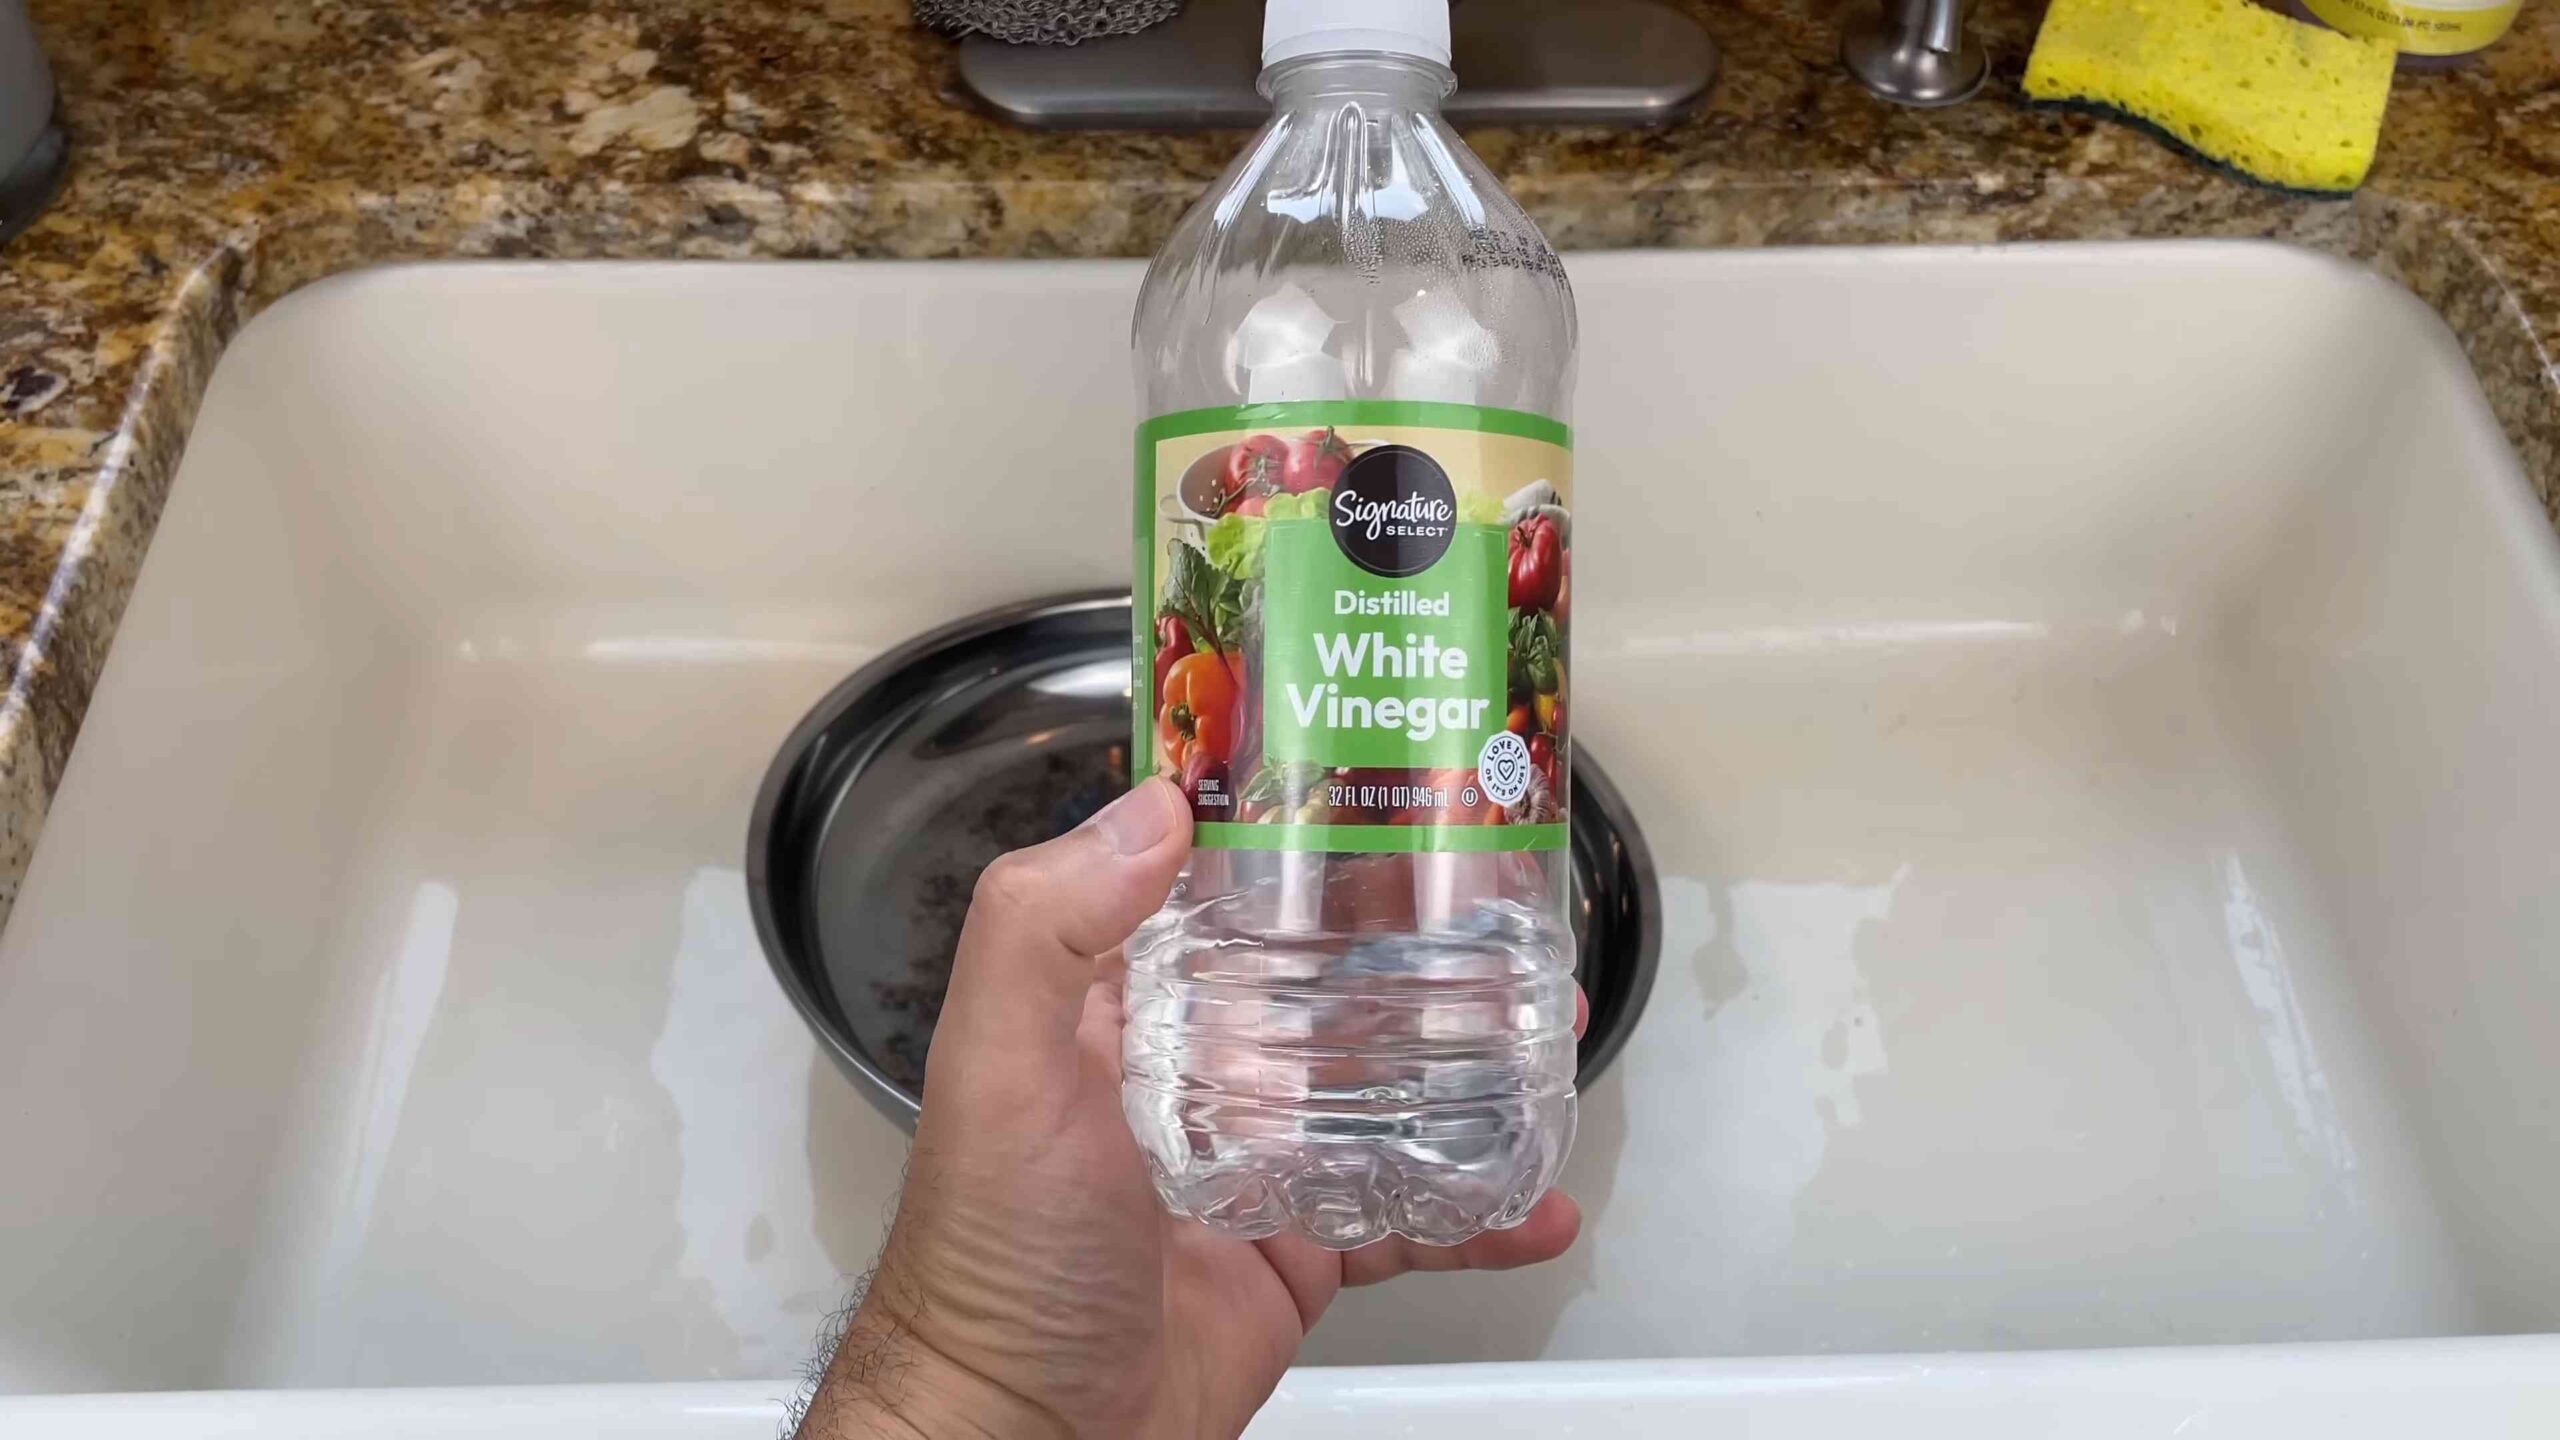
* White Vinegar: A natural cleaning powerhouse! It’s great for cutting through grease and removing water spots.
* Baking Soda: A mild abrasive that can help scrub away stubborn stains.
* Dish Soap: A classic for a reason! It’s effective at removing grease and grime.
* Olive Oil or Stainless Steel Polish: For that final shine and protection.
* Spray Bottle: For easy application of cleaning solutions.
* Soft-Bristled Brush (Optional): For tackling tough, stuck-on messes.
* Warm Water: The foundation of any good cleaning solution.
The Cleaning Process: Step-by-Step Instructions
Okay, let’s get down to business! Here’s my step-by-step guide to cleaning stainless steel:
1. Prepare Your Surface: Before you start cleaning, remove any loose debris or food particles from the surface. A quick wipe with a dry microfiber cloth will do the trick.
2. Choose Your Cleaning Method: Based on the type of stain you’re dealing with, choose one of the following methods:
* For Light Stains and Fingerprints (Vinegar Method):
a. Fill a spray bottle with equal parts white vinegar and warm water.
b. Spray the solution onto the stainless steel surface.
c. Let it sit for a minute or two to loosen the grime.
d. Wipe the surface with a clean microfiber cloth, following the grain of the stainless steel.
e. Rinse with clean water (optional, but recommended for heavily soiled areas).
f. Dry the surface with another clean microfiber cloth.
* For Grease and Food Residue (Dish Soap Method):
a. Mix a few drops of dish soap with warm water in a bowl.
b. Dip a microfiber cloth into the soapy water and wring out the excess.
c. Wipe the stainless steel surface, paying attention to areas with grease or food residue.
d. Rinse with clean water.
e. Dry the surface with a clean microfiber cloth.
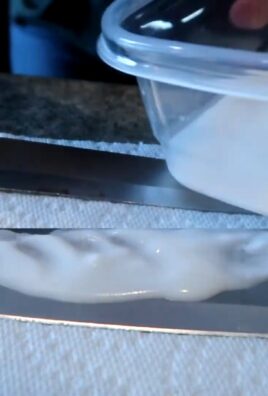
* For Stubborn Stains (Baking Soda Paste Method):
a. Make a paste by mixing baking soda with a small amount of water. The consistency should be thick enough to spread easily.
b. Apply the paste to the stain and let it sit for a few minutes.
c. Gently scrub the area with a soft-bristled brush or a microfiber cloth, following the grain of the stainless steel.
d. Rinse thoroughly with clean water.
e. Dry the surface with a clean microfiber cloth.
3. Follow the Grain: This is crucial! Stainless steel has a grain, which is the direction of the brushed finish. Always wipe in the direction of the grain to avoid streaks and scratches. You can usually see the grain by looking closely at the surface.
4. Rinse Thoroughly: Make sure to rinse away any cleaning solution residue with clean water. Leftover residue can attract dirt and grime.
5. Dry Completely: Use a clean, dry microfiber cloth to dry the surface thoroughly. This will prevent water spots from forming.
6. Polish for Shine (Optional): For that extra sparkle, you can apply a small amount of olive oil or stainless steel polish to a clean microfiber cloth. Buff the surface in a circular motion until it shines. Be careful not to use too much polish, as it can leave a greasy residue.
Dealing with Rust on Stainless Steel
Even though it’s *stainless*, rust can sometimes appear, especially if the surface has been scratched or exposed to harsh chemicals. Here’s how to tackle it:
1. Assess the Severity: Is it just a surface rust spot, or is it more extensive? For minor rust, the baking soda paste method might be enough. For more severe rust, you might need a specialized rust remover.
2. Baking Soda Paste (For Minor Rust):
a. Make a thick paste of baking soda and water.
b. Apply the paste to the rust spot and let it sit for 30 minutes to an hour.
c. Gently scrub the area with a soft-bristled brush or a microfiber cloth, following the grain of the stainless steel.
d. Rinse thoroughly with clean water.
e. Dry the surface with a clean microfiber cloth.
f. Repeat if necessary.
3. Commercial Rust Remover (For Severe Rust):
a. Choose a rust remover specifically designed for stainless steel. Read the product label carefully and follow the instructions.
b. Apply the rust remover to the affected area, using a brush or cloth as directed.
c. Let it sit for the recommended time.
d. Rinse thoroughly with clean water.
e. Dry the surface with a clean microfiber cloth.
f. You may need to repeat the process for stubborn rust.
4. Prevention is Key: Once you’ve removed the rust, protect the area with a stainless steel polish or sealant to prevent future rust formation.
Preventing Future Stains: Proactive Measures
The best way to keep your stainless steel looking its best is to prevent stains from forming in the first place! Here are some tips:
* Wipe Up Spills Immediately: Don’t let spills sit and dry. The sooner you wipe them up, the easier they’ll be to remove.
* Clean Regularly: A quick wipe-down with a damp microfiber cloth every few days can prevent buildup.
* Avoid Abrasive Cleaners: Harsh chemicals and abrasive scrubbers can scratch the surface of stainless steel.
* Dry After Cleaning: Always dry your stainless steel appliances after cleaning to prevent water spots.
* Consider a Stainless Steel Protectant: These products create a barrier that helps repel fingerprints and stains.
Troubleshooting Common Issues
Sometimes, even with the best efforts, you might encounter some challenges. Here are some common issues and how to address them:
* Streaks: If you’re getting streaks after cleaning, make sure you’re wiping in the direction of the grain and using a clean, dry microfiber cloth. You might also be using too much cleaning solution.
* Water Spots: Hard water can leave stubborn water spots. Try using distilled water for cleaning or applying a water spot remover specifically designed for stainless steel.
* Greasy Residue: If you’re using olive oil or stainless steel polish, be careful not to use too much. A little goes a long way! If you have greasy residue, wipe it away with a clean microfiber cloth dampened with a little dish soap and water.
Final Thoughts
Cleaning stainless steel doesn’t have to be a chore! With the right tools, techniques, and a little bit of elbow grease, you can keep your appliances looking their best. Remember to always follow the grain, rinse thoroughly, and dry completely. And don’t forget, prevention is key! By wiping up spills promptly and cleaning regularly, you can minimize the need for deep cleaning. Happy cleaning!
Conclusion
So, there you have it! This simple, yet incredibly effective, DIY trick for stainless steel stain removal is a game-changer for anyone who wants to keep their appliances and surfaces looking their absolute best. Forget expensive, chemical-laden cleaners that promise the world but often fall short. This method utilizes readily available ingredients you likely already have in your pantry, making it not only cost-effective but also a more environmentally friendly option.
Why is this a must-try? Because it works! We’ve all been there – stubborn water spots, greasy fingerprints, or mysterious smudges that just won’t budge, no matter how hard you scrub. This DIY solution cuts through the grime, leaving your stainless steel sparkling and streak-free. It’s a quick and easy way to restore the luster and shine to your kitchen, bathroom, or any other area where stainless steel reigns supreme.
But the beauty of this trick lies not only in its effectiveness but also in its versatility. Feel free to experiment with slight variations to suit your specific needs and preferences. For example, if you’re dealing with particularly stubborn stains, you might try letting the solution sit for a few minutes longer before wiping it away. Or, if you prefer a more fragrant cleaning experience, add a few drops of your favorite essential oil, such as lemon or lavender, to the mixture. Just be sure to test it on an inconspicuous area first to ensure it doesn’t react negatively with the stainless steel.
Another variation involves the type of cloth you use. While a microfiber cloth is generally recommended for its gentle yet effective cleaning properties, you can also try using a soft cotton cloth or even a paper towel. The key is to avoid using anything abrasive that could scratch the surface of your stainless steel.
Beyond the kitchen, this DIY stain removal trick can be used on a variety of stainless steel items, from bathroom fixtures to outdoor grills. It’s a versatile solution that can help you keep all your stainless steel surfaces looking their best.
We are confident that once you try this DIY trick, you’ll be amazed by the results. It’s a simple, effective, and affordable way to keep your stainless steel looking its best. So, ditch the expensive cleaners and give this method a try. You won’t be disappointed!
Now, we want to hear from you! Have you tried this DIY trick for stainless steel stain removal? What were your results? Do you have any tips or variations to share? We encourage you to try this method and share your experience in the comments below. Your feedback will help other readers discover the power of this simple yet effective cleaning solution. Let’s work together to keep our stainless steel sparkling!
Frequently Asked Questions (FAQ)
What exactly causes stains on stainless steel?
Stainless steel, despite its name, isn’t entirely stain-proof. Stains typically occur due to mineral deposits from hard water, grease splatters, fingerprints, food residue, and even certain cleaning products. These substances can leave behind a film or discoloration on the surface, making it appear dull or stained. The chromium oxide layer that protects stainless steel can be compromised by harsh chemicals or abrasive cleaners, leading to corrosion and staining.
What ingredients are typically used in this DIY stainless steel stain removal trick?
The most common and effective ingredients are typically white vinegar and water. The acidity of the vinegar helps to dissolve mineral deposits and cut through grease, while the water dilutes the vinegar to prevent damage to the stainless steel. Some variations may include baking soda for extra scrubbing power or dish soap for added degreasing.
Is this DIY method safe for all types of stainless steel finishes?
While this method is generally safe for most stainless steel finishes, it’s always a good idea to test it on an inconspicuous area first. This is especially important for brushed or coated stainless steel, as some ingredients may affect the finish. Avoid using abrasive scrubbers or harsh chemicals, as these can scratch or damage the surface.
How often should I use this DIY stain removal trick on my stainless steel appliances?
The frequency of cleaning depends on how often you use your appliances and how prone they are to staining. For high-traffic areas like the kitchen, you may want to clean your stainless steel appliances once or twice a week. For less frequently used items, a monthly cleaning may suffice. Regular cleaning will help prevent stains from building up and make them easier to remove.
Can I use this method on other surfaces besides stainless steel?
While this method is specifically designed for stainless steel, some of the ingredients, like vinegar and water, can be used on other surfaces as well. However, it’s important to research the compatibility of these ingredients with other materials before applying them. For example, vinegar can damage natural stone surfaces like marble or granite.
What if the stains are really stubborn and don’t come off easily?
For stubborn stains, you can try a few different approaches. First, let the cleaning solution sit on the stain for a longer period of time, perhaps 5-10 minutes, before wiping it away. You can also try making a paste of baking soda and water and gently scrubbing the stain with a soft cloth. If the stain persists, you may need to repeat the process several times. In extreme cases, you may need to consult a professional cleaning service.
Are there any specific precautions I should take when using this DIY method?
Always wear gloves when cleaning to protect your hands from the cleaning solution. Avoid using abrasive scrubbers or harsh chemicals, as these can scratch or damage the surface of your stainless steel. Be sure to rinse the surface thoroughly with clean water after cleaning to remove any residue. And always test the solution on an inconspicuous area first to ensure it doesn’t affect the finish.
How do I prevent future stains on my stainless steel appliances?
Prevention is key to keeping your stainless steel appliances looking their best. Wipe up spills and splatters immediately to prevent them from drying and staining. Avoid using harsh chemicals or abrasive cleaners. Apply a stainless steel cleaner and polish regularly to protect the surface and prevent fingerprints and smudges. And consider using a water softener to reduce mineral deposits from hard water.
What are some alternative DIY solutions for stainless steel cleaning?
Besides the vinegar and water solution, other DIY options include using a mixture of dish soap and water, applying a thin layer of olive oil to polish the surface, or using a commercial stainless steel cleaner and polish. Each method has its own advantages and disadvantages, so it’s important to choose the one that best suits your needs and preferences.
Where can I find more information about stainless steel care and maintenance?
There are many resources available online and in print that provide information about stainless steel care and maintenance. You can consult appliance manufacturers’ websites, cleaning product manufacturers’ websites, or home improvement websites for tips and advice. You can also find helpful information in books and magazines about home cleaning and maintenance.


Leave a Comment