

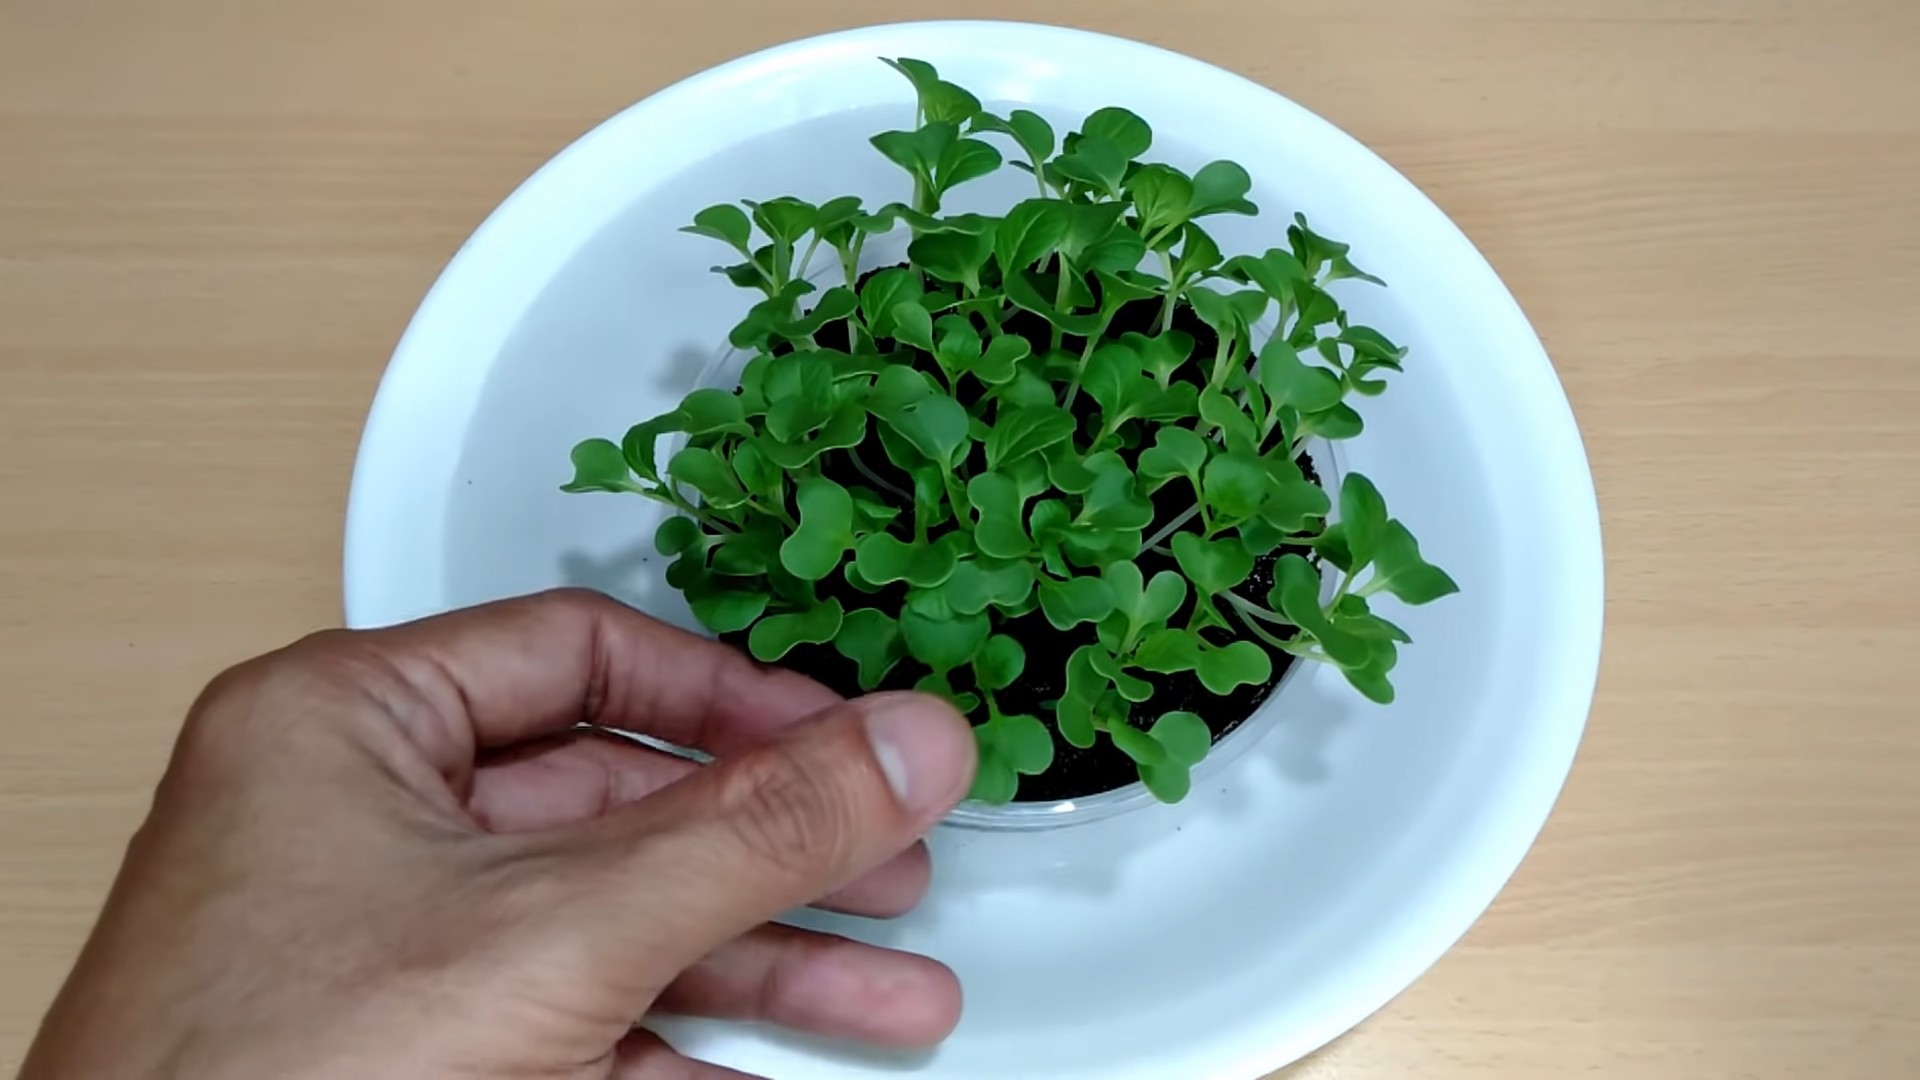
Soilless Pechay Growing – ever imagined harvesting crisp, vibrant pechay right from your balcony, even without a traditional garden? I know, it sounds like something out of a futuristic farming movie, but trust me, it’s totally achievable! For centuries, humans have toiled in the soil to cultivate their food, but now, we’re stepping into a new era of urban gardening, and I’m so excited to share this journey with you.
Pechay, also known as Chinese cabbage, is a staple in many Asian cuisines, bringing a delightful crunch and subtle sweetness to stir-fries and soups. But what if you don’t have a sprawling backyard or even access to fertile soil? That’s where the magic of soilless growing comes in! This DIY guide will unlock the secrets to cultivating your own thriving pechay patch, regardless of your space limitations.
In today’s fast-paced world, knowing where your food comes from and having the ability to grow your own produce is more important than ever. Not only does it provide you with fresh, healthy ingredients, but it also offers a therapeutic and rewarding experience. Plus, soilless pechay growing is a fantastic way to reduce your environmental footprint and connect with nature, even in the heart of the city. So, grab your supplies, and let’s dive into the wonderful world of soilless gardening!
DIY Soilless Pechay Growing: A Beginner’s Guide
Hey there, fellow gardening enthusiasts! Ever dreamt of harvesting fresh, crisp pechay right from your balcony or kitchen, even without a traditional garden? Well, you’re in the right place! I’m going to walk you through a super fun and rewarding project: growing pechay soillessly. It’s easier than you think, and the results are incredibly satisfying. Let’s dive in!
What is Soilless Pechay Growing?
Basically, we’re going to grow pechay without using soil. Instead, we’ll use a nutrient-rich water solution to provide everything the plants need. This method, often called hydroponics, is fantastic for urban gardeners or anyone with limited space. It’s also great for controlling pests and diseases, and you can often get faster growth compared to traditional soil gardening.
Choosing Your Method: Deep Water Culture (DWC)
For this guide, we’ll focus on Deep Water Culture (DWC) because it’s simple, affordable, and perfect for beginners. DWC involves suspending the pechay roots in a nutrient solution that’s constantly aerated.
Materials You’ll Need
Before we get started, let’s gather our supplies. Don’t worry, most of these are readily available at your local hardware store or online.
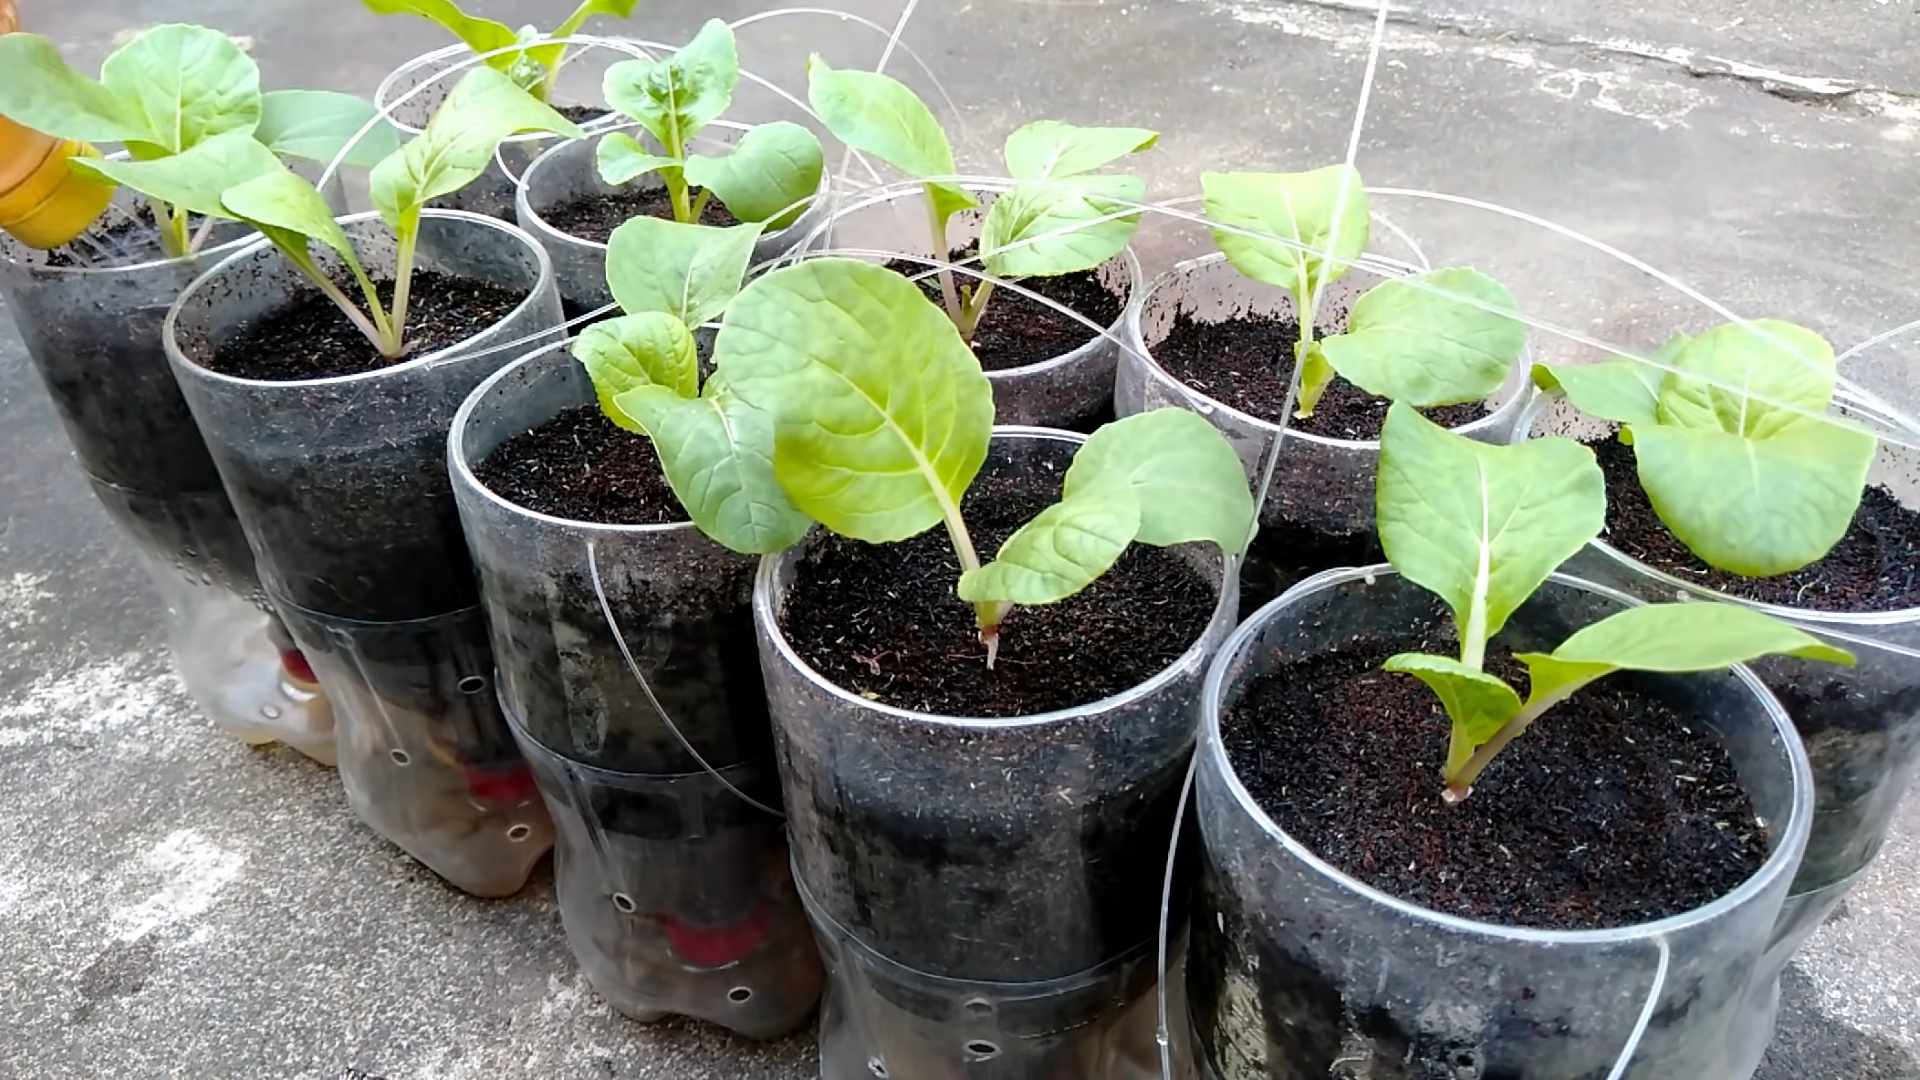
* Container: A dark-colored plastic container (bucket, tub, or even a large storage bin) is ideal. Dark colors prevent algae growth. I recommend a 5-gallon bucket per plant for ample root space.
* Net Pots: These are small, slotted pots that will hold your pechay seedlings and allow the roots to grow into the nutrient solution. 3-inch net pots work perfectly.
* Growing Medium: You’ll need something to support the seedlings in the net pots. Coco coir, rockwool cubes, or even clay pebbles are excellent choices. I personally love coco coir because it’s sustainable and holds moisture well.
* Air Pump and Air Stone: These are crucial for oxygenating the nutrient solution. The air pump pushes air through the air stone, creating bubbles that provide oxygen to the roots. A small aquarium air pump will do the trick.
* Air Tubing: To connect the air pump to the air stone.
* Nutrient Solution: This is the food for your pechay! You’ll need a hydroponic nutrient solution specifically formulated for leafy greens. Look for a balanced formula containing nitrogen, phosphorus, potassium, and micronutrients.
* Pechay Seeds: Choose your favorite variety of pechay seeds.
* pH Meter or pH Test Kit: Maintaining the correct pH level is vital for nutrient absorption.
* pH Up and pH Down Solutions: To adjust the pH of your nutrient solution.
* Measuring Cups and Spoons: For accurately measuring the nutrient solution.
* Drill (optional): If your container doesn’t have pre-made holes for the net pots.
* Marker: For marking water levels.
Step-by-Step Instructions: Setting Up Your DWC System
Okay, let’s get our hands dirty (well, not really, since it’s soilless!). Here’s how to set up your DWC system:
1. Prepare the Container:
* Clean the container thoroughly with soap and water to remove any dirt or debris. Rinse it well.
* If your container doesn’t have pre-made holes, use a drill to create holes in the lid that are slightly smaller than the diameter of your net pots. The net pots should fit snugly in the holes. Space the holes evenly, allowing enough room for each plant to grow. I usually aim for about 8-10 inches between each hole.
2. Assemble the Air System:
* Connect one end of the air tubing to the air pump and the other end to the air stone.
* Place the air stone at the bottom of the container. Make sure the tubing is long enough to reach the air pump, which should be placed outside the container.
3. Prepare the Net Pots:
* Fill the net pots with your chosen growing medium (coco coir, rockwool, or clay pebbles).
* Moisten the growing medium with water.
Starting Your Pechay Seeds
Now, let’s get those pechay seeds germinating!
1. Sowing the Seeds:
* Sow 2-3 pechay seeds in each net pot, about 1/4 inch deep.
* Gently cover the seeds with more growing medium.
2. Germination:
* Keep the growing medium consistently moist but not waterlogged. You can use a spray bottle to mist the surface.
* Place the net pots in a warm, well-lit area. A sunny windowsill or a grow light will work.
* The seeds should germinate in 3-7 days.
3. Thinning (If Necessary):
* Once the seedlings have emerged, thin them to one strong seedling per net pot. Choose the healthiest-looking seedling and gently snip off the others at the base with scissors.
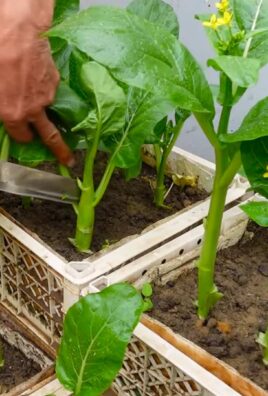
Transplanting to the DWC System
Once your seedlings have developed a few true leaves (usually after 2-3 weeks), they’re ready to be transplanted into the DWC system.
1. Prepare the Nutrient Solution:
* Fill the container with water, leaving a few inches of space at the top.
* Add the hydroponic nutrient solution according to the manufacturer’s instructions. Be precise with your measurements! Too much or too little nutrient can harm your plants.
* Use a pH meter or pH test kit to check the pH of the solution. The ideal pH range for pechay is between 6.0 and 6.5.
* Adjust the pH as needed using pH up or pH down solutions. Add small amounts at a time and re-test until you reach the desired pH.
2. Transplanting the Seedlings:
* Carefully remove the seedlings from their germination trays or containers.
* Gently place each net pot containing a seedling into the holes in the container lid.
* Make sure the bottom of the net pot is submerged in the nutrient solution, but not so deep that the leaves are touching the water. You want the roots to be able to reach the solution.
3. Turn on the Air Pump:
* Plug in the air pump and make sure the air stone is bubbling vigorously. This is essential for providing oxygen to the roots.
Caring for Your Soilless Pechay
Now that your pechay is in the DWC system, here’s how to keep it thriving:
1. Light:
* Pechay needs at least 6 hours of sunlight per day. If you don’t have enough natural light, use a grow light.
2. Nutrient Solution:
* Monitor the nutrient solution regularly. Check the pH and nutrient levels every few days.
* Replenish the nutrient solution as needed. As the plants grow, they will absorb water and nutrients, so you’ll need to top up the container.
* Change the entire nutrient solution every 2-3 weeks to prevent nutrient imbalances and the buildup of harmful bacteria.
3. Water Level:
* Maintain the water level so that the roots are always submerged in the nutrient solution.
4. Temperature:
* Pechay prefers temperatures between 60°F and 75°F (15°C and 24°C). Avoid exposing your plants to extreme temperatures.
5. Pest and Disease Control:
* Soilless growing reduces the risk of soilborne pests and diseases, but it’s still important to monitor your plants regularly.
* If you notice any pests or diseases, treat them promptly with appropriate organic solutions.
Harvesting Your Pechay
The best part! You can start harvesting your pechay about 4-6 weeks after transplanting.
1. Harvesting Leaves:
* You can harvest individual leaves as needed, starting with the outer leaves. This allows the plant to continue growing and producing more leaves.
* Alternatively, you can harvest the entire plant at once.
2. Harvesting Technique:
* Use a sharp knife or scissors to cut the leaves or the entire plant at the base.
3. Enjoy Your Harvest!
* Wash the harvested pechay thoroughly and enjoy it in salads, stir-fries, soups, or any other dish you like.
Troubleshooting
Even with the best care, you might encounter some challenges. Here are a few common problems and how to address them:
* Yellowing Leaves: This could be a sign of nutrient deficiency. Check the nutrient levels
Conclusion
So, there you have it! Growing your own pechay without soil might seem like a futuristic farming technique, but it’s surprisingly accessible and rewarding. This method, often referred to as hydroponics or soilless culture, offers a fantastic alternative for urban gardeners, those with limited space, or anyone simply looking for a cleaner, more efficient way to cultivate fresh produce.
Why is this DIY soilless pechay growing trick a must-try? Firstly, it significantly reduces the risk of soilborne diseases and pests that can plague traditional gardening. Secondly, it allows for precise control over nutrient delivery, resulting in faster growth and potentially higher yields. Imagine harvesting crisp, vibrant pechay leaves just weeks after planting, knowing exactly what went into their cultivation. Finally, it’s an incredibly educational and engaging project, perfect for families or anyone interested in learning more about plant science.
But the beauty of soilless pechay growing lies in its adaptability. Feel free to experiment with different nutrient solutions to find the perfect blend for your plants. Some gardeners swear by specific hydroponic formulas, while others prefer organic options like compost tea or diluted seaweed extract. You can also explore different growing mediums beyond coco coir, such as perlite, vermiculite, or even rockwool.
Consider these variations to personalize your soilless pechay journey:
* Vertical Growing: Maximize your space by building a vertical hydroponic system using PVC pipes or repurposed materials. This is ideal for balconies or small patios.
* Deep Water Culture (DWC): Suspend the pechay roots directly in a nutrient-rich solution with an air pump to provide oxygen. This is a simple and effective method for beginners.
* Kratky Method: A passive hydroponic system where the plant’s roots are partially submerged in the nutrient solution, requiring minimal maintenance.
* Different Pechay Varieties: While this guide focuses on standard pechay, don’t hesitate to try other varieties like Shanghai pechay or dwarf pechay to see which thrives best in your soilless setup.
The key to successful soilless pechay growing is observation and adjustment. Pay close attention to your plants’ needs, monitor the pH and nutrient levels of your solution, and be prepared to make changes as needed. Don’t be discouraged by initial setbacks; every gardener, regardless of experience, faces challenges along the way.
We wholeheartedly encourage you to give this DIY soilless pechay growing trick a try. It’s a rewarding experience that will not only provide you with fresh, delicious vegetables but also deepen your understanding of plant life. Once you’ve embarked on this journey, we’d love to hear about your experiences! Share your successes, challenges, and any unique variations you’ve discovered in the comments below. Let’s build a community of soilless pechay enthusiasts and learn from each other. Happy growing!
Frequently Asked Questions (FAQ)
What exactly is soilless pechay growing, and why should I consider it?
Soilless pechay growing, also known as hydroponics, is a method of cultivating pechay plants without using traditional soil. Instead, the plants receive nutrients from a water-based solution. This method offers several advantages, including reduced risk of soilborne diseases, faster growth rates, higher yields in some cases, and the ability to grow pechay in limited spaces or urban environments. It’s also a more sustainable option as it conserves water and reduces the need for pesticides.
What materials do I need to get started with soilless pechay growing?
The specific materials will depend on the type of soilless system you choose, but generally, you’ll need:
* Pechay seeds or seedlings
* A growing medium (e.g., coco coir, perlite, vermiculite)
* A container or system to hold the growing medium and nutrient solution
* A nutrient solution specifically formulated for leafy greens or hydroponics
* A pH meter or testing kit to monitor the acidity of the solution
* A water source
* A light source (natural sunlight or grow lights)
* Optional: An air pump and air stone for oxygenating the nutrient solution (especially for DWC systems)
How do I prepare the nutrient solution for my soilless pechay?
Follow the instructions on the nutrient solution package carefully. Generally, you’ll need to dilute the concentrated solution with water to the recommended concentration. It’s crucial to use a nutrient solution specifically designed for hydroponics or leafy greens, as it will contain the essential nutrients that pechay needs to thrive. Regularly monitor the pH of the solution and adjust it as needed to maintain a slightly acidic range (around 6.0-6.5).
How often should I water my soilless pechay plants?
The watering frequency depends on the type of soilless system you’re using. In a passive system like Kratky, the plants draw water from the reservoir as needed. In other systems, you may need to manually water or use a pump to circulate the nutrient solution. Generally, you want to keep the growing medium consistently moist but not waterlogged. Check the moisture level regularly and adjust the watering frequency accordingly.
What kind of lighting do soilless pechay plants need?
Pechay requires adequate light to grow properly. If you’re growing indoors, you’ll need to provide artificial lighting using grow lights. LED grow lights are a popular choice due to their energy efficiency and full-spectrum output. Aim for at least 12-14 hours of light per day. If you’re growing outdoors, choose a location that receives at least 6 hours of direct sunlight per day.
How long does it take to harvest soilless pechay?
Soilless pechay typically matures faster than soil-grown pechay. You can usually start harvesting leaves within 3-4 weeks of planting seedlings or 4-6 weeks of sowing seeds. Harvest the outer leaves first, allowing the inner leaves to continue growing.
What are some common problems I might encounter when growing soilless pechay, and how can I fix them?
Some common problems include:
* Nutrient deficiencies: Yellowing leaves or stunted growth can indicate a nutrient deficiency. Adjust the nutrient solution according to the manufacturer’s instructions.
* pH imbalances: Incorrect pH can prevent the plants from absorbing nutrients properly. Use a pH meter to monitor the pH and adjust it as needed using pH up or pH down solutions.
* Algae growth: Algae can compete with the plants for nutrients and oxygen. Keep the nutrient solution covered and out of direct sunlight to prevent algae growth.
* Pest infestations: While soilless growing reduces the risk of soilborne pests, aerial pests can still be a problem. Use insecticidal soap or other organic pest control methods to manage infestations.
* Root rot: Overwatering or poor drainage can lead to root rot. Ensure proper drainage and avoid overwatering.
Can I grow soilless pechay indoors year-round?
Yes, one of the biggest advantages of soilless growing is the ability to grow indoors year-round, regardless of the weather conditions. By providing adequate lighting, temperature control, and nutrient management, you can enjoy fresh pechay harvests throughout the year.
Is soilless pechay growing more expensive than traditional soil gardening?
The initial investment for soilless pechay growing can be higher than traditional soil gardening, as you’ll need to purchase a hydroponic system, nutrient solutions, and potentially grow lights. However, in the long run, soilless growing can be more cost-effective due to reduced water usage, faster growth rates, and potentially higher yields. You can also save money by building your own DIY hydroponic system.
Where can I find more information and resources on soilless pechay growing?
There are many online resources available, including websites, forums, and YouTube channels dedicated to hydroponics and soilless gardening. You can also find books and articles on the subject at your local library or bookstore. Experimentation and learning from your own experiences are also valuable ways to expand your knowledge of soilless pechay growing.
Leave a Comment