

Quick bathroom cleaning tips are a lifesaver, aren’t they? Let’s be honest, nobody *loves* cleaning the bathroom. It’s often the most dreaded chore on the list. But what if I told you that you could reclaim your weekends and spend less time scrubbing? This article is packed with DIY tricks and hacks that will transform your bathroom cleaning routine from a daunting task into a breeze!
Historically, cleanliness has been linked to well-being and even spiritual purity across many cultures. While we might not be thinking about ancient rituals while scrubbing the toilet, maintaining a clean bathroom is undeniably essential for hygiene and overall health. A sparkling bathroom is a happy bathroom, and a happy bathroom contributes to a happy home!
In today’s fast-paced world, time is precious. We’re all juggling work, family, and personal commitments. Spending hours on end cleaning the bathroom just isn’t feasible for most of us. That’s where these quick bathroom cleaning tips come in. I’m going to share my favorite DIY solutions and time-saving strategies that will help you achieve a spotless bathroom in a fraction of the time. Get ready to say goodbye to endless scrubbing and hello to a sparkling, fresh bathroom you can be proud of!
DIY Bathroom Blitz: Speed Cleaning Secrets for a Sparkling Space
Okay, let’s face it: cleaning the bathroom is nobody’s favorite chore. But a sparkling clean bathroom is a happy bathroom! I’m going to share my tried-and-true methods for a quick and effective bathroom clean, so you can get back to doing things you actually enjoy. We’re talking about a bathroom that looks and smells fresh in under an hour, maybe even less if you’re super speedy!
The Prep Work: Setting the Stage for Success
Before you even think about scrubbing, a little preparation goes a long way. This is all about streamlining the process and making sure you have everything you need at your fingertips.
- Gather Your Supplies: This is crucial! Nothing’s worse than getting halfway through cleaning the toilet and realizing you’re out of toilet bowl cleaner. I like to keep all my bathroom cleaning supplies in a caddy for easy access. Here’s what I usually grab:
- All-purpose cleaner (I prefer a natural one, but use whatever you like)
- Toilet bowl cleaner
- Glass cleaner
- Scrub brush (for the toilet)
- Sponges (a couple – one for general cleaning, one for tougher grime)
- Microfiber cloths (these are amazing for streak-free shine!)
- Rubber gloves (protect those hands!)
- Trash bags
- Old toothbrush (for grout and tight spaces)
- Baking soda (a natural cleaning powerhouse!)
- White vinegar (another natural cleaning superstar!)
- Declutter and Clear Surfaces: Remove everything from the countertops, shower shelves, and even the floor. This includes toiletries, makeup, hair products, bath toys, and anything else that doesn’t belong. Put things away where they go, or toss anything that’s expired or you no longer use. This step alone makes a huge difference!
- Ventilate the Room: Open a window or turn on the exhaust fan. This helps to air out the room and prevent the build-up of cleaning fumes. Plus, fresh air just makes the whole process more pleasant.
The Cleaning Blitz: Step-by-Step Guide
Now for the main event! We’re going to tackle the bathroom in a logical order, starting with the areas that tend to be the dirtiest.
- Toilet Time:
- Flush and Apply Toilet Bowl Cleaner: Squirt toilet bowl cleaner under the rim and let it sit for a few minutes (follow the product instructions). This gives it time to break down stains and grime.
- Clean the Exterior: While the cleaner is working its magic inside the bowl, spray the exterior of the toilet (seat, lid, tank, base) with all-purpose cleaner. Wipe it down with a sponge or microfiber cloth, paying attention to any areas with splatters or drips.
- Scrub the Bowl: Use your toilet brush to scrub the inside of the bowl thoroughly, making sure to get under the rim.
- Flush Again: Flush the toilet to rinse away the cleaner and any loosened debris.
- Final Wipe Down: Give the exterior of the toilet one last wipe down with a clean microfiber cloth to remove any lingering cleaner residue.
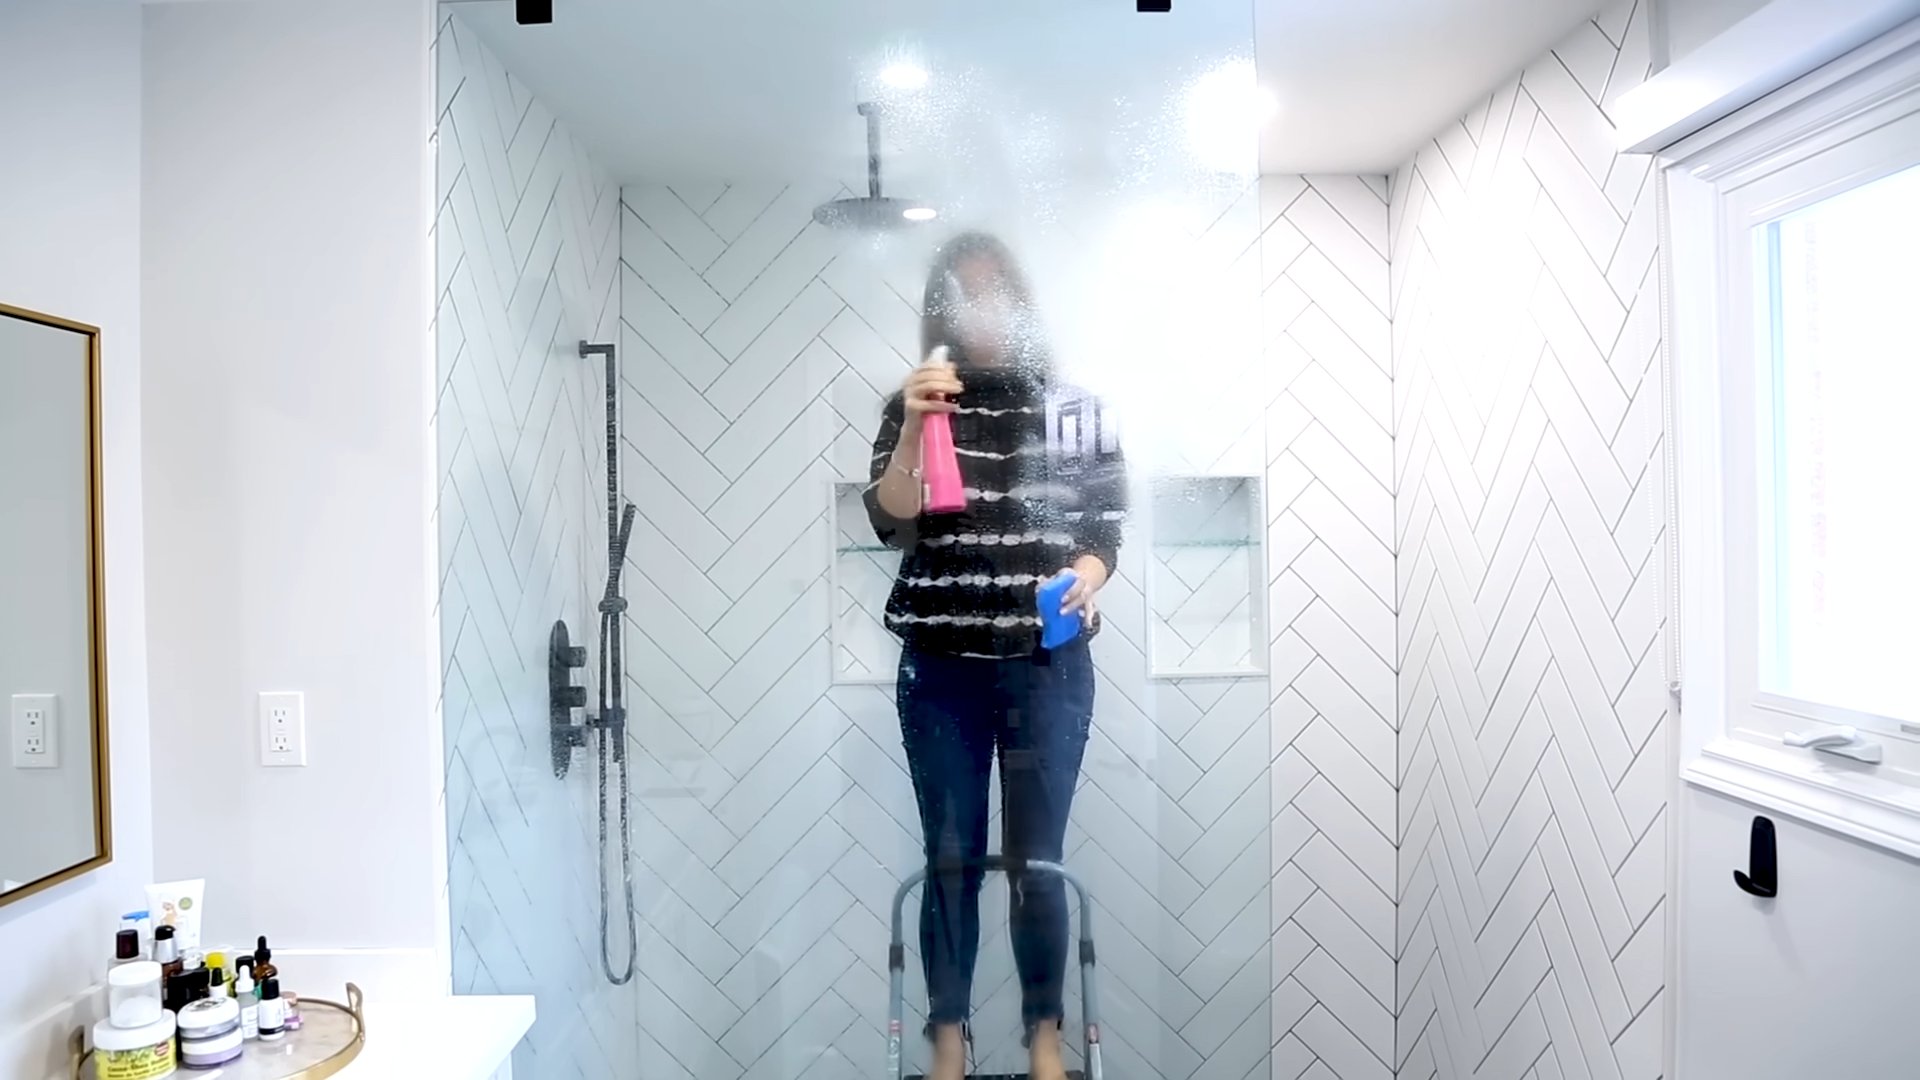
- Shower Power:
- Spray Down the Shower/Tub: Generously spray the shower walls, door/curtain, and tub with all-purpose cleaner. If you have stubborn soap scum or mildew, you might want to use a dedicated shower cleaner or a mixture of equal parts white vinegar and water. Let it sit for a few minutes to loosen the grime.
- Scrub-a-Dub-Dub: Use a sponge or scrub brush to scrub the shower walls, door/curtain, and tub. Pay extra attention to areas with soap scum, mildew, or hard water stains. For tough stains, you can make a paste of baking soda and water and apply it to the affected area. Let it sit for a few minutes before scrubbing.
- Rinse Thoroughly: Rinse the shower/tub thoroughly with hot water to remove all traces of cleaner and grime.
- Wipe Down Surfaces: Use a squeegee or microfiber cloth to wipe down the shower walls and door/curtain to prevent water spots and mildew growth.
- Clean Showerhead: If your showerhead has mineral buildup, soak it in a bag filled with white vinegar for a few hours or overnight. Rinse thoroughly before using.
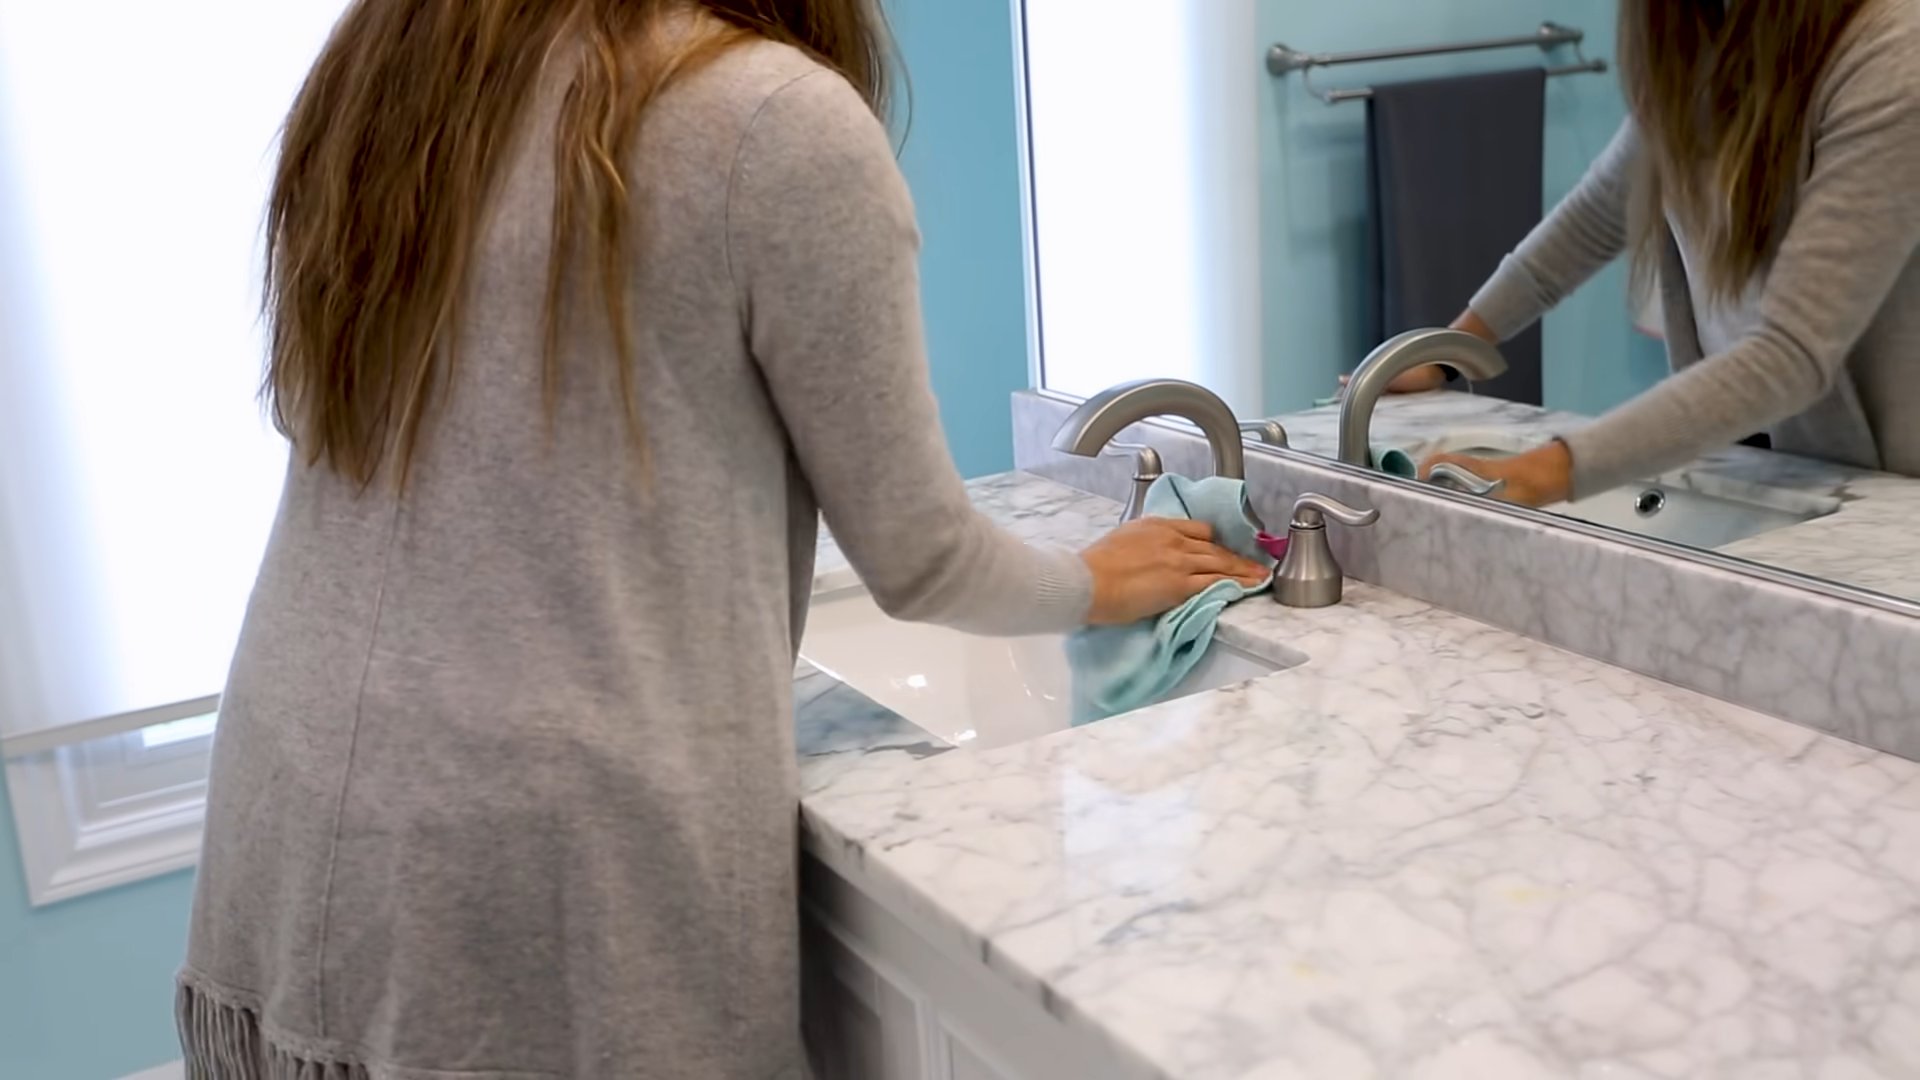
- Sink and Countertop Sparkle:
- Clear the Area: Make sure the sink and countertop are completely clear of any items.
- Spray and Wipe: Spray the sink and countertop with all-purpose cleaner. Wipe down all surfaces with a sponge or microfiber cloth, paying attention to any areas with toothpaste splatters, water stains, or makeup residue.
- Clean the Faucet and Fixtures: Use a clean microfiber cloth to polish the faucet and other fixtures. For hard water stains, you can use a mixture of white vinegar and water.
- Clean the Mirror: Spray the mirror with glass cleaner and wipe it down with a clean microfiber cloth. Use a circular motion to remove any streaks.
- Clean the Drain: Pour a small amount of baking soda down the drain, followed by a cup of white vinegar. Let it fizz for a few minutes, then flush with hot water. This helps to clear out any clogs and eliminate odors.
- Floor Focus:
- Sweep or Vacuum: Sweep or vacuum the floor to remove any loose dirt, dust, or hair.
- Mop the Floor: Mop the floor with all-purpose cleaner and water, following the product instructions. Pay attention to corners and edges.
- Dry the Floor: Allow the floor to air dry completely. You can speed up the process by using a clean towel to dry the floor.
The Finishing Touches: Adding the Shine
These little details can make a big difference in the overall appearance of your bathroom.
- Replace Toiletries: Put all your toiletries back in their designated spots. Arrange them neatly and discard any empty bottles or containers.
- Hang Fresh Towels: Hang clean, fresh towels to add a touch of luxury.
- Empty the Trash: Empty the trash can and replace the liner.
- Add a Scent: Add a room freshener or diffuser to create a pleasant scent. You can also place a few drops of essential oil on a cotton ball and hide it behind the toilet.
Bonus Tips for a Super-Clean Bathroom
Here are a few extra tips and tricks I’ve learned over the years to keep my bathroom sparkling:
- Daily Wipe-Down: A quick daily wipe-down of the sink and countertop can prevent the build-up of grime and make your weekly cleaning much easier.
- Shower Squeegee: Use a squeegee after each shower to remove water from the walls and door/curtain. This helps to prevent water spots and mildew growth.
- Ventilation is Key: Always run the exhaust fan or open a window after showering to help dry out the bathroom and prevent mildew.
- Baking Soda Paste for Stubborn Stains: For really tough stains, make a paste of baking soda and water and apply it to the affected area. Let it sit for a few minutes before scrubbing.
- Vinegar Power: White vinegar is a natural cleaning powerhouse! Use it to clean showerheads, remove hard water stains, and deodorize drains.
- Don’t Forget the Grout: Use an old toothbrush and a mixture of baking soda and water to scrub the grout between tiles.
- Regular Cleaning Schedule: Establish a regular cleaning schedule to prevent the bathroom from getting too dirty. Even a quick 15-minute clean once a week can make a big difference.
By following these steps and tips, you can achieve a sparkling clean bathroom in no time! Remember, consistency is key. The more often you clean, the easier it will be to maintain a clean and fresh bathroom. Happy cleaning!
Conclusion
So, there you have it! These quick bathroom cleaning tips aren’t just about saving time; they’re about reclaiming your weekends and enjoying a sparkling clean bathroom without the dreaded all-day scrub-a-thon. We’ve shown you how to tackle common bathroom grime with simple, readily available ingredients and a few clever techniques. From banishing soap scum with the power of vinegar to effortlessly shining your showerhead, these methods are designed to be both effective and efficient.
But why is this DIY approach a must-try? Because it’s empowering! You’re taking control of the cleaning process, knowing exactly what’s going into your cleaning solutions and avoiding harsh chemicals that can be harmful to both your health and the environment. Plus, let’s be honest, there’s a certain satisfaction that comes from creating something yourself and seeing it work wonders.
Beyond the basic tips we’ve covered, feel free to experiment and adapt these methods to your specific needs. For instance, if you have particularly stubborn hard water stains, try letting the vinegar soak for a longer period. Or, if you prefer a more fragrant cleaning experience, add a few drops of your favorite essential oil (like lavender or tea tree) to your vinegar solution. You can even create a paste of baking soda and water to tackle grout stains, letting it sit for a few minutes before scrubbing. The possibilities are endless!
Don’t be afraid to get creative and find what works best for you and your bathroom. The key is to be consistent and incorporate these quick bathroom cleaning tips into your regular routine. A little bit of maintenance goes a long way in preventing major build-up and making future cleaning sessions even easier.
We truly believe that these tips will revolutionize your bathroom cleaning routine. They’re simple, effective, and budget-friendly. So, ditch the harsh chemicals and embrace the power of DIY cleaning.
Now, it’s your turn! We encourage you to try these quick bathroom cleaning tips and see the difference for yourself. Share your experiences with us in the comments below. What worked best for you? Did you discover any new variations or tips of your own? We’re eager to hear your feedback and learn from your experiences. Let’s create a community of clean bathroom enthusiasts!
Frequently Asked Questions (FAQs)
1. Are these DIY cleaning solutions safe for all bathroom surfaces?
Generally, yes, the solutions mentioned are safe for most common bathroom surfaces like tile, porcelain, glass, and stainless steel. However, it’s always a good idea to test any cleaning solution in an inconspicuous area first, especially on more delicate surfaces like natural stone (marble, granite) or certain types of painted surfaces. Vinegar, in particular, can be acidic and may etch some natural stone over time. For natural stone, consider using a pH-neutral cleaner specifically designed for those surfaces. When in doubt, consult the manufacturer’s recommendations for your specific bathroom fixtures and surfaces.
2. How often should I use these quick bathroom cleaning tips?
The frequency depends on how often your bathroom is used and how quickly it gets dirty. For high-traffic bathrooms, a quick wipe-down of surfaces like the sink and shower walls after each use can prevent build-up. A more thorough cleaning using these DIY methods once a week is generally sufficient for most households. However, if you notice soap scum, mildew, or other grime accumulating more quickly, you may need to increase the frequency of your cleaning routine. Remember, consistency is key to maintaining a clean and healthy bathroom.
3. Can I use these cleaning solutions on mold and mildew?
Vinegar and baking soda can be effective in killing mold and mildew, especially in the early stages. For mold and mildew, spray the affected area with undiluted white vinegar and let it sit for at least an hour before scrubbing with a brush. Rinse thoroughly with water. For more stubborn mold or mildew, you may need to repeat the process or use a stronger solution like hydrogen peroxide or a commercial mold and mildew remover. Always wear gloves and eye protection when dealing with mold and mildew, and ensure proper ventilation in the bathroom. If you have extensive mold growth, it’s best to consult a professional mold remediation service.
4. What if I don’t have vinegar or baking soda? Are there any alternatives?
While vinegar and baking soda are staples in many DIY cleaning recipes, there are alternatives you can use. For example, lemon juice can be used in place of vinegar for its acidic cleaning properties and pleasant scent. Dish soap can be used as a general-purpose cleaner for surfaces like sinks and countertops. Hydrogen peroxide is a good alternative for disinfecting and removing stains. However, always be cautious when mixing different cleaning agents, as some combinations can create harmful fumes. Never mix bleach with vinegar or ammonia.
5. How can I prevent soap scum build-up in my shower?
Preventing soap scum build-up is easier than removing it. After each shower, use a squeegee to wipe down the shower walls and door. This simple step will remove excess water and soap residue, preventing it from drying and hardening into soap scum. You can also switch to using liquid soap instead of bar soap, as bar soap tends to leave more residue. Regularly ventilating your bathroom by opening a window or running the exhaust fan can also help prevent moisture build-up, which contributes to soap scum formation.
6. My showerhead is still clogged after soaking it in vinegar. What else can I do?
If soaking your showerhead in vinegar doesn’t completely remove the mineral deposits, try using a small brush or toothpick to gently scrub away any remaining debris from the nozzles. You can also try using a descaling solution specifically designed for showerheads. For particularly stubborn clogs, you may need to disassemble the showerhead and clean each component individually. If all else fails, it may be time to replace your showerhead.
7. Are these DIY cleaning solutions safe for septic systems?
Yes, vinegar and baking soda are generally considered safe for septic systems. They are natural and biodegradable, and they won’t harm the beneficial bacteria that are essential for the proper functioning of your septic system. However, it’s important to use these solutions in moderation. Avoid pouring large quantities of any cleaning solution down the drain at once, as this could disrupt the balance of your septic system.
8. Can I use these tips to clean other areas of my home?
Absolutely! Many of these quick bathroom cleaning tips can be adapted for use in other areas of your home. For example, vinegar can be used to clean kitchen countertops, appliances, and floors. Baking soda can be used to deodorize carpets, clean ovens, and scrub sinks. Just be sure to test any cleaning solution in an inconspicuous area first to ensure it doesn’t damage the surface.
9. What are the benefits of using DIY cleaning solutions over commercial cleaners?
There are several benefits to using DIY cleaning solutions. They are typically more affordable than commercial cleaners, as they use readily available and inexpensive ingredients. They are also more environmentally friendly, as they avoid the use of harsh chemicals that can pollute waterways and harm wildlife. DIY cleaning solutions are also safer for your health, as they don’t contain the potentially harmful chemicals found in many commercial cleaners. Finally, DIY cleaning allows you to customize your cleaning solutions to your specific needs and preferences.
10. Where can I find more information about DIY cleaning and natural cleaning products?
There are many resources available online and in libraries that provide information about DIY cleaning and natural cleaning products. You can find recipes, tips, and advice from reputable websites, blogs, and books. Be sure to research any cleaning method thoroughly before trying it, and always follow safety precautions. You can also consult with a professional cleaning service or a natural cleaning expert for personalized advice.
Leave a Comment