

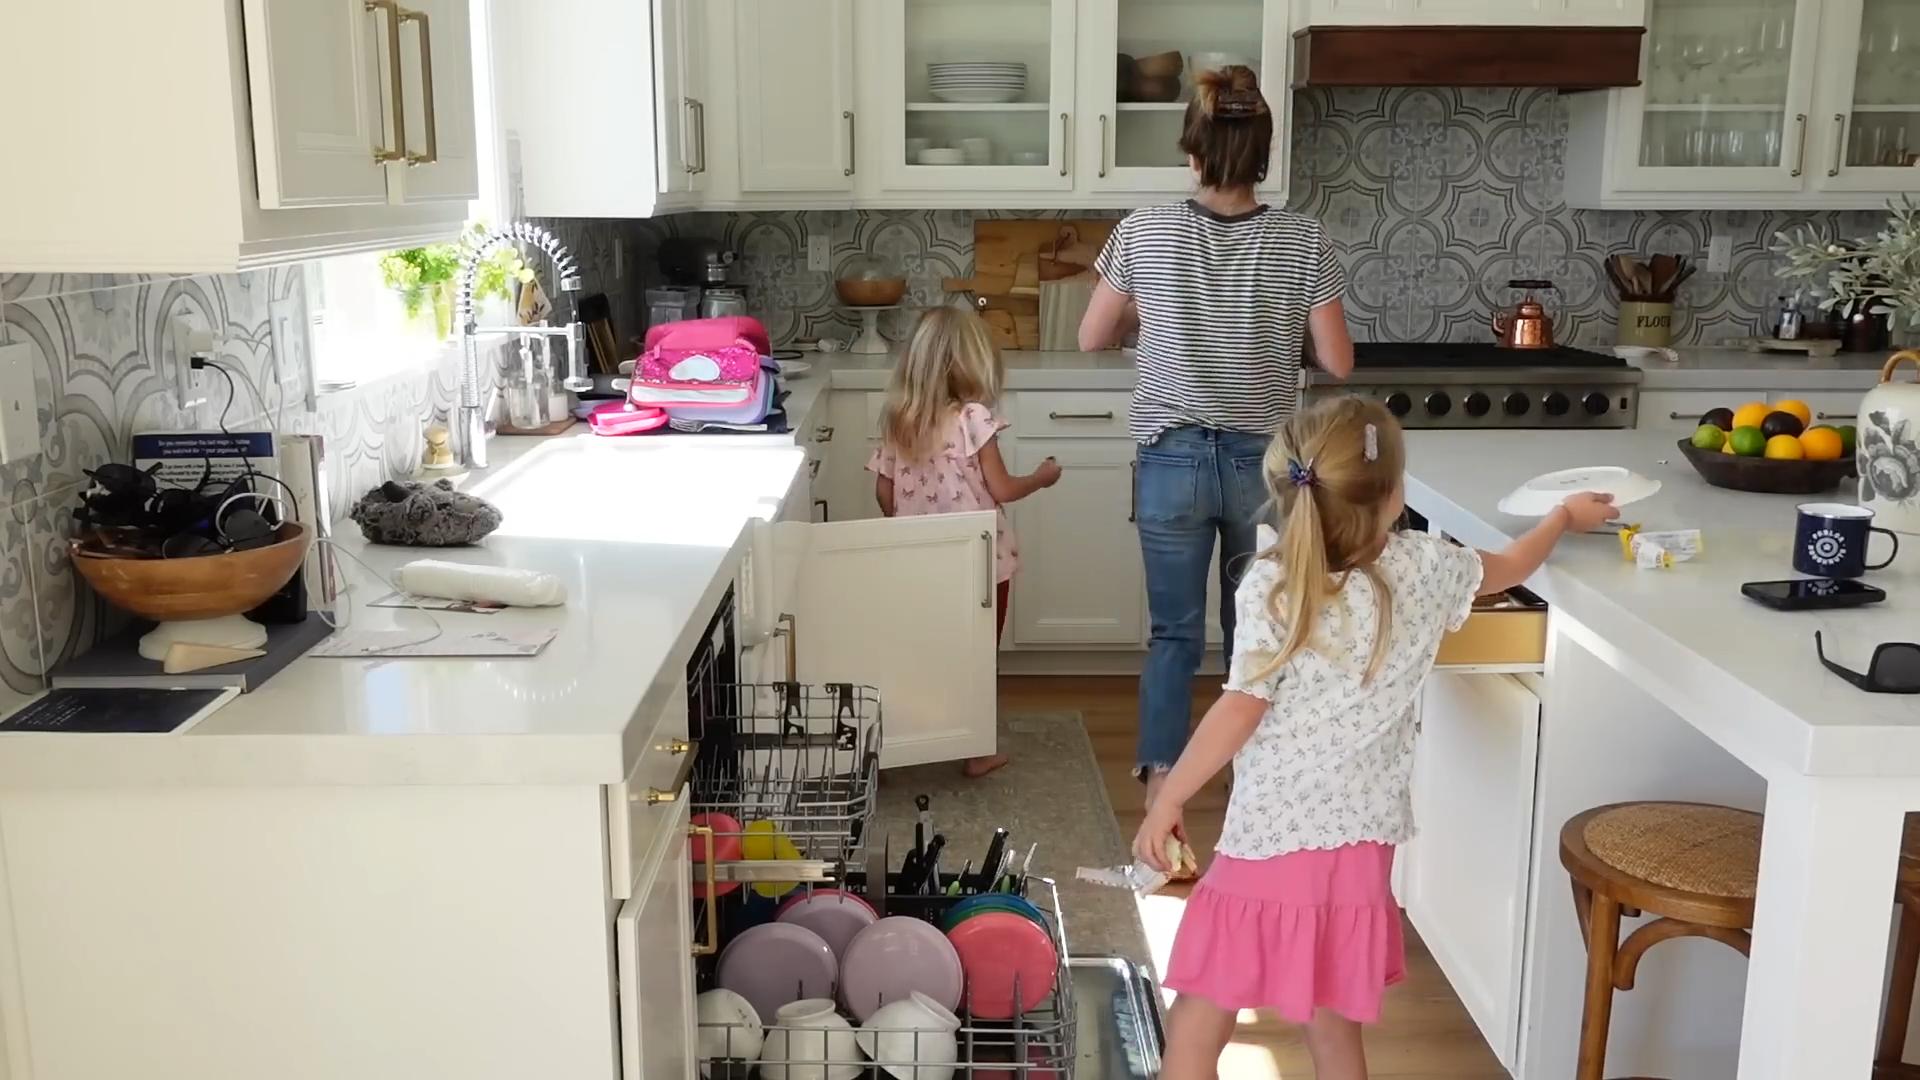
Mom hacks tidy home – sounds like a dream, right? As a mom myself, I know the struggle is real! Between the toys, the laundry, and the endless snacks, keeping a tidy home can feel like an impossible mission. But what if I told you there are simple, clever tricks that can help you reclaim your space and sanity?
For generations, moms have been sharing tips and tricks to manage their households more efficiently. These aren’t just modern inventions; they’re passed-down wisdom, refined over time. Think of it as a secret society of super-organizers, all working together to conquer the chaos! From repurposing everyday items to creating smart storage solutions, these mom hacks tidy home strategies are designed to make your life easier, not harder.
Why do you need these DIY tricks and hacks? Because you deserve a home that feels calm and organized, not overwhelming! A tidy home isn’t just about aesthetics; it’s about reducing stress, improving productivity, and creating a more enjoyable environment for your family. So, let’s dive into some game-changing DIY projects that will transform your home from chaotic to calm, one clever hack at a time!
DIY Mom Hack: Transforming Old Baby Food Jars into Adorable Spice Organizers
Hey there, fellow parents! Let’s face it, motherhood is a beautiful chaos, and keeping a tidy home often feels like a Herculean task. But fear not! I’m here to share a super simple, budget-friendly, and incredibly satisfying DIY project that will not only declutter your spice rack but also give those adorable little baby food jars a new lease on life. Get ready to turn trash into treasure with this easy spice organizer hack!
Materials You’ll Need:
Before we dive in, let’s gather our supplies. Don’t worry, most of these are probably already lurking in your pantry or craft stash!
* Empty Baby Food Jars: The star of the show! Make sure they’re thoroughly cleaned and dried. Remove any labels (more on that later!). The more you have, the better organized your spice collection will be.
* Spray Paint (Optional): If you want to add a pop of color or create a uniform look, grab your favorite spray paint. I personally love using metallic colors like gold or copper for a touch of elegance, but any color will do! Make sure it’s suitable for glass.
* Chalkboard Paint (Optional): For labeling the lids! This is a game-changer for easy identification.
* Chalk or Chalk Marker: To write the spice names on the chalkboard lids. A chalk marker gives a cleaner, more permanent look.
* Magnets (Optional): If you want to create a magnetic spice rack that sticks to your fridge or a metal board. Small, strong magnets work best.
* Hot Glue Gun and Glue Sticks (If using magnets): To securely attach the magnets to the jar lids.
* Primer (If spray painting): This will help the paint adhere better to the glass.
* Rubbing Alcohol: For cleaning the jars before painting.
* Paper Towels or Cleaning Cloths: For wiping down the jars.
* Sandpaper (Optional): For lightly sanding the lids if you want the chalkboard paint to adhere better.
* Newspaper or Drop Cloth: To protect your work surface from paint.
* Ventilated Area: Essential for spray painting!
Removing Labels: The First Hurdle
Okay, let’s tackle those pesky labels. This can be the most annoying part, but trust me, it’s worth it for a clean, professional look. Here are a few methods I’ve found effective:
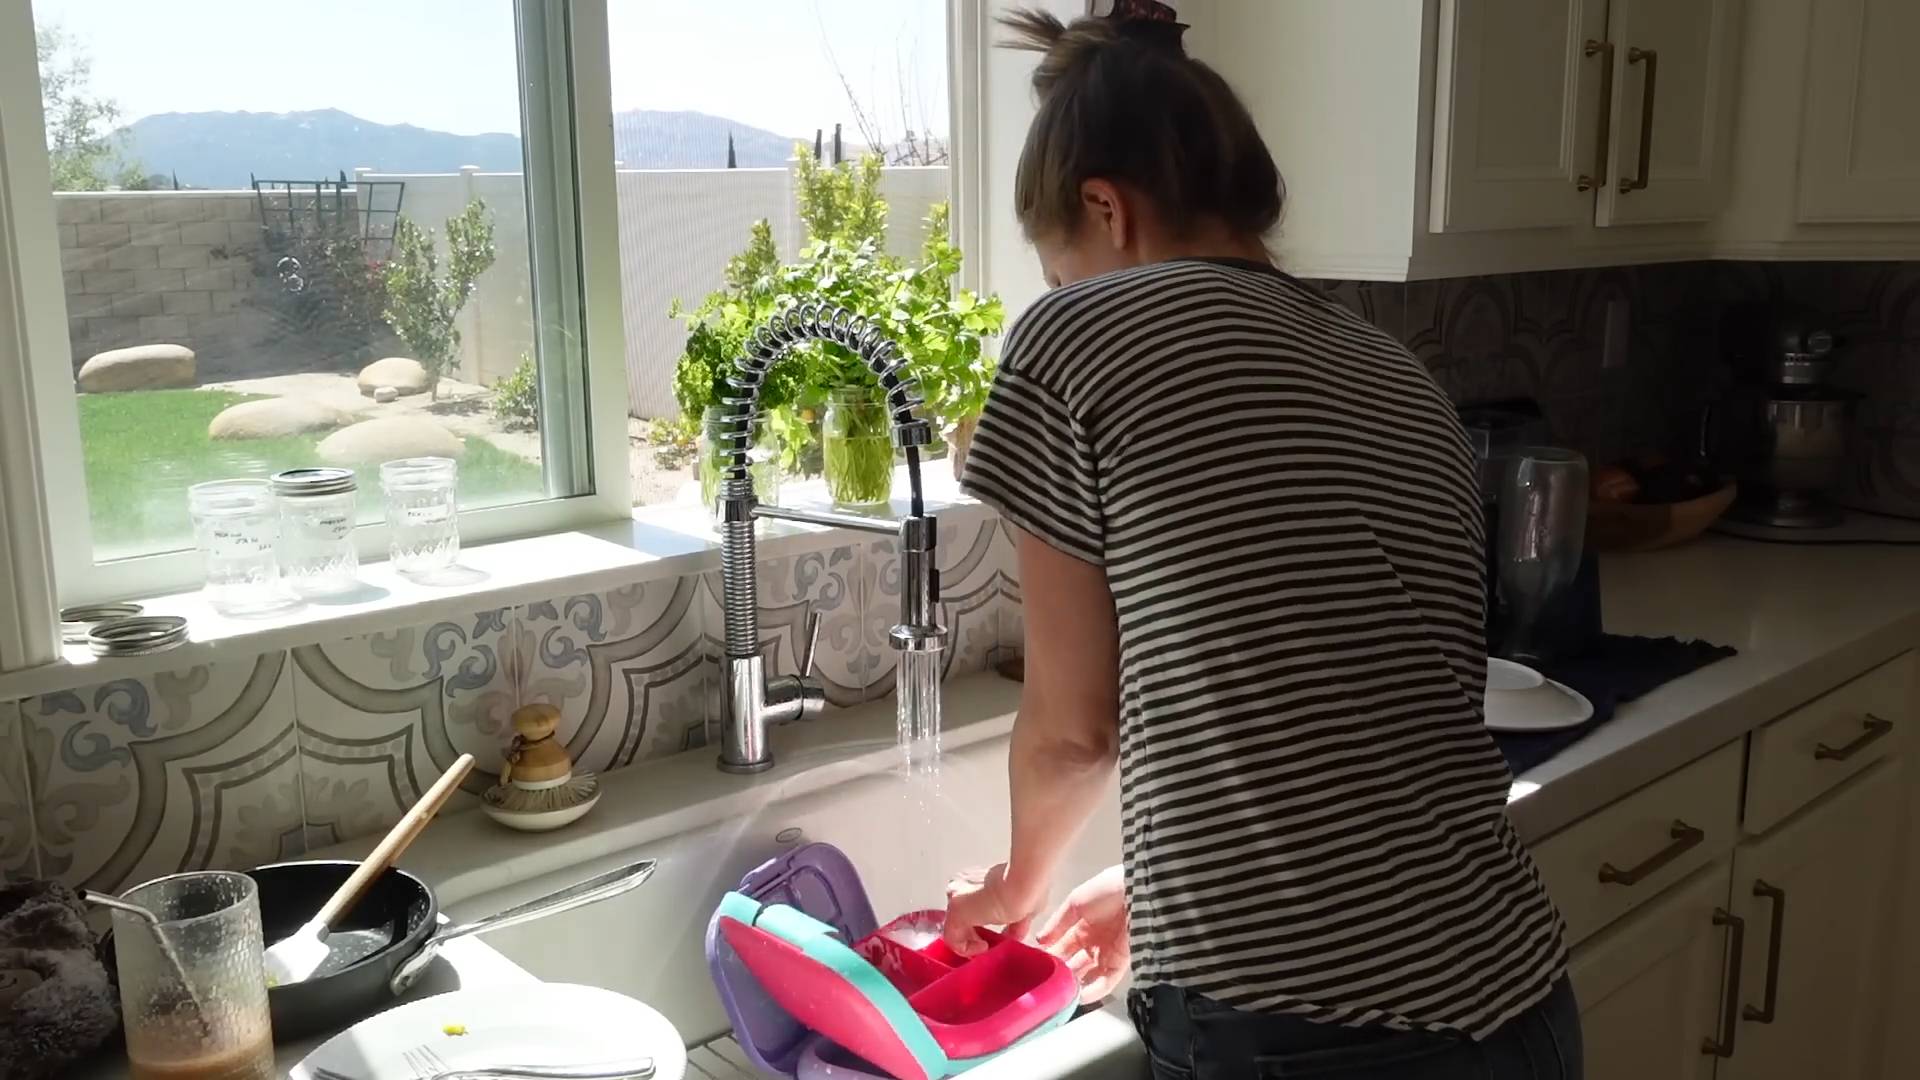
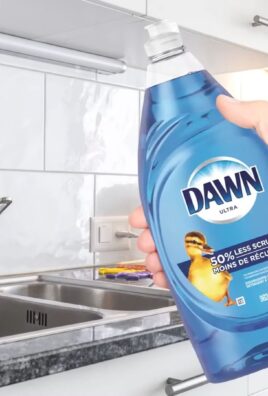
1. Soaking in Hot, Soapy Water: This is my go-to method. Fill a sink or tub with hot, soapy water and let the jars soak for about 30 minutes. The labels should peel off relatively easily.
2. Baking Soda Paste: Mix baking soda with a little water to form a paste. Apply the paste to the labels and let it sit for about 15 minutes. Then, scrub with a sponge or cloth.
3. Vinegar: Vinegar is a natural adhesive remover. Soak the jars in vinegar or apply vinegar directly to the labels and let it sit for a while before scrubbing.
4. Hair Dryer: The heat from a hair dryer can soften the adhesive. Aim the hair dryer at the labels for a few minutes and then try peeling them off.
5. Goo Gone or Similar Adhesive Remover: If all else fails, a commercial adhesive remover like Goo Gone will do the trick. Follow the instructions on the bottle.
Once the labels are removed, wash the jars thoroughly with soap and water and dry them completely.
Painting the Jars (Optional): Adding a Touch of Style
If you’re opting to paint your jars, this is where the fun begins!
1. Prepare Your Workspace: Lay down newspaper or a drop cloth to protect your work surface.
2. Clean the Jars: Wipe down the jars with rubbing alcohol to remove any lingering grease or fingerprints. This will ensure the paint adheres properly.
3. Prime the Jars (Optional but Recommended): Apply a thin, even coat of primer to the jars. Let it dry completely according to the primer’s instructions. This step is crucial for preventing the paint from chipping or peeling.
4. Spray Paint the Jars: In a well-ventilated area, hold the spray paint can about 8-10 inches away from the jars and apply a thin, even coat of paint. Avoid spraying too much paint in one area, as this can cause drips.
5. Apply Additional Coats (If Needed): Let the first coat dry completely before applying a second coat. You may need two or three coats to achieve the desired coverage.
6. Let the Jars Dry Completely: Allow the painted jars to dry completely before moving on to the next step. This may take several hours or even overnight.
Creating Chalkboard Lids: For Easy Identification
This is where the magic happens! Chalkboard lids make it super easy to identify your spices and add a charming, rustic touch to your spice rack.
1. Prepare the Lids: Lightly sand the lids with sandpaper to create a slightly rough surface for the chalkboard paint to adhere to. This step is optional but recommended.
2. Apply Chalkboard Paint: Apply a thin, even coat of chalkboard paint to the lids. Let it dry completely according to the paint’s instructions.
3. Apply Additional Coats: Apply a second coat of chalkboard paint. You may need three coats for full coverage.
4. Cure the Chalkboard Paint: Once the chalkboard paint is completely dry, “cure” it by rubbing the side of a piece of chalk over the entire surface. Then, wipe it off with a dry cloth. This will prevent the first writing from becoming permanent.
Adding Magnets (Optional): For a Magnetic Spice Rack
If you want to create a magnetic spice rack, this step is for you!
1. Choose Your Magnets: Select small, strong magnets that are appropriate for the size of your jar lids.
2. Attach the Magnets: Using a hot glue gun, carefully apply a small amount of hot glue to the back of each magnet.
3. Glue the Magnets to the Lids: Press the magnets firmly onto the center of the jar lids.
4. Let the Glue Dry Completely: Allow the glue to dry completely before using the magnetic spice jars.
Labeling Your Spice Jars: The Finishing Touch
Now for the final step: labeling your spice jars!
1. Write the Spice Names: Using chalk or a chalk marker, write the name of each spice on the chalkboard lids.
2. Fill the Jars: Carefully fill each jar with the corresponding spice.
3. Organize Your Spice Rack: Arrange your newly organized spice jars in your spice rack, on your fridge (if you added magnets), or wherever you choose to store them.
Tips and Tricks for Success:
* Cleanliness is Key: Make sure your jars are thoroughly cleaned and dried before starting any painting or gluing.
* Thin Coats are Better: When spray painting, apply thin, even coats to avoid drips and runs.
* Ventilation is Essential: Always spray paint in a well-ventilated area to avoid inhaling harmful fumes.
* Cure Your Chalkboard Paint: Don’t skip the curing step! It will prevent your first writing from becoming permanent.
* Use Strong Magnets: If you’re creating a magnetic spice rack, use strong magnets to ensure the jars stay securely in place.
* Get Creative with Labels: If you don’t want to use chalkboard paint, you can use pre-printed labels or create your own using a label maker.
* Consider Jar Size: Use different sized jars for spices you use more frequently.
* Personalize Your Jars: Add decorative elements like ribbon, twine, or washi tape to personalize your spice jars and make them your own.
* Safety First: Always supervise children when using hot glue guns or spray paint.
Enjoy Your Organized Spice Rack!
And there you have it! You’ve successfully transformed old baby food jars into adorable and functional spice organizers. Not only have you decluttered your kitchen, but you’ve also given those jars a new purpose. Plus, you’ve saved money and reduced waste. It’s a win-win-win! Now go forth and conquer your kitchen, one spice jar at a time! I hope you found this DIY mom hack helpful and inspiring. Happy crafting!
Conclusion
So, there you have it! These mom hacks for a tidy home aren’t just about achieving a spotless space; they’re about reclaiming your time, reducing stress, and creating a more peaceful environment for your entire family. We understand the daily chaos that comes with raising children, and these simple yet effective strategies are designed to seamlessly integrate into your busy life. Forget spending hours scrubbing and organizing – these are quick wins that deliver lasting results.
The beauty of these hacks lies in their adaptability. Feel free to experiment and personalize them to suit your specific needs and preferences. For instance, if you find that the toy rotation system works well, consider extending it to other areas of your home, like books or even clothing. If you’re short on time, focus on the “one-minute tidy” approach, tackling small messes as they arise to prevent them from escalating.
Consider these variations to further enhance your tidy home journey:
* Color-coded organization: Assign colors to different categories of items (e.g., blue for toys, green for books, red for art supplies). This makes it easier for everyone, especially children, to put things back in their designated places.
* Vertical storage solutions: Maximize vertical space by using shelves, drawers, and wall-mounted organizers. This is particularly helpful in small spaces where floor space is limited.
* DIY cleaning solutions: Explore natural cleaning alternatives using ingredients like vinegar, baking soda, and lemon juice. These are not only eco-friendly but also safe for children and pets.
* Involve the whole family: Turn tidying into a fun activity by playing music, setting timers, or creating a reward system. This encourages everyone to participate and fosters a sense of shared responsibility.
Ultimately, the key to a tidy home is consistency. By incorporating these mom hacks into your daily routine, you’ll be amazed at how much easier it becomes to maintain a clean and organized living space. Remember, it’s not about perfection; it’s about progress. Even small steps can make a big difference in creating a more comfortable and enjoyable home for you and your family.
We wholeheartedly encourage you to try these mom hacks for a tidy home and see the transformative effect they can have on your life. Don’t be afraid to tweak them, adapt them, and make them your own. We’re confident that you’ll find them to be invaluable tools in your quest for a more organized and stress-free home.
And most importantly, we want to hear about your experiences! Share your successes, your challenges, and your own unique tips in the comments section below. Let’s create a community of moms who support and inspire each other on this journey to a tidier, happier home. What are you waiting for? Start tidying today!
FAQ
What if I don’t have time to implement all of these hacks at once?
It’s completely understandable that you might feel overwhelmed by the prospect of implementing all of these mom hacks simultaneously. The key is to start small and gradually incorporate them into your routine. Choose one or two hacks that resonate with you the most and focus on mastering those first. Once you’ve established a habit, you can then add another hack to the mix. Remember, consistency is more important than perfection. Even dedicating just 15 minutes a day to tidying can make a significant difference over time. Don’t put too much pressure on yourself; focus on making small, sustainable changes that you can realistically maintain in the long run.
My kids are resistant to helping with chores. How can I get them involved?
Getting kids involved in chores can be challenging, but it’s definitely achievable with the right approach. Start by making chores age-appropriate and fun. For younger children, turn tidying into a game by setting a timer and challenging them to see how many toys they can put away before the buzzer rings. For older children, assign them specific tasks that they can take ownership of, such as emptying the dishwasher or taking out the trash. It’s also important to lead by example and show them that you value their contribution. Offer positive reinforcement and praise when they complete their chores, and avoid nagging or criticizing their efforts. Consider creating a chore chart or reward system to incentivize them and make it more engaging. Remember, the goal is to instill a sense of responsibility and teamwork, not to create a power struggle.
How do I deal with clutter that I’m emotionally attached to?
Dealing with sentimental clutter can be one of the most difficult aspects of decluttering. It’s natural to feel emotionally attached to items that hold special memories or represent significant moments in your life. However, holding onto too much sentimental clutter can create a sense of overwhelm and prevent you from enjoying your space. One strategy is to create a “memory box” or scrapbook where you can store a few of your most cherished items. For other items, consider taking photos of them before letting them go. This allows you to preserve the memory without physically holding onto the item. You can also try reframing your perspective by focusing on the memories themselves rather than the objects that represent them. Ask yourself if the item truly brings you joy or if it’s simply taking up space and collecting dust. If you’re still struggling to let go, consider donating the item to someone who could use it or repurposing it into something new.
What are some good storage solutions for small spaces?
Small spaces require creative storage solutions to maximize every inch of available space. Vertical storage is your best friend in this situation. Utilize shelves, drawers, and wall-mounted organizers to take advantage of vertical space. Look for furniture with built-in storage, such as ottomans with hidden compartments or beds with drawers underneath. Use clear storage containers to easily see what’s inside and stack them neatly. Consider using over-the-door organizers for shoes, toiletries, or cleaning supplies. Don’t forget about the space under your sinks and in your closets. Install shelves or organizers to make the most of these often-overlooked areas. The key is to think outside the box and find innovative ways to store your belongings without sacrificing valuable floor space.
How can I maintain a tidy home with pets?
Maintaining a tidy home with pets requires a few extra steps, but it’s definitely possible. Invest in a good quality vacuum cleaner that’s designed for pet hair. Vacuum regularly, especially in areas where your pets spend the most time. Use lint rollers or pet hair removers to quickly remove hair from furniture and clothing. Keep pet toys organized in a designated basket or container. Clean up pet messes immediately to prevent stains and odors. Consider using washable pet beds and blankets to make cleaning easier. Regularly groom your pets to minimize shedding. And finally, train your pets to stay off furniture or in certain areas if you want to keep those spaces cleaner. With a little extra effort, you can enjoy a tidy home without sacrificing your furry friends.

Leave a Comment