

Malunggay home garden benefits are more accessible than you might think! Have you ever dreamed of stepping outside your back door and harvesting fresh, nutrient-packed leaves for your next meal? Imagine the satisfaction of knowing exactly where your food comes from, free from harmful pesticides and bursting with flavor. This isn’t just a pipe dream; it’s a reality you can create with a little know-how and some simple DIY techniques.
Malunggay, also known as Moringa, has a rich history, deeply rooted in traditional medicine and culinary practices across various cultures. For centuries, it’s been revered for its incredible health benefits, earning nicknames like the “miracle tree.” From boosting immunity to providing essential vitamins and minerals, Malunggay has been a staple in diets and healing practices around the world.
But why should *you* consider starting a Malunggay home garden? In today’s world, where access to fresh, healthy food can be a challenge, growing your own Malunggay offers a fantastic solution. Not only will you have a readily available source of nutrition, but you’ll also be contributing to a more sustainable lifestyle. Plus, let’s be honest, there’s something incredibly rewarding about nurturing a plant from seed to harvest. This DIY guide will provide you with easy-to-follow tricks and hacks to ensure your Malunggay thrives, even if you’re a complete beginner. Get ready to unlock the amazing Malunggay home garden benefits and enjoy the freshest, most nutritious leaves right from your backyard!
Grow Your Own Malunggay: A Simple Guide to a Nutrient-Packed Home Garden
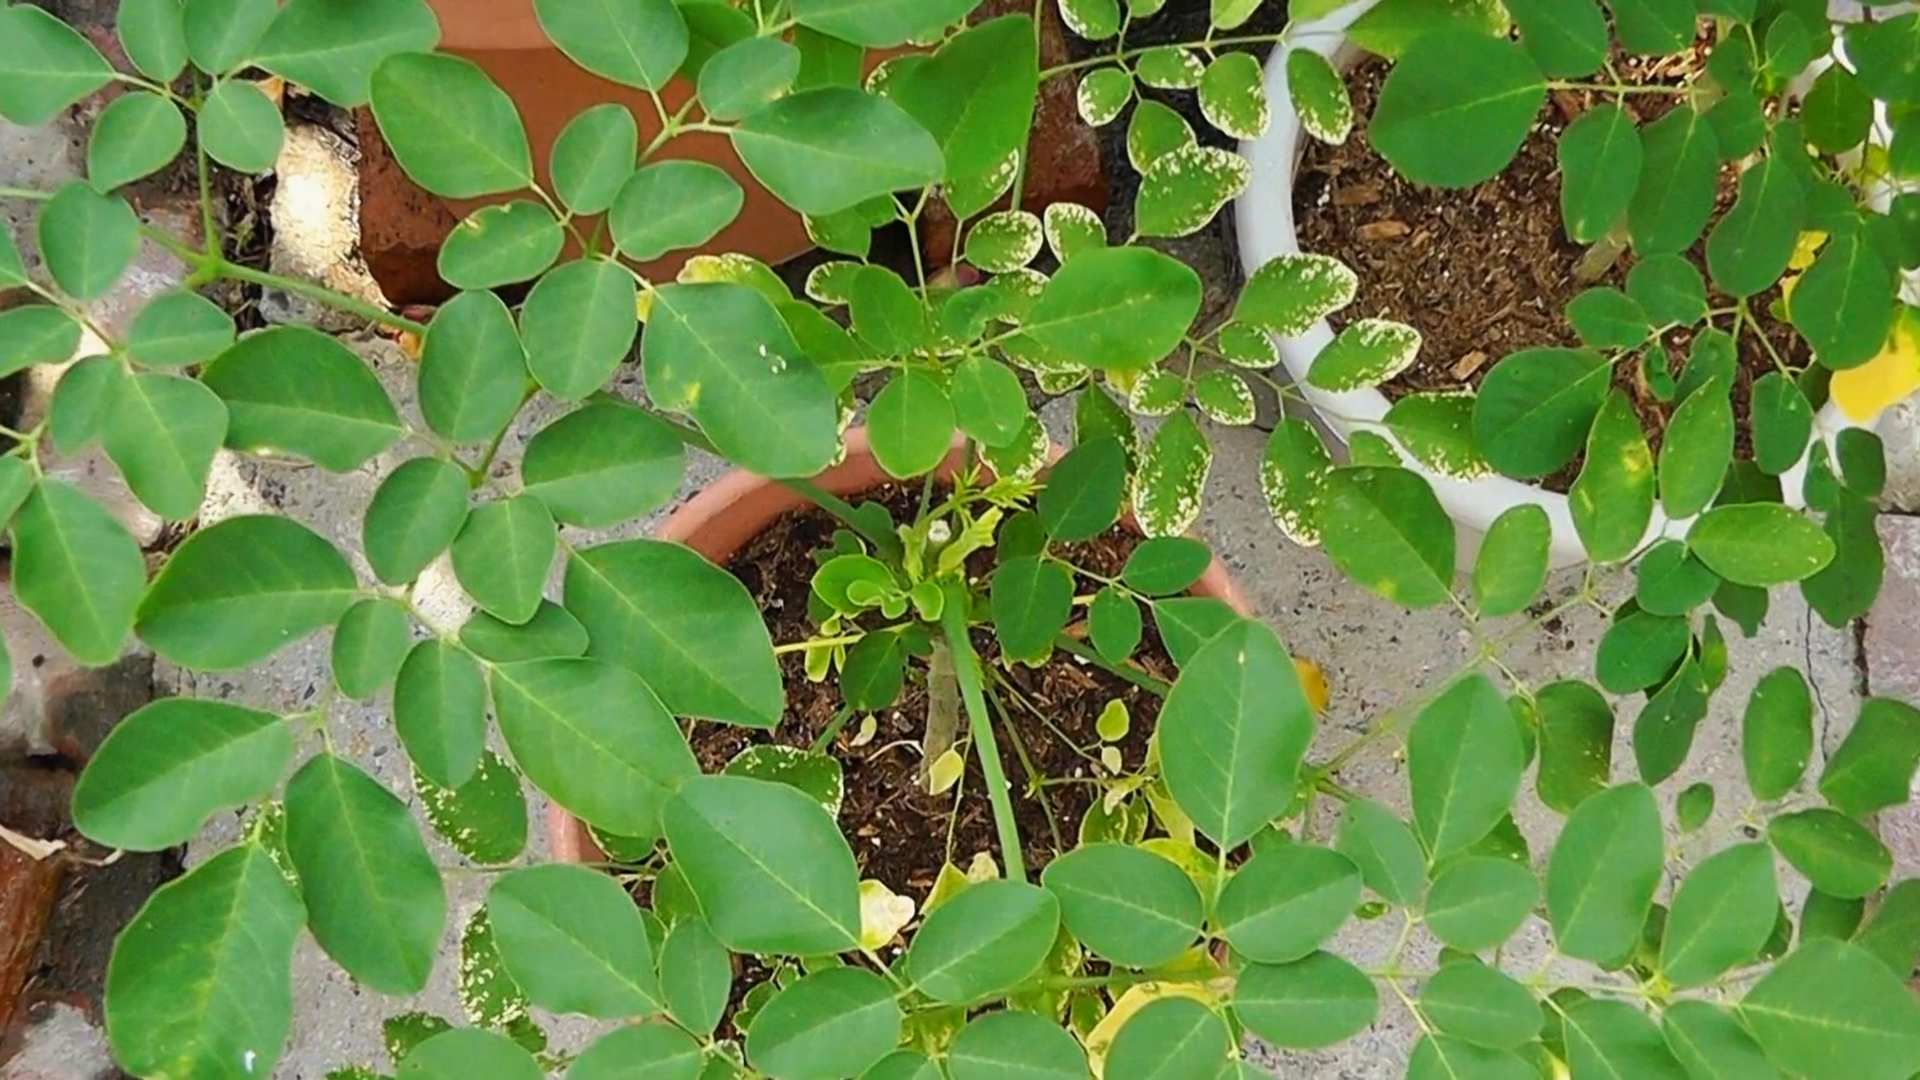
Hey there, fellow garden enthusiasts! I’m so excited to share my experience with growing malunggay (also known as moringa) right in my backyard. Not only is it incredibly easy, but you’ll also have a constant supply of this nutritional powerhouse at your fingertips. Trust me, once you start, you’ll wonder why you didn’t do it sooner!
Why Grow Malunggay?
Before we dive into the how-to, let’s quickly talk about why malunggay is so amazing. This plant is packed with vitamins, minerals, and antioxidants. We’re talking Vitamin C, Vitamin A, potassium, calcium, and so much more! Adding malunggay to your diet can boost your immune system, improve your skin, and even help regulate blood sugar. Plus, it’s incredibly versatile in the kitchen – you can add the leaves to soups, stews, smoothies, or even stir-fries.
Getting Started: What You’ll Need
Okay, let’s gather our supplies. This is a pretty low-maintenance project, so you won’t need a ton of fancy equipment.
* Malunggay Seeds or Cuttings: You can find these at most local nurseries or online. Cuttings are generally faster to establish.
* Potting Soil (if starting in pots): A well-draining potting mix is essential.
* Gardening Gloves: Protect those hands!
* Shovel or Trowel: For planting.
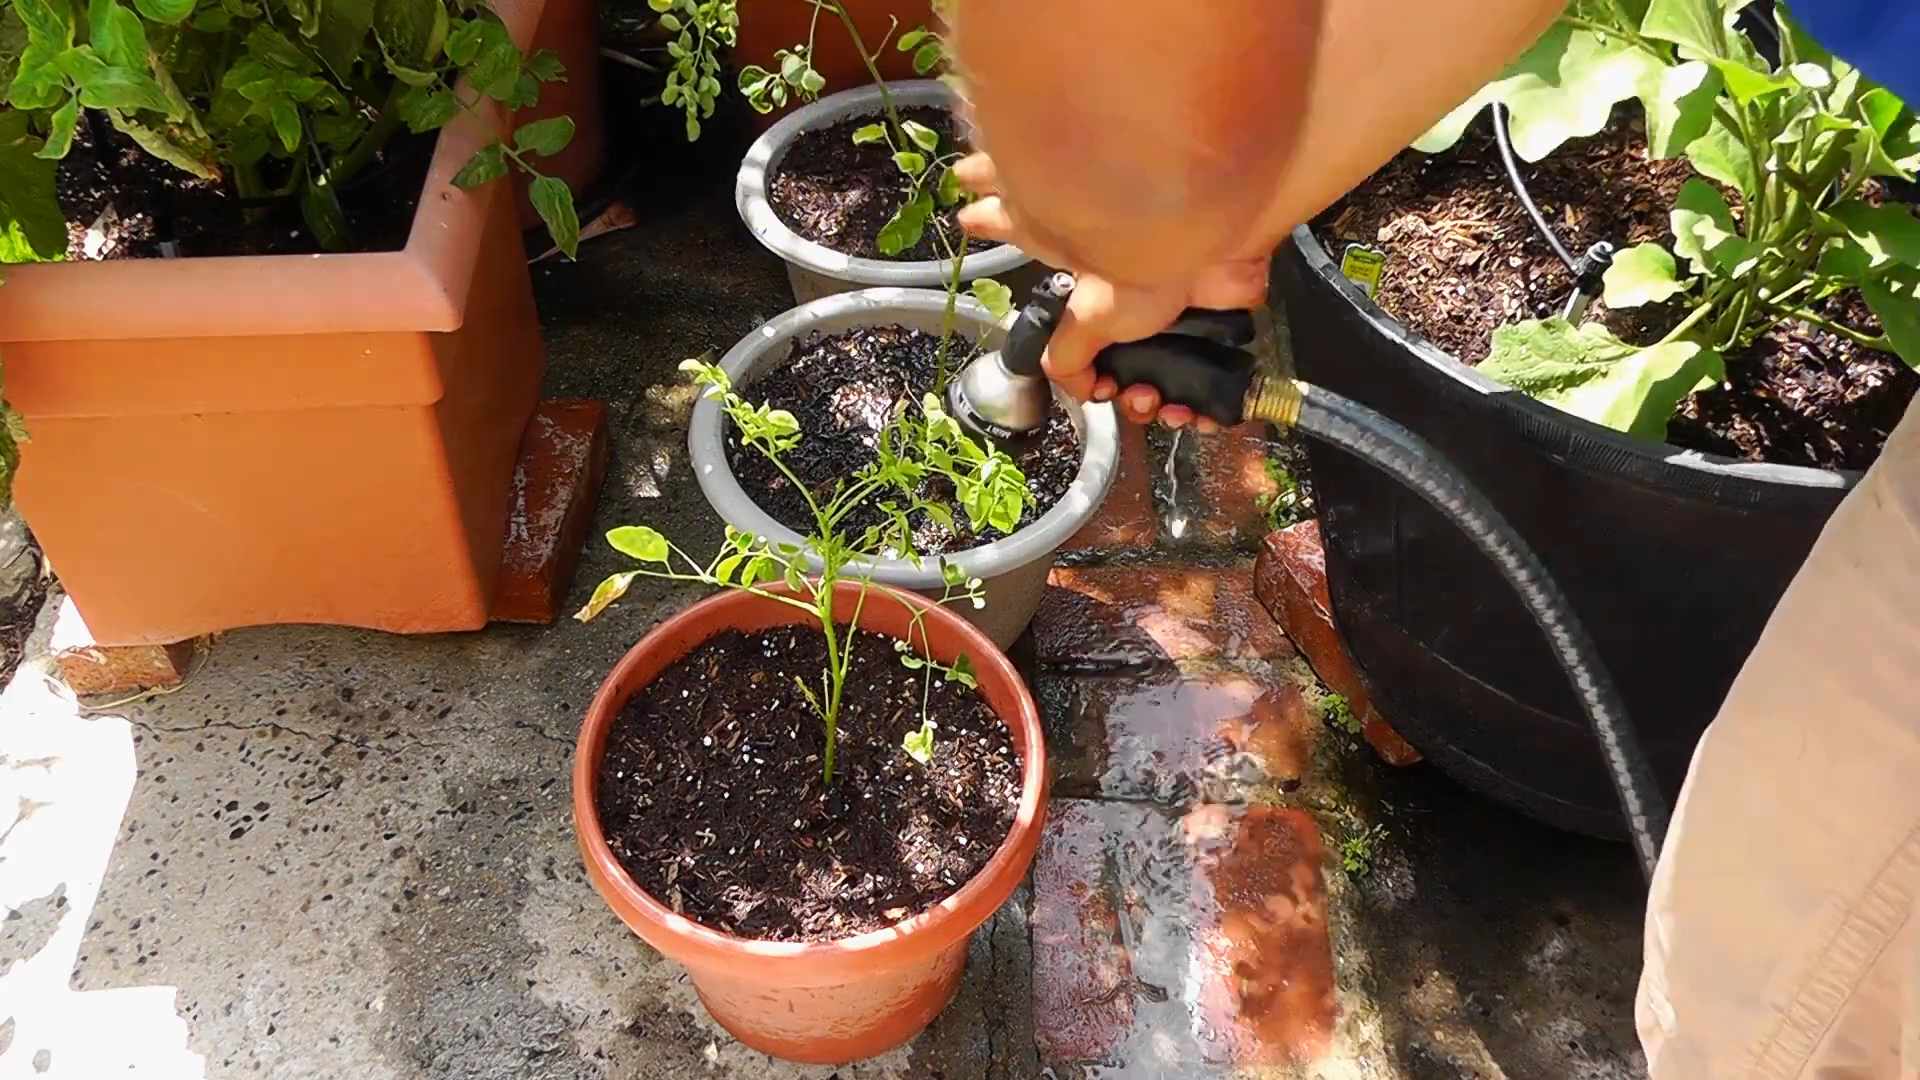
* Watering Can or Hose: To keep your malunggay happy and hydrated.
* Optional: Compost or Organic Fertilizer: To give your malunggay a little extra boost.
* Optional: Garden Stakes: To support the plant as it grows, especially if it gets tall and leggy.
Choosing the Right Location
Malunggay loves sunshine! So, pick a spot in your yard that gets at least 6-8 hours of direct sunlight each day. The soil should be well-draining. If your soil is heavy clay, you might want to amend it with some compost or sand to improve drainage. Malunggay is relatively drought-tolerant once established, but it prefers consistently moist soil, especially when young.
Planting Your Malunggay: Step-by-Step
Alright, let’s get our hands dirty! I’ll walk you through the process, whether you’re starting from seeds or cuttings.
Planting from Seeds
1. Prepare the Soil: Whether you’re planting directly in the ground or in a pot, make sure the soil is loose and free of any large rocks or debris. If you’re using a pot, choose one that’s at least 12 inches in diameter to give the roots plenty of room to grow.
2. Sow the Seeds: Plant the seeds about ½ inch deep and 1-2 inches apart. If you’re planting in rows, space the rows about 2-3 feet apart.
3. Water Gently: Water the soil gently after planting, making sure not to wash away the seeds.
4. Keep the Soil Moist: Keep the soil consistently moist, but not waterlogged, until the seeds germinate. Germination usually takes about 1-2 weeks.
5. Thin Seedlings (if necessary): Once the seedlings emerge, thin them out so that they’re spaced about 1-2 feet apart. This will give them enough room to grow and prevent overcrowding.
Planting from Cuttings
This is my preferred method because it’s faster and easier!
1. Prepare the Cutting: Take a cutting from a mature malunggay tree that is about 1-2 feet long and at least 1 inch in diameter. Make sure the cutting is healthy and free of any diseases or pests.
2. Let the Cutting Dry: Allow the cutting to dry for a few days. This will help prevent rot. You’ll notice the cut end will start to callous over.
3. Prepare the Soil: Just like with seeds, make sure the soil is loose and well-draining.
4. Plant the Cutting: Plant the cutting about 6-8 inches deep in the soil.
5. Water Thoroughly: Water the soil thoroughly after planting.
6. Keep the Soil Moist: Keep the soil consistently moist, but not waterlogged, until the cutting roots. This can take several weeks. You’ll know it’s rooted when you see new growth.
Caring for Your Malunggay Plant
Once your malunggay plant is established, it’s pretty low-maintenance. Here’s what you need to do to keep it happy and healthy:
* Watering: Water regularly, especially during dry periods. Malunggay is relatively drought-tolerant once established, but it prefers consistently moist soil.
* Fertilizing: Fertilize your malunggay plant every few months with compost or organic fertilizer. This will help it grow strong and healthy.
* Pruning: Prune your malunggay plant regularly to encourage branching and bushier growth. You can prune it as much as you like – the more you prune, the more leaves you’ll get! I usually prune mine after harvesting leaves.
* Pest Control: Malunggay is generally pest-resistant, but you may occasionally encounter aphids or other common garden pests. If you do, you can control them with insecticidal soap or neem oil.
* Support: As your malunggay grows, it may need some support, especially if it gets tall and leggy. You can use garden stakes or a trellis to provide support.
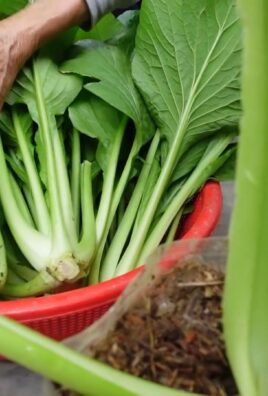
Harvesting Your Malunggay Leaves
This is the best part! You can start harvesting malunggay leaves as soon as the plant is big enough. Just snip off the leaves with scissors or your fingers. You can harvest leaves regularly without harming the plant. In fact, regular harvesting encourages more growth! I usually harvest the younger, more tender leaves, as they have the best flavor.
Using Your Malunggay Leaves
Now that you’ve harvested your malunggay leaves, what do you do with them? The possibilities are endless! Here are a few ideas:
* Add them to soups and stews: Malunggay leaves add a delicious and nutritious boost to any soup or stew.
* Add them to smoothies: Blend a handful of malunggay leaves into your favorite smoothie for a healthy and energizing drink.
* Stir-fry them: Stir-fry malunggay leaves with other vegetables for a quick and easy meal.
* Make malunggay tea: Steep malunggay leaves in hot water for a refreshing and healthy tea.
* Dry them for later use: You can dry malunggay leaves in a dehydrator or in the oven on low heat. Once they’re dry, you can store them in an airtight container for later use.
Troubleshooting
Even with the best care, you might encounter a few problems along the way. Here are some common issues and how to fix them:
* Yellowing Leaves: This could be a sign of overwatering or nutrient deficiency. Make sure the soil is well-draining and fertilize your plant regularly.
* Slow Growth: This could be due to lack of sunlight or poor soil. Make sure your plant is getting enough sunlight and amend the soil with compost or organic fertilizer.
* Pest Infestation: As mentioned earlier, malunggay is generally pest-resistant, but you may occasionally encounter aphids or other common garden pests. Control them with insecticidal soap or neem oil.
Enjoy the Fruits (and Leaves!) of Your Labor
Growing your own malunggay is a rewarding experience. Not only will you have a constant supply of this nutritious plant, but you’ll also enjoy the satisfaction of knowing that you grew it yourself. So, what are you waiting for? Get out there and start planting! I promise, you won’t regret it. Happy gardening!
Conclusion
So, there you have it! Cultivating your own malunggay at home isn’t just a gardening project; it’s an investment in your health, your wallet, and the environment. We’ve explored the incredible benefits of having a readily available source of this nutritional powerhouse right outside your door. From boosting your immune system with its rich vitamin content to adding a unique and delicious flavor to your meals, the advantages are undeniable.
This DIY malunggay home garden is a must-try for anyone looking to embrace a more sustainable and health-conscious lifestyle. Imagine stepping outside and harvesting fresh, vibrant malunggay leaves whenever you need them. No more trips to the grocery store, no more worrying about the freshness or origin of your ingredients. Just pure, unadulterated goodness straight from your garden to your table.
But the benefits extend beyond personal consumption. Sharing your harvest with neighbors, friends, and family is a wonderful way to spread the health and happiness that malunggay provides. You can even explore creative ways to incorporate malunggay into your daily routine. Try adding the leaves to smoothies, soups, stews, or even baking them into chips for a healthy snack. The possibilities are endless!
For those with limited space, consider growing malunggay in containers on your balcony or patio. Dwarf varieties are particularly well-suited for container gardening. You can also experiment with different growing methods, such as hydroponics or aquaponics, to maximize your yield and minimize your environmental impact. Another variation is to focus on different parts of the malunggay plant. While the leaves are the most commonly used, the pods, flowers, and even the roots offer unique culinary and medicinal properties. Research and experiment to discover your favorite ways to utilize this versatile plant.
We encourage you to take the plunge and start your own malunggay home garden today. It’s a rewarding experience that will bring you closer to nature and empower you to take control of your health. Don’t be afraid to experiment, learn from your mistakes, and adapt your approach to suit your specific needs and environment.
And most importantly, we want to hear about your experiences! Share your tips, tricks, and successes in the comments below. Let us know what challenges you faced and how you overcame them. Your insights will help others on their journey to creating their own thriving malunggay gardens. Together, we can spread the word about the incredible benefits of this amazing plant and inspire others to embrace a healthier and more sustainable way of life. So, get your hands dirty, plant some seeds, and watch your own little malunggay oasis flourish! Let’s all enjoy the benefits of a thriving **malunggay home garden**.
Frequently Asked Questions (FAQ)
What are the specific health benefits of growing and consuming malunggay?
Malunggay, often called the “miracle tree,” is packed with essential nutrients. It’s an excellent source of vitamins A, C, and E, as well as calcium, potassium, and iron. These nutrients contribute to a stronger immune system, improved vision, healthier skin, and stronger bones. Malunggay also contains antioxidants that help protect your body against cell damage caused by free radicals. Some studies suggest that malunggay may help regulate blood sugar levels, lower cholesterol, and reduce inflammation. However, it’s important to consult with a healthcare professional for personalized advice. Growing your own ensures you have access to fresh, nutrient-rich leaves whenever you need them, maximizing these health benefits.
How much space do I need to grow malunggay?
Malunggay trees can grow quite large, reaching heights of up to 30 feet. However, you can control their size through regular pruning. If you have a small yard, consider planting a dwarf variety or growing malunggay in large containers. A container that is at least 24 inches in diameter and depth is recommended. This will restrict the root growth and keep the tree manageable. Even a small balcony or patio can accommodate a few malunggay plants in containers, allowing you to enjoy the benefits of fresh leaves without taking up too much space. Remember to provide adequate sunlight, regardless of whether you’re growing in the ground or in containers.
What kind of soil is best for growing malunggay?
Malunggay is relatively adaptable and can grow in a variety of soil types. However, it thrives best in well-draining soil that is rich in organic matter. Amend your soil with compost or aged manure before planting to improve its fertility and drainage. Avoid heavy clay soils that retain too much water, as this can lead to root rot. A slightly acidic to neutral pH (6.0 to 7.0) is ideal. You can test your soil pH with a simple soil testing kit available at most garden centers. If your soil is too acidic, you can add lime to raise the pH.
How often should I water my malunggay plant?
Malunggay is drought-tolerant once established, but it needs regular watering, especially during the first few months after planting. Water deeply whenever the top inch of soil feels dry to the touch. Avoid overwatering, as this can lead to root rot. During the rainy season, you may need to reduce watering frequency. Container-grown malunggay plants tend to dry out more quickly than those planted in the ground, so check the soil moisture regularly. A good rule of thumb is to water thoroughly until water drains out of the bottom of the container.
How do I prune my malunggay tree?
Pruning is essential for maintaining the shape and size of your malunggay tree and encouraging new growth. Prune regularly to remove dead, damaged, or diseased branches. You can also prune to control the height and width of the tree. The best time to prune is during the dormant season (late winter or early spring) before new growth begins. However, you can also prune lightly throughout the growing season to maintain the desired shape. When pruning, make clean cuts at a 45-degree angle just above a node (where a leaf or branch emerges). This will encourage new growth in the desired direction.
Are there any pests or diseases that affect malunggay?
Malunggay is generally resistant to pests and diseases. However, it can be susceptible to certain problems, such as aphids, caterpillars, and fungal diseases. Inspect your plants regularly for signs of infestation or disease. If you notice any problems, take action promptly to prevent them from spreading. You can control aphids and caterpillars with insecticidal soap or neem oil. Fungal diseases can be treated with a fungicide. Good cultural practices, such as proper watering, fertilization, and pruning, can also help prevent pests and diseases.
How do I harvest malunggay leaves?
You can start harvesting malunggay leaves about 6-8 months after planting. Harvest the leaves by snipping off the stems with scissors or pruning shears. Choose young, tender leaves for the best flavor and texture. You can harvest leaves regularly throughout the growing season. Regular harvesting encourages new growth and keeps the tree productive. Avoid harvesting more than one-third of the leaves at any one time, as this can stress the plant.
Can I grow malunggay from seeds or cuttings?
Yes, you can grow malunggay from both seeds and cuttings. Growing from seeds is a relatively easy and inexpensive method. Soak the seeds in water for 24 hours before planting to improve germination. Plant the seeds in well-draining soil and keep them moist. Germination typically occurs within 1-2 weeks. Growing from cuttings is a faster method, as it bypasses the seedling stage. Take cuttings from mature branches that are about 12-18 inches long. Remove the lower leaves and dip the cut end in rooting hormone. Plant the cuttings in well-draining soil and keep them moist. Rooting typically occurs within 2-4 weeks.
How can I use malunggay in my cooking?
Malunggay leaves can be used in a variety of dishes. They have a mild, slightly peppery flavor that complements many different cuisines. You can add them to soups, stews, salads, smoothies, and omelets. You can also sauté them with garlic and onions for a simple and healthy side dish. Malunggay leaves can also be dried and ground into a powder, which can be added to smoothies, baked goods, and other dishes. The pods, flowers, and roots of the malunggay plant are also edible and can be used in various culinary preparations.
Is malunggay safe for everyone to consume?
Malunggay is generally considered safe for most people to consume. However, pregnant and breastfeeding women should consult with their healthcare provider before consuming malunggay, as it may have some effects on hormone levels. People with certain medical conditions, such as kidney problems, should also consult with their doctor before consuming malunggay. In rare cases, some people may experience mild side effects, such as diarrhea or stomach upset. If you experience any adverse effects, discontinue use and consult with your healthcare professional. Always start with small amounts to assess your tolerance.
Leave a Comment