

Living Room Cleaning Checklist: Is your living room looking less like a haven and more like a hazard zone? Don’t worry, you’re not alone! We’ve all been there – life gets busy, and suddenly the living room transforms into a catch-all for everything from stray socks to forgotten takeout containers. But fear not, because I’m about to share a game-changing secret weapon: a comprehensive living room cleaning checklist that will transform your space from chaotic to cozy in no time!
For centuries, a clean and organized living space has been associated with peace of mind and well-being. Think about it – ancient cultures often incorporated rituals of cleansing and purification into their daily lives, recognizing the powerful connection between our environment and our mental state. While we might not be performing elaborate ceremonies, the simple act of tidying up can have a surprisingly profound impact on our mood and productivity.
Why do you need this living room cleaning checklist? Because let’s face it, cleaning can feel overwhelming! Where do you even start? This checklist breaks down the task into manageable steps, ensuring you don’t miss a single spot. It’s not just about making your living room look good; it’s about creating a space where you can truly relax, unwind, and enjoy spending time with loved ones. Plus, a clean living room is a healthier living room, free from dust, allergens, and other nasties that can impact your well-being. So, grab your cleaning supplies, and let’s get started on creating the living room of your dreams!
DIY Deep Clean Living Room Checklist: From Chaos to Cozy!
Okay, friends, let’s face it: the living room. It’s the heart of the home, but sometimes it feels more like the dumping ground. Toys, remotes, half-finished projects – it all ends up there! But fear not, because I’m going to walk you through my ultimate deep clean living room checklist. We’ll tackle everything, from the dusty corners to the sticky surfaces, and transform your living room into a haven of relaxation. Get ready to roll up your sleeves!
The Ultimate Living Room Cleaning Checklist: Your Battle Plan
Before we dive into the nitty-gritty, let’s get organized. Here’s a checklist to keep us on track. Feel free to print it out and mark things off as we go!
* **Decluttering:**
* Remove all items that don’t belong in the living room.
* Sort through magazines, newspapers, and mail.
* Gather toys and put them away.
* Clear surfaces like coffee tables, shelves, and mantels.
* **Dusting:**
* Dust ceiling fans and light fixtures.
* Dust shelves, mantels, and picture frames.
* Dust furniture, including tables, lamps, and decorative items.
* Dust electronics, such as TVs, stereos, and gaming consoles.
* Don’t forget baseboards and window sills!
* **Surface Cleaning:**
* Wipe down all hard surfaces with a multi-purpose cleaner.
* Clean mirrors and glass surfaces.
* Disinfect frequently touched areas like doorknobs and light switches.
* **Floor Care:**
* Vacuum or sweep the entire floor.
* Mop hard floors.
* Deep clean carpets and rugs (if needed).
* **Upholstery Cleaning:**
* Vacuum upholstery on sofas, chairs, and ottomans.
* Spot clean any stains.
* Deep clean upholstery (if needed).
* **Window Treatment Cleaning:**
* Dust or vacuum curtains and blinds.
* Wash curtains (if applicable).
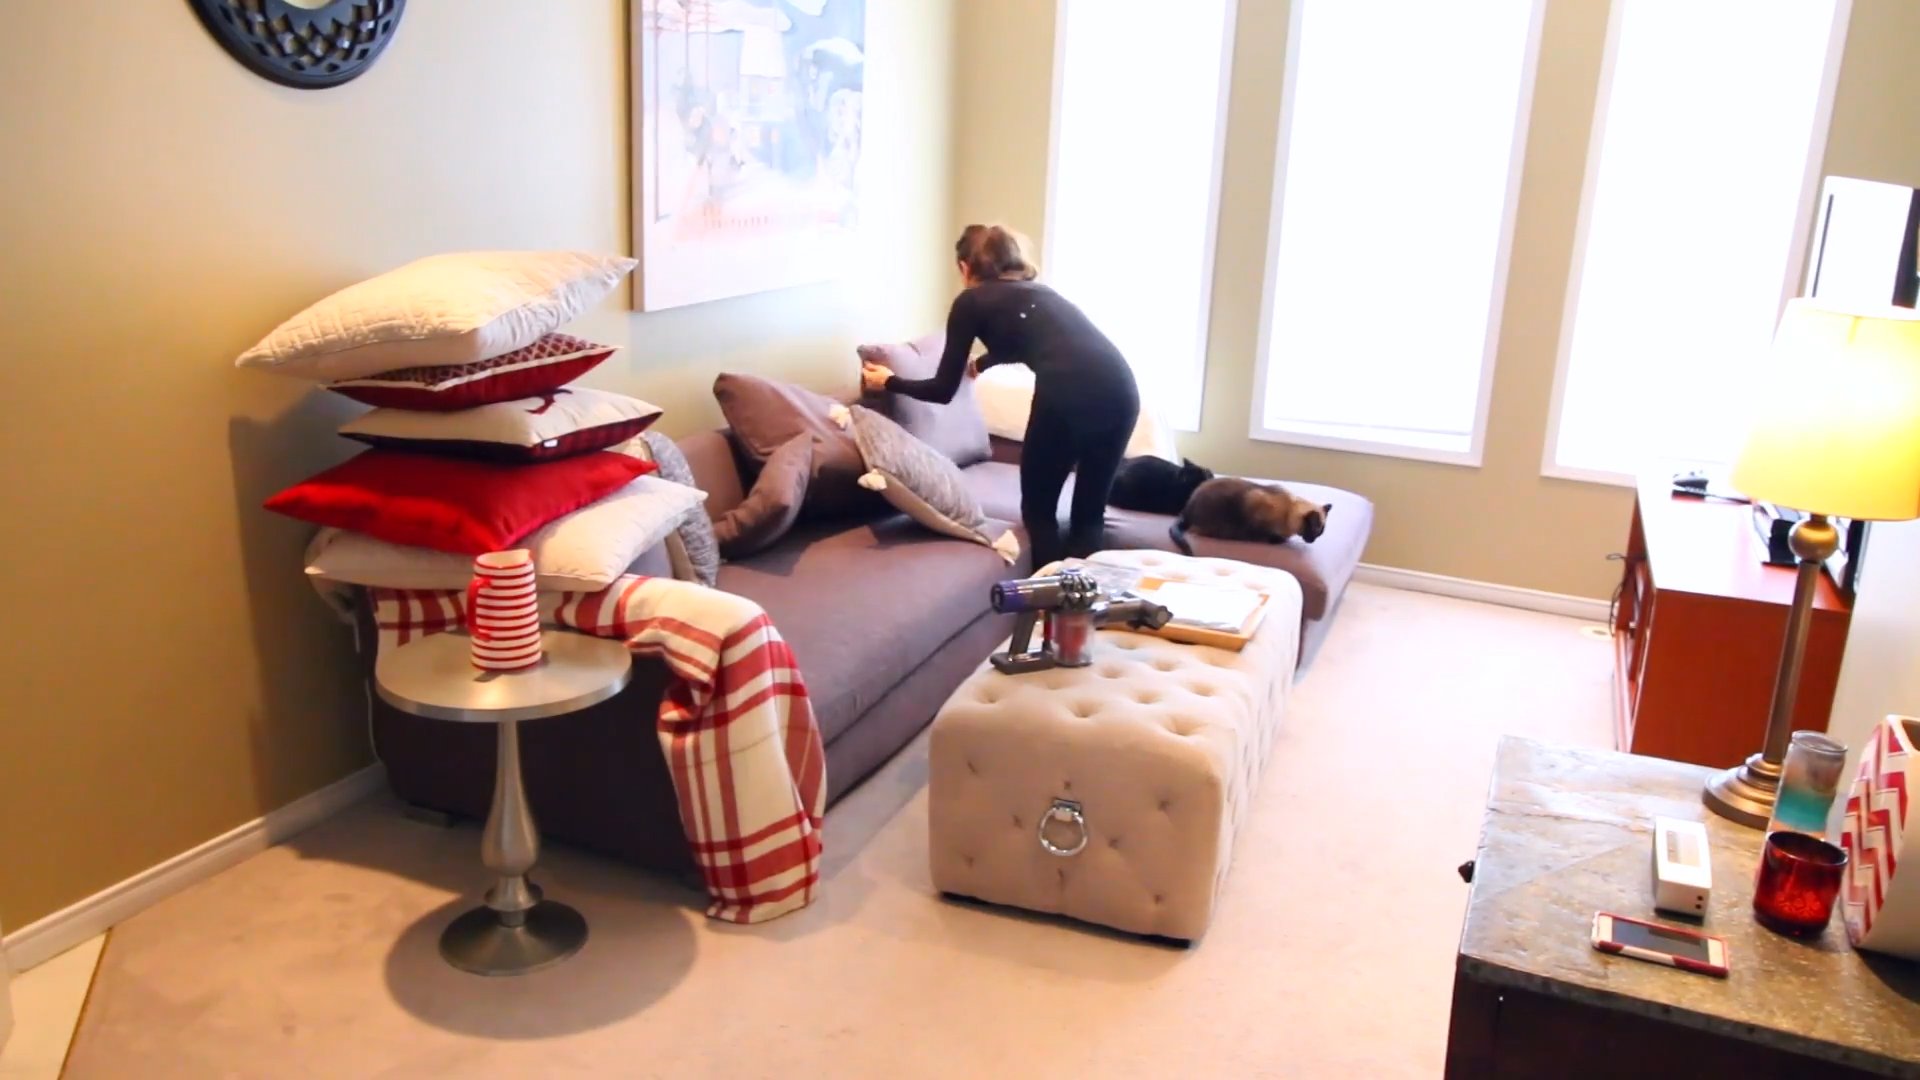
* **Finishing Touches:**
* Arrange furniture.
* Fluff pillows and throws.
* Empty trash cans.
* Add fresh flowers or plants.
* Light a candle or use an air freshener.
Section 1: Decluttering – The Foundation of Clean
This is arguably the most important step. You can’t effectively clean a room that’s buried under clutter!
1. **Grab a few boxes or bags:** Label them “Put Away,” “Donate,” and “Trash.” This will help you sort quickly and efficiently.
2. **Start with the obvious:** Anything that clearly doesn’t belong in the living room – shoes, kitchen utensils, random tools – goes straight into the “Put Away” box.
3. **Tackle the surfaces:** Coffee tables, shelves, the mantelpiece – clear them all! Be ruthless. Do you really need that stack of old magazines? Probably not. Donate or recycle them.
4. **Toy roundup:** If you have kids (or are just a kid at heart!), gather all the toys scattered around. Put them back in their designated storage areas. If there are broken toys or ones your kids have outgrown, toss them or donate them.
5. **Mail and paperwork:** This is a common clutter culprit. Sort through the mail, recycle junk mail immediately, and file away important documents. Create a system for dealing with mail as it comes in to prevent future build-up.
6. **The “Maybe” pile:** If you’re unsure about an item, put it in a “Maybe” box. Store this box somewhere out of sight. If you haven’t needed anything from it in a month, donate it!
Section 2: Dusting – Banishing the Dust Bunnies
Dust is the enemy of a clean living room. It settles on everything, making the room look dull and dingy. Let’s get rid of it!
1. **Ceiling fans and light fixtures:** Use a duster with an extension pole to reach high places. For ceiling fans, use a pillowcase to dust the blades. Slip the pillowcase over each blade and wipe, trapping the dust inside. This prevents dust from raining down on you!
2. **Shelves and mantels:** Remove all items from the shelves and mantelpiece. Dust each item individually with a microfiber cloth. Then, dust the shelves and mantel itself.
3. **Furniture:** Dust tables, lamps, and decorative items. Pay attention to crevices and hard-to-reach areas. A small brush can be helpful for cleaning intricate details.
4. **Electronics:** Use a dry microfiber cloth to dust TVs, stereos, and gaming consoles. Avoid using liquids on electronics, as they can cause damage. For screens, use a screen cleaner specifically designed for electronics.
5. **Baseboards and window sills:** These often get overlooked, but they accumulate a lot of dust. Use a damp cloth or a vacuum with a brush attachment to clean them.
Section 3: Surface Cleaning – Making Things Shine
Now that we’ve removed the dust, it’s time to tackle the grime and sticky spots.
1. **Prepare your cleaning solution:** I like to use a multi-purpose cleaner diluted with water. You can also make your own cleaner with equal parts white vinegar and water.
2. **Wipe down all hard surfaces:** Use a damp cloth and your cleaning solution to wipe down coffee tables, side tables, shelves, and any other hard surfaces.
3. **Clean mirrors and glass surfaces:** Use a glass cleaner and a microfiber cloth to clean mirrors and windows. Spray the cleaner onto the cloth, not directly onto the glass, to prevent streaks.
4. **Disinfect frequently touched areas:** Use a disinfectant wipe or spray to clean doorknobs, light switches, remote controls, and other frequently touched areas. This is especially important during cold and flu season!
Section 4: Floor Care – From Grimy to Gleaming
The floor is a major focal point in any room. A clean floor can instantly make the entire room look and feel cleaner.
1. **Vacuum or sweep:** Start by vacuuming or sweeping the entire floor to remove loose dirt, dust, and debris. Pay attention to corners and edges.
2. **Mop hard floors:** Use a mop and a floor cleaner appropriate for your type of flooring. Follow the instructions on the cleaner. Be sure to wring out the mop thoroughly to avoid leaving streaks.
3. **Deep clean carpets and rugs (if needed):** If your carpets or rugs are stained or heavily soiled, consider deep cleaning them. You can rent a carpet cleaner or hire a professional. If you’re doing it yourself, follow the instructions on the carpet cleaner carefully. Always test the cleaner in an inconspicuous area first to make sure it doesn’t damage the carpet.
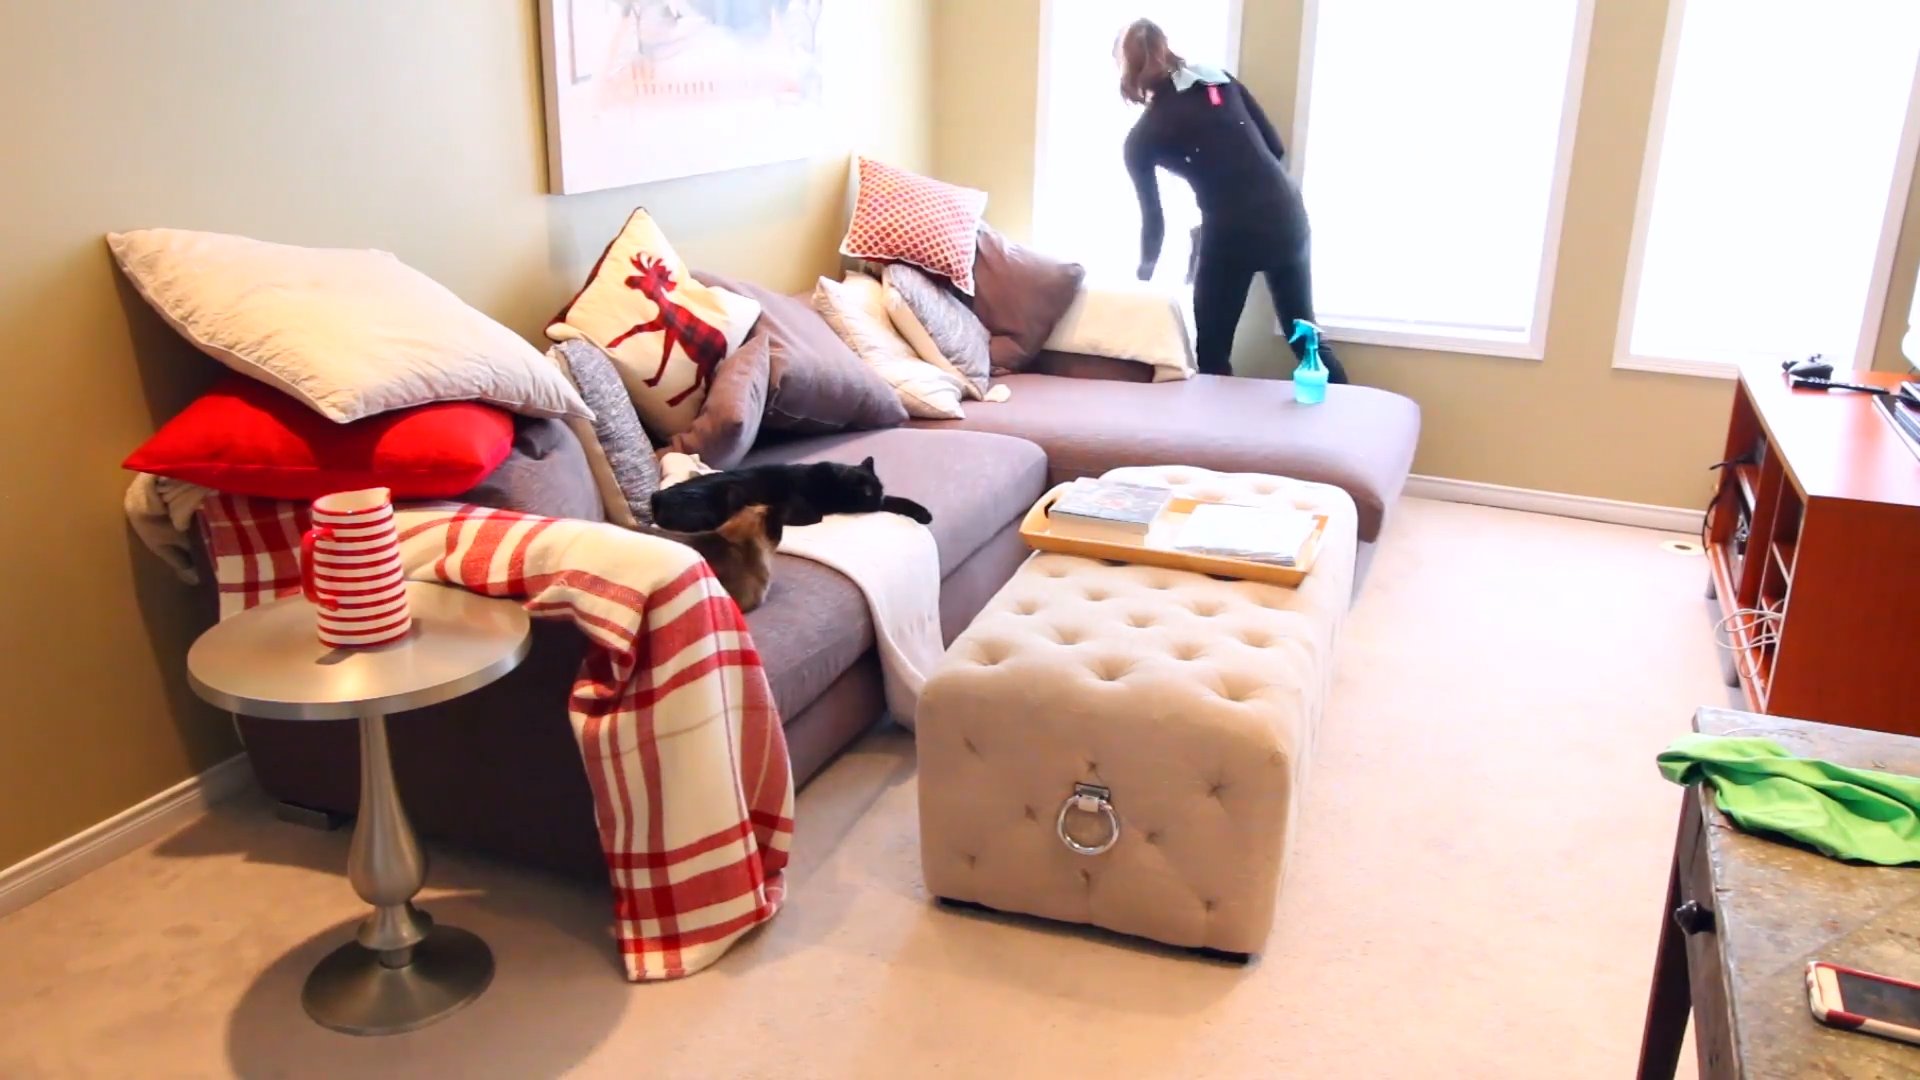
Section 5: Upholstery Cleaning – Refreshing Your Furniture
Your sofas, chairs, and ottomans can harbor a lot of dirt and dust. Let’s give them a good cleaning!
1. **Vacuum upholstery:** Use a vacuum with an upholstery attachment to vacuum sofas, chairs, and ottomans. Pay attention to crevices and seams.
2. **Spot clean stains:** If you have any stains, try to spot clean them as soon as possible. Use a stain remover specifically designed for upholstery. Test the stain remover in an inconspicuous area first to make sure it doesn’t damage the fabric. Blot the stain with a clean cloth, working from the outside in.
3. **Deep clean upholstery (if needed):** If your upholstery is heavily soiled or stained, consider deep cleaning it. You can rent an upholstery cleaner or hire a professional. If you’re doing it yourself, follow the instructions on the cleaner carefully. Always test the cleaner in an inconspicuous area first to make sure it doesn’t damage the fabric.
Section 6: Window Treatment Cleaning – Letting the Light Shine In
Clean window treatments can make a big difference in the overall brightness and cleanliness of your living room.
1. **Dust or vacuum curtains and blinds:** Use a duster or a vacuum with a brush attachment to dust or vacuum curtains and blinds.
2. **Wash curtains (if applicable):** If your curtains are washable, remove them from the window and wash them according to the care instructions. Hang them to dry or tumble dry on low heat.
Section 7: Finishing Touches – The Final Flourish
Now that the hard work is done, it’s time to add the finishing touches that will make your living room feel cozy and inviting.
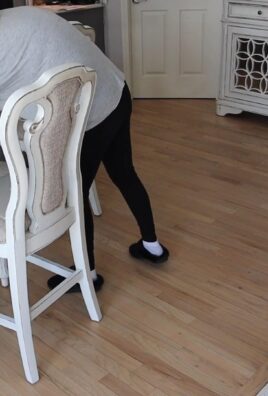
1. **Arrange furniture:** Arrange your furniture in a way that is both functional and aesthetically pleasing.
2. **Fluff pillows and throws:** Fluff your pillows and throws to make them look plump and inviting.
3. **Empty trash cans:** Empty all trash cans in the living room.
4. **Add fresh flowers or plants:** Fresh flowers or plants can add a touch of life and color to your living room.
Conclusion
So, there you have it! This comprehensive living room cleaning checklist isn’t just another chore list; it’s your pathway to a consistently clean, inviting, and stress-free living space. We’ve broken down the overwhelming task of cleaning into manageable, bite-sized pieces, ensuring that no corner is left untouched. From the often-overlooked dusting of light fixtures to the deep cleaning of upholstery, this checklist covers it all.
Why is this living room cleaning checklist a must-try? Because it’s more than just a list; it’s a system. It’s a system designed to save you time, energy, and frustration. By following this checklist regularly, you’ll prevent dirt and grime from accumulating, making each subsequent cleaning session easier and faster. Imagine spending less time scrubbing and more time enjoying your beautifully clean living room.
But the beauty of this checklist lies in its adaptability. Feel free to customize it to suit your specific needs and preferences. For example, if you have pets, you might want to add “vacuum pet hair from furniture twice a week” to your routine. Or, if you’re particularly sensitive to dust, you could increase the frequency of dusting surfaces. The key is to make the checklist work for you.
Here are a few suggestions and variations to consider:
* Seasonal Deep Clean: Use this checklist as a foundation for a more thorough seasonal deep clean. Add tasks like washing curtains, cleaning windows inside and out, and shampooing carpets.
* Teamwork Makes the Dream Work: Divide the tasks among family members to make the cleaning process even faster and more efficient. Assign specific tasks to each person and create a rotating schedule.
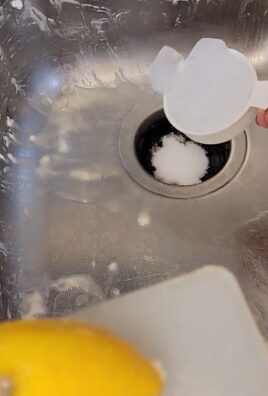
* Eco-Friendly Cleaning: Swap out conventional cleaning products for eco-friendly alternatives. Vinegar, baking soda, and lemon juice are all excellent natural cleaning agents.
* Themed Cleaning Sessions: Turn cleaning into a fun activity by creating themed cleaning sessions. For example, have a “music and cleaning” session where you blast your favorite tunes while tackling the checklist.
* Reward System: Motivate yourself and your family by creating a reward system for completing the checklist. Treat yourselves to a movie night, a special dinner, or a fun outing.
We are confident that this living room cleaning checklist will transform your cleaning routine and help you maintain a consistently clean and comfortable living space. Don’t just take our word for it; give it a try! Download the checklist, customize it to your liking, and start cleaning.
We’re eager to hear about your experiences. Did this checklist make your cleaning routine easier? Did you discover any new cleaning tips or tricks? Share your thoughts and feedback in the comments below. Let’s create a community of clean living enthusiasts and help each other maintain beautiful and inviting homes. So, grab your cleaning supplies, put on some music, and get ready to transform your living room! We know you can do it!
FAQ
What if I don’t have time to do everything on the checklist every week?
That’s perfectly understandable! Life gets busy. The key is to prioritize. Focus on the tasks that make the biggest impact on the overall cleanliness of your living room. For example, vacuuming and wiping down surfaces are essential for removing dust and dirt. You can also break down the checklist into smaller, more manageable chunks. Instead of trying to do everything in one day, spread the tasks out over the week. Maybe dedicate 15-20 minutes each day to tackling a few items on the list. Remember, even a little bit of cleaning is better than none. Also, consider focusing on high-traffic areas first. These are the areas that get the dirtiest the fastest, so keeping them clean will make the biggest difference.
How often should I deep clean my living room?
A deep clean goes beyond the regular weekly tasks and involves more thorough cleaning of items like carpets, upholstery, and windows. Ideally, you should aim to deep clean your living room at least twice a year, typically in the spring and fall. However, the frequency may vary depending on your lifestyle and the amount of traffic your living room receives. If you have pets or young children, you may need to deep clean more often. Signs that it’s time for a deep clean include visible dirt and grime buildup, lingering odors, and allergies acting up.
What are some eco-friendly cleaning alternatives I can use?
There are many excellent eco-friendly cleaning alternatives that are just as effective as conventional cleaning products. Here are a few popular options:
* Vinegar: A versatile cleaner that can be used to disinfect surfaces, remove stains, and clean windows.
* Baking Soda: A natural deodorizer and abrasive cleaner that can be used to scrub surfaces, remove odors, and unclog drains.
* Lemon Juice: A natural disinfectant and degreaser that can be used to clean surfaces, remove stains, and freshen the air.
* Castile Soap: A gentle and effective cleaner that can be used for a variety of cleaning tasks, from washing floors to cleaning upholstery.
* Essential Oils: Add a few drops of essential oils to your cleaning solutions for a pleasant scent and added disinfecting properties. Tea tree oil, lavender oil, and eucalyptus oil are all excellent choices.
How can I get my family involved in cleaning the living room?
Making cleaning a family affair can make the task less daunting and more enjoyable. Here are a few tips for getting your family involved:
* Assign Age-Appropriate Tasks: Give each family member tasks that are appropriate for their age and abilities. Young children can help with simple tasks like dusting or putting away toys, while older children can handle more challenging tasks like vacuuming or cleaning windows.
* Make it Fun: Turn cleaning into a game or competition. Play music, set a timer, and see who can complete their tasks the fastest.
* Offer Rewards: Create a reward system for completing cleaning tasks. This could be anything from extra screen time to a special treat.
* Lead by Example: Show your family that you value cleanliness by participating in the cleaning process yourself.
* Be Patient: It may take some time for your family to get used to cleaning regularly. Be patient and encouraging, and celebrate their efforts.
What’s the best way to clean upholstery?
Cleaning upholstery can be tricky, as different fabrics require different cleaning methods. Always check the manufacturer’s instructions before cleaning your upholstery. Here are a few general tips:
* Vacuum Regularly: Vacuum your upholstery regularly to remove dust, dirt, and pet hair.
* Spot Clean Stains: Treat stains as soon as possible to prevent them from setting. Use a clean cloth and a mild cleaning solution to blot the stain. Avoid rubbing, as this can spread the stain.
* Steam Clean: Steam cleaning can be an effective way to deep clean upholstery. However, be sure to test a small, inconspicuous area first to ensure that the steam doesn’t damage the fabric.
* Professional Cleaning: For delicate fabrics or stubborn stains, consider hiring a professional upholstery cleaner.
How do I prevent dust from accumulating in my living room?
Dust is a common problem in most homes, but there are several things you can do to minimize its accumulation:
* Dust Regularly: Dust surfaces at least once a week to remove dust before it has a chance to settle.
* Use a Microfiber Cloth: Microfiber cloths are more effective at trapping dust than traditional cloths.
* Vacuum Regularly: Vacuum your floors and upholstery regularly to remove dust and dirt.
* Change Air Filters: Change your air filters regularly to remove dust and allergens from the air.
* Control Humidity: High humidity can promote dust mite growth. Use a dehumidifier to keep the humidity level in your home below 50%.
* Declutter: The more items you have in your living room, the more surfaces there are for dust to collect on. Declutter your living room to reduce the amount of dust.
* Consider an Air Purifier: An air purifier can help remove dust, pollen, and other allergens from the air.

Leave a Comment