

Kitchen cleaning hacks – who doesn’t need them? Let’s be honest, the kitchen is the heart of the home, but it’s also a magnet for messes! From splattered sauces to greasy countertops, keeping it sparkling can feel like a never-ending battle. But what if I told you that conquering kitchen chaos could be easier, faster, and even…fun?
For generations, resourceful cooks have passed down clever cleaning tips and tricks. Think of your grandmother’s secret weapon for removing stubborn stains or your aunt’s ingenious method for degreasing the oven. These aren’t just cleaning methods; they’re little pieces of culinary history, born out of necessity and perfected over time. In many cultures, a clean and organized kitchen is seen as a reflection of a well-managed and prosperous household, adding even more significance to these time-honored practices.
In today’s busy world, who has time to spend hours scrubbing and scouring? That’s where these DIY kitchen cleaning hacks come in! I’m going to share some of my favorite, tried-and-true methods that will save you time, money, and a whole lot of elbow grease. Whether you’re tackling a sticky stovetop or a grimy microwave, these simple solutions will help you reclaim your kitchen and enjoy a cleaner, more inviting space. Get ready to transform your kitchen cleaning routine with these easy and effective DIY tricks!
DIY Kitchen Cleaning Hacks That Will Save You Time and Money!
Hey there, fellow home enthusiasts! I’m always on the lookout for ways to make my life easier, especially when it comes to cleaning. The kitchen, being the heart of the home, often bears the brunt of daily messes. So, I’ve compiled some of my favorite DIY kitchen cleaning hacks that are not only effective but also budget-friendly. Get ready to transform your kitchen into a sparkling haven!
Cleaning the Microwave Like a Pro
Microwaves can quickly become a breeding ground for splatters and food residue. But fear not! This simple steam cleaning method will have your microwave looking brand new in minutes.
What you’ll need:
* 1 cup of water
* 1 tablespoon of white vinegar or lemon juice
* Microwave-safe bowl
* Clean sponge or cloth
Step-by-step instructions:
1. Prepare the cleaning solution: In the microwave-safe bowl, combine the water and vinegar (or lemon juice). The vinegar or lemon juice helps to loosen the grime and deodorize the microwave.
2. Microwave the solution: Place the bowl in the microwave and heat it on high for 5-7 minutes. The water should boil and create steam inside the microwave. This steam will soften the stuck-on food particles.
3. Let it sit: After microwaving, don’t open the door immediately! Let the bowl sit inside for another 3-5 minutes. This allows the steam to continue working its magic.
4. Wipe it clean: Carefully remove the bowl (it will be hot!). Use a clean sponge or cloth to wipe down the interior of the microwave. You’ll be amazed at how easily the grime comes off. For stubborn spots, you might need to scrub a little, but the steam should have done most of the work.
5. Clean the turntable: Remove the turntable and wash it with warm, soapy water. Rinse thoroughly and dry before placing it back in the microwave.
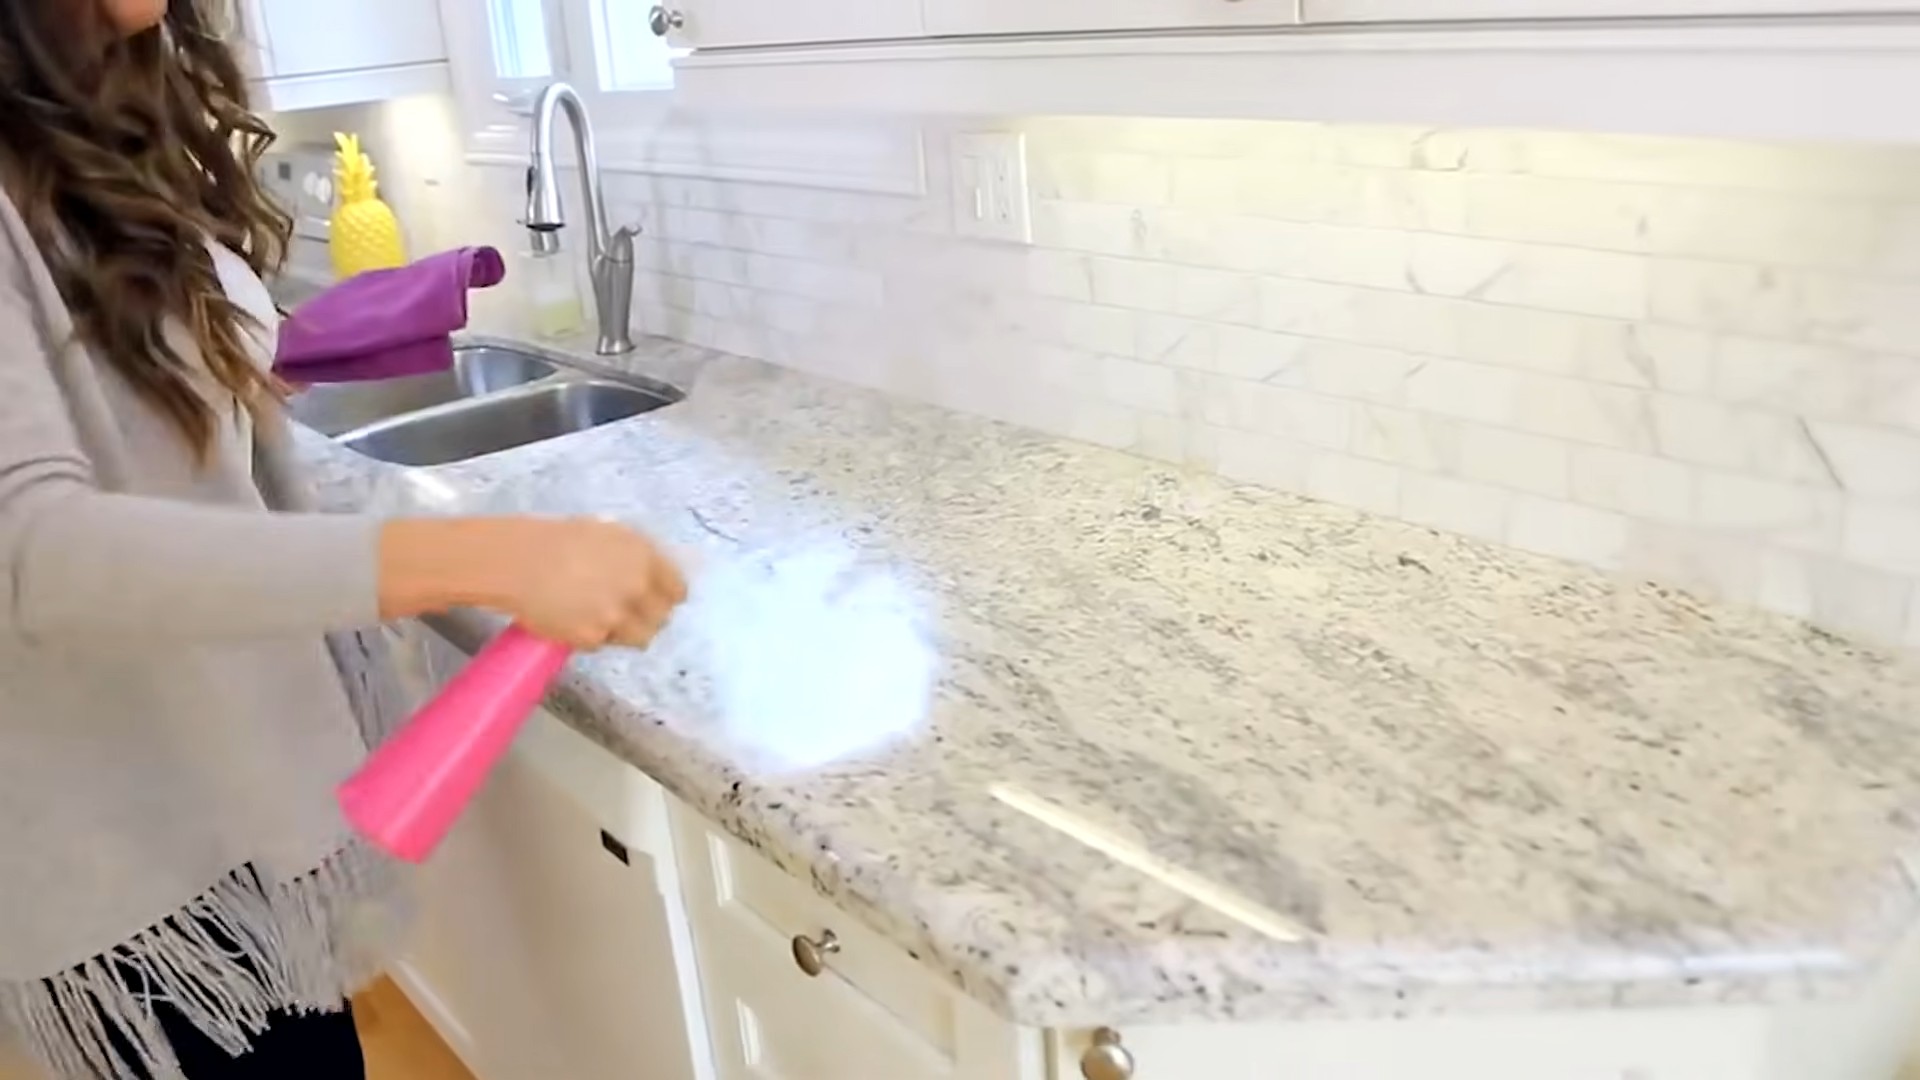
Degreasing Your Stovetop with Baking Soda
A greasy stovetop can be a real eyesore. But with the power of baking soda, you can easily tackle even the toughest grease stains.
What you’ll need:
* Baking soda
* Water
* Spray bottle
* Scrub sponge or cloth
* Paper towels
Step-by-step instructions:
1. Prepare the baking soda paste: Mix baking soda with a small amount of water to create a thick paste. The consistency should be similar to toothpaste.
2. Apply the paste: Spread the baking soda paste generously over the greasy areas of your stovetop.
3. Let it sit: Allow the paste to sit for at least 15-20 minutes. For heavily soiled stovetops, you can let it sit for up to an hour. The baking soda will help to absorb the grease and loosen the grime.
4. Scrub the stovetop: Use a scrub sponge or cloth to scrub the stovetop. Apply some pressure, but be careful not to scratch the surface, especially if you have a glass stovetop.
5. Rinse and wipe: Rinse the stovetop with water to remove the baking soda residue. Use a clean cloth or paper towels to wipe the stovetop dry.
6. For stubborn stains: If some grease stains persist, repeat the process or try using a stronger cleaning solution, such as a mixture of vinegar and water.
Cleaning Your Oven with Baking Soda and Vinegar
Cleaning the oven is often a dreaded task, but it doesn’t have to be! This natural cleaning method uses the power of baking soda and vinegar to break down grease and grime.
What you’ll need:
* Baking soda
* Water
* White vinegar
* Spray bottle
* Scrub brush or sponge
* Rubber gloves
* Old towels or rags
Step-by-step instructions:
1. Remove oven racks: Take out the oven racks and set them aside. You can soak them in warm, soapy water while you clean the oven.
2. Make a baking soda paste: In a bowl, mix ½ cup of baking soda with enough water to form a spreadable paste.
3. Coat the oven: Wearing rubber gloves, spread the baking soda paste all over the interior surfaces of the oven, avoiding the heating elements. Be generous with the application, especially on areas with baked-on grease and food residue.
4. Let it sit overnight: This is the key! Allow the baking soda paste to sit in the oven overnight (at least 12 hours). This gives the baking soda time to work its magic and loosen the grime.
5. Scrub the oven: The next day, use a scrub brush or sponge to scrub the oven interior. The baking soda paste should have softened the grime, making it easier to remove.
6. Wipe away the residue: Use a damp cloth or sponge to wipe away the baking soda residue. You may need to rinse the cloth frequently to remove all the residue.
7. Spray with vinegar: Pour white vinegar into a spray bottle and spray it all over the oven interior. The vinegar will react with any remaining baking soda, creating a foamy mixture.
8. Wipe again: Use a clean cloth or sponge to wipe away the foamy mixture.
9. Dry the oven: Use a clean, dry towel to dry the oven interior.
10. Clean the oven racks: Scrub the oven racks with a scrub brush or sponge to remove any remaining grease and grime. Rinse them thoroughly and dry them before placing them back in the oven.
Shining Your Stainless Steel Appliances
Stainless steel appliances can add a touch of elegance to your kitchen, but they can also be magnets for fingerprints and smudges. Here’s how to keep them looking their best.
What you’ll need:
* White vinegar
* Spray bottle
* Microfiber cloth
* Olive oil (optional)
Step-by-step instructions:
1. Spray with vinegar: Pour white vinegar into a spray bottle and spray it onto the stainless steel surface.
2. Wipe with a microfiber cloth: Use a clean microfiber cloth to wipe the surface in the direction of the grain. This will help to remove fingerprints, smudges, and water spots.
3. Buff to a shine: Use a dry microfiber cloth to buff the surface to a shine.
4. Optional: Apply olive oil: For an extra shine and to help prevent fingerprints, you can apply a small amount of olive oil to a clean microfiber cloth and buff the surface. Be sure to use a very small amount of oil to avoid leaving a greasy residue.
Cleaning Your Cutting Boards
Cutting boards can harbor bacteria if not cleaned properly. Here are a few ways to keep them clean and sanitized.
What you’ll need:
* Hot, soapy water
* White vinegar
* Lemon
* Coarse salt
* Clean sponge or cloth
Step-by-step instructions:
1. Wash with hot, soapy water: After each use, wash your cutting board with hot, soapy water. This will remove food particles and prevent bacteria from growing.
2. Sanitize with vinegar: To sanitize your cutting board, spray it with white vinegar and let it sit for a few minutes. Then, wipe it clean with a damp cloth. Vinegar is a natural disinfectant that can kill bacteria.
3. Deodorize with lemon: To remove odors from your cutting board, rub it with half a lemon. The lemon juice will help to neutralize odors and leave your cutting board smelling fresh.
4. Remove stains with salt and lemon: For stubborn stains, sprinkle coarse salt on the cutting board and rub it with half a lemon. The salt will act as an abrasive, while the lemon juice will help to break down the stains. Rinse the cutting board thoroughly after scrubbing.
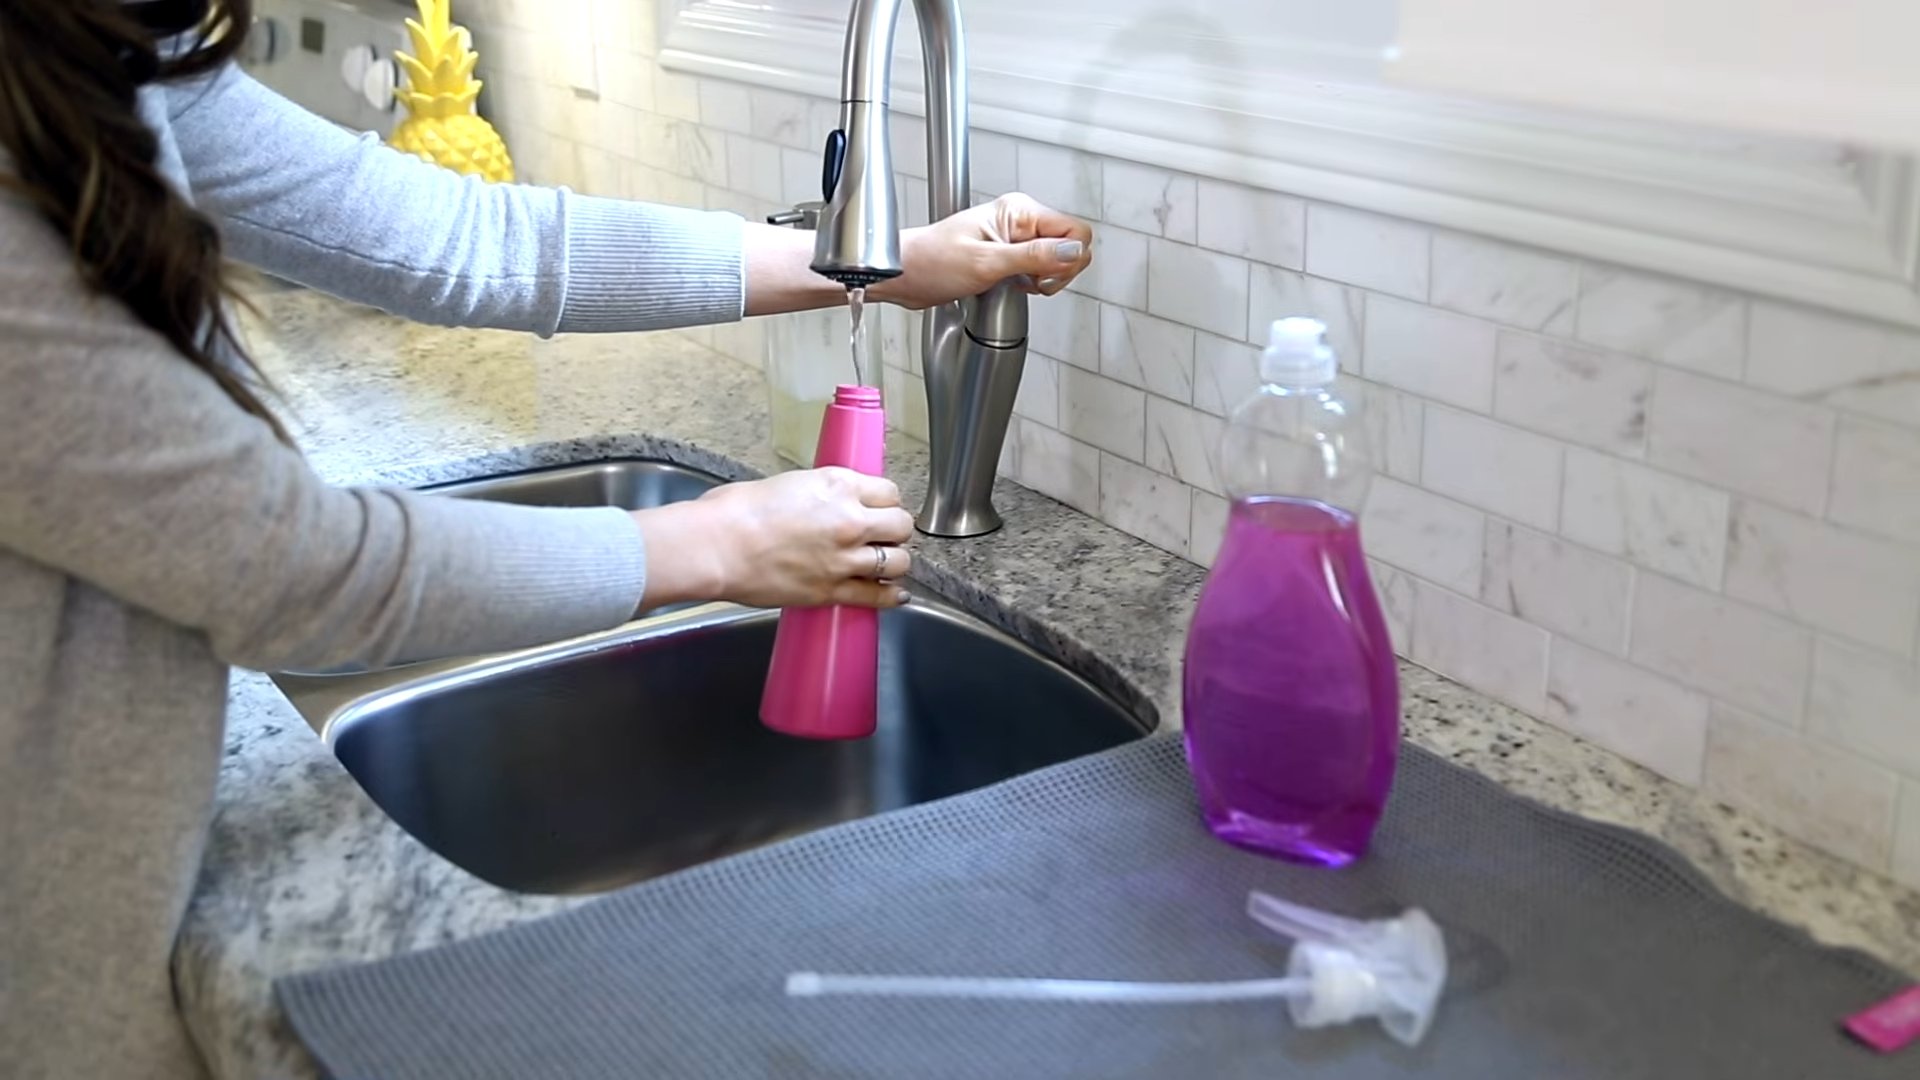
Cleaning Your Kitchen Sink
Your kitchen sink is another area that can quickly become dirty and germy. Here’s how to keep it clean and sparkling.
What you’ll need:
* Baking soda
* White vinegar
* Lemon
* Salt
* Hot water
* Scrub brush or sponge
Step-by-step instructions:
1. Rinse the sink: Rinse the sink with hot water to remove any loose debris.
2. Sprinkle with baking soda: Sprinkle baking soda all over the sink.
3. Scrub the sink: Use a scrub brush or sponge to scrub the sink. The baking soda will act as a gentle abrasive to remove dirt and grime.
4. Rinse with vinegar: Rinse the sink with white vinegar. The vinegar will react with the baking soda, creating a foamy mixture that will help to loosen any remaining dirt and grime.
5. Scrub again: Scrub the sink again with the scrub brush or sponge.
Conclusion
So, there you have it! These kitchen cleaning hacks aren’t just about making your kitchen sparkle; they’re about reclaiming your time, saving money, and creating a healthier, more enjoyable cooking environment. We’ve explored simple yet incredibly effective ways to tackle common kitchen messes, from degreasing your oven with the power of baking soda to reviving dull stainless steel with a simple vinegar solution.
Why is this a must-try? Because a clean kitchen is a happy kitchen, and a happy kitchen leads to more delicious meals and less stress. Imagine walking into a kitchen where the countertops gleam, the sink shines, and the air smells fresh – all thanks to a few minutes of effort and ingredients you likely already have in your pantry. These aren’t just cleaning tips; they’re investments in your well-being.
But don’t stop there! Feel free to experiment and adapt these hacks to suit your specific needs and preferences. For instance, if you’re not a fan of the vinegar smell, add a few drops of your favorite essential oil, like lemon or lavender, to the cleaning solution. If you have particularly stubborn grease stains, let the baking soda paste sit for a longer period before scrubbing. You can even try using a toothbrush for those hard-to-reach areas around the faucet or stove burners.
Consider these variations:
* **Lemon Power:** For an extra boost of cleaning power and a refreshing scent, add lemon juice to your vinegar solution. The citric acid in lemon juice is a natural degreaser and disinfectant.
* **Essential Oil Infusion:** As mentioned, essential oils can add a pleasant aroma to your cleaning solutions. Tea tree oil is a great option for its antibacterial properties.
* **DIY All-Purpose Cleaner:** Combine equal parts water and vinegar in a spray bottle. Add a few drops of dish soap and your favorite essential oil for a versatile cleaner that can be used on most kitchen surfaces.
* **Oven Cleaning Alternative:** If you prefer a less abrasive method for oven cleaning, try placing a bowl of boiling water inside the oven and letting the steam loosen the grime. Then, wipe it down with a damp cloth.
We truly believe that these kitchen cleaning hacks will transform your cleaning routine. They’re easy, affordable, and effective. But the real magic happens when you put them into practice.
So, we encourage you to give these DIY tricks a try. Start with one or two that resonate with you and see the difference they make. And most importantly, share your experience with us! Let us know which hacks worked best for you, any variations you tried, and any other kitchen cleaning tips you’ve discovered along the way. Your feedback will help us continue to refine and improve these methods, making them even more accessible and effective for everyone. Share your before and after photos, your favorite cleaning combinations, and any challenges you encountered. Let’s create a community of clean kitchen enthusiasts!
Remember, a clean kitchen is within your reach, and it doesn’t have to be a chore. With these simple kitchen cleaning hacks, you can transform your kitchen into a sparkling sanctuary in no time. Now, go forth and conquer those kitchen messes!
Frequently Asked Questions (FAQ)
1. Are these kitchen cleaning hacks safe for all kitchen surfaces?
Generally, yes, these hacks are safe for most common kitchen surfaces like stainless steel, countertops (granite, quartz, laminate), sinks, and appliances. However, it’s always a good idea to test any cleaning solution in an inconspicuous area first, especially on delicate surfaces like natural stone or painted cabinets. Avoid using abrasive cleaners or scrub brushes on surfaces that scratch easily. For wooden surfaces, use a diluted solution and wipe dry immediately to prevent water damage. If you are unsure about a particular surface, consult the manufacturer’s instructions or a professional cleaner.
2. How often should I use these kitchen cleaning hacks?
The frequency depends on your cooking habits and how often you use your kitchen. For general cleaning, wiping down countertops and sinks daily with a mild solution of soap and water is a good practice. Deep cleaning tasks like oven cleaning or degreasing the stovetop can be done weekly or bi-weekly, depending on how often you cook. Regularly cleaning spills and messes as they happen will prevent them from becoming stubborn stains and make your overall cleaning routine easier.
3. Can I use these kitchen cleaning hacks if I have allergies or sensitivities?
If you have allergies or sensitivities to certain ingredients like vinegar or baking soda, it’s crucial to take precautions. Wear gloves and a mask to avoid direct contact with the cleaning solutions. Ensure proper ventilation by opening windows or using a fan. If you experience any irritation or allergic reaction, discontinue use immediately and consult a doctor. Consider alternative cleaning solutions that are specifically formulated for sensitive skin or allergies. You can also research natural cleaning ingredients that are less likely to cause reactions.
4. What’s the best way to remove stubborn grease stains from my stovetop?
For stubborn grease stains on your stovetop, a combination of baking soda and vinegar is highly effective. Create a paste of baking soda and water, apply it to the grease stains, and let it sit for at least 30 minutes. Then, spray the paste with vinegar and watch it fizz. Scrub the area with a non-abrasive sponge or cloth, and wipe clean with a damp cloth. For particularly tough stains, you may need to repeat the process or use a degreasing dish soap in addition to the baking soda and vinegar.
5. How can I prevent my stainless steel appliances from streaking after cleaning?
To prevent streaks on your stainless steel appliances, use a microfiber cloth and wipe in the direction of the grain. Avoid using harsh chemicals or abrasive cleaners, as they can damage the finish. After cleaning with a solution of vinegar and water or a stainless steel cleaner, buff the surface with a dry microfiber cloth to remove any remaining residue and leave a streak-free shine. You can also apply a small amount of mineral oil or stainless steel polish to protect the surface and prevent future streaks.
6. Are these kitchen cleaning hacks environmentally friendly?
Yes, these kitchen cleaning hacks are generally considered more environmentally friendly than using harsh chemical cleaners. Vinegar, baking soda, and lemon juice are natural, biodegradable ingredients that are less harmful to the environment. By using these DIY solutions, you can reduce your reliance on commercial cleaning products that often contain toxic chemicals and contribute to pollution. However, it’s important to dispose of cleaning solutions properly and avoid pouring large amounts of vinegar or baking soda down the drain, as they can disrupt the balance of your septic system.
7. Can I use these hacks to clean my microwave?
Absolutely! Cleaning your microwave with these hacks is easy and effective. Place a microwave-safe bowl filled with water and a few tablespoons of vinegar or lemon juice inside the microwave. Heat the mixture on high for several minutes until the water boils and the microwave is filled with steam. Let it sit for a few minutes to allow the steam to loosen the grime. Then, carefully remove the bowl and wipe down the interior of the microwave with a damp cloth. The steam will make it easy to remove splatters and food residue.
8. What if I don’t have vinegar or baking soda? Are there alternative ingredients I can use?
While vinegar and baking soda are staples in many DIY cleaning recipes, there are alternative ingredients you can use. Lemon juice is a great substitute for vinegar due to its acidic properties. Dish soap can be used as a general cleaner for various surfaces. For scrubbing, you can use salt or cream of tartar as a mild abrasive. Experiment with different combinations of ingredients to find what works best for you.
9. How do I get rid of unpleasant odors in my kitchen?
There are several ways to eliminate unpleasant odors in your kitchen. Place a bowl of baking soda in the refrigerator or freezer to absorb odors. Simmer a pot of water with cinnamon sticks, cloves, or citrus peels on the stovetop to create a pleasant aroma. You can also use an essential oil diffuser to freshen the air. Regularly empty your trash can and clean it with soap and water to prevent odors from building up.
10. How do I clean my kitchen sink effectively?
To clean your kitchen sink effectively, start by rinsing it with hot water to remove any loose debris. Sprinkle baking soda over the surface of the sink and scrub with a non-abrasive sponge or brush. For stainless steel sinks, use a solution of vinegar and water to remove water spots and restore shine. For porcelain sinks, use a mild dish soap and avoid abrasive cleaners that can scratch the surface. Rinse thoroughly with water and dry with a clean cloth. You can also pour boiling water down the drain to help clear any clogs and eliminate odors.


Leave a Comment