

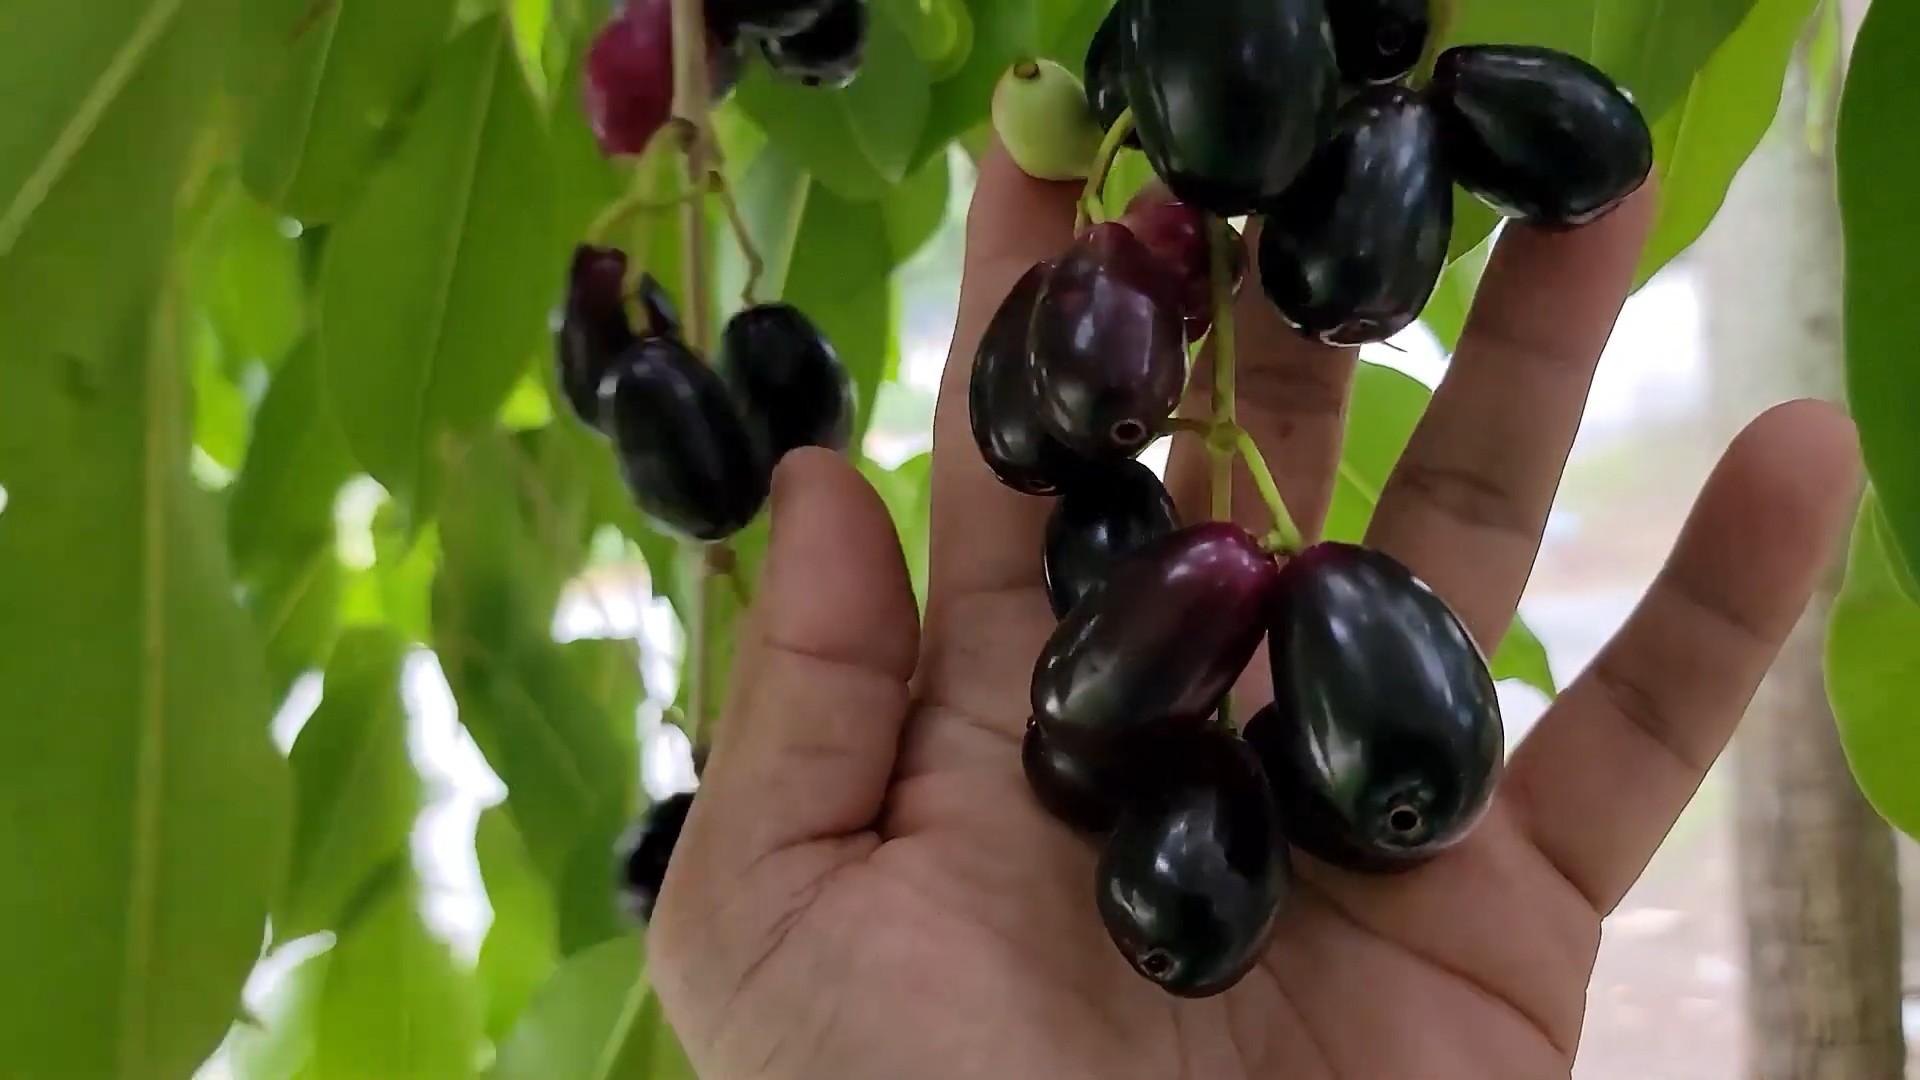
Java Plum Growing Tips: Unlock the secrets to cultivating your own luscious Java plums right in your backyard! Have you ever dreamed of plucking sweet, tangy Java plums fresh from your own tree? It’s more achievable than you might think, and this DIY guide is your passport to a bountiful harvest. For centuries, the Java plum, also known as Jambolan, has held a special place in various cultures, revered not only for its delicious fruit but also for its medicinal properties. In some traditions, it’s even considered a sacred tree!
But beyond the history and folklore, the real magic lies in the joy of growing your own food. In today’s world, where we’re increasingly conscious of where our food comes from, mastering Java Plum Growing Tips empowers you to take control. Imagine reducing your reliance on store-bought fruit, knowing exactly what went into nurturing your tree, and enjoying the unparalleled flavor of homegrown goodness. Plus, let’s be honest, there’s a certain satisfaction that comes from successfully nurturing a plant from sapling to fruit-bearing beauty. This guide will provide you with the essential DIY tricks and hacks to ensure your Java plum tree thrives, regardless of your gardening experience. So, grab your gardening gloves, and let’s embark on this exciting journey together!
DIY: Propagating Java Plum (Jamun) from Seed to Sapling
Hey there, fellow plant enthusiasts! I’m so excited to share my experience with propagating Java Plum, also known as Jamun, from seed. It’s a rewarding process, and while it requires patience, the satisfaction of growing your own fruit tree is unmatched. This guide will walk you through every step, from seed selection to nurturing your young sapling. Let’s get started!
Section 1: Seed Selection and Preparation
The key to successful propagation lies in choosing the right seeds. Here’s what I look for:
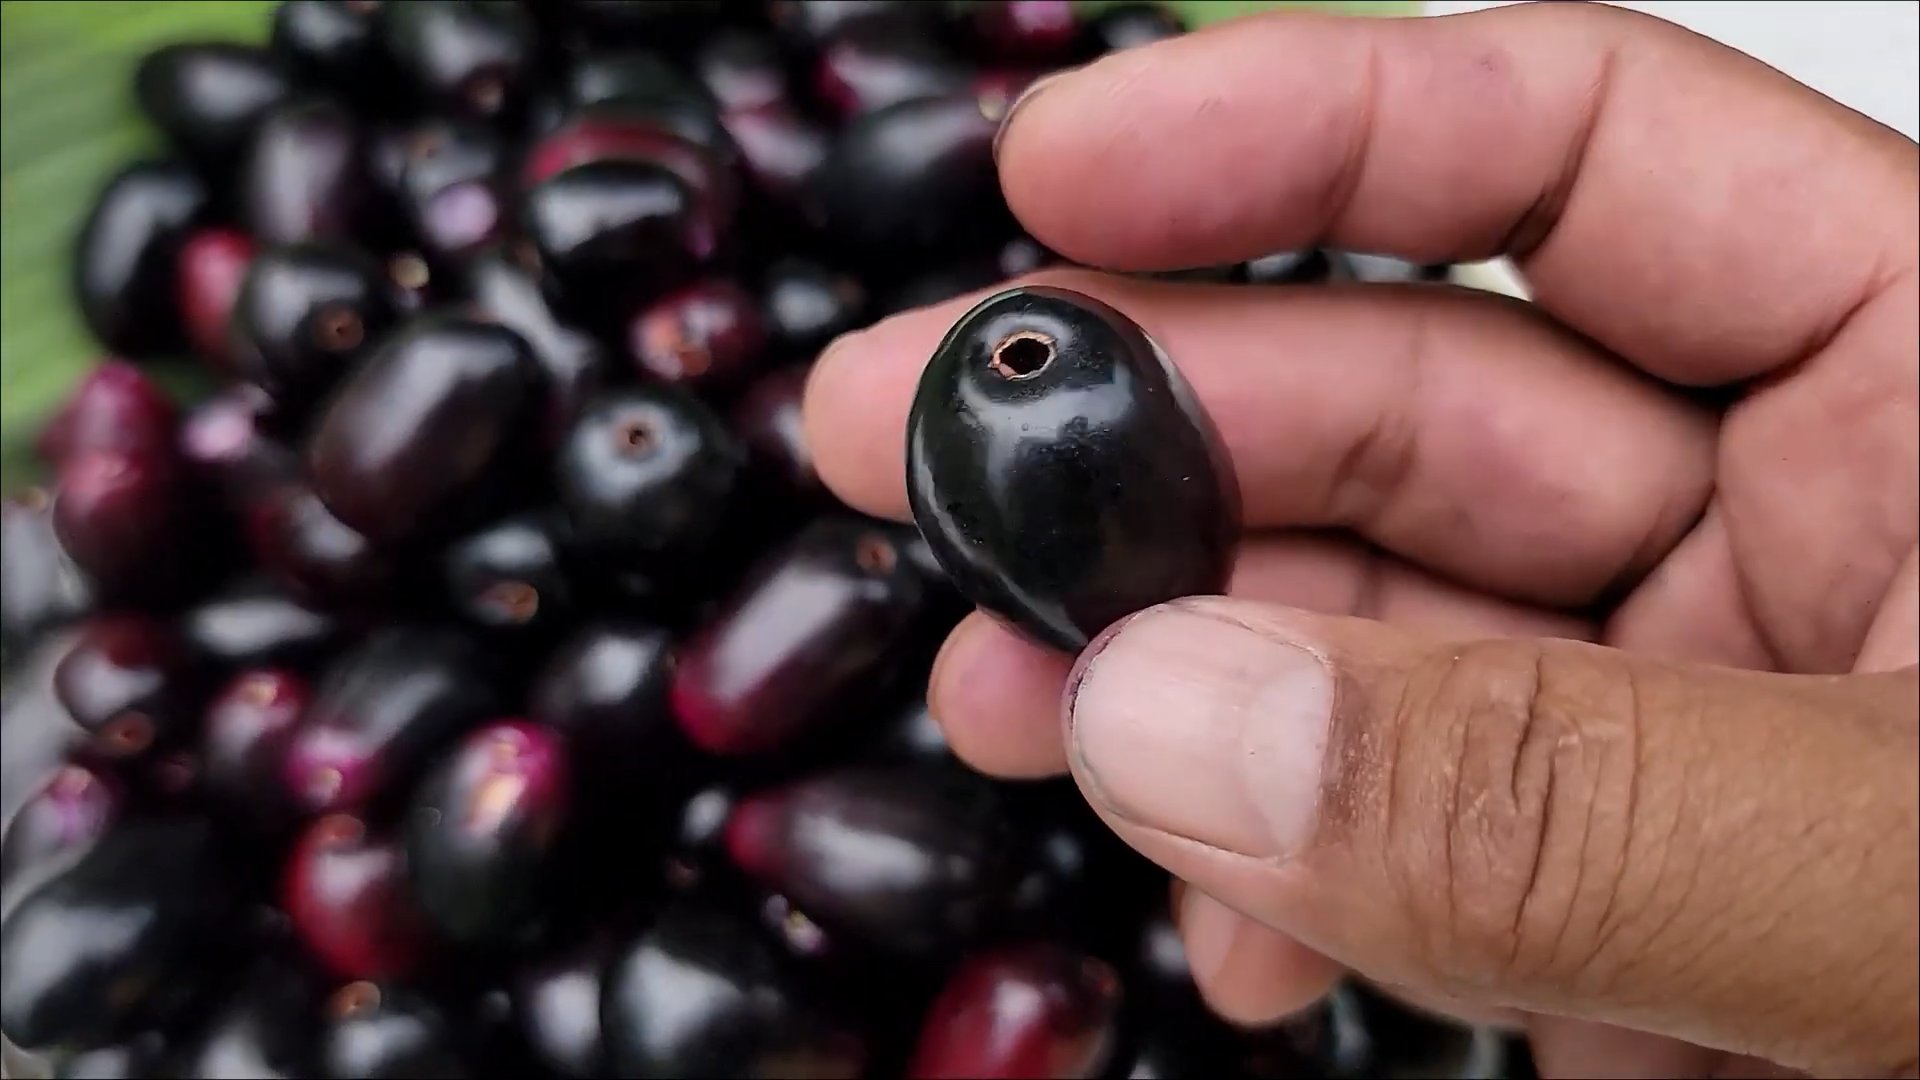
* Freshness is paramount: Use seeds from fully ripe fruits. The fresher, the better the germination rate.
* Plump and healthy: Select seeds that are firm and show no signs of damage or discoloration.
* Source matters: If possible, get your fruits from a tree known for its good fruit production.
Step-by-Step Seed Preparation
1. Extract the seeds: Carefully remove the seeds from the ripe Java Plum fruits. I usually do this over a bowl to catch any juice.
2. Clean the seeds thoroughly: This is crucial! Remove all the pulp clinging to the seeds. I find that gently scrubbing them under running water works best. Any remaining pulp can attract mold and hinder germination.
3. Dry the seeds (slightly): Spread the cleaned seeds on a paper towel and let them air dry for a day or two. Don’t let them dry out completely; we just want to remove excess moisture.
4. Optional: Scarification (Highly Recommended): Java Plum seeds have a tough outer coat. Scarification helps water penetrate, speeding up germination. I use a small nail file to gently nick the seed coat. Be careful not to damage the inner seed! You can also soak the seeds in warm water for 24 hours. This also helps soften the seed coat.
Section 2: Sowing the Seeds
Now that our seeds are prepped, it’s time to sow them!
* Choosing the right potting mix: I prefer a well-draining mix. A combination of potting soil, perlite, and vermiculite works wonders. This ensures good aeration and prevents waterlogging, which can rot the seeds.
* Container selection: Use small pots or seedling trays. Make sure they have drainage holes!
* Timing is important: The best time to sow Java Plum seeds is during the spring or early summer.
Step-by-Step Sowing Instructions
1. Fill the containers: Fill your chosen containers with the prepared potting mix, leaving about an inch of space at the top.
2. Sow the seeds: Make a small hole (about half an inch deep) in the center of each pot. Place one seed in each hole.
3. Cover the seeds: Gently cover the seeds with the potting mix.
4. Water thoroughly: Water the pots gently until the soil is evenly moist. Avoid overwatering!
5. Provide warmth and humidity: Cover the pots with a plastic wrap or place them in a propagator to create a humid environment. This helps retain moisture and promotes germination.
6. Place in a warm location: Place the pots in a warm location with indirect sunlight. Avoid direct sunlight, which can overheat the seeds.
Section 3: Germination and Early Care
Patience is key here! Java Plum seeds can take anywhere from 2 weeks to 2 months to germinate. Don’t give up!
* Monitoring moisture levels: Keep the soil consistently moist, but not soggy. Check the moisture level daily and water as needed.
* Ventilation: Once the seeds start to germinate, gradually increase ventilation by removing the plastic wrap for a few hours each day. This helps prevent fungal diseases.
* Light: Once the seedlings emerge, provide them with bright, indirect sunlight.
Step-by-Step Early Care Instructions
1. Remove the plastic wrap: Once the seedlings have emerged, remove the plastic wrap completely.
2. Watering: Water the seedlings regularly, allowing the top inch of soil to dry out between waterings.
3. Fertilizing (optional): Once the seedlings have developed a few sets of true leaves, you can start fertilizing them with a diluted liquid fertilizer. I use a balanced fertilizer (20-20-20) diluted to half strength.
4. Pest control: Keep an eye out for pests such as aphids and spider mites. If you spot any, treat them with an appropriate insecticide or horticultural oil. I prefer using neem oil as it’s a natural and effective option.
Section 4: Transplanting Seedlings
Once your seedlings have grown a bit stronger (about 4-6 inches tall), it’s time to transplant them into larger pots.
* Choosing the right pot size: Select pots that are at least 6 inches in diameter.
* Potting mix: Use the same well-draining potting mix as before.
* Timing: Transplant during the cooler part of the day, such as early morning or late afternoon.
Step-by-Step Transplanting Instructions
1. Prepare the new pots: Fill the new pots with the potting mix, leaving about an inch of space at the top.
2. Carefully remove the seedlings: Gently loosen the soil around the seedlings and carefully lift them out of their original pots. Be careful not to damage the roots!
3. Plant the seedlings: Place the seedlings in the center of the new pots and fill in the surrounding space with potting mix.
4. Water thoroughly: Water the transplanted seedlings thoroughly.
5. Provide shade: Place the transplanted seedlings in a shady location for a few days to help them adjust to their new environment.
Section 5: Growing Your Sapling
Now that your seedlings are transplanted, it’s time to focus on nurturing them into healthy saplings.
* Sunlight: Java Plum trees need plenty of sunlight. Provide your saplings with at least 6-8 hours of direct sunlight per day.
* Watering: Water regularly, especially during dry periods. Allow the top inch of soil to dry out between waterings.
* Fertilizing: Fertilize your saplings regularly with a balanced fertilizer. Follow the instructions on the fertilizer package.
* Pruning: Prune your saplings regularly to encourage branching and a strong central leader. Remove any dead, damaged, or diseased branches.
* Pest and disease control: Monitor your saplings regularly for pests and diseases. Treat any problems promptly.
Step-by-Step Growing Instructions
1. Sunlight: Gradually acclimate your saplings to full sun over a period of a week or two.
2. Watering: Water deeply and less frequently, rather than shallowly and often. This encourages deep root growth.
3. Fertilizing: Fertilize every few months during the growing season (spring and summer).
4. Pruning: Prune in late winter or early spring before new growth begins.
5. Repotting: As your saplings grow, you’ll need to repot them into larger containers. Choose pots that are a few inches larger in diameter than the previous ones.
6. Overwintering (if necessary): If you live in a cold climate, you’ll need to protect your saplings from frost. You can bring them indoors or wrap them in burlap.
Section 6: Planting in the Ground (Eventually!)
After a year or two of nurturing in pots, your Java Plum sapling will be ready to be planted in the ground.
* Choosing the right location: Select a location with well-draining soil and plenty of sunlight. Java Plum trees can grow quite large, so make sure you have enough space.
* Soil preparation: Amend the soil with compost or other organic matter to improve drainage and fertility.
* Timing: The best time to plant Java Plum trees is during the spring or early summer.
Step-by-Step Planting Instructions
1. Dig a hole: Dig a hole that is twice as wide as the root ball and just as deep.
2. Remove the sapling from the pot: Gently remove the sapling from its pot.
3. Loosen the roots: Gently loosen the roots of the sapling.
4. Plant the sapling: Place the sapling in the hole and fill in the surrounding space with soil.
5. Water thoroughly: Water the newly planted sapling thoroughly.
6. Mulch: Apply a layer of mulch around the base of the tree to help retain moisture and suppress weeds.
And there you have it! Growing Java Plum from seed takes time and effort, but the reward of harvesting your own delicious fruit is well worth it. Good luck, and happy gardening!
Conclusion
So, there you have it! Mastering the art of growing Java plums doesn’t have to be a daunting task. By implementing these simple yet effective tips, you’re well on your way to enjoying a bountiful harvest of these delicious and nutritious fruits right in your own backyard. We’ve covered everything from selecting the right variety and preparing the soil to providing adequate sunlight and water, and even protecting your precious trees from pests and diseases.
The beauty of growing your own Java plums lies not only in the satisfaction of nurturing a plant from seedling to fruit-bearing tree, but also in the unparalleled freshness and flavor you’ll experience. Forget the store-bought varieties that often lack the vibrant taste and texture of homegrown fruit. With a little patience and dedication, you can cultivate Java plums that are bursting with sweetness and packed with antioxidants.
But the journey doesn’t end here! Feel free to experiment with different growing techniques to find what works best for your specific climate and soil conditions. Consider trying different mulching materials to retain moisture and suppress weeds, or explore organic pest control methods to keep your trees healthy and thriving.
Don’t be afraid to get creative! You can even try grafting different Java plum varieties onto a single tree to enjoy a wider range of flavors and textures. Or, if you’re feeling adventurous, you can use your homegrown Java plums to create unique and delicious recipes, from jams and jellies to smoothies and desserts. The possibilities are endless!
Ultimately, the key to success in growing Java plums is to be observant, adaptable, and persistent. Pay close attention to your trees’ needs, adjust your care routine as necessary, and don’t give up if you encounter challenges along the way. With a little effort and attention, you’ll be rewarded with a lifetime of delicious and nutritious fruit.
We are confident that these Java plum growing tips will set you on the path to success. Now, it’s your turn to put these tips into practice and experience the joy of growing your own Java plums. We encourage you to share your experiences with us and other gardening enthusiasts. Let us know what worked well for you, what challenges you faced, and any other tips or tricks you discovered along the way. Together, we can create a community of passionate Java plum growers and help each other achieve even greater success.
So, grab your gardening gloves, head out to your backyard, and start planting! We can’t wait to hear about your Java plum growing adventures. Happy gardening!
Frequently Asked Questions (FAQ)
What is the best time of year to plant a Java plum tree?
The ideal time to plant a Java plum tree is during the late spring or early summer, after the last frost has passed. This allows the tree to establish its roots before the onset of winter. However, in warmer climates with mild winters, you can plant Java plum trees at any time of year, as long as you provide adequate water and protection from extreme temperatures.
How much sunlight does a Java plum tree need?
Java plum trees thrive in full sunlight, requiring at least 6-8 hours of direct sunlight per day. Insufficient sunlight can lead to reduced fruit production and weaker growth. Choose a planting location that receives ample sunlight throughout the day. If you live in a particularly hot climate, providing some afternoon shade can help prevent sunscald.
What type of soil is best for Java plum trees?
Java plum trees prefer well-drained soil that is rich in organic matter. The soil pH should be slightly acidic to neutral, ideally between 6.0 and 7.0. Before planting, amend the soil with compost or other organic materials to improve drainage and fertility. Avoid planting in heavy clay soils, as they can become waterlogged and lead to root rot.
How often should I water my Java plum tree?
Water your Java plum tree regularly, especially during the first few years after planting. Water deeply and thoroughly, allowing the soil to dry out slightly between waterings. During hot, dry weather, you may need to water more frequently. Once the tree is established, it will be more drought-tolerant, but regular watering is still important for optimal fruit production.
How do I fertilize my Java plum tree?
Fertilize your Java plum tree in the spring and summer with a balanced fertilizer that is specifically formulated for fruit trees. Follow the instructions on the fertilizer package carefully. Avoid over-fertilizing, as this can damage the tree. You can also amend the soil with compost or other organic materials to provide a slow-release source of nutrients.
How do I prune my Java plum tree?
Prune your Java plum tree in the late winter or early spring, before new growth begins. Remove any dead, damaged, or diseased branches. Prune to shape the tree and improve air circulation. You can also prune to encourage fruit production by removing branches that are growing inward or crossing each other.
What are some common pests and diseases that affect Java plum trees?
Java plum trees can be susceptible to a variety of pests and diseases, including aphids, scale, fruit flies, and fungal infections. Monitor your trees regularly for signs of infestation or disease. Treat any problems promptly with appropriate pesticides or fungicides. You can also use organic pest control methods, such as neem oil or insecticidal soap.
How long does it take for a Java plum tree to bear fruit?
Java plum trees typically begin to bear fruit within 3-5 years after planting. The exact time will depend on the variety of tree, the growing conditions, and the care provided. Be patient and continue to provide proper care, and you will eventually be rewarded with a bountiful harvest of delicious Java plums.
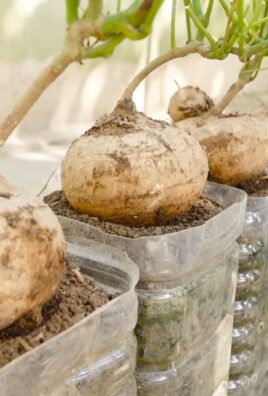
Can I grow a Java plum tree in a container?
Yes, you can grow a Java plum tree in a container, but you will need to choose a large container that is at least 24 inches in diameter. Use a well-draining potting mix and water regularly. Container-grown Java plum trees may require more frequent fertilization than trees grown in the ground. Also, be aware that container-grown trees may not grow as large or produce as much fruit as trees grown in the ground.
How do I harvest Java plums?
Java plums are typically ready to harvest in the late summer or early fall, when they turn a deep purple or black color. The fruits should be slightly soft to the touch. Gently pluck the plums from the tree, being careful not to damage the branches. Java plums can be eaten fresh, or they can be used to make jams, jellies, and other preserves.
Leave a Comment