

Indoor Vegetable Tower: Imagine fresh, vibrant vegetables gracing your kitchen, even if you don’t have a sprawling backyard! For centuries, humans have cultivated food close to home, from ancient rooftop gardens in Babylon to the intricate kitchen gardens of medieval Europe. This connection to our food source is deeply ingrained, and now, with limited space becoming a common challenge, the indoor vegetable tower offers a modern solution to a timeless need.
Are you tired of bland, store-bought produce lacking that garden-fresh flavor? Do you dream of snipping herbs right before adding them to your favorite dish? Then this DIY guide is for you! We’ll show you how to build your own stunning and productive indoor vegetable tower, bringing the joy of gardening and the taste of homegrown goodness right into your living space.
This isn’t just about aesthetics; it’s about control. You’ll have complete control over the growing environment, ensuring your vegetables are free from harmful pesticides and bursting with nutrients. Plus, it’s a fantastic way to reduce your carbon footprint and connect with nature, even when you’re stuck indoors. Let’s get started and create your very own vertical oasis!
Build Your Own Amazing Indoor Vegetable Tower!
Hey there, fellow gardening enthusiasts! Are you dreaming of fresh veggies all year round, but short on space? Well, I’ve got the perfect solution for you: a DIY indoor vegetable tower! This project is surprisingly simple, incredibly rewarding, and a fantastic way to bring a little bit of the outdoors inside. Plus, you’ll be amazed at how much you can grow in such a small footprint. Let’s get started!
What You’ll Need: The Supply List
Before we dive in, let’s gather all the necessary materials. Trust me, having everything ready beforehand will make the whole process much smoother.
* PVC Pipe (Main Structure): A 6-inch diameter PVC pipe, approximately 5-6 feet long. This will be the central support of your tower.
* Smaller PVC Pipe (Planting Pockets): A 4-inch diameter PVC pipe, enough to cut into multiple sections for your planting pockets. The amount you need depends on how many pockets you want. I usually aim for about 10-12 pockets per tower.
* End Cap: One 6-inch PVC end cap to seal the bottom of the main pipe.
* Drill: With various sized drill bits, including a large hole saw (around 2-3 inches in diameter) for creating drainage holes.
* Measuring Tape: For accurate measurements and spacing.
* Marker or Pen: For marking cutting lines and hole locations.
* Saw: A jigsaw or PVC pipe cutter for cutting the PVC pipes. A handsaw will work too, but it’ll take a bit more elbow grease.
* Sandpaper: To smooth out any rough edges after cutting.
* Potting Soil: High-quality potting mix specifically formulated for vegetables.
* Vegetable Seedlings or Seeds: Choose compact varieties like lettuce, spinach, herbs, strawberries, or dwarf tomatoes.
* Landscape Fabric or Burlap: To line the planting pockets and prevent soil from washing out.
* Zip Ties or Wire: To secure the landscape fabric in place.
* Watering Can or Hose: For watering your plants.
* Optional: A small submersible pump and tubing for automated watering (more on this later!).
* Optional: Grow lights if you don’t have a naturally sunny spot.
Phase 1: Preparing the Main Structure
This is where we lay the foundation for our vegetable tower. Accuracy is key here, so take your time and double-check your measurements.
1. Cut the Main PVC Pipe: If your 6-inch PVC pipe is longer than 6 feet, cut it down to the desired length. I find that 5-6 feet is a good height for indoor use, allowing for easy access to all the plants.
2. Drill Drainage Holes: At the bottom of the pipe, drill several large drainage holes using your hole saw. These holes are crucial for preventing water from accumulating and causing root rot. I usually drill about 4-5 holes, spaced evenly around the base.
3. Attach the End Cap: Securely attach the 6-inch PVC end cap to the bottom of the pipe. This will create a sealed base to hold the potting soil. You can use PVC cement for a permanent bond, or simply press it on tightly for easier disassembly later.
4. Optional: Internal Watering System Prep: If you’re planning on using an automated watering system, now’s the time to prepare the main pipe. Drill a small hole near the top of the pipe to run the tubing from your submersible pump.
Phase 2: Creating the Planting Pockets
This is where the magic happens! We’ll transform the smaller PVC pipe into individual planting pockets that will house your veggies.
1. Cut the Smaller PVC Pipe: Cut the 4-inch PVC pipe into sections that are approximately 6-8 inches long. The exact length will depend on the size of the plants you want to grow.
2. Cut the Planting Pockets: On each section of the 4-inch PVC pipe, cut out a semi-circular opening. This opening will be the “mouth” of your planting pocket. You can use a jigsaw or a handsaw for this. I like to make the opening about half the diameter of the pipe.
3. Smooth the Edges: Use sandpaper to smooth out any rough edges on the planting pockets. This will prevent you from accidentally cutting yourself later on.
4. Line the Pockets: Cut pieces of landscape fabric or burlap that are slightly larger than the planting pockets. Line each pocket with the fabric, making sure it extends beyond the edges. This will help to retain the soil and prevent it from washing out.
5. Secure the Lining: Use zip ties or wire to secure the landscape fabric to the planting pockets. Make sure the fabric is snug and won’t easily come loose.
Phase 3: Assembling the Vegetable Tower
Now comes the fun part: putting everything together!
1. Mark the Planting Pocket Locations: On the main 6-inch PVC pipe, mark the locations where you want to attach the planting pockets. I recommend spacing them evenly around the pipe, with about 6-8 inches between each pocket. Staggering the pockets vertically will maximize sunlight exposure for all the plants.
2. Attach the Planting Pockets: There are several ways to attach the planting pockets to the main pipe. You can use PVC cement for a permanent bond, or you can use screws or bolts for a more adjustable setup. I prefer using screws, as it allows me to easily reposition the pockets if needed.
* If using screws, pre-drill pilot holes in both the main pipe and the planting pockets to prevent the PVC from cracking.
* Securely attach each planting pocket to the main pipe, making sure the opening is facing upwards.
3. Optional: Installing the Watering System: If you’re using an automated watering system, now’s the time to install it.
* Place the submersible pump in the base of the main pipe.
* Run the tubing from the pump up through the hole you drilled earlier.
* Attach the tubing to a drip irrigation system or a series of small nozzles that will water each planting pocket.
Phase 4: Planting and Growing!
The final step is to fill your tower with soil and plants!
1. Fill the Tower with Potting Soil: Carefully fill the main PVC pipe with high-quality potting soil. Make sure the soil is evenly distributed and packed down lightly.
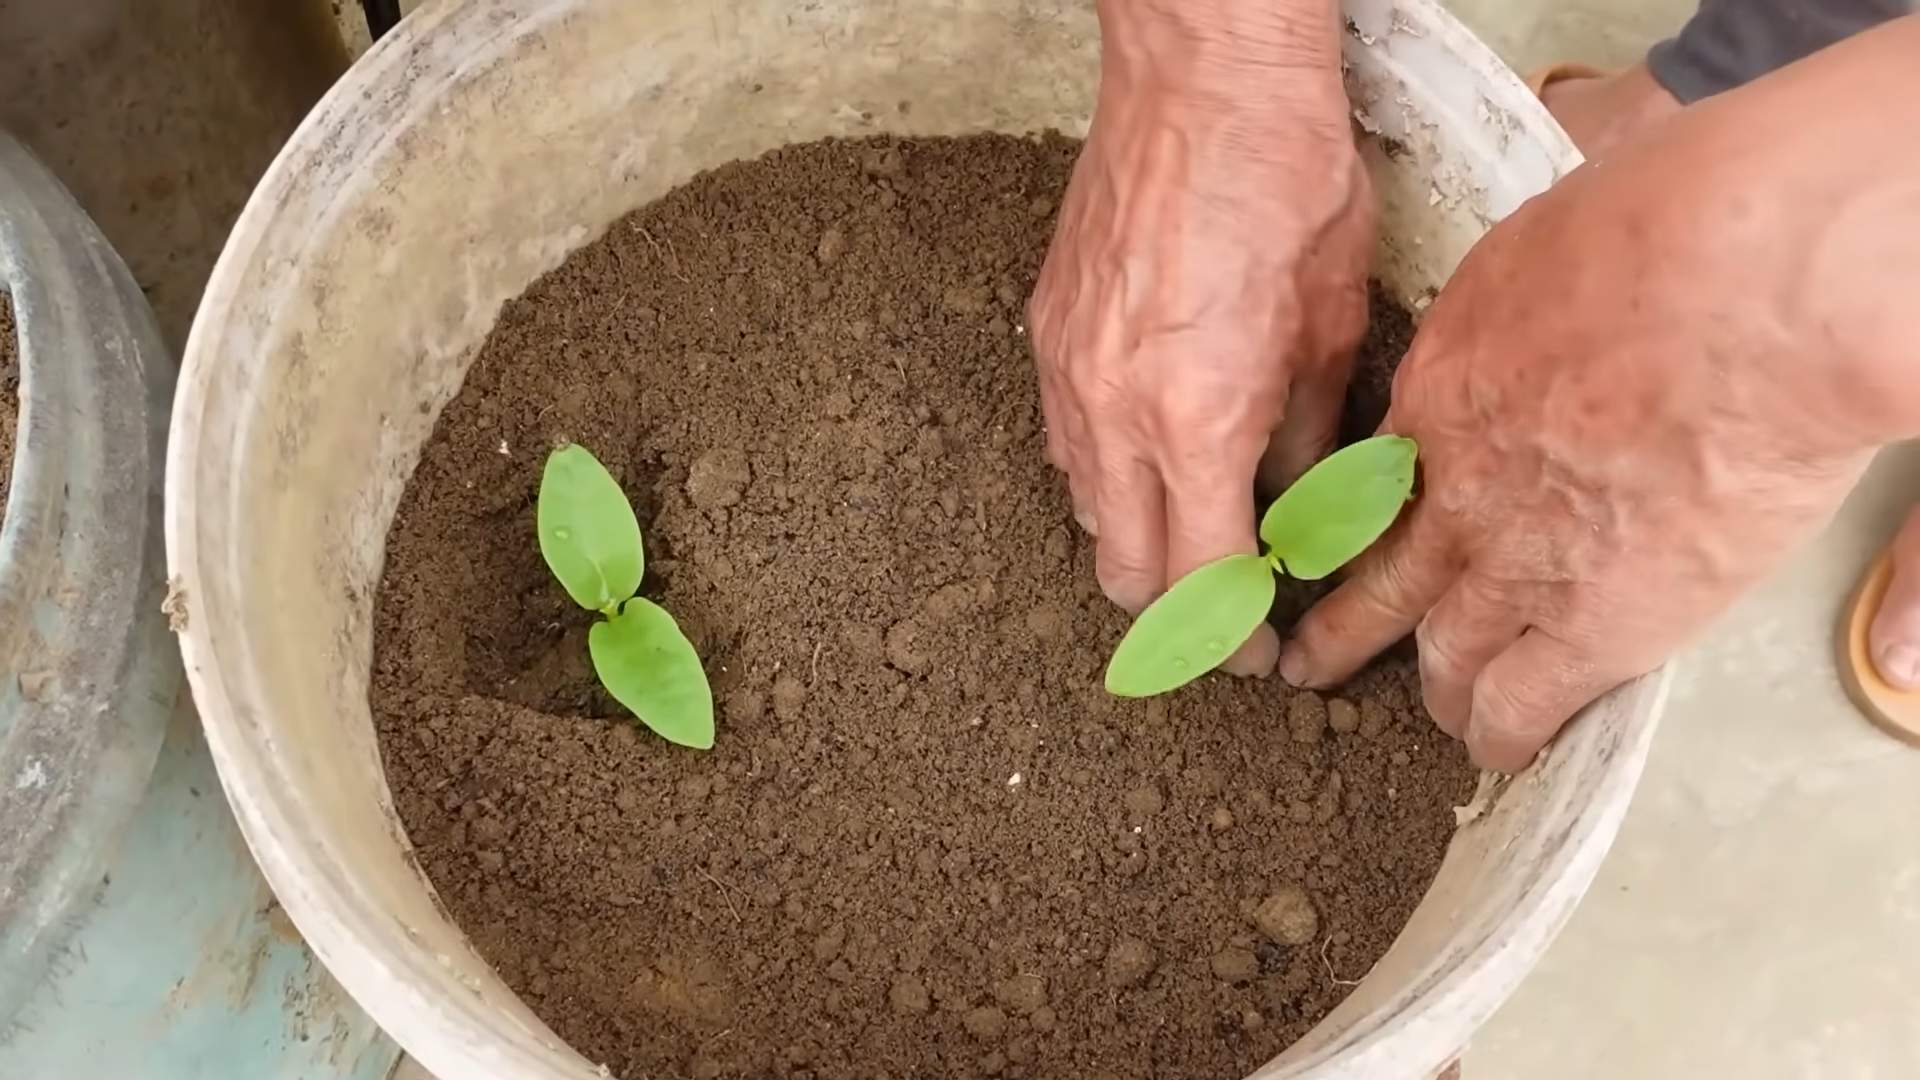
2. Plant Your Seedlings or Seeds: Gently plant your vegetable seedlings or seeds in the planting pockets. Be sure to follow the planting instructions for each type of plant.
3. Water Thoroughly: Water the tower thoroughly after planting. This will help to settle the soil and encourage root growth.
4. Place in a Sunny Location: Place your vegetable tower in a sunny location that receives at least 6 hours of direct sunlight per day. If you don’t have a naturally sunny spot, you can use grow lights to supplement the sunlight.
5. Water Regularly: Water your plants regularly, especially during hot weather. Check the soil moisture level daily and water when the top inch of soil feels dry.
6. Fertilize as Needed: Fertilize your plants regularly with a balanced liquid fertilizer. Follow the instructions on the fertilizer label.
7. Harvest Your Bounty: As your vegetables mature, harvest them regularly. This will encourage the plants to produce more.
Tips for Success
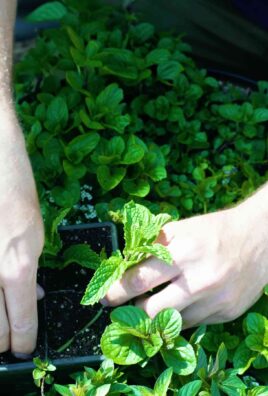
* Choose the Right Plants: Select compact varieties of vegetables that are well-suited for container gardening. Lettuce, spinach, herbs, strawberries, and dwarf tomatoes are all great choices.
* Use High-Quality Potting Soil: Don’t skimp on the potting soil! Use a high-quality mix that is specifically formulated for vegetables.
* Provide Adequate Sunlight: Sunlight is essential for plant growth. If you don’t have a naturally sunny spot, use grow lights to supplement the sunlight.
* Water Regularly: Consistent watering is crucial for healthy plants. Check the soil moisture level daily and water when needed.
* Fertilize Regularly: Fertilize your plants regularly to provide them with the nutrients they need to thrive.
* Monitor for Pests and Diseases: Keep an eye out for pests and diseases and take action promptly if you notice any problems.
* Rotate Your Crops: To prevent soil depletion, rotate your crops each season.
Troubleshooting
* Yellowing Leaves: This could be a sign of overwatering, underwatering, or nutrient deficiency. Adjust your watering schedule and fertilize as needed.
* Leggy Growth: This is usually caused by insufficient sunlight. Move your tower to a sunnier location or use grow lights.
* Pests: Inspect your plants regularly for pests and take action promptly if you notice any problems. Insecticidal soap or neem oil can be effective treatments.
*
Conclusion
So, there you have it! Building your own indoor vegetable tower isn’t just a fun project; it’s a gateway to fresh, homegrown produce right in your living space, regardless of the season or the size of your garden. We’ve walked you through the steps, highlighted the benefits, and hopefully, inspired you to take the plunge.
But why is this DIY trick a must-try? Beyond the obvious advantage of having readily available, pesticide-free vegetables, an indoor vegetable tower offers a unique blend of practicality and aesthetic appeal. It’s a conversation starter, a learning opportunity, and a sustainable solution all rolled into one. Imagine the satisfaction of harvesting your own lettuce for a salad in the middle of winter, or snipping fresh herbs to elevate your favorite dishes. The taste difference alone is worth the effort!
And the best part? You can completely customize your tower to suit your needs and preferences. Feeling adventurous? Try incorporating different types of growing mediums, like coco coir or perlite, to see which works best for your chosen vegetables. Experiment with different lighting solutions, from simple LED grow lights to more sophisticated hydroponic systems. Consider adding a small water pump to automate the watering process, making your tower even more low-maintenance.
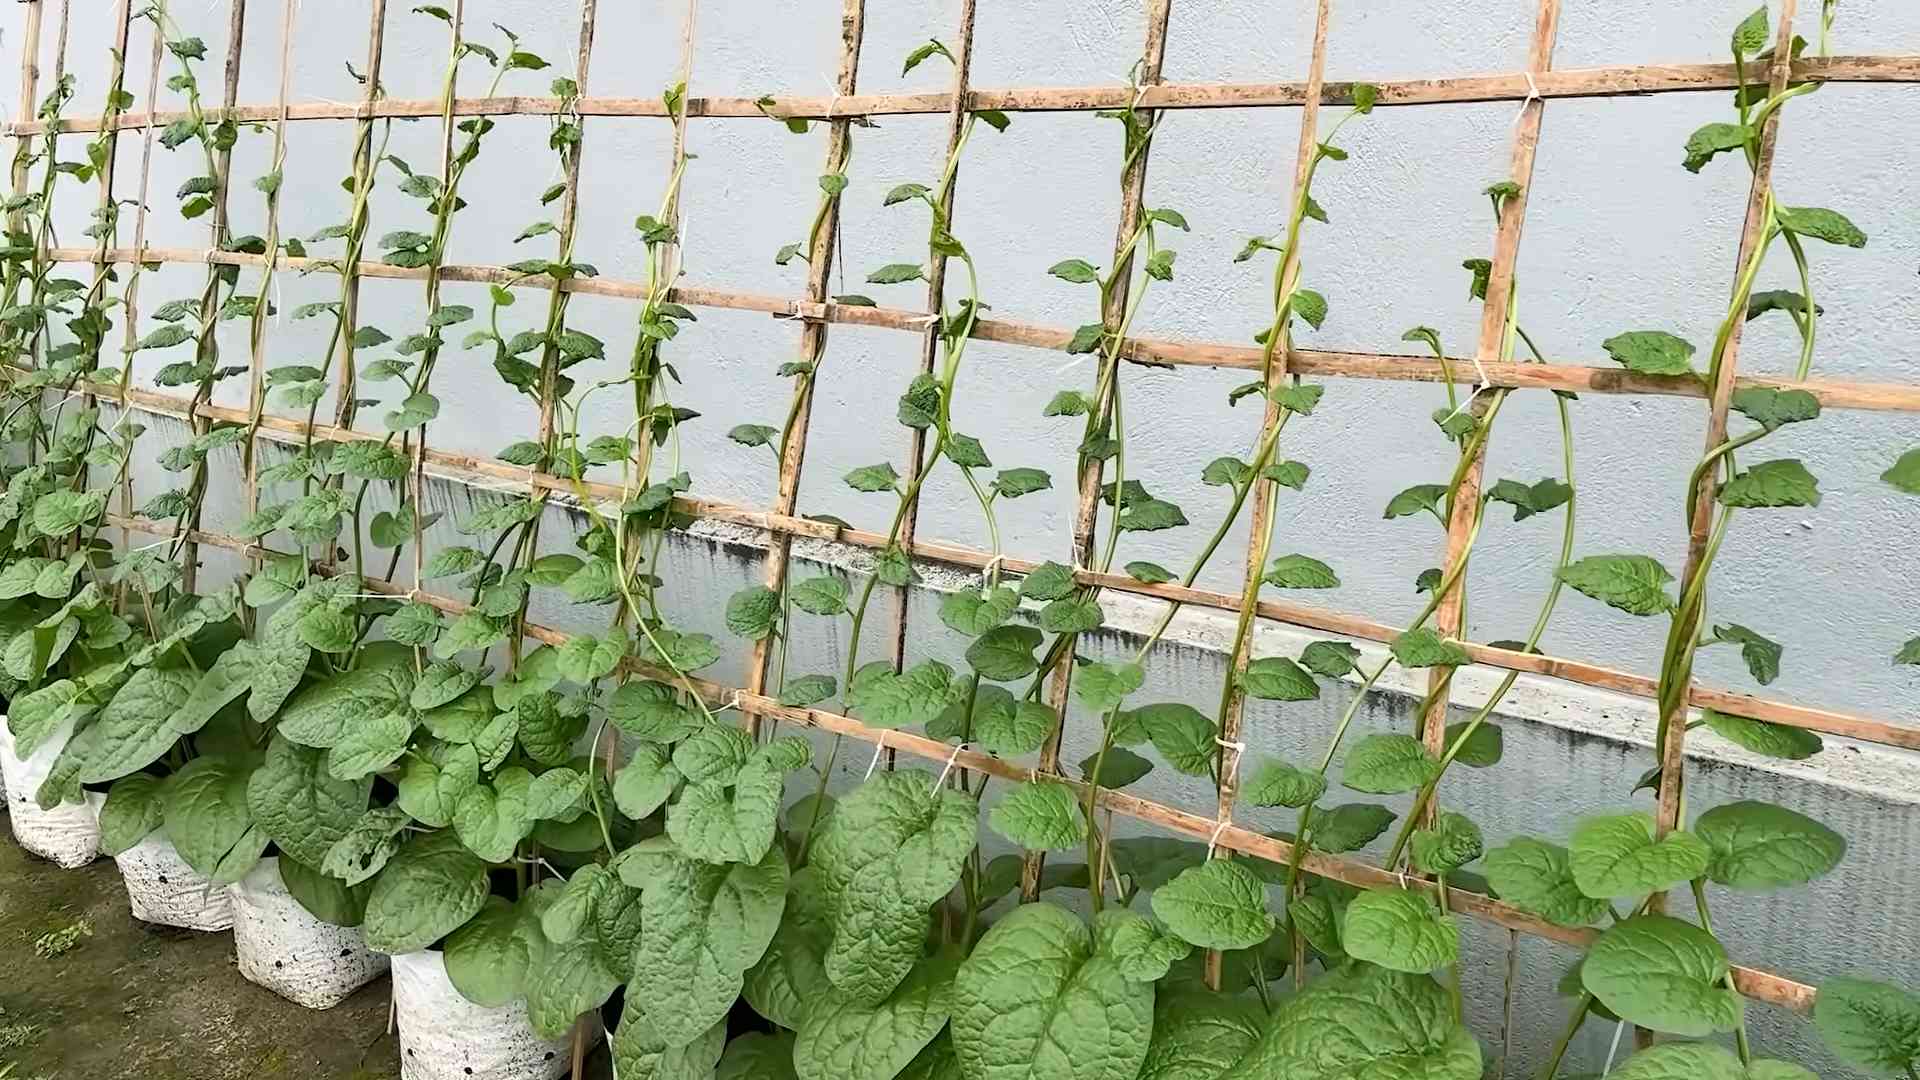
For those with limited space, a vertical tower is a game-changer. It maximizes your growing area without taking up valuable floor space. Apartment dwellers, rejoice! You can finally enjoy the joys of gardening without needing a backyard. And for those who already have a garden, an indoor tower extends your growing season and allows you to cultivate delicate or exotic vegetables that might not thrive outdoors.
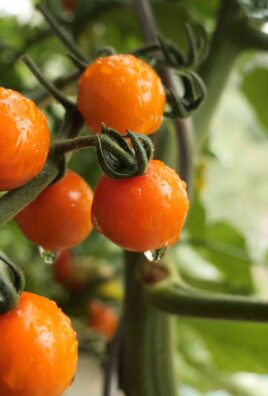
Don’t be afraid to get creative with your plant selection. While we’ve focused on leafy greens and herbs, you can also grow strawberries, peppers, tomatoes, and even dwarf varieties of cucumbers in your tower. Just be sure to research the specific needs of each plant and adjust your growing conditions accordingly.
We understand that embarking on a DIY project can sometimes feel daunting. But trust us, the rewards of building your own indoor vegetable tower far outweigh the challenges. It’s a project that’s both educational and fulfilling, and it’s a fantastic way to connect with nature, even when you’re indoors.
So, what are you waiting for? Gather your materials, roll up your sleeves, and get ready to create your own thriving indoor oasis. We’re confident that you’ll be amazed by the results. And most importantly, we want to hear about your experience! Share your photos, tips, and challenges with us in the comments below. Let’s build a community of indoor gardeners and inspire each other to grow fresh, healthy food, one tower at a time. We can’t wait to see what you create!
Ready to Grow?
Don’t delay, start planning your indoor vegetable tower today and enjoy the fruits (and vegetables!) of your labor.
Frequently Asked Questions (FAQ)
What vegetables grow best in an indoor vegetable tower?
The best vegetables for an indoor vegetable tower are typically those that are compact, fast-growing, and don’t require a lot of space for their root systems. Leafy greens like lettuce, spinach, kale, and arugula are excellent choices. Herbs such as basil, mint, parsley, chives, and oregano also thrive in vertical towers. Strawberries, peppers (especially smaller varieties), and cherry tomatoes can also be grown successfully. Dwarf varieties of cucumbers and even some types of beans can be considered, but they might require more support and attention. When choosing your plants, consider their light requirements and ensure that your grow lights are adequate for their needs.
How much light does an indoor vegetable tower need?
The amount of light required depends on the types of vegetables you’re growing. Leafy greens and herbs generally need at least 6-8 hours of light per day. Fruiting vegetables like tomatoes and peppers require even more, typically 12-16 hours. If you don’t have access to sufficient natural light, you’ll need to supplement with grow lights. LED grow lights are a popular choice because they are energy-efficient and produce very little heat. Fluorescent grow lights are another option, but they are less efficient than LEDs. The distance between the grow lights and the plants is also important. Generally, the closer the lights are to the plants, the more light they will receive. However, be careful not to place the lights too close, as this can burn the leaves.
How often should I water my indoor vegetable tower?
The watering frequency depends on several factors, including the type of growing medium you’re using, the temperature and humidity of your environment, and the types of plants you’re growing. As a general rule, you should water your tower when the top inch of the growing medium feels dry to the touch. Avoid overwatering, as this can lead to root rot. If you’re using a self-watering system, you’ll need to refill the reservoir regularly. Check the water level every few days and refill as needed. Consider using a moisture meter to accurately gauge the moisture level in the growing medium.
What type of growing medium should I use?
There are several options for growing mediums in an indoor vegetable tower. Potting mix is a common choice, but it can be heavy and may not drain well. Coco coir is a lightweight and well-draining alternative. Perlite and vermiculite can be added to potting mix or coco coir to improve drainage and aeration. Hydroponic systems use water-based nutrient solutions instead of soil. Rockwool, clay pebbles, and other inert materials are used to support the plants’ roots. The best growing medium for you will depend on your personal preferences and the types of plants you’re growing.
How do I fertilize my indoor vegetable tower?
Indoor vegetable towers require regular fertilization to provide the plants with the nutrients they need to grow. You can use a liquid fertilizer or a slow-release fertilizer. Liquid fertilizers are typically diluted with water and applied every few weeks. Slow-release fertilizers are mixed into the growing medium and release nutrients gradually over time. Choose a fertilizer that is specifically formulated for vegetables. Follow the instructions on the fertilizer label carefully to avoid over-fertilizing. Over-fertilizing can burn the plants’ roots and damage their leaves.
How do I prevent pests and diseases in my indoor vegetable tower?
Preventing pests and diseases is crucial for maintaining a healthy indoor vegetable tower. Start by using clean growing mediums and disease-free seedlings. Regularly inspect your plants for signs of pests or diseases. Common pests include aphids, spider mites, and whiteflies. Diseases include powdery mildew, root rot, and fungal infections. If you find any pests or diseases, take action immediately. You can use insecticidal soap, neem oil, or other organic pest control methods. For diseases, remove affected leaves and improve air circulation. Avoid overwatering, as this can create a favorable environment for fungal growth.
Can I move my indoor vegetable tower outside?
Yes, you can move your indoor vegetable tower outside, but you need to acclimate the plants gradually to the outdoor conditions. Start by placing the tower in a shady spot for a few hours each day. Gradually increase the amount of sunlight the plants receive over a period of one to two weeks. Be sure to protect the plants from strong winds and extreme temperatures. Monitor the plants closely for signs of stress, such as wilting or sunburn. If you live in an area with harsh weather conditions, it may be best to keep your tower indoors.
How long will my indoor vegetable tower last?
With proper care and maintenance, your indoor vegetable tower can last for many years. The lifespan of the tower itself will depend on the materials it’s made from. Plastic towers are generally more durable than fabric towers. The lifespan of the plants will depend on the type of vegetables you’re growing. Some vegetables, like lettuce and spinach, are annuals and will need to be replanted every year. Other vegetables, like herbs and strawberries, are perennials and can live for several years. Regularly inspect your tower for signs of wear and tear and make repairs as needed.

Leave a Comment