

Home clutter quick fixes – sounds like a dream, right? I know I’ve certainly dreamt of a home that magically tidies itself! But let’s be honest, life gets busy, and before you know it, clutter creeps in like an uninvited guest. We’ve all been there, staring at a mountain of stuff, feeling overwhelmed and not knowing where to even begin.
Throughout history, cultures have valued organized spaces, though the methods have varied wildly. From the minimalist Zen gardens of Japan to the meticulously arranged homes of the Victorian era, the desire for order is deeply ingrained in us. But in today’s fast-paced world, who has time for elaborate decluttering rituals? That’s where these home clutter quick fixes come in!
This isn’t about achieving some unattainable level of perfection. It’s about finding simple, actionable strategies that you can implement right now to reclaim your space and your sanity. I’m going to share some of my favorite DIY tricks and hacks that will help you tackle those problem areas, create a more peaceful environment, and maybe even free up some time to actually enjoy your home. So, let’s dive in and discover how to banish clutter, one quick fix at a time!
Conquer the Chaos: My Favorite DIY Home Clutter Quick Fixes
Okay, let’s be honest, we all have those spots in our homes that seem to attract clutter like magnets. You know, the kitchen counter, the entryway table, that one chair in the bedroom that mysteriously becomes a clothes mountain. I’m right there with you! But don’t despair, because I’ve got some super effective, DIY-friendly solutions that have helped me reclaim my space and sanity. These aren’t just about tidying up; they’re about creating systems that make it easier to *stay* organized. Let’s dive in!
Decluttering the Entryway: The Command Center Solution
The entryway is often the first and last place we see each day, so keeping it organized is crucial for setting a positive tone. A command center helps corral keys, mail, bags, and all those other essentials that tend to pile up.
Materials You’ll Need:
* A piece of wood (size depends on your space; I used a 24″ x 12″ piece of pine)
* Paint or stain (your choice of color)
* Hooks (at least 3, but more if needed)
* Small baskets or containers (for mail, sunglasses, etc.)
* Key hooks or a key holder
* Corkboard or whiteboard (optional, for notes and reminders)
* Screws and a screwdriver
* Drill (optional, but helpful for pre-drilling screw holes)
* Sandpaper (for smoothing the wood)
* Measuring tape
* Pencil
* Level
Step-by-Step Instructions:
1. Prepare the Wood: Start by sanding the wood to remove any rough edges. This will give you a smooth surface for painting or staining. I personally love the look of stained wood, but feel free to paint it whatever color complements your entryway.
2. Paint or Stain: Apply your chosen paint or stain according to the manufacturer’s instructions. If you’re painting, you might need two coats for full coverage. Let it dry completely between coats. If you’re staining, wipe off the excess stain with a clean cloth.
3. Plan Your Layout: Before attaching anything, lay out all your components on the wood to get an idea of the spacing. Consider where you want the hooks, baskets, and any other elements. Use a measuring tape and pencil to mark the positions. This is a crucial step to ensure everything is evenly spaced and looks balanced.
4. Attach the Hooks: Using a screwdriver (or a drill with a screwdriver bit), attach the hooks to the wood. Pre-drilling small pilot holes can make this easier and prevent the wood from splitting. Make sure the hooks are securely fastened.
5. Mount the Baskets: Depending on the type of baskets you’re using, you might need to screw them directly onto the wood or use small brackets. Again, pre-drilling pilot holes is recommended. Ensure the baskets are sturdy enough to hold their contents.
6. Add the Key Holder: Attach your key hooks or key holder to the board. I prefer individual hooks because they take up less space, but a small key holder can also be a stylish addition.
7. Install the Corkboard/Whiteboard (Optional): If you’re adding a corkboard or whiteboard, attach it to the board according to the manufacturer’s instructions. You might need adhesive or screws, depending on the type.
8. Mount the Command Center: Now it’s time to mount your completed command center to the wall. Use a level to ensure it’s straight. Mark the screw holes on the wall, pre-drill the holes (if necessary), and then screw the command center securely into the wall studs for maximum stability. If you can’t find studs, use drywall anchors.
Kitchen Counter Chaos: The Vertical Storage Solution
Kitchen counters are notorious for attracting clutter. Appliances, utensils, mail, you name it, it ends up there. The key is to maximize vertical space and create designated zones.
Materials You’ll Need:
* Tiered shelving unit (choose one that fits your counter space)
* Mason jars or clear containers (for utensils, spices, etc.)
* Small baskets (for produce, snacks, etc.)
* Knife block (if you don’t already have one)
* Cutting board holder
* Wall-mounted spice rack (optional)
Step-by-Step Instructions:
1. Clear the Counter: Start by completely clearing your kitchen counter. This will give you a blank slate to work with and help you visualize the new layout.
2. Install the Tiered Shelving Unit: Place the tiered shelving unit in a corner of your counter. This will instantly create more vertical storage space. I like to use mine for storing frequently used items like spices, oils, and vinegars.
3. Organize Utensils: Transfer your utensils from a drawer to mason jars or clear containers. This not only frees up drawer space but also makes it easier to grab the utensil you need. Group similar utensils together (e.g., spatulas, spoons, whisks).
4. Utilize Baskets: Use small baskets to store produce, snacks, or other items that tend to clutter the counter. Baskets help contain the mess and add a touch of style.
5. Organize Knives: If you don’t already have one, invest in a knife block. This will keep your knives organized and prevent them from cluttering your drawers.
6. Store Cutting Boards Vertically: Use a cutting board holder to store your cutting boards vertically. This saves counter space and makes it easier to access the board you need.
7. Install a Wall-Mounted Spice Rack (Optional): If you have a lot of spices, consider installing a wall-mounted spice rack. This will free up counter space and keep your spices organized and within easy reach.
8. Designate Zones: Create designated zones on your counter for different tasks. For example, you might have a coffee station, a food prep area, and a baking zone. This will help you stay organized and prevent clutter from accumulating.
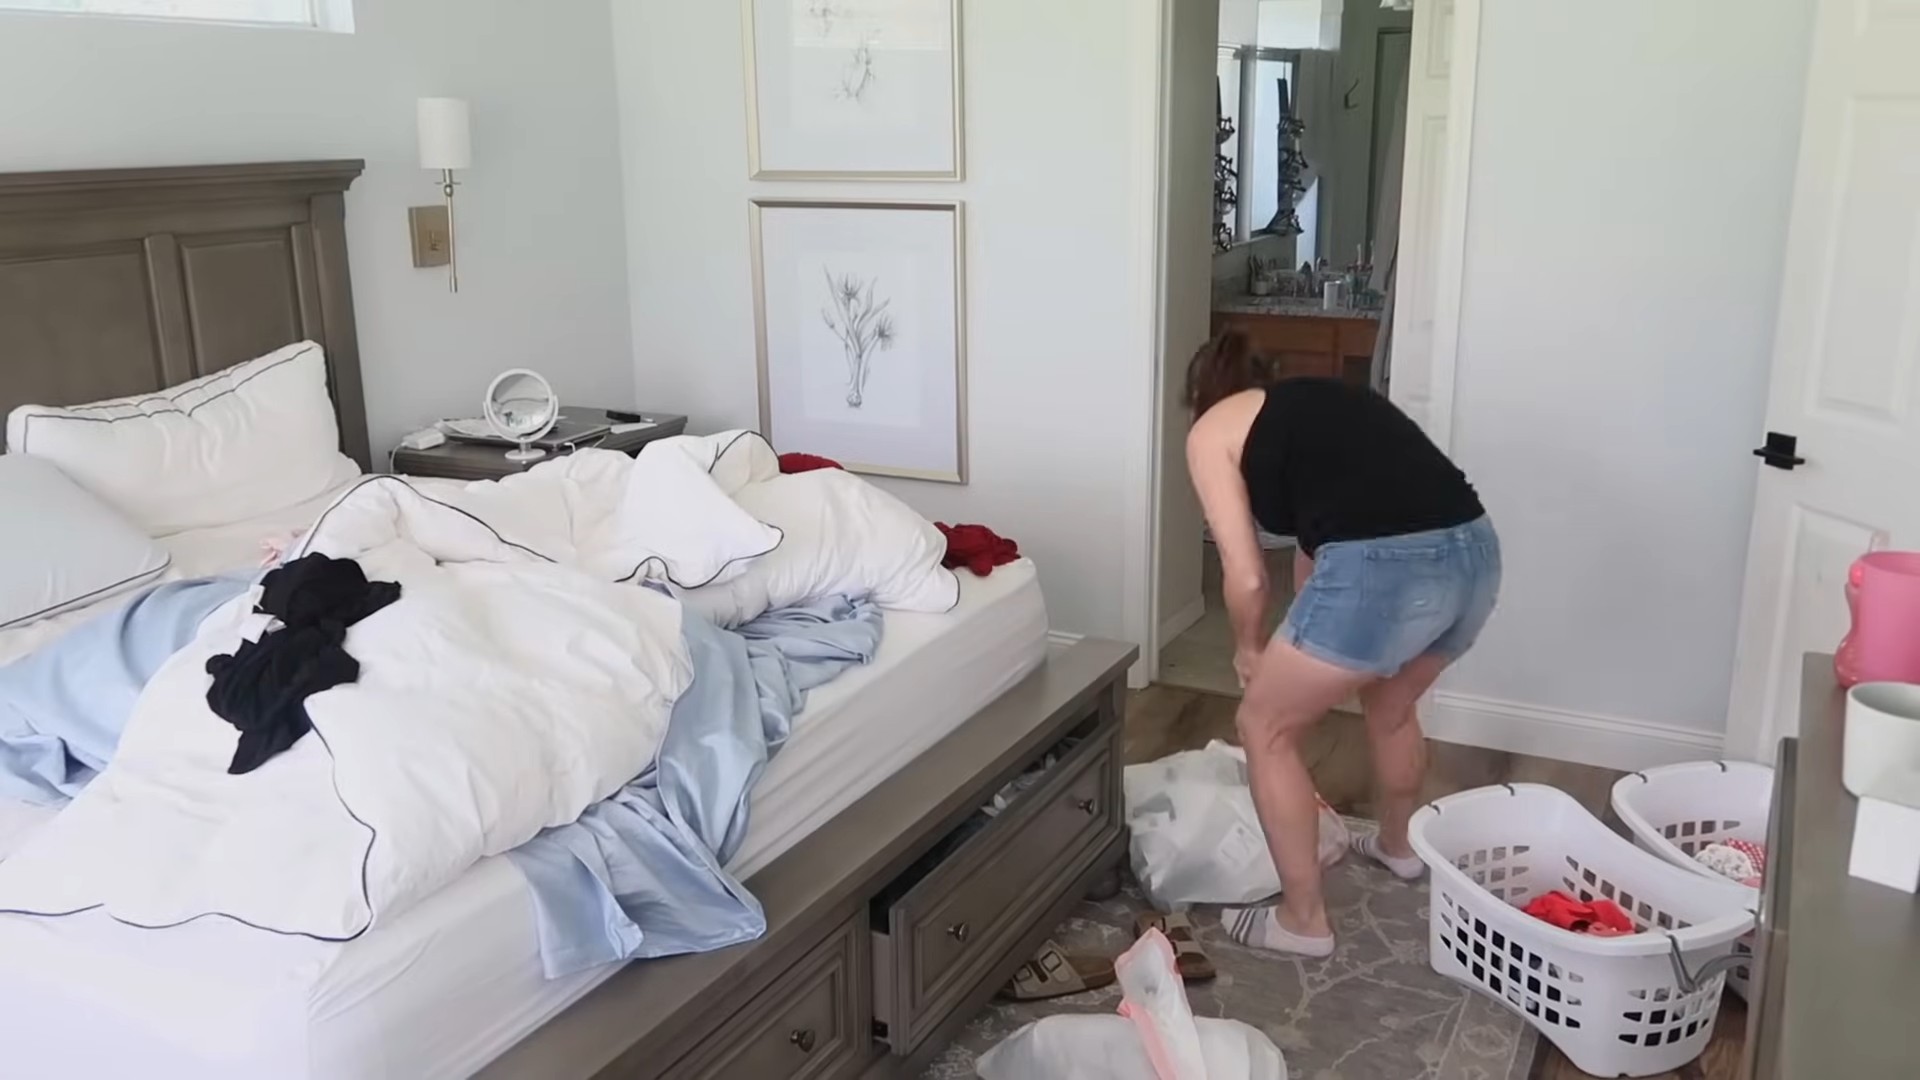
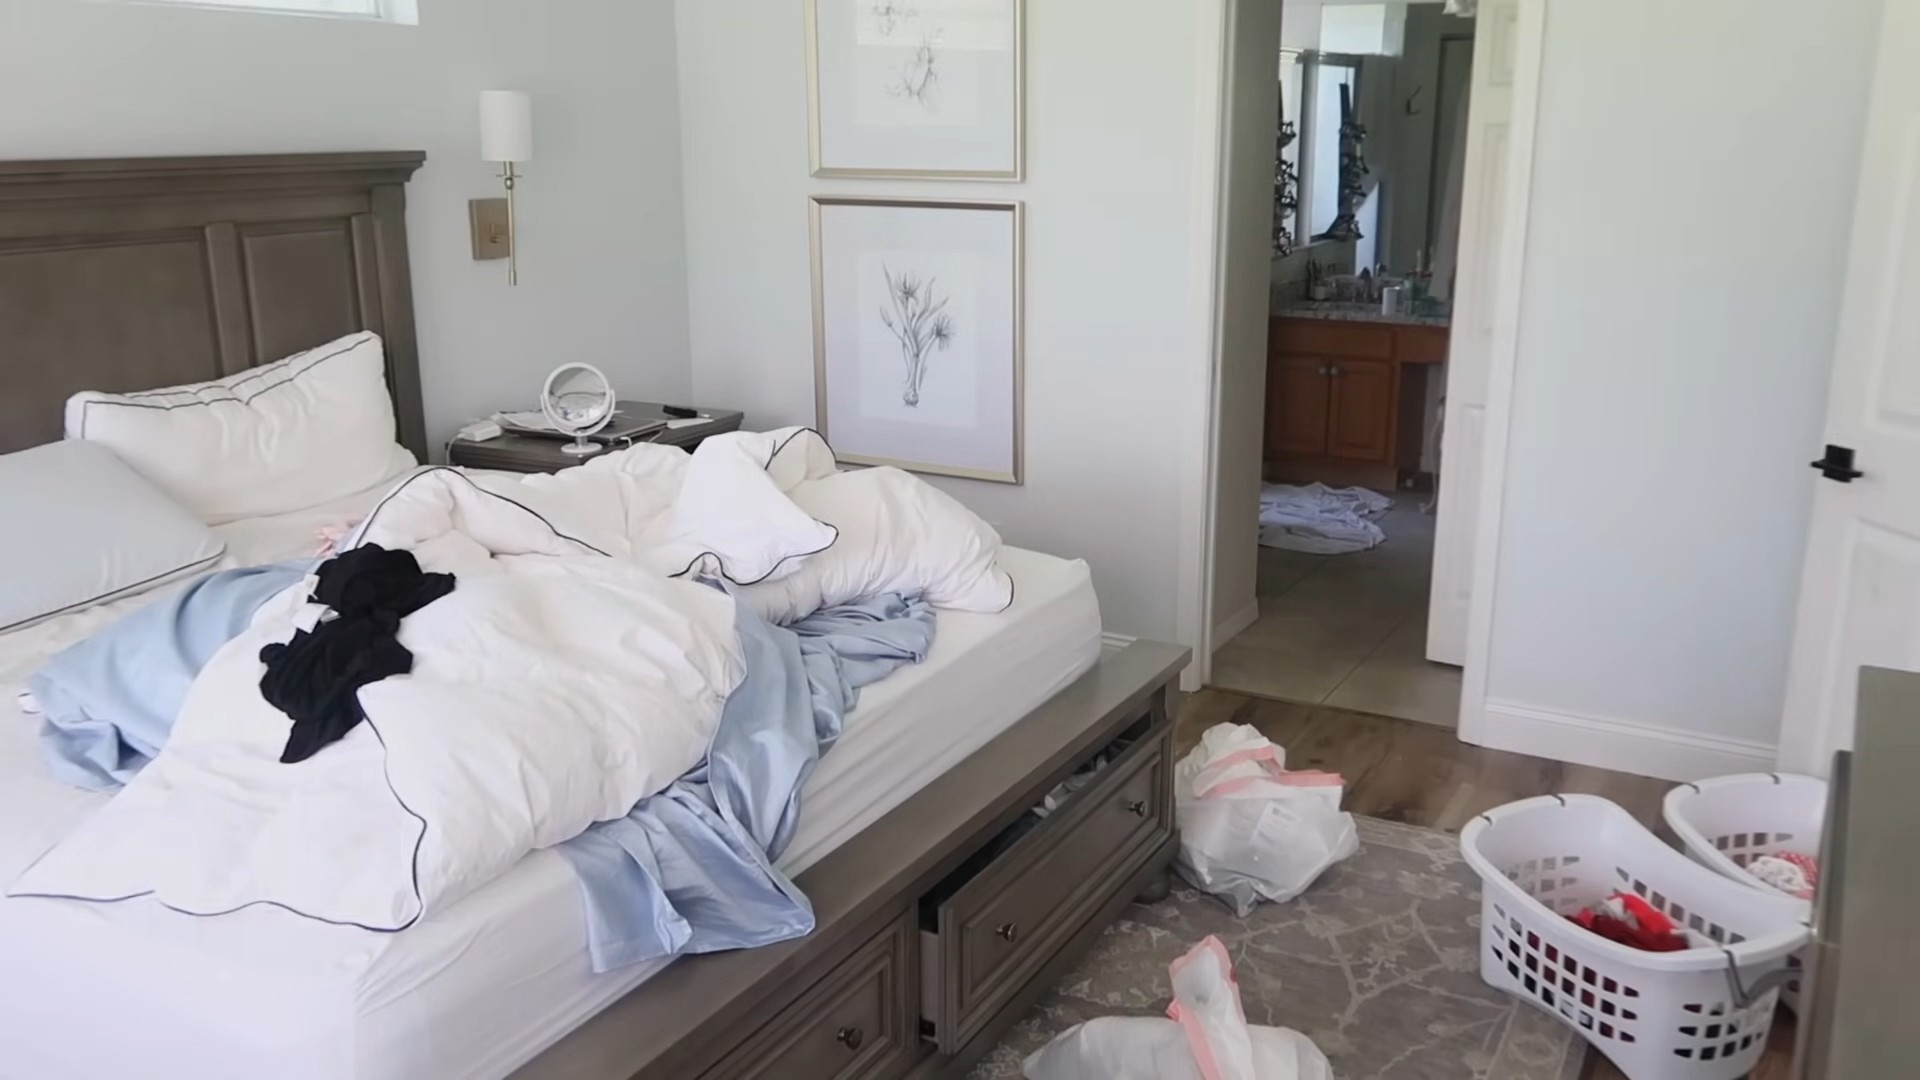
Bedroom Clothes Mountain: The Closet Organization Solution
That chair in the bedroom? We all know it. It’s a magnet for clothes. The solution? A well-organized closet.
Materials You’ll Need:
* Matching hangers (I prefer slim velvet hangers)
* Shelf dividers
* Storage bins or baskets (for sweaters, accessories, etc.)
* Shoe organizer (over-the-door or shelf-based)
* Drawer organizers (for underwear, socks, etc.)
* Full-length mirror (optional)
Step-by-Step Instructions:
1. Empty the Closet: The first step is to completely empty your closet. This will allow you to see exactly what you have and assess the space.
2. Purge Unwanted Items: Be ruthless! Get rid of anything you haven’t worn in the past year, doesn’t fit, or is damaged. Donate or sell these items.
3. Clean the Closet: Wipe down the shelves and rods to remove any dust or dirt.
4. Install Shelf Dividers: Use shelf dividers to separate stacks of clothes and prevent them from toppling over. This will keep your shelves neat and organized.
5. Use Matching Hangers: Replace all your mismatched hangers with matching hangers. This will instantly make your closet look more organized and streamlined. I highly recommend slim velvet hangers because they save space and prevent clothes from slipping off.
6. Organize Clothes by Category and Color: Group your clothes by category (e.g., shirts, pants, dresses) and then by color within each category. This will make it easier to find what you’re looking for.
7. Utilize Storage Bins and Baskets: Use storage bins or baskets to store sweaters, accessories, and other items that don’t need to be hung. Label the bins so you know what’s inside.
8. Organize Shoes: Use a shoe organizer to keep your shoes neat and tidy. An over-the-door organizer is a great option for small closets, while a shelf-based organizer is ideal for larger closets.
9. Organize Drawers: Use drawer organizers to separate underwear, socks, and other small items. This will prevent your drawers from becoming a jumbled mess.
10. Add a Full-Length Mirror (Optional): If you have space, add a full-length mirror to your closet. This will make it easier to get dressed and check your outfit.
Bonus Tip: The “One In, One Out” Rule
Once you’ve decluttered and organized your space, it’s important to maintain it. A simple rule I swear by is the “one in, one out” rule. For every new item you bring into your home, get rid of one similar item. This will prevent clutter from accumulating again. For example, if you buy a new shirt, donate or sell an old
Conclusion
Tired of battling the never-ending war against home clutter? This DIY trick isn’t just another fleeting organizational fad; it’s a game-changer that offers a sustainable and budget-friendly solution to reclaim your living space. We’ve shown you how to transform everyday items into powerful decluttering tools, and the beauty of this approach lies in its simplicity and adaptability. It’s not about buying expensive storage containers or embarking on a massive overhaul; it’s about making small, impactful changes that collectively create a significant difference.
This method of home clutter quick fixes empowers you to take control of your environment, fostering a sense of calm and order that positively impacts your well-being. Imagine opening your drawers and closets to find everything neatly organized and easily accessible. Picture your countertops free from unnecessary items, creating a clean and inviting space. This isn’t just a dream; it’s an achievable reality with a little bit of DIY ingenuity.
But don’t just take our word for it. The real magic happens when you put these techniques into practice and tailor them to your specific needs and preferences. Feel free to experiment with different materials, sizes, and configurations to create storage solutions that perfectly complement your home’s aesthetic and your personal style.
Consider these variations to further enhance your decluttering efforts:
* **Fabric-Covered Boxes:** Elevate the look of your repurposed boxes by covering them with decorative fabric. This adds a touch of elegance and allows you to seamlessly integrate your storage solutions into your existing decor.
* **Label Everything:** Invest in a label maker or simply use handwritten labels to clearly identify the contents of each container. This will save you time and frustration when searching for specific items.
* **Vertical Storage:** Maximize vertical space by utilizing wall-mounted shelves, hooks, and organizers. This is particularly useful in small apartments or homes with limited floor space.
* **Seasonal Rotation:** Regularly rotate your belongings based on the season. Store out-of-season clothing, decorations, and equipment in designated storage areas to free up valuable space in your everyday living areas.
* **Involve the Whole Family:** Make decluttering a family affair by assigning age-appropriate tasks to each member. This not only lightens the load but also teaches valuable organizational skills to children.
We are confident that this DIY approach to home clutter quick fixes will revolutionize the way you manage your belongings. It’s a cost-effective, eco-friendly, and highly customizable solution that can be adapted to suit any home and lifestyle.
So, what are you waiting for? Gather your supplies, unleash your creativity, and embark on your decluttering journey today. We encourage you to try these techniques and share your experiences with us. Let us know what worked best for you, what challenges you encountered, and any creative variations you came up with. Your feedback will not only inspire others but also help us refine and improve these DIY solutions. Share your before-and-after photos, tips, and tricks on social media using #HomeClutterQuickFixes. Let’s create a community of organized and clutter-free homes!
Frequently Asked Questions (FAQ)
Q: I’m overwhelmed by the amount of clutter in my home. Where do I even begin?
A: It’s completely understandable to feel overwhelmed. Start small! Choose one area, like a single drawer or shelf, and focus on decluttering that space first. Once you’ve tackled that, move on to the next area. Breaking down the task into smaller, manageable chunks will make the process less daunting. Remember, even small steps can lead to significant progress. A great place to start is with items you know you don’t use or need anymore. This provides immediate gratification and motivates you to continue.
Q: I’m not very crafty. Are these DIY tricks still suitable for me?
A: Absolutely! These DIY tricks are designed to be simple and accessible to everyone, regardless of their crafting skills. Most of them require minimal materials and basic techniques. If you’re hesitant, start with the easiest projects, such as repurposing cardboard boxes into storage containers. As you gain confidence, you can gradually tackle more complex projects. The goal is to find solutions that work for you, not to become a master crafter.
Q: I don’t have a lot of storage space in my home. Can these DIY tricks still help?
A: Yes, in fact, these DIY tricks are particularly beneficial for small spaces. They focus on maximizing existing space and creating storage solutions that are tailored to your specific needs. By utilizing vertical space, repurposing items, and creating custom organizers, you can significantly increase your storage capacity without having to buy expensive furniture or move to a larger home. Think about under-bed storage, over-the-door organizers, and wall-mounted shelves.
Q: What are some eco-friendly alternatives to plastic storage containers?
A: There are many eco-friendly alternatives to plastic storage containers. Repurposed glass jars, metal tins, and wooden crates are all excellent options. You can also use fabric bags, baskets made from natural materials, and even old suitcases for storing larger items. When choosing materials, opt for sustainable and biodegradable options whenever possible. Reducing your reliance on plastic is not only good for the environment but also adds a touch of natural beauty to your home.
Q: How do I prevent clutter from accumulating again after I’ve decluttered?
A: Preventing clutter from accumulating again requires a conscious effort and the establishment of good habits. One of the most effective strategies is the “one in, one out” rule. For every new item you bring into your home, get rid of one similar item. This helps to maintain a balance and prevent your belongings from overwhelming your space. Regularly decluttering, even for just a few minutes each day, can also help to keep clutter at bay. Finally, be mindful of your purchasing habits and avoid buying things you don’t truly need.
Q: What if I have trouble letting go of sentimental items?
A: Letting go of sentimental items can be challenging, but it’s important to remember that you don’t have to get rid of everything. Start by sorting your sentimental items into categories: items you truly cherish, items you feel obligated to keep, and items you’re unsure about. Focus on letting go of the items you feel obligated to keep. For the items you truly cherish, consider displaying them in a meaningful way or creating a memory box. If you’re unsure about an item, put it in a designated “maybe” box and revisit it in a few months. If you haven’t missed it, it’s probably safe to let it go. Taking photos of sentimental items before donating them can also help ease the process.
Q: How often should I declutter my home?
A: The frequency of decluttering depends on your lifestyle and the amount of clutter you tend to accumulate. As a general rule, it’s a good idea to do a major decluttering session at least twice a year, typically in the spring and fall. In addition to these major sessions, try to incorporate small decluttering tasks into your daily or weekly routine. This could involve clearing off your desk at the end of each day, tidying up your kitchen after meals, or sorting through your mail once a week. Regular maintenance will prevent clutter from building up and make the decluttering process less overwhelming.
Q: Can these DIY home clutter quick fixes be used in a rental property?
A: Yes, absolutely! Many of these DIY solutions are renter-friendly because they don’t require any permanent alterations to the property. Using removable hooks, adhesive strips, and freestanding storage solutions allows you to organize your space without damaging the walls or fixtures. Focus on maximizing vertical space and utilizing portable storage containers that you can easily take with you when you move. Always check your lease agreement for any restrictions on modifications to the property.


Leave a Comment