

Healing herb garden: Imagine stepping outside your door and into a fragrant oasis, a place where nature’s pharmacy is at your fingertips. Forget those expensive trips to the health food store! What if I told you that you could cultivate your own source of natural remedies, right in your backyard (or even on your balcony)? This isn’t just about growing plants; it’s about creating a sanctuary of well-being.
For centuries, cultures around the globe have revered the power of herbs for their medicinal properties. From ancient Egyptian remedies to traditional Chinese medicine, herbs have been integral to healing practices. Think of the soothing chamomile tea your grandmother used to make, or the invigorating scent of rosemary used in aromatherapy. This knowledge, passed down through generations, is now accessible to you!
In today’s fast-paced world, we’re constantly seeking ways to improve our health and well-being. A healing herb garden offers a natural and sustainable solution. Not only does it provide fresh, organic ingredients for teas, tinctures, and culinary creations, but it also offers a therapeutic escape from the stresses of daily life. Plus, knowing exactly what goes into your remedies gives you peace of mind. This DIY guide will equip you with the knowledge and simple tricks to create your own thriving healing herb garden, no matter your experience level. Let’s get started and unlock the power of nature together!
Creating Your Own Healing Herb Garden: A DIY Guide
Hey there, fellow garden enthusiasts! I’m so excited to share my passion for creating a healing herb garden with you. There’s something incredibly rewarding about growing your own remedies, and it’s easier than you might think! This guide will walk you through every step, from planning your garden to harvesting your homegrown goodness. Let’s get started!
Planning Your Healing Herb Garden
Before you even think about getting your hands dirty, a little planning goes a long way. Here’s what you need to consider:
* Sunlight: Most herbs need at least 6 hours of sunlight per day. Observe your garden space throughout the day to see where the sun shines the brightest.
* Soil: Herbs generally prefer well-draining soil. If your soil is heavy clay, you’ll need to amend it with compost or other organic matter.
* Space: Consider how much space you have available. You can grow herbs in containers, raised beds, or directly in the ground.
* Water: Think about your watering setup. Will you be hand-watering, using a sprinkler system, or setting up drip irrigation?
* Herb Selection: Choose herbs that you’ll actually use! Consider your health needs, culinary preferences, and the growing conditions in your area.
* Layout: Plan the layout of your garden. Group herbs with similar needs together. Consider the mature size of each plant to avoid overcrowding.
Choosing Your Healing Herbs
This is the fun part! Here are some of my favorite healing herbs to get you started:
* Lavender: Known for its calming and relaxing properties. Great for teas, aromatherapy, and skin care.
* Chamomile: Another calming herb, perfect for teas to promote sleep and reduce anxiety.
* Mint: Refreshing and invigorating. Helps with digestion and can relieve headaches.
* Rosemary: Improves memory and concentration. Also has antioxidant and anti-inflammatory properties.
* Thyme: An antiseptic and antibacterial herb. Great for coughs, colds, and sore throats.
* Sage: Helps with memory and cognitive function. Also has anti-inflammatory and antioxidant properties.
* Echinacea: Boosts the immune system and helps fight off colds and flu.
* Calendula: Soothes skin irritations and promotes wound healing.
* Lemon Balm: Calming and antiviral. Helps with anxiety, stress, and cold sores.
* Basil: Not just for pesto! Basil has anti-inflammatory and antioxidant properties.
Preparing Your Garden Bed or Containers
Now that you’ve planned your garden and chosen your herbs, it’s time to prepare your growing space.
Preparing a Garden Bed
1. Clear the Area: Remove any grass, weeds, rocks, or debris from the area where you’ll be planting.
2. Amend the Soil: If your soil is poor, amend it with compost, aged manure, or other organic matter. Dig it in well to a depth of at least 12 inches.
3. Test the Soil (Optional): A soil test can tell you the pH and nutrient levels of your soil. This will help you determine what amendments are needed. You can buy a soil test kit at most garden centers or send a sample to your local agricultural extension office.
4. Level the Soil: Rake the soil to create a smooth, level surface.
5. Add a Layer of Mulch (Optional): Mulch helps to retain moisture, suppress weeds, and regulate soil temperature. Use organic mulch such as straw, wood chips, or shredded bark.
Preparing Containers
1. Choose the Right Containers: Select containers that are large enough for the mature size of your herbs. Make sure they have drainage holes.
2. Use a Good Quality Potting Mix: Don’t use garden soil in containers, as it can become compacted and doesn’t drain well. Use a potting mix specifically designed for containers.
3. Fill the Containers: Fill the containers with potting mix, leaving about an inch of space at the top.
4. Water the Potting Mix: Water the potting mix thoroughly before planting.
Planting Your Herbs
Now for the moment you’ve been waiting for – planting your herbs!
1. Choose Your Planting Method: You can start herbs from seeds, cuttings, or transplants. Transplants are the easiest option for beginners.
2. Planting Transplants: Gently remove the herb from its container. Loosen the roots slightly. Dig a hole in the soil that is slightly larger than the root ball. Place the herb in the hole and backfill with soil. Water thoroughly.
3. Planting Seeds: Follow the instructions on the seed packet for planting depth and spacing. Keep the soil moist until the seeds germinate.
4. Spacing: Space your herbs according to their mature size. Overcrowding can lead to disease and reduced yields.
5. Label Your Herbs: Use plant markers to label each herb. This will help you remember what you planted and where.
Caring for Your Healing Herb Garden
Once your herbs are planted, it’s important to provide them with the care they need to thrive.
* Watering: Water your herbs regularly, especially during dry periods. Water deeply, but avoid overwatering, which can lead to root rot. Check the soil moisture before watering. If the top inch of soil is dry, it’s time to water.
* Fertilizing: Herbs generally don’t need a lot of fertilizer. However, you can give them a light feeding of organic fertilizer in the spring.
* Weeding: Keep your garden free of weeds. Weeds compete with herbs for nutrients and water.
* Pruning: Prune your herbs regularly to encourage bushy growth and prevent them from becoming leggy. Pinch off the tips of the stems to promote branching.
* Pest and Disease Control: Inspect your herbs regularly for pests and diseases. Treat any problems promptly with organic pest control methods.
* Mulching: Maintain a layer of mulch around your herbs to help retain moisture, suppress weeds, and regulate soil temperature.
Harvesting Your Herbs
Harvesting your herbs is the most rewarding part of the process!
1. When to Harvest: Harvest herbs when they are at their peak flavor and potency. This is usually in the morning, after the dew has dried.
2. How to Harvest: Use sharp scissors or pruning shears to harvest your herbs. Cut the stems just above a leaf node.
3. Harvesting Leaves: Harvest leaves as needed throughout the growing season.
4. Harvesting Flowers: Harvest flowers when they are fully open.
5. Harvesting Seeds: Harvest seeds when they are dry and mature.
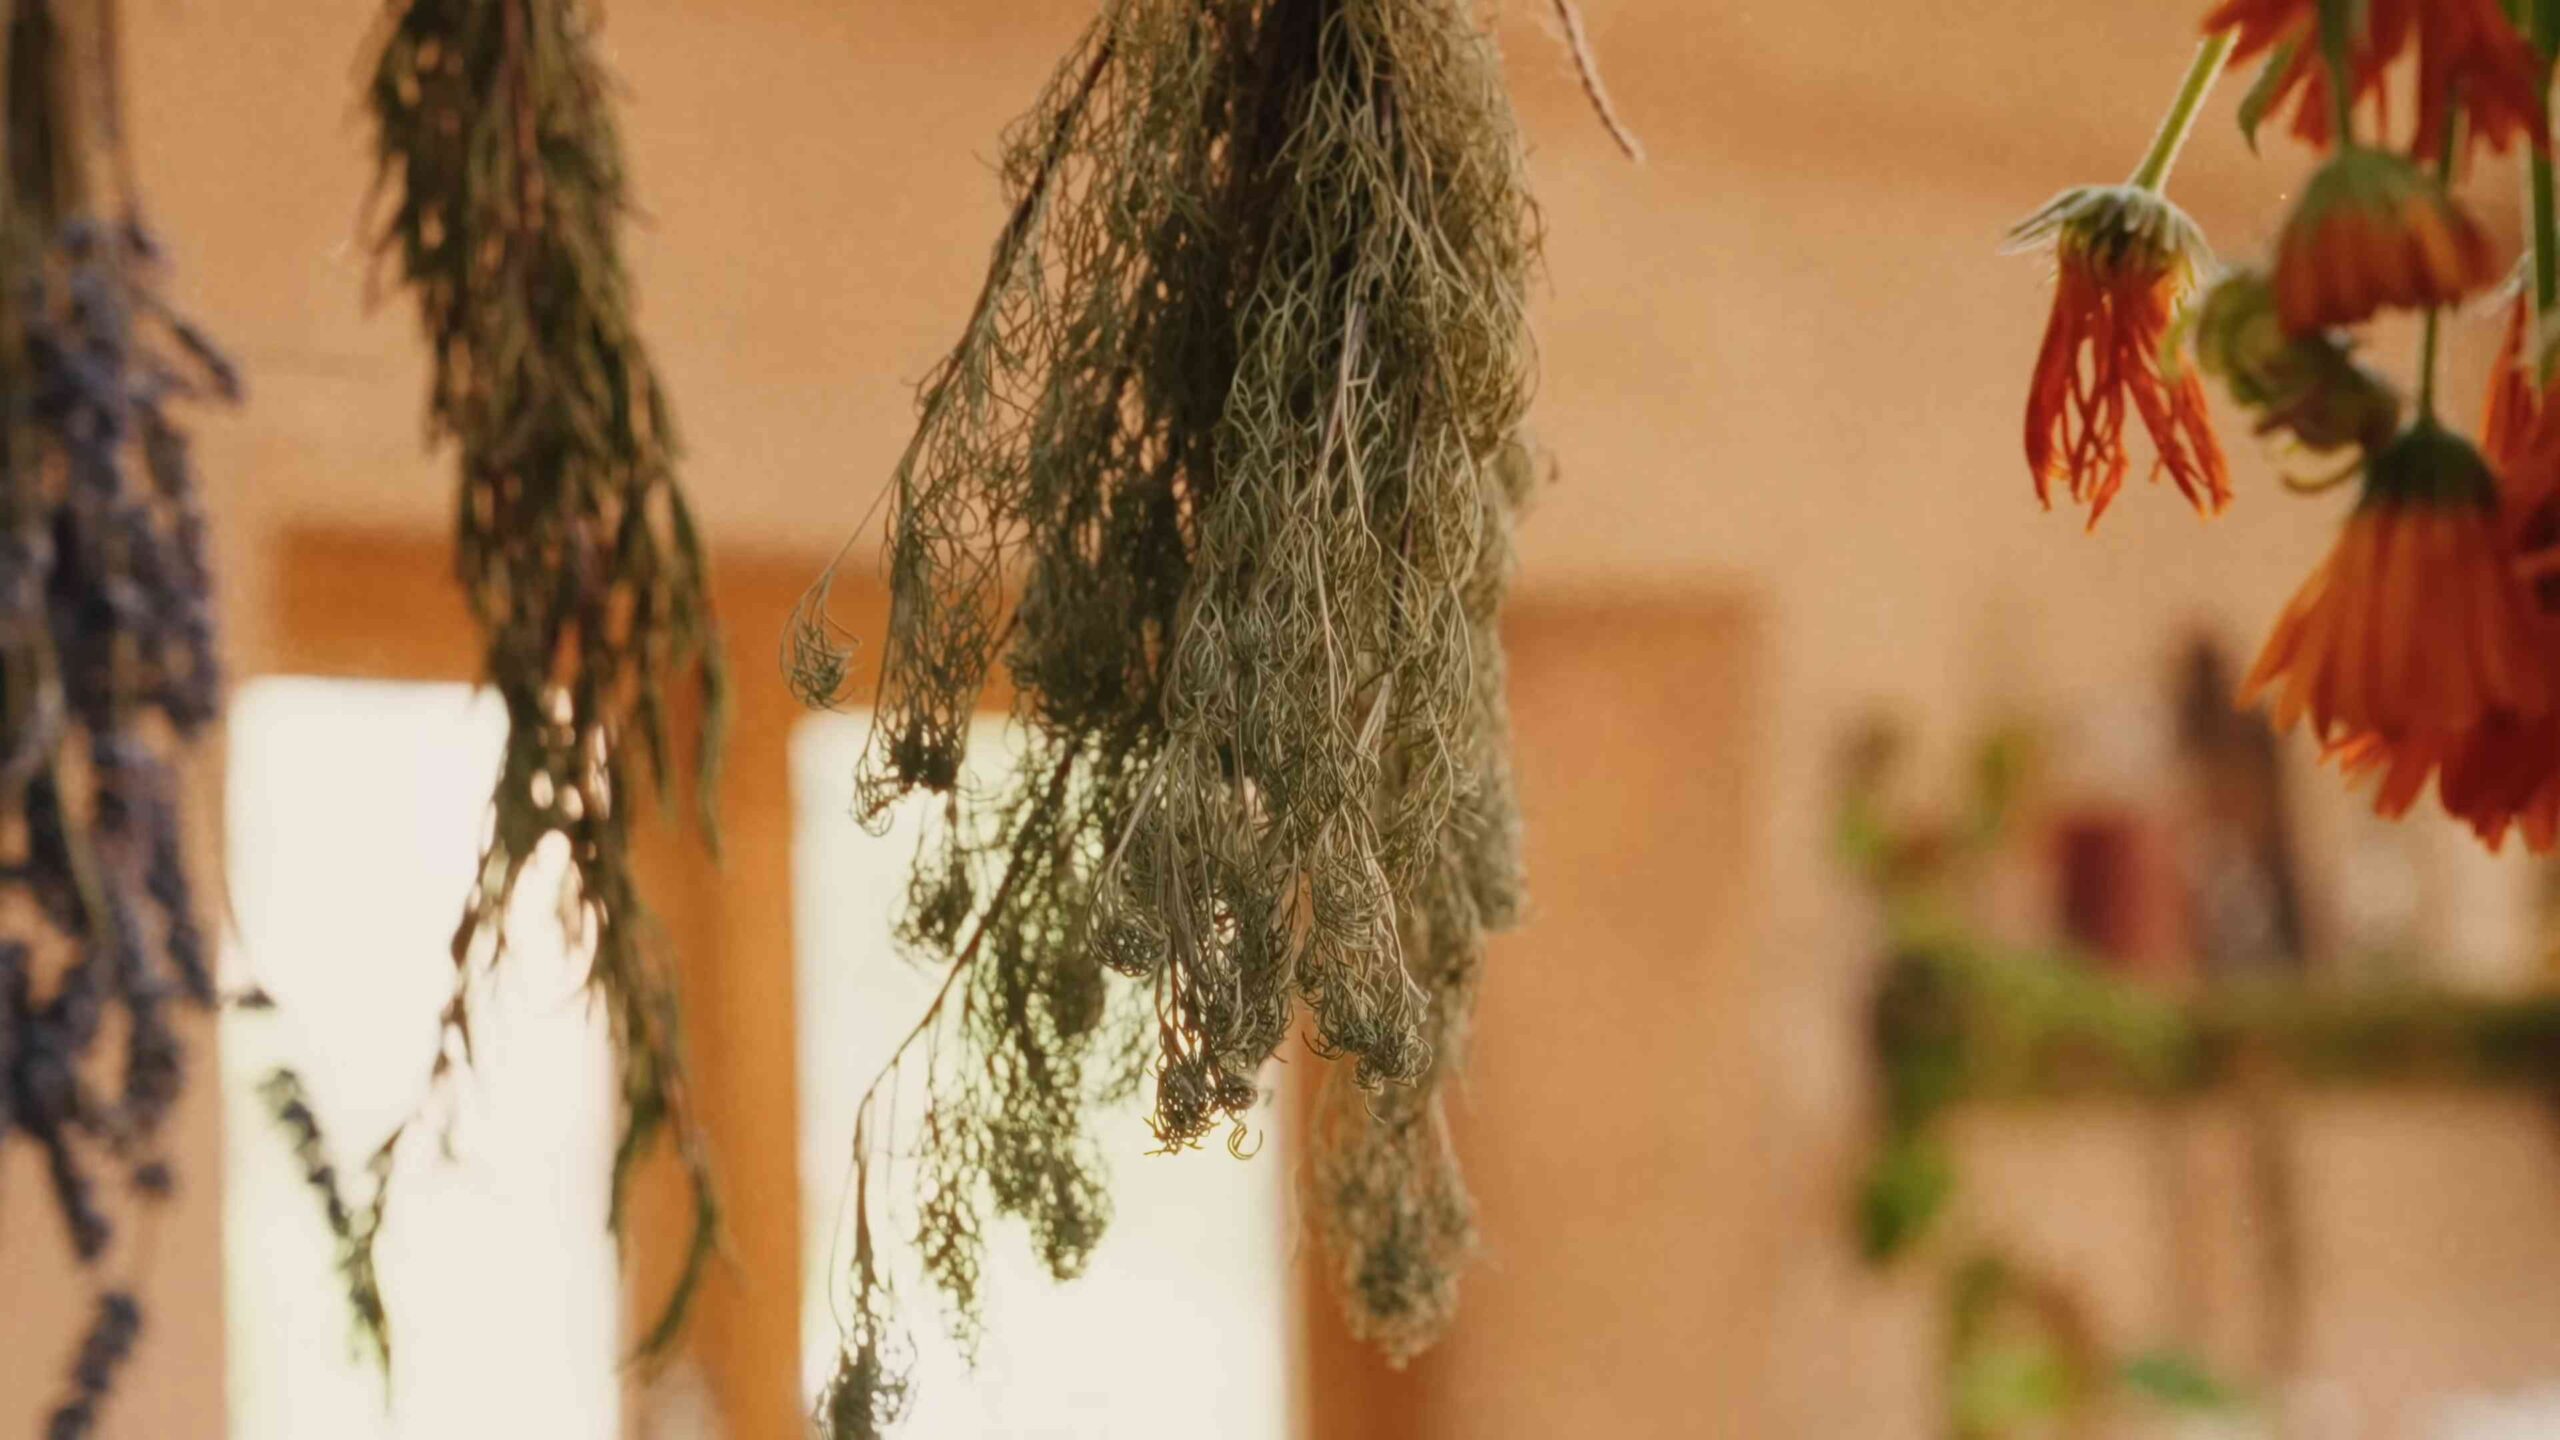
6. Drying Herbs: To dry herbs, hang them upside down in a cool, dry, well-ventilated place. You can also dry them in a dehydrator or oven.
7. Storing Herbs: Store dried herbs in airtight containers in a cool, dark place.
Using Your Healing Herbs
Now that you’ve harvested your herbs, it’s time to put them to use!
* Teas: Steep fresh or dried herbs in hot water to make a healing tea.
* Tinctures: Extract the medicinal properties of herbs in alcohol to make a tincture.
* Infused Oils: Infuse herbs in oil to create a healing oil for skin care.
* Salves: Combine infused oils with beeswax to make a healing salve.
* Culinary Uses: Use fresh or dried herbs to flavor your favorite dishes.
* Aromatherapy: Use essential oils extracted from herbs for aromatherapy.
* Bath Herbs: Add fresh or dried herbs to your bath for a relaxing and therapeutic experience.
Troubleshooting Common Problems
Even with the best planning and care, you may encounter some problems in your herb garden. Here are some common issues and how to address them:
* Yellowing Leaves: This can be caused by overwatering, underwatering, nutrient deficiencies, or pests. Check the soil moisture and adjust your watering accordingly. Fertilize with an organic fertilizer if needed. Inspect the plants for pests.
* Leggy Growth: This is caused by insufficient sunlight. Move the plants to a sunnier location or provide supplemental lighting. Prune the plants to encourage bushy growth.
* Powdery Mildew: This is a fungal disease that appears as a white powdery coating on the leaves. Improve air circulation by spacing the plants further apart. Treat with an organic fungicide.
* Pests: Common pests include aphids, spider mites, and whiteflies. Treat with insecticidal soap or neem oil.
* Root Rot: This is caused by overwatering. Make sure your soil is well-draining and avoid overwatering.
Specific Herb Profiles and Uses
Let’s dive deeper

Conclusion
So, there you have it! Creating your own healing herb garden is more than just a fun project; it’s an investment in your well-being. Imagine stepping outside your door and having a readily available pharmacy of natural remedies at your fingertips. From soothing lavender for relaxation to invigorating mint for digestion, the possibilities are truly endless. This isn’t just about growing plants; it’s about cultivating a connection with nature and empowering yourself to take control of your health in a holistic and sustainable way.
The beauty of a DIY healing herb garden lies in its adaptability. You can tailor it to your specific needs and preferences. Feeling stressed? Focus on calming herbs like chamomile, lemon balm, and valerian. Need a boost to your immune system? Plant echinacea, elderberry, and garlic. Dealing with skin irritations? Aloe vera, calendula, and comfrey are excellent choices. Don’t be afraid to experiment and discover which herbs work best for you.
Consider these variations to personalize your healing herb garden even further:
* **Vertical Garden:** If you’re short on space, a vertical garden is a fantastic option. Use repurposed pallets, hanging planters, or stacked containers to create a visually stunning and space-saving herb oasis.
* **Container Garden:** Perfect for balconies, patios, or even indoor spaces, container gardening allows you to easily move your herbs around to optimize sunlight exposure and protect them from harsh weather.
* **Companion Planting:** Research which herbs thrive when planted together. For example, basil repels pests that can harm tomatoes, while chamomile attracts beneficial insects.
* **Tea Garden:** Dedicate a section of your garden specifically to herbs that make delicious and therapeutic teas, such as peppermint, lemon verbena, and rosehips.
* **Medicinal Salve Garden:** Focus on herbs known for their skin-healing properties, like calendula, plantain, and comfrey, to create your own homemade salves and balms.
Beyond the practical benefits, tending to a healing herb garden is a deeply rewarding experience. The simple act of nurturing plants, watching them grow, and harvesting their bounty can be incredibly therapeutic in itself. It’s a chance to slow down, connect with nature, and appreciate the simple pleasures of life.
We wholeheartedly encourage you to embark on this journey of creating your own healing herb garden. It’s a project that will bring you joy, knowledge, and a wealth of natural remedies for years to come. And once you’ve experienced the magic of homegrown herbs, we’d love to hear about it! Share your successes, challenges, and favorite herb combinations in the comments below. Let’s create a community of passionate herb gardeners and learn from each other’s experiences. Your insights could inspire others to take the plunge and discover the incredible benefits of a DIY healing herb garden.
Frequently Asked Questions (FAQ)
What exactly is a healing herb garden?
A healing herb garden is a garden specifically designed to grow herbs that have medicinal or therapeutic properties. These herbs can be used to treat a variety of ailments, from minor cuts and bruises to digestive issues and stress. The garden can be any size, from a small container garden on a balcony to a large plot in a backyard. The key is to choose herbs that are known for their healing benefits and that you are likely to use.
What are the best herbs to include in a healing herb garden?
The best herbs to include in your garden will depend on your individual needs and preferences. However, some popular and versatile choices include:
* **Lavender:** Known for its calming and relaxing properties, lavender can be used to relieve stress, anxiety, and insomnia.
* **Chamomile:** Another calming herb, chamomile can also help with digestion and skin irritations.
* **Mint:** A refreshing herb that can aid digestion, relieve headaches, and freshen breath.
* **Rosemary:** A stimulating herb that can improve memory, boost circulation, and relieve muscle pain.
* **Thyme:** An antiseptic and antibacterial herb that can help with coughs, colds, and sore throats.
* **Calendula:** A skin-healing herb that can be used to treat cuts, burns, and rashes.
* **Echinacea:** An immune-boosting herb that can help prevent and treat colds and flu.
* **Aloe Vera:** Soothing for burns and skin irritations.
* **Lemon Balm:** Calming and antiviral.
How do I start a healing herb garden?
Starting a healing herb garden is easier than you might think! Here’s a step-by-step guide:
1. **Choose a location:** Select a spot that gets at least 6 hours of sunlight per day.
2. **Prepare the soil:** Amend the soil with compost or other organic matter to improve drainage and fertility.
3. **Select your herbs:** Choose herbs that you are likely to use and that are well-suited to your climate.
4. **Plant your herbs:** Follow the planting instructions on the seed packets or plant labels.
5. **Water regularly:** Keep the soil moist but not soggy.
6. **Fertilize as needed:** Use a balanced organic fertilizer to provide your herbs with the nutrients they need.
7. **Harvest your herbs:** Harvest your herbs regularly to encourage new growth.
Can I grow a healing herb garden indoors?
Yes, you can definitely grow a healing herb garden indoors! Choose herbs that tolerate lower light conditions, such as mint, parsley, and chives. Use grow lights to supplement natural light, and be sure to provide good drainage. Container gardening is ideal for indoor herb gardens.
How do I use the herbs from my healing herb garden?
There are many ways to use the herbs from your healing herb garden. You can use them fresh or dried to make teas, tinctures, salves, and other remedies. You can also add them to your cooking to enhance the flavor and nutritional value of your meals. Research the specific uses and benefits of each herb before using it.
Are there any safety precautions I should take when using herbs?
Yes, it’s important to be aware of potential safety precautions when using herbs. Some herbs can interact with medications, while others may not be safe for pregnant or breastfeeding women. Always consult with a qualified healthcare professional before using herbs to treat any medical condition. Start with small doses to see how your body reacts, and discontinue use if you experience any adverse effects.
How do I dry herbs from my garden?
Drying herbs is a great way to preserve them for later use. Here are a few methods:
* **Air Drying:** Tie small bunches of herbs together and hang them upside down in a cool, dry, well-ventilated place.
* **Oven Drying:** Spread herbs in a single layer on a baking sheet and dry them in a low oven (around 170°F) for several hours.
* **Dehydrator:** Use a food dehydrator to dry herbs according to the manufacturer’s instructions.
Store dried herbs in airtight containers in a cool, dark place.
How do I know when to harvest my herbs?
The best time to harvest herbs is typically in the morning, after the dew has dried but before the sun gets too hot. Harvest leaves when they are at their peak flavor and potency, which is usually just before the plant flowers. For seeds, harvest when they are fully ripe and dry.
What if I don’t have a green thumb?
Don’t worry if you don’t consider yourself a natural gardener! Growing herbs is relatively easy, even for beginners. Start with a few easy-to-grow herbs like mint, basil, and chives. Don’t be afraid to experiment and learn from your mistakes. There are plenty of resources available online and in libraries to help you succeed. The most important thing is to have fun and enjoy the process of creating your own healing herb garden.

Leave a Comment