

Growing Squash at Home can seem daunting, but trust me, with a few clever tricks and a little DIY spirit, you’ll be harvesting your own delicious squash in no time! Forget those pricey supermarket gourds – imagine stepping into your backyard and picking the perfect squash for your favorite autumn recipes.
Squash has a rich history, dating back thousands of years in the Americas. Indigenous cultures revered squash not just as a food source, but also for its seeds and even its dried shell, which served as containers. From ancient civilizations to modern-day gardens, squash has always held a special place. It’s a symbol of abundance and resourcefulness, and now, you can tap into that legacy right in your own backyard.
Why do you need these DIY tricks for growing squash at home? Well, let’s face it, gardening can be tricky! Squash plants are notorious for being susceptible to pests, diseases, and sometimes, just plain stubbornness. But don’t worry, I’m here to share my tried-and-true hacks that will help you overcome these challenges and enjoy a bountiful harvest. I’ll guide you through everything from choosing the right varieties for your climate to creating the perfect soil conditions and warding off those pesky squash bugs. Get ready to roll up your sleeves and discover the joy of growing your own squash – it’s easier than you think!
Growing Squash at Home: A Beginner’s Guide to Bountiful Harvests
Hey there, fellow gardening enthusiasts! I’m so excited to share my experiences and tips on growing squash at home. Squash is one of my favorite vegetables to grow – it’s incredibly versatile in the kitchen, and the plants themselves are just so rewarding to watch thrive. Plus, there’s nothing quite like the taste of homegrown squash! This guide will walk you through everything you need to know, from choosing the right variety to harvesting your delicious bounty.
Choosing Your Squash Variety
Before you even think about digging in the dirt, you need to decide what kind of squash you want to grow. There are two main categories: summer squash and winter squash.
* Summer Squash: These are harvested when they’re young and tender, with edible skin. Think zucchini, yellow squash, and pattypan squash. They’re fast-growing and perfect for beginners.
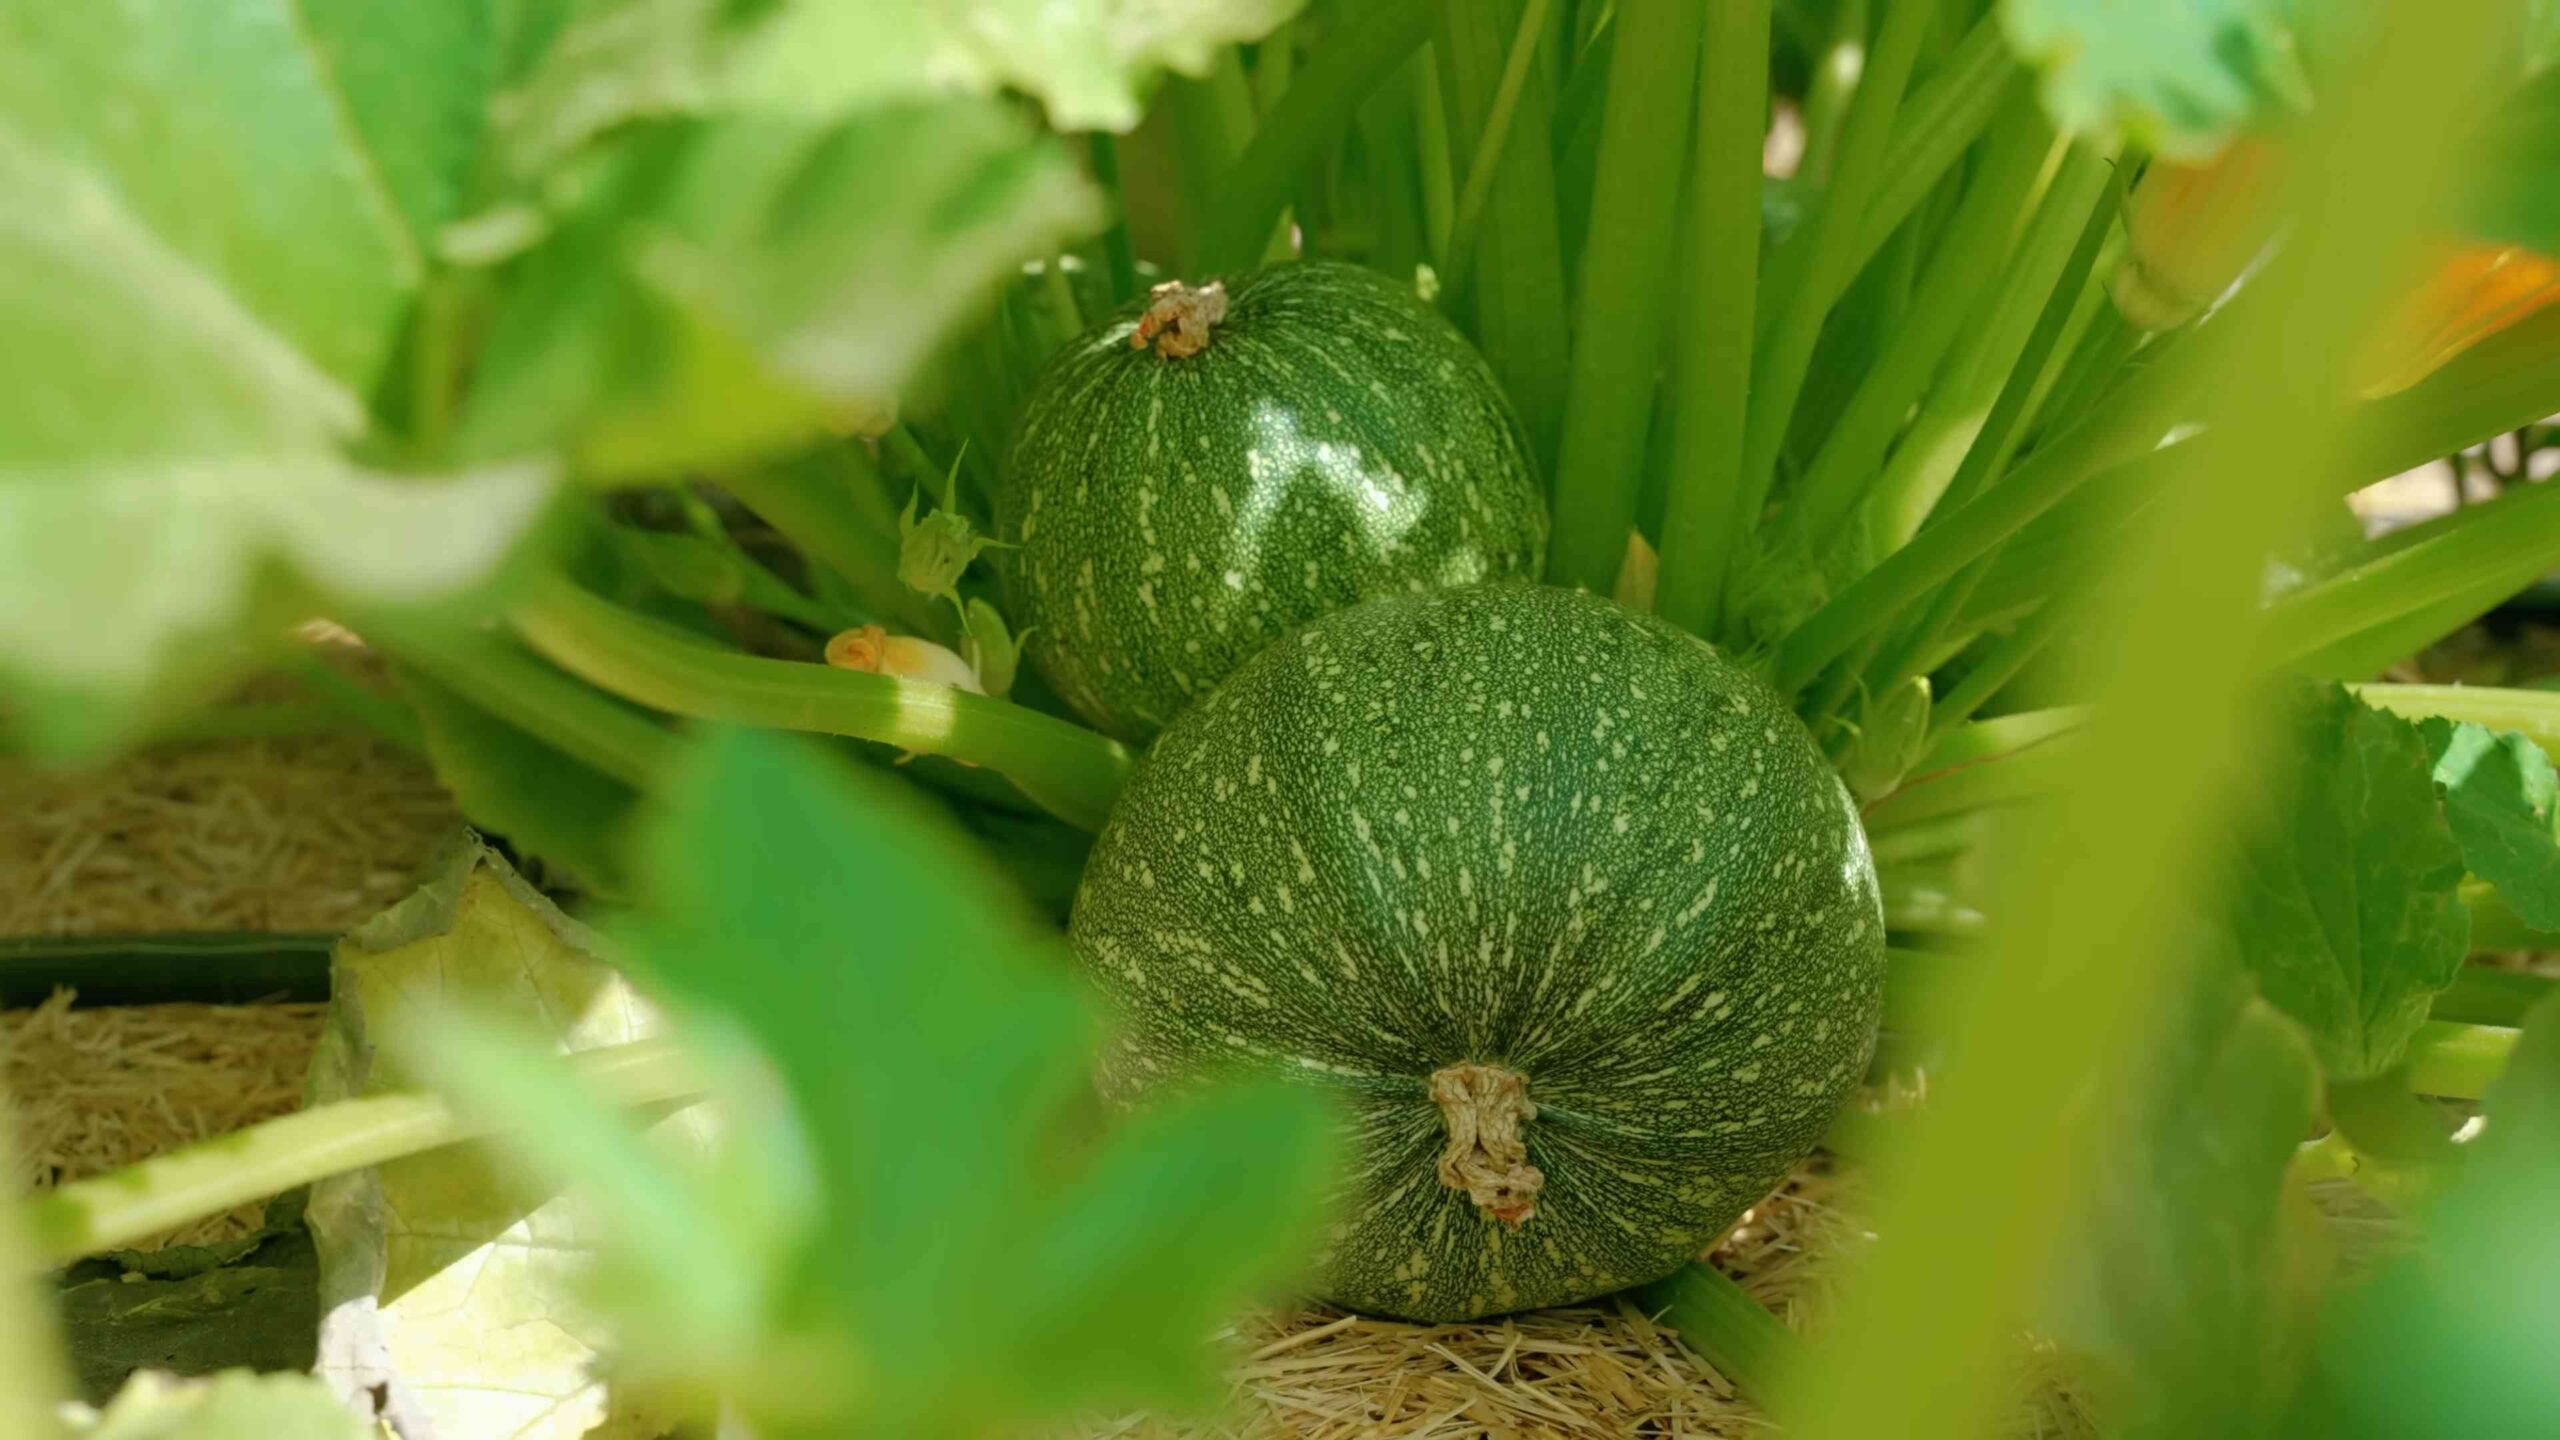
* Winter Squash: These are harvested when they’re mature and have a hard rind. Think butternut squash, acorn squash, spaghetti squash, and pumpkins. They take longer to mature but can be stored for months.
Consider your climate, available space, and personal preferences when making your choice. I personally love growing zucchini for its versatility and butternut squash for its delicious flavor and long storage life.
Preparing Your Garden Bed
Squash plants are heavy feeders, meaning they need a lot of nutrients to thrive. Proper soil preparation is crucial for a successful harvest.
* Sunlight: Squash needs at least 6-8 hours of direct sunlight per day. Choose a location in your garden that gets plenty of sun.
* Soil: Squash prefers well-drained, fertile soil with a pH between 6.0 and 7.0.
* Compost: Amend your soil with plenty of compost or well-rotted manure. This will provide essential nutrients and improve drainage. I usually add a generous layer of compost, about 2-3 inches thick, and work it into the top 6-8 inches of soil.
* Spacing: Squash plants need plenty of space to spread out. Summer squash plants typically need 2-3 feet of space between them, while winter squash plants need 3-4 feet. Check the specific recommendations for your chosen variety.
Planting Your Squash
You can either start your squash seeds indoors or direct sow them in your garden. I prefer direct sowing because it’s less work and the plants tend to be stronger.
* Timing: Wait until the danger of frost has passed and the soil has warmed up to at least 60°F (15°C). This is usually a couple of weeks after the last frost date in your area.
* Direct Sowing: Sow the seeds directly into the prepared garden bed, about 1 inch deep. Plant 2-3 seeds per hill, and thin them to the strongest seedling once they emerge.
* Starting Indoors (Optional): If you want to get a head start, you can start your seeds indoors 3-4 weeks before the last frost. Use biodegradable pots to minimize root disturbance when transplanting.
* Watering: Water the seeds thoroughly after planting. Keep the soil consistently moist until the seedlings emerge.
Caring for Your Squash Plants
Once your squash plants are established, it’s important to provide them with proper care to ensure a healthy and productive harvest.
* Watering: Squash plants need consistent watering, especially during hot, dry weather. Water deeply and regularly, aiming for about 1 inch of water per week. Avoid watering the foliage, as this can promote fungal diseases. Drip irrigation or soaker hoses are ideal for watering squash plants.
* Fertilizing: Squash plants are heavy feeders and benefit from regular fertilization. Use a balanced fertilizer, such as 10-10-10, according to the package directions. You can also side-dress your plants with compost or well-rotted manure every few weeks. I like to use a liquid seaweed fertilizer every other week for an extra boost.
* Weeding: Keep your garden bed free of weeds, as they can compete with your squash plants for nutrients and water. Mulching around your plants can help suppress weeds and retain moisture.
* Pest Control: Squash plants are susceptible to several pests, including squash bugs, squash vine borers, and aphids. Inspect your plants regularly for signs of pests and take action promptly.
* Squash Bugs: These pests suck the sap from squash leaves, causing them to wilt and die. Handpick them off your plants or use insecticidal soap.
* Squash Vine Borers: These pests bore into the stems of squash plants, causing them to wilt and die. Wrap the base of the stems with aluminum foil or row covers to prevent them from laying their eggs. If you see signs of vine borers, you can try injecting Bacillus thuringiensis (Bt) into the stems.
* Aphids: These small, sap-sucking insects can weaken squash plants. Spray them off with a strong stream of water or use insecticidal soap.
* Pollination: Squash plants have separate male and female flowers. The female flowers need to be pollinated in order to produce fruit. Bees and other pollinators usually do the job, but if you’re not seeing much fruit set, you can hand-pollinate the flowers yourself.
* Hand-Pollination: In the early morning, use a small paintbrush to transfer pollen from the male flowers to the female flowers. The female flowers have a small fruit at the base, while the male flowers do not.
Harvesting Your Squash
The timing of your harvest will depend on the type of squash you’re growing.
* Summer Squash: Harvest summer squash when it’s young and tender, usually about 6-8 inches long. The skin should be smooth and easily punctured with your fingernail. Harvest regularly to encourage continued production.
* Winter Squash: Harvest winter squash when it’s fully mature and the rind is hard and resistant to pressure. The stem should be dry and brown. Leave about 2 inches of stem attached to the squash when harvesting.
Step-by-Step Instructions: Growing Butternut Squash
Let’s get specific! Here’s how I grow my beloved butternut squash:
1. Prepare the Soil: In the spring, after the last frost date, I amend my garden bed with plenty of compost. Butternut squash needs rich, well-drained soil. I aim for a pH between 6.0 and 7.0.
2. Direct Sow Seeds: I plant butternut squash seeds directly into the ground, about 1 inch deep. I usually plant 3-4 seeds per hill, spacing the hills about 3-4 feet apart.
3. Water Regularly: I water the seeds thoroughly after planting and keep the soil consistently moist until the seedlings emerge.
4. Thin Seedlings: Once the seedlings have a few true leaves, I thin them to the strongest seedling per hill.
5. Fertilize: I fertilize the plants with a balanced fertilizer, such as 10-10-10, according to the package directions. I also side-dress them with compost every few weeks.
6. Control Pests: I keep a close eye out for squash bugs and squash vine borers. I handpick squash bugs off the plants and wrap the base of the stems with aluminum foil to prevent vine borers.
7. Water Deeply: I water the plants deeply and regularly, especially during hot, dry weather. I aim for about 1 inch of water per week.
8. Harvest: I harvest the butternut squash in the fall, when the rind is hard and the stem is dry and brown. I leave about 2 inches of stem attached to the squash when harvesting.
Troubleshooting Common Squash Problems
Even with the best care, you might encounter some problems while growing squash. Here are a few common issues and how to address them:
* Powdery Mildew: This fungal disease causes a white, powdery coating on the leaves. Improve air circulation by spacing your plants properly and pruning away crowded foliage. You can also spray the plants with a fungicide.
* Blossom End Rot: This condition causes the blossom end of the squash to rot. It’s usually caused by calcium deficiency or inconsistent watering. Ensure your soil has adequate calcium and water your plants regularly.
* Lack of Pollination: If your squash plants are producing flowers but not fruit, it could be due to a lack of pollination. Hand-pollinate the flowers yourself or attract more pollinators to your garden by planting flowers that attract bees and other beneficial insects.
Storing Your Harvest
Proper storage is essential for preserving your squash harvest, especially winter squash.
* Curing Winter Squash: Before storing winter squash, it’s important to cure it. Cure the squash by placing it in a warm, dry place (80-85°F or 27-29°C) for 1-2 weeks. This will harden the rind and improve its storage life.
*

Conclusion
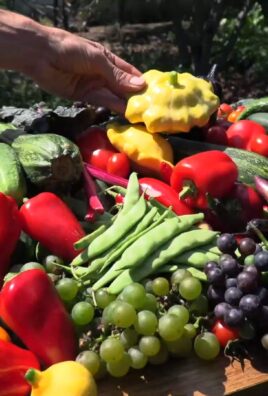
So, there you have it! Growing squash at home, while it might seem daunting at first, is an incredibly rewarding experience that brings the bounty of the garden directly to your table. We’ve walked through the key steps, from selecting the right varieties for your climate and space to nurturing those tiny seedlings into sprawling, fruit-bearing vines. And remember, the satisfaction of harvesting your own, organically grown squash is simply unmatched.
But why is this DIY approach a must-try? Beyond the sheer joy of gardening, growing your own squash allows you complete control over what goes into your food. You can avoid harmful pesticides and herbicides, ensuring that your family is consuming the healthiest, most natural produce possible. Plus, homegrown squash often boasts a superior flavor compared to store-bought varieties, bursting with freshness and sweetness that you just can’t replicate.
Don’t be afraid to experiment! Consider trying different varieties of squash each year to discover your favorites. Perhaps you’ll fall in love with the buttery sweetness of butternut squash, the delicate flavor of zucchini, or the vibrant color and nutty taste of acorn squash. You can also explore companion planting techniques, such as planting marigolds near your squash to deter pests, or intercropping with beans or corn to create a mutually beneficial ecosystem.
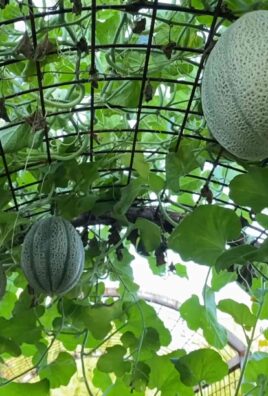
For those with limited space, vertical gardening techniques can be a game-changer. Train your squash vines to climb a trellis or fence, maximizing your yield without sacrificing valuable ground space. Container gardening is another excellent option, especially for smaller varieties like bush squash or zucchini. Just be sure to choose a large enough container and provide adequate support for the growing plant.
And speaking of support, don’t underestimate the importance of proper watering and fertilization. Squash plants are heavy feeders and drinkers, so regular watering and a balanced fertilizer will help them thrive. Keep an eye out for common pests and diseases, and take action promptly to prevent them from spreading.
Ultimately, the key to successful squash growing is observation and adaptation. Pay attention to your plants’ needs, adjust your approach as necessary, and don’t be afraid to learn from your mistakes. Every season is a new opportunity to refine your skills and improve your harvest.
We wholeheartedly encourage you to embark on this gardening adventure. The rewards are well worth the effort, and you’ll be amazed at what you can achieve with a little bit of knowledge, patience, and dedication. So, grab your gardening gloves, select your seeds, and get ready to experience the joy of growing your own delicious, nutritious squash.
Once you’ve harvested your first crop, we’d love to hear about your experience! Share your tips, tricks, and photos with us in the comments below. Let’s create a community of passionate squash growers and inspire others to join the fun. Happy gardening!
Frequently Asked Questions (FAQ)
What are the easiest types of squash to grow for beginners?
For beginners, zucchini and yellow squash are generally considered the easiest to grow. They are fast-growing, prolific producers, and relatively resistant to pests and diseases. Bush varieties are also a good choice for smaller gardens or containers. Butternut squash is another relatively easy option, though it requires a longer growing season. Avoid more demanding varieties like spaghetti squash until you have some experience under your belt.
How much space do squash plants need?
The amount of space required depends on the variety of squash. Bush varieties typically need about 2-3 feet of space between plants, while vining varieties can spread up to 10-15 feet. If you’re growing vining squash, consider using a trellis or fence to save space and keep the fruits off the ground. Container gardening is also an option for smaller varieties, but be sure to choose a large enough container (at least 15-20 gallons) to accommodate the plant’s root system.
When is the best time to plant squash?
Squash is a warm-season crop, so it’s best to plant it after the last frost when the soil has warmed up to at least 60°F (15°C). You can start seeds indoors 3-4 weeks before the last frost to get a head start, but be sure to harden off the seedlings before transplanting them outdoors. In warmer climates, you can plant squash directly in the ground in late spring or early summer. Check your local planting calendar for specific dates based on your region.
How often should I water my squash plants?
Squash plants need consistent moisture, especially during hot, dry weather. Water deeply and regularly, aiming to keep the soil consistently moist but not waterlogged. Water at the base of the plant to avoid wetting the foliage, which can increase the risk of fungal diseases. Mulching around the plants can help retain moisture and suppress weeds. As a general rule, water deeply 2-3 times per week, or more often during periods of extreme heat.
What kind of fertilizer should I use for squash?
Squash plants are heavy feeders and benefit from regular fertilization. Use a balanced fertilizer (e.g., 10-10-10) at planting time, and then side-dress with a nitrogen-rich fertilizer (e.g., ammonium nitrate) every 2-3 weeks during the growing season. You can also use organic fertilizers like compost, manure, or fish emulsion. Avoid over-fertilizing, as this can lead to excessive foliage growth and reduced fruit production.
How do I deal with common squash pests and diseases?
Common squash pests include squash bugs, squash vine borers, and aphids. Squash bugs can be hand-picked or controlled with insecticidal soap. Squash vine borers can be prevented by wrapping the base of the stem with aluminum foil or netting. Aphids can be washed off with a strong stream of water or treated with insecticidal soap. Common squash diseases include powdery mildew and squash mosaic virus. Powdery mildew can be prevented by providing good air circulation and avoiding overhead watering. Squash mosaic virus is spread by aphids, so controlling aphids is essential.
How do I know when my squash is ripe?
The ripeness of squash depends on the variety. Summer squash (e.g., zucchini, yellow squash) is best harvested when it’s young and tender, typically when it’s about 6-8 inches long. Winter squash (e.g., butternut, acorn, spaghetti) should be harvested when the skin is hard and the stem is dry and brown. You should not be able to easily puncture the skin with your fingernail. The color of the squash will also change as it ripens, depending on the variety.
Can I save seeds from my homegrown squash?
Yes, you can save seeds from your homegrown squash, but it’s important to note that hybrid varieties may not produce true-to-type seeds. Open-pollinated varieties are more likely to produce seeds that will grow into plants that resemble the parent plant. To save seeds, allow the squash to fully ripen on the vine, then scoop out the seeds and rinse them thoroughly. Spread the seeds out on a paper towel to dry completely, then store them in an airtight container in a cool, dark place.

Leave a Comment