

Growing Pears at Home might seem like a challenge reserved for seasoned orchardists, but I’m here to tell you it’s absolutely achievable, even in your own backyard! Imagine biting into a juicy, sun-ripened pear that you nurtured from blossom to fruit. That’s the magic we’re unlocking today.
For centuries, pears have been celebrated across cultures, from ancient Rome where they were a symbol of prosperity, to China where they represent immortality. Their sweet flavor and crisp texture have made them a culinary staple and a beloved fruit worldwide. But why rely solely on grocery stores when you can cultivate your own delicious pears?
Let’s face it, store-bought pears often lack the vibrant flavor and satisfying crunch of homegrown varieties. Plus, there’s an undeniable satisfaction in knowing exactly where your food comes from and the care that went into growing it. This DIY guide is your key to unlocking the secrets of successfully growing pears at home, regardless of your gardening experience. We’ll cover everything from selecting the right pear variety for your climate to mastering essential pruning techniques, ensuring you’ll be harvesting a bountiful crop in no time. Get ready to transform your garden into a personal pear paradise!
Growing Pears at Home: A Beginner’s Guide to Sweet Success
Hey there, fellow gardening enthusiasts! Ever dreamt of biting into a juicy, homegrown pear, bursting with flavor that store-bought ones just can’t match? Well, you’re in the right place! Growing pears at home might seem daunting, but trust me, with a little patience and the right know-how, you can absolutely enjoy a bountiful harvest. I’m going to walk you through everything you need to know, from choosing the right variety to harvesting your delicious pears. Let’s get started!
Choosing the Right Pear Variety
This is arguably the most crucial step. Not all pear trees are created equal, and selecting the right variety for your climate and space is essential for success.
* Consider your climate: Pear trees need a certain number of “chill hours” (hours below 45°F) to properly set fruit. Check your local climate data to determine the chill hours in your area and choose a variety that matches. Some popular options include:
* ‘Bartlett’: A classic, all-purpose pear, known for its excellent flavor and texture. Needs around 600-800 chill hours.
* ‘D’Anjou’: Another popular choice, with a slightly spicier flavor than Bartlett. Requires 800-1000 chill hours.
* ‘Bosc’: A beautiful, bronze-skinned pear with a crisp texture and sweet-tart flavor. Needs 600-700 chill hours.
* ‘Kieffer’: A more cold-hardy variety, suitable for colder climates. Requires 400-500 chill hours.
* ‘Asian Pears (e.g., ‘Shinseiki’, ‘Chojuro’): These are generally more disease-resistant and have a crisp, apple-like texture. Chill hour requirements vary.
* Think about pollination: Most pear trees are not self-pollinating, meaning they need another pear variety nearby to produce fruit. Choose two different varieties that bloom at the same time to ensure cross-pollination. Some pear varieties are considered universal pollinators, like ‘Seckel’.
* Consider the size of your space: Pear trees can grow quite large, so consider the mature size of the variety you choose. If you have a small yard, look for dwarf or semi-dwarf varieties. These are grafted onto rootstocks that restrict their growth.
* Disease Resistance: Some pear varieties are more resistant to common pear diseases like fire blight. If you live in an area prone to these diseases, choose a resistant variety.
Planting Your Pear Tree
Okay, you’ve chosen your pear varieties – fantastic! Now it’s time to get them in the ground.
1. Choose the Right Location: Pear trees need at least 6-8 hours of sunlight per day. Select a location that receives plenty of sun and has well-draining soil. Avoid planting in low-lying areas where water can accumulate.
2. Prepare the Soil: Pear trees prefer slightly acidic soil with a pH of 6.0-7.0. Before planting, amend the soil with compost or other organic matter to improve drainage and fertility. I always recommend getting a soil test to understand your soil’s specific needs.
3. Dig the Hole: Dig a hole that is twice as wide as the root ball and just as deep.
4. Plant the Tree: Gently remove the pear tree from its container and loosen any circling roots. Place the tree in the hole, making sure the top of the root ball is level with the ground. Backfill the hole with soil, gently tamping it down to remove air pockets.
5. Water Thoroughly: Water the newly planted tree deeply to help settle the soil and encourage root growth.
6. Mulch: Apply a layer of mulch around the base of the tree to help retain moisture, suppress weeds, and regulate soil temperature. Keep the mulch a few inches away from the trunk to prevent rot.
7. Stake the Tree (Optional): If you live in a windy area, you may want to stake the tree to provide support while it establishes its roots.
Caring for Your Pear Tree
Now that your pear tree is planted, it’s time to provide it with the care it needs to thrive.
1. Watering: Water your pear tree regularly, especially during dry periods. Young trees need more frequent watering than established trees. Aim to keep the soil consistently moist, but not waterlogged. A good rule of thumb is to water deeply once or twice a week, depending on the weather.
2. Fertilizing: Fertilize your pear tree in the spring with a balanced fertilizer. Follow the instructions on the fertilizer package for application rates. Avoid over-fertilizing, as this can lead to excessive growth and reduced fruit production. I usually use a fertilizer specifically formulated for fruit trees.
3. Pruning: Pruning is essential for maintaining the shape and health of your pear tree. Prune in late winter or early spring, before new growth begins.
* Remove dead, damaged, or diseased branches.
* Thin out crowded branches to improve air circulation and sunlight penetration.
* Shape the tree to encourage strong branch structure.
* Prune to encourage fruit production. Pear trees produce fruit on spurs (short, stubby branches), so avoid removing too many spurs.
4. Pest and Disease Control: Pear trees can be susceptible to various pests and diseases, such as aphids, pear psylla, codling moths, and fire blight. Monitor your tree regularly for signs of infestation or disease.
* Aphids: These tiny insects can suck the sap from leaves and stems. Control aphids with insecticidal soap or a strong stream of water.
* Pear Psylla: These small, jumping insects can cause leaf damage and reduce fruit production. Control pear psylla with horticultural oil or insecticidal soap.
* Codling Moths: These moths lay eggs on developing fruit, and the larvae burrow into the pears. Use pheromone traps to monitor codling moth populations and apply insecticides if necessary.
* Fire Blight: This bacterial disease can cause branch dieback and even kill the tree. Prune out infected branches promptly and disinfect your pruning tools between cuts. Choose fire blight-resistant varieties if possible.
5. Thinning Fruit: If your pear tree produces a heavy crop of fruit, you may need to thin the fruit to prevent branches from breaking and to improve the size and quality of the remaining fruit. Thin the fruit when it is about 1 inch in diameter, leaving only one or two pears per cluster.
Harvesting Your Pears
The moment you’ve been waiting for! Harvesting your own pears is incredibly rewarding.
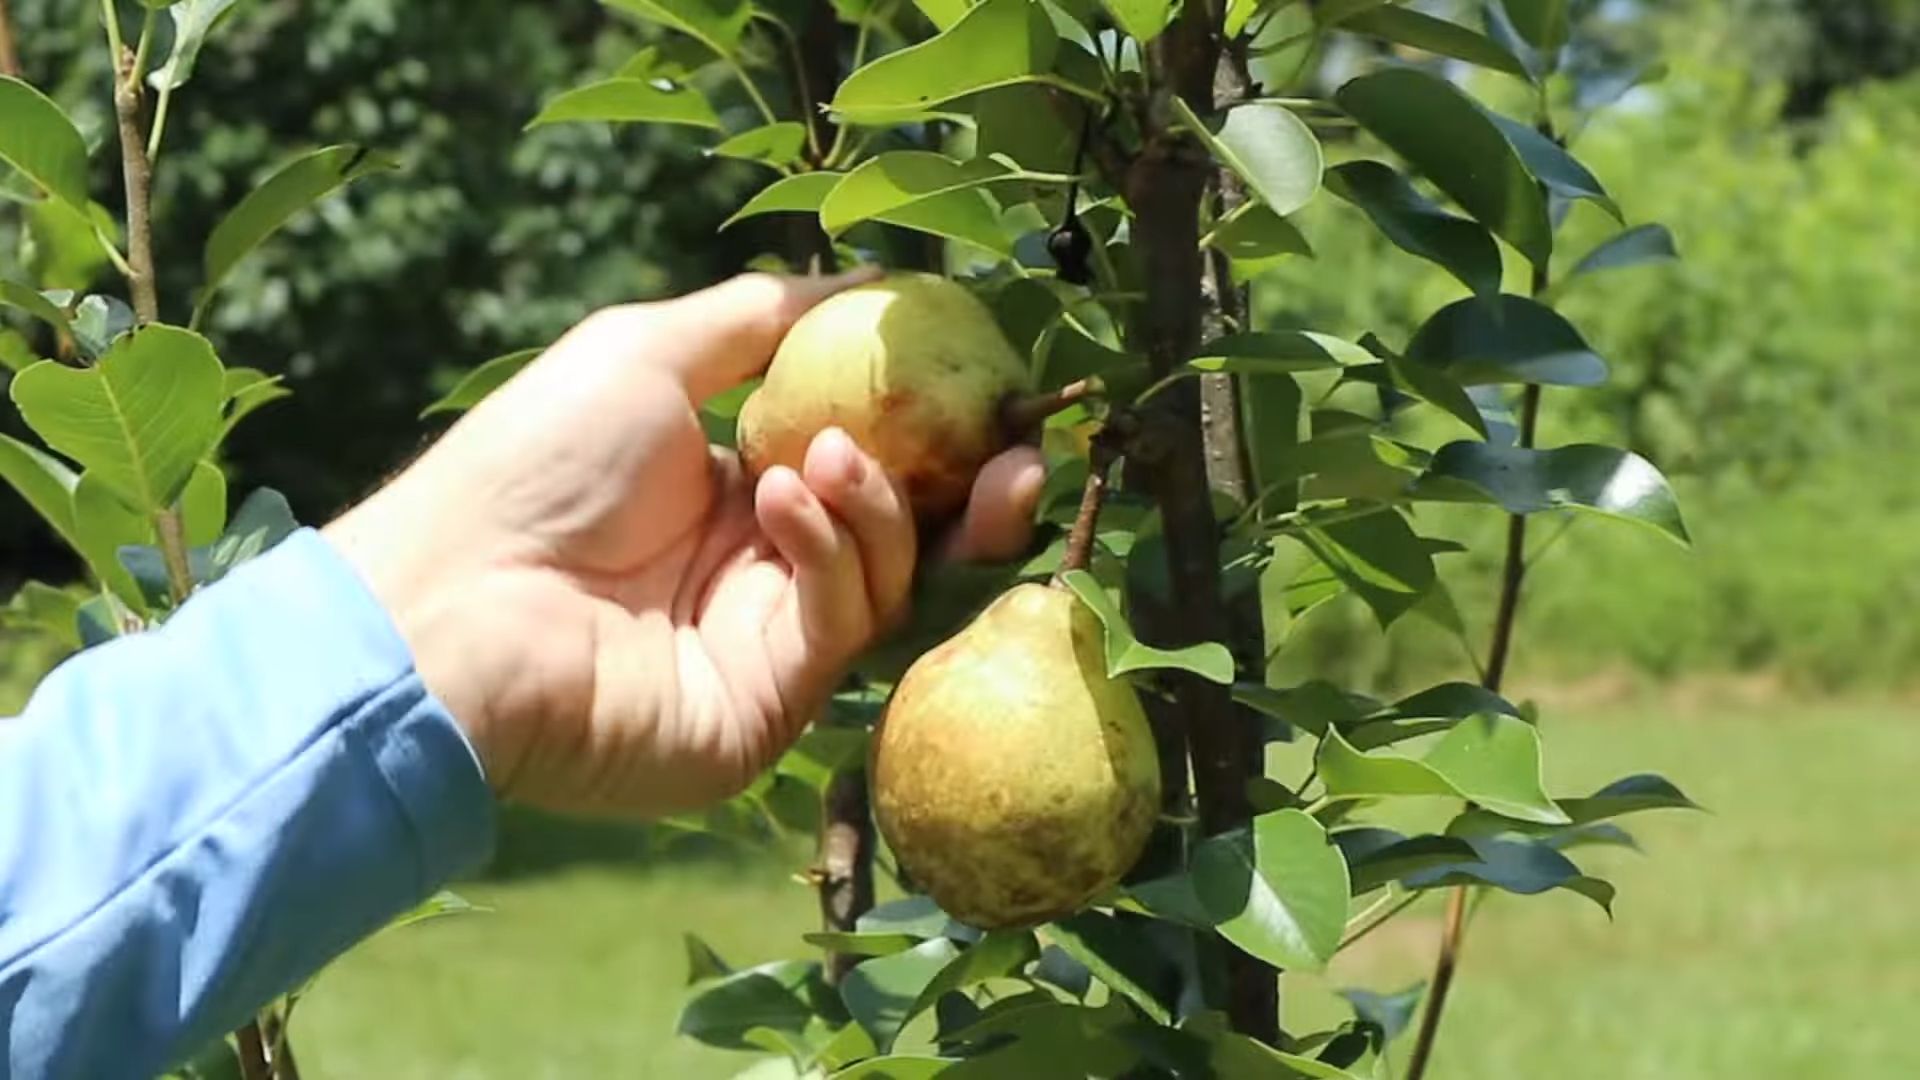
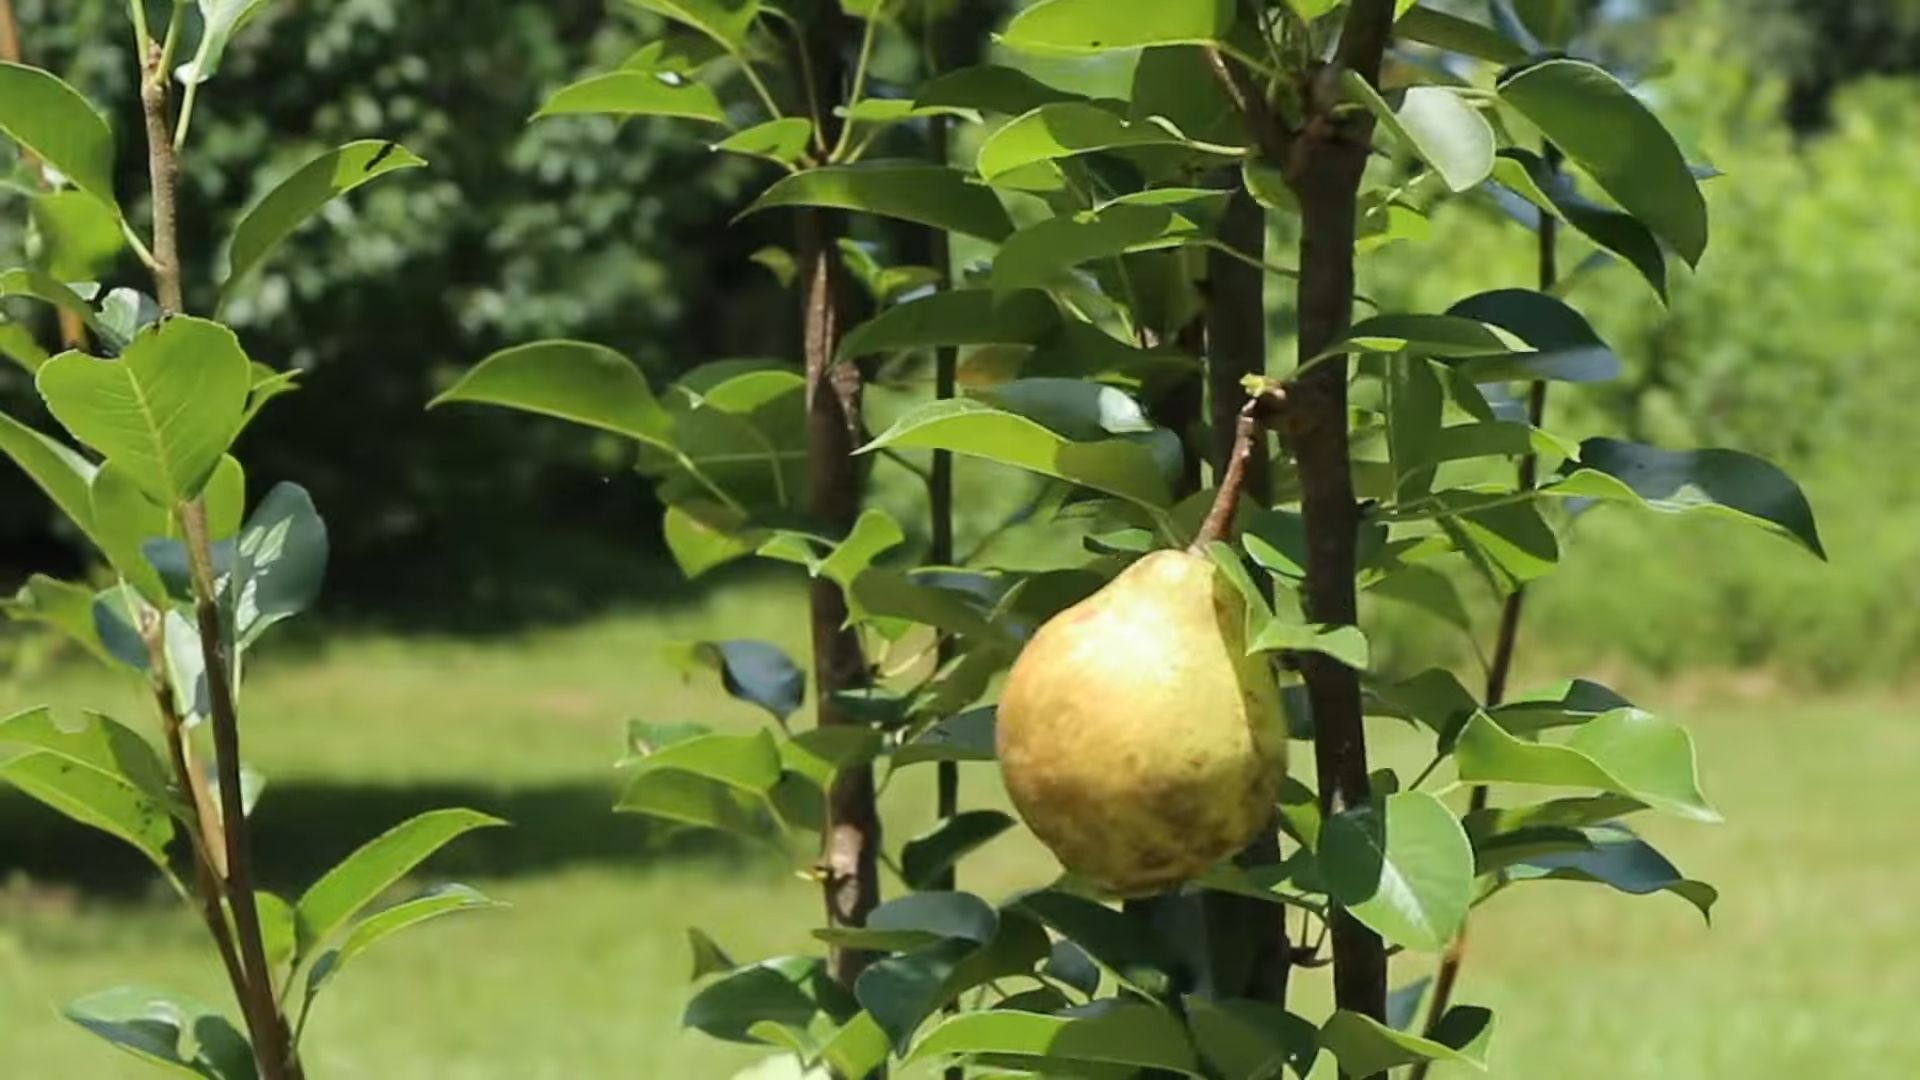
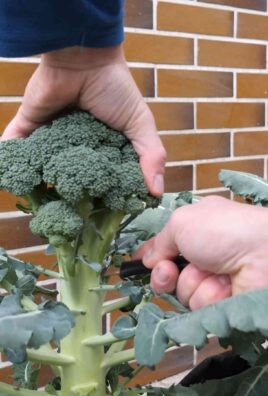
1. Knowing When to Harvest: Pears are best harvested when they are mature but still firm. They will ripen off the tree. To test for ripeness, gently lift the pear and twist it. If it comes off easily, it’s ready to harvest. The color of the pear may also change slightly, depending on the variety.
2. Harvesting Techniques: Handle pears carefully to avoid bruising. Gently twist the pear off the branch, being careful not to damage the spur.
3. Storing Pears: Pears can be stored in the refrigerator for several weeks. To ripen pears, place them in a paper bag at room temperature. They will ripen in a few days.
Dealing with Common Pear Tree Problems
Even with the best care, you might encounter some challenges along the way. Here are a few common problems and how to address them:
* Lack of Fruit: If your pear tree isn’t producing fruit, it could be due to several factors:
* Insufficient pollination: Make sure you have two compatible pear varieties planted nearby.
* Young age: Pear trees typically don’t start producing fruit until they are 3-5 years old.
* Improper pruning: Avoid removing too many spurs, as these are where the fruit is produced.
* Nutrient deficiencies: Fertilize your tree with a balanced fertilizer.
* Frost damage: Late frosts can damage flower buds and prevent fruit set.
* Fire Blight: As mentioned earlier, this bacterial disease can be devastating. Prune out infected branches promptly and disinfect your pruning tools. Choose fire blight-resistant varieties if possible.
* Pest Infestations: Monitor your tree regularly for signs of pests and take appropriate action.
Tips for Success
Here are a few extra tips to help you succeed in growing pears at home:
* Choose high-quality trees from a reputable nursery.
* Plant your trees in well-draining soil.
* Water your trees regularly, especially during dry periods.
* Fertilize your trees in the spring.
* Prune your trees annually to maintain their shape and health.
* Monitor your
Conclusion
So, there you have it! Growing pears at home, while it might seem daunting at first, is an incredibly rewarding experience. Imagine biting into a juicy, perfectly ripe pear, knowing you nurtured it from blossom to fruit right in your own backyard. The flavor is simply unmatched by anything you can find in a grocery store. This isn’t just about having fresh fruit; it’s about connecting with nature, learning new skills, and enjoying the satisfaction of your own harvest.
This DIY trick – the careful selection of rootstock, the strategic pruning, and the diligent pest control – is a must-try for anyone even remotely interested in fruit gardening. It’s the key to unlocking a bountiful pear harvest, year after year. Think of it as an investment in deliciousness and a beautiful addition to your landscape.
Don’t be afraid to experiment! Try different pear varieties to find your favorites. Perhaps you’d like to graft multiple varieties onto a single tree for a diverse harvest. Or maybe you’ll explore espalier techniques to train your pear tree against a wall, creating a stunning focal point in your garden. You could even try growing pears in containers if you have limited space. The possibilities are endless!
We’ve provided you with the foundational knowledge, but the real magic happens when you get your hands dirty and start experimenting. Remember to document your progress, take notes on what works and what doesn’t, and don’t be discouraged by setbacks. Gardening is a journey, and every challenge is an opportunity to learn and grow.
We are confident that with a little patience and dedication, you can successfully grow delicious pears at home. We urge you to give this DIY trick a try. Start small, learn as you go, and most importantly, have fun!
And now, we want to hear from you! Have you tried growing pears at home? What are your favorite varieties? What challenges have you faced, and how did you overcome them? Share your experiences, tips, and photos in the comments below. Let’s create a community of pear-growing enthusiasts and learn from each other. Your insights could be invaluable to someone just starting out. Let’s cultivate a thriving community of home pear growers!
Frequently Asked Questions (FAQs)
What are the best pear varieties to grow at home?
The best pear varieties for your home garden depend on your climate, space, and taste preferences. Some popular and relatively easy-to-grow varieties include Bartlett, Bosc, Anjou, and Comice. Bartlett pears are known for their classic pear flavor and are excellent for canning and eating fresh. Bosc pears have a distinctive bronze color and a crisp, slightly spicy flavor, making them ideal for baking. Anjou pears are juicy and versatile, suitable for both fresh eating and cooking. Comice pears are exceptionally sweet and juicy, often considered a dessert pear. Consider your local climate and choose varieties that are known to thrive in your region. Also, remember that most pear trees require cross-pollination, so you’ll need to plant at least two different varieties that bloom at the same time.
How much space do pear trees need?
The amount of space a pear tree needs depends on the variety and rootstock. Standard-sized pear trees can grow quite large, reaching heights of 15-20 feet and spreading 10-15 feet wide. Dwarf and semi-dwarf varieties are much smaller, typically reaching heights of 8-12 feet and spreading 6-8 feet wide. When planting, consider the mature size of the tree and ensure it has enough room to grow without crowding other plants or structures. If you have limited space, consider growing dwarf or semi-dwarf varieties or training your pear tree using espalier techniques.
How often should I water my pear tree?
Watering frequency depends on the age of the tree, the climate, and the soil type. Newly planted pear trees need regular watering to establish their root systems. Water deeply and frequently, especially during dry periods. Established pear trees are more drought-tolerant but still benefit from regular watering, especially during fruit development. Check the soil moisture regularly and water when the top inch or two of soil feels dry. Avoid overwatering, as this can lead to root rot. A good rule of thumb is to water deeply once or twice a week during the growing season, depending on the weather.
What are common pests and diseases that affect pear trees, and how can I control them?
Pear trees are susceptible to several pests and diseases, including pear psylla, codling moth, fire blight, and pear scab. Pear psylla is a small, sap-sucking insect that can cause leaf damage and reduce fruit production. Codling moth larvae burrow into the fruit, causing wormholes. Fire blight is a bacterial disease that can kill branches and even entire trees. Pear scab is a fungal disease that causes dark spots on the leaves and fruit. To control these pests and diseases, practice good sanitation by removing fallen leaves and fruit. Use insecticidal soap or horticultural oil to control pear psylla and codling moth. Prune out infected branches to control fire blight. Apply fungicide to prevent pear scab. Regularly inspect your trees for signs of pests and diseases and take action promptly.
When is the best time to prune my pear tree?
The best time to prune pear trees is in late winter or early spring, before the buds begin to swell. Pruning during this time allows the tree to heal quickly and encourages new growth. Remove any dead, damaged, or diseased branches. Thin out crowded branches to improve air circulation and sunlight penetration. Prune to maintain the desired shape and size of the tree. Avoid pruning heavily during the growing season, as this can stress the tree.
How long does it take for a pear tree to produce fruit?
The time it takes for a pear tree to produce fruit depends on the variety, rootstock, and growing conditions. Standard-sized pear trees typically take 4-6 years to begin producing fruit. Dwarf and semi-dwarf varieties may begin producing fruit in 3-4 years. Proper care, including regular watering, fertilization, and pruning, can help to speed up the fruiting process. Grafted trees often produce fruit sooner than trees grown from seed.
Do I need to fertilize my pear tree?
Yes, pear trees benefit from regular fertilization. Fertilize in early spring, before the buds begin to swell. Use a balanced fertilizer that is specifically formulated for fruit trees. Follow the instructions on the fertilizer label. Avoid over-fertilizing, as this can lead to excessive vegetative growth and reduced fruit production. You can also amend the soil with compost or other organic matter to improve its fertility.
How do I know when my pears are ripe?
Determining when pears are ripe can be tricky, as they often ripen from the inside out. One way to tell if a pear is ripe is to gently lift it and see if it separates easily from the branch. Another method is to check the color of the pear. As pears ripen, they often change color from green to yellow or red, depending on the variety. You can also gently press the neck of the pear near the stem. If it yields slightly to pressure, the pear is likely ripe. Pears are best harvested when they are slightly underripe and allowed to ripen fully at room temperature.
Can I grow pears in containers?
Yes, you can grow pears in containers, especially dwarf varieties. Choose a large container with good drainage. Use a well-draining potting mix. Water regularly and fertilize as needed. Place the container in a sunny location. Container-grown pear trees may need to be protected from frost in colder climates.
What if my pear tree isn’t producing fruit?
There are several reasons why a pear tree might not be producing fruit. It could be due to a lack of pollination, improper pruning, nutrient deficiencies, or pest and disease problems. Ensure that you have at least two different pear varieties planted for cross-pollination. Prune your tree properly to encourage fruit production. Fertilize your tree regularly to provide it with the nutrients it needs. Control pests and diseases to prevent damage to the tree. If your tree is still not producing fruit after addressing these issues, consult with a local arborist or fruit tree expert.
Leave a Comment