

Growing peanuts at home might sound like a whimsical dream reserved for sprawling farms, but I’m here to tell you it’s entirely achievable, even in a small garden or on a sunny balcony! Forget trekking to the store for your peanut butter fix; imagine the satisfaction of harvesting your own homegrown peanuts, bursting with fresh, nutty flavor.
The humble peanut, despite its name, isn’t actually a nut! It’s a legume with a fascinating history, originating in South America thousands of years ago. Evidence suggests peanuts were cultivated as early as 7,600 years ago in Peru! From ancient civilizations to becoming a staple snack worldwide, the peanut has certainly earned its place in our hearts (and pantries).
But why bother growing them yourself? Well, besides the sheer joy of nurturing a plant from seed to harvest, growing peanuts at home offers several advantages. You have complete control over the growing process, ensuring they’re free from harmful pesticides and chemicals. Plus, freshly harvested peanuts taste significantly better than store-bought ones. And let’s be honest, who wouldn’t want to impress their friends and family with their green thumb and a jar of homemade peanut butter?
This DIY guide will walk you through everything you need to know to successfully cultivate peanuts in your own backyard. From choosing the right variety to harvesting your bounty, I’ll share my tried-and-true tips and tricks to help you enjoy a plentiful peanut harvest. Get ready to get your hands dirty and experience the rewarding journey of growing your own peanuts!
Growing Peanuts at Home: From Seed to Snack!
Hey there, fellow gardening enthusiasts! Ever thought about growing your own peanuts? It might seem a little daunting, but trust me, it’s a surprisingly rewarding experience. Imagine the satisfaction of harvesting your own homegrown peanuts, roasting them up, and enjoying a delicious, healthy snack. I’m going to walk you through everything you need to know to successfully grow peanuts right in your own backyard (or even in containers!).
What You’ll Need
Before we dive into the nitty-gritty, let’s gather our supplies. Here’s a checklist of everything you’ll need to get started:
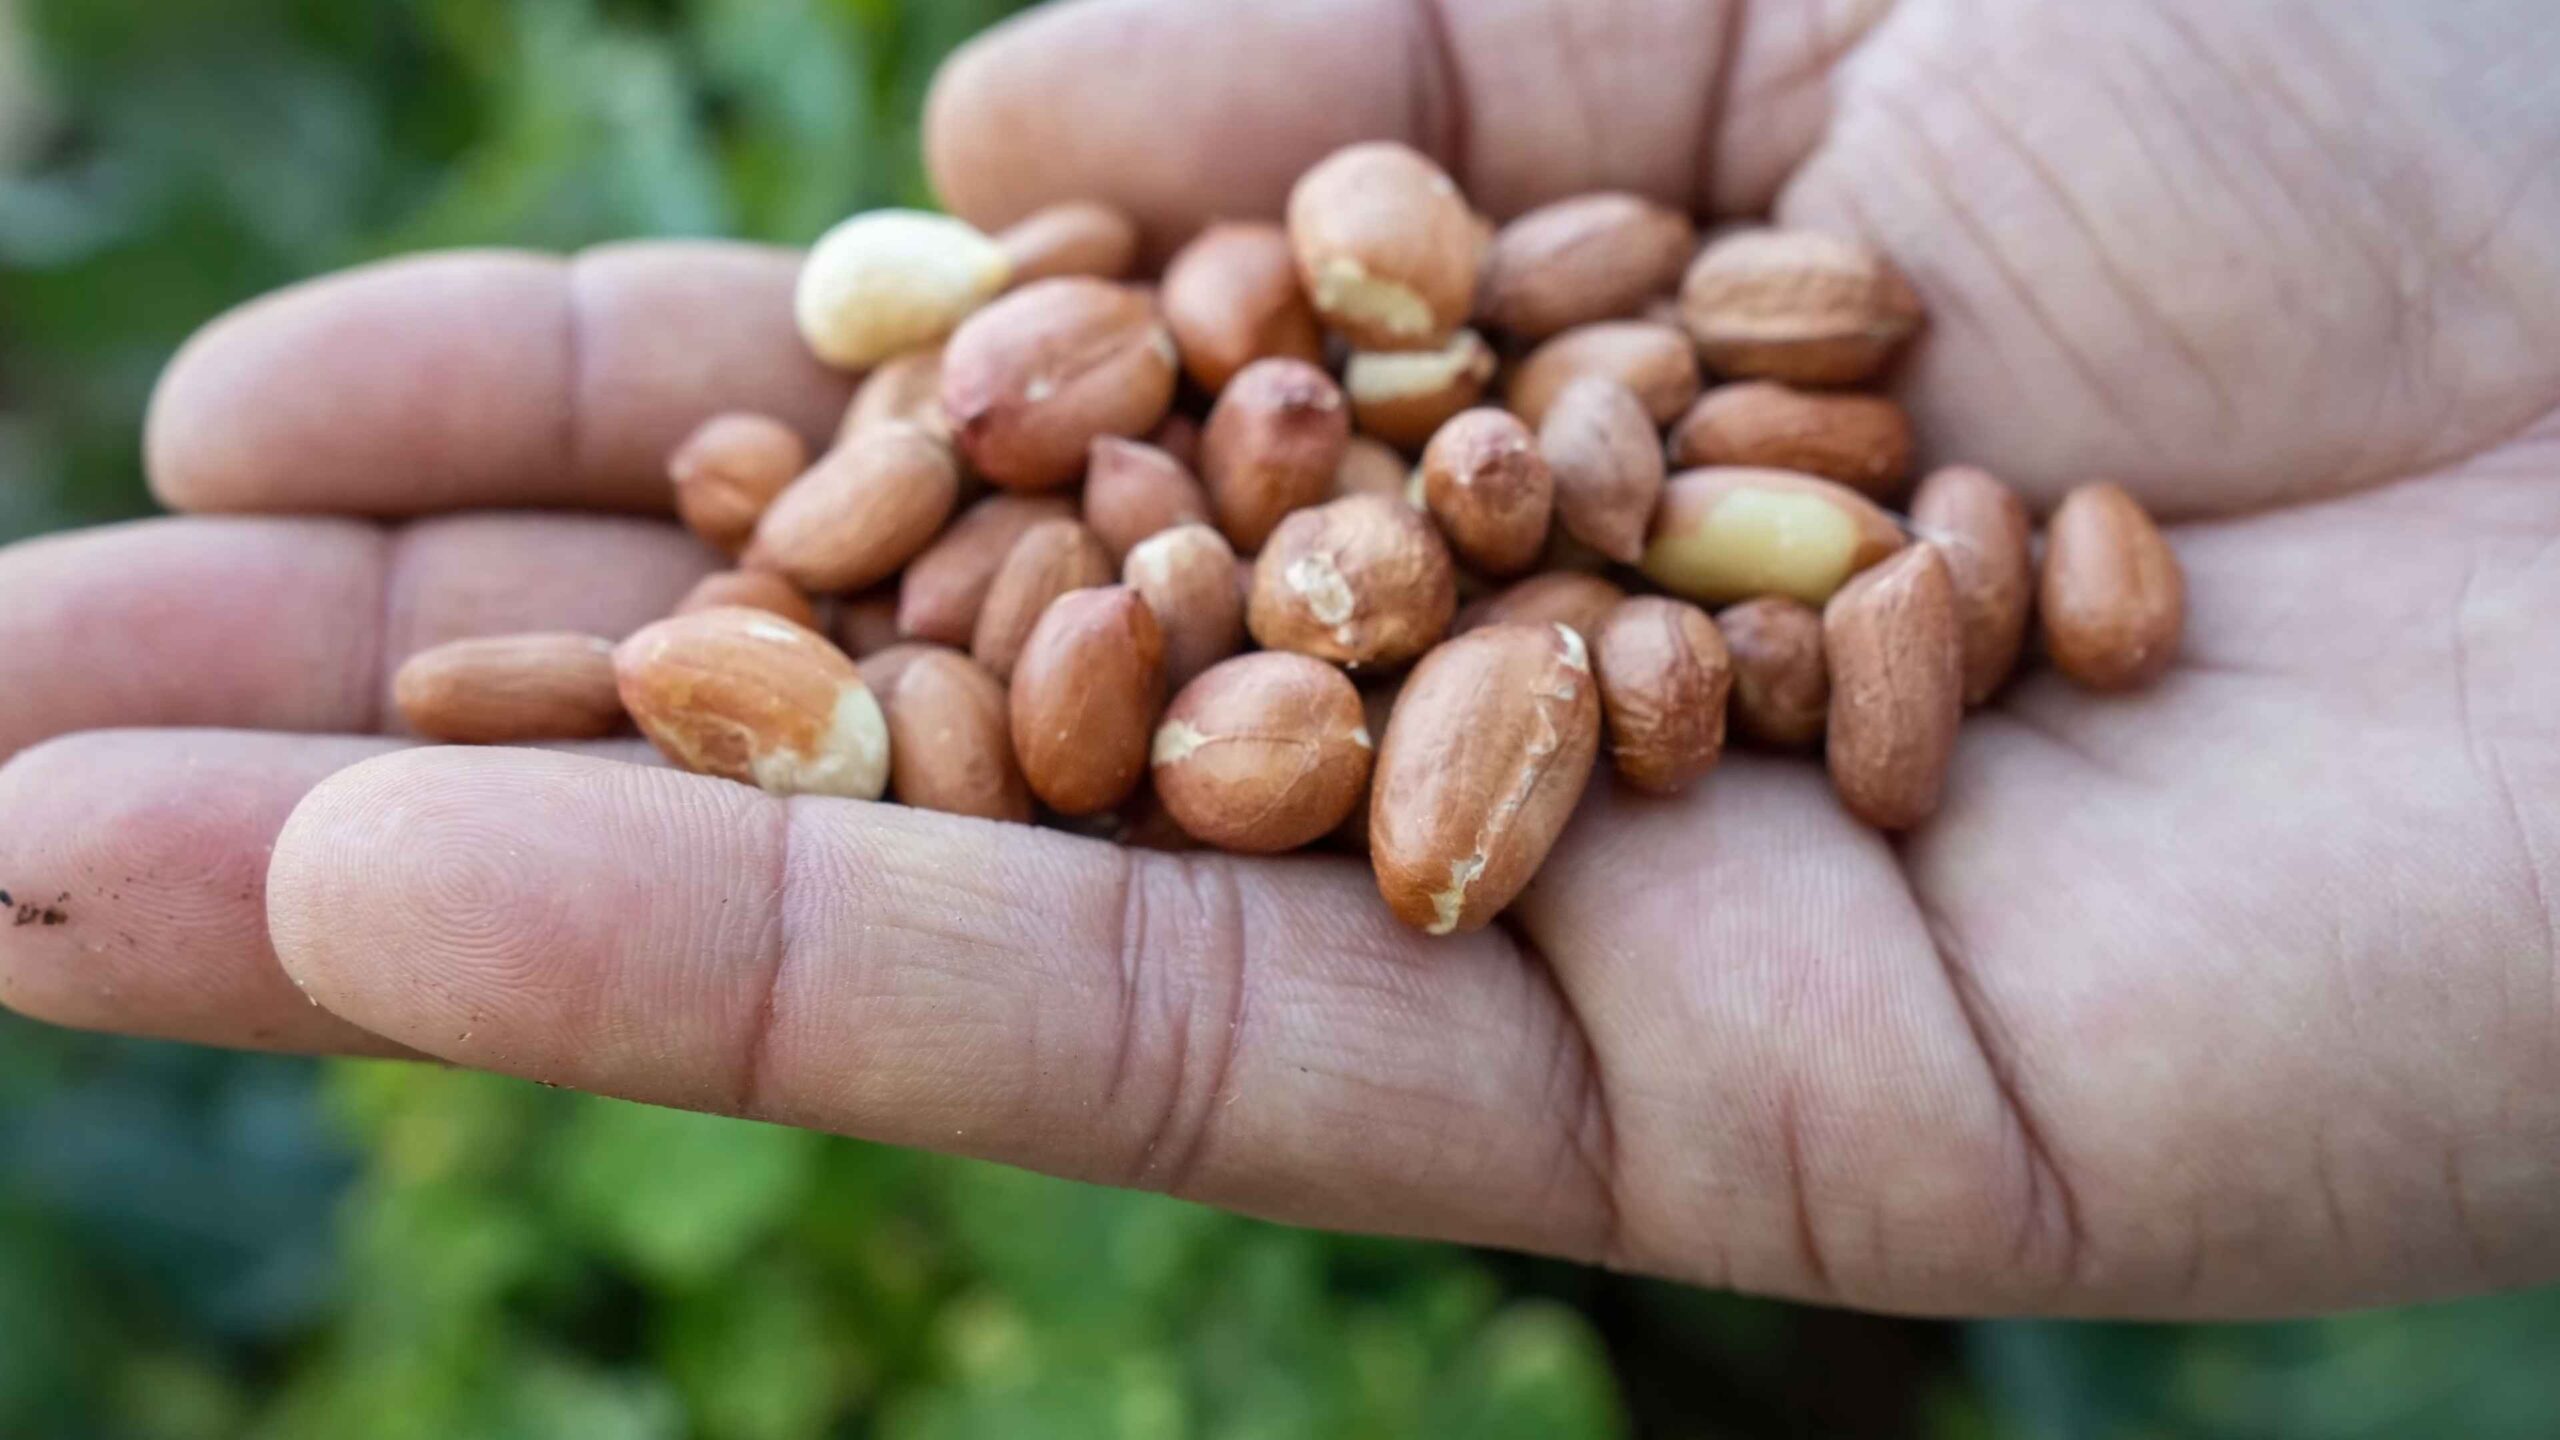
* Peanut Seeds (Raw, Unroasted): This is the most crucial ingredient! Make sure you get raw, unroasted peanuts from a reputable source. Roasted peanuts won’t germinate. You can often find them at garden centers or online. Look for varieties suited to your climate. Virginia, Spanish, and Valencia are popular choices.
* Well-Draining Soil: Peanuts thrive in loose, sandy loam soil. Good drainage is essential to prevent root rot. If your soil is heavy clay, you’ll need to amend it with compost, sand, and other organic matter.
* Large Containers (Optional): If you’re short on space or have poor soil, you can grow peanuts in large containers. Choose containers that are at least 18 inches wide and 18 inches deep.
* Compost or Aged Manure: This will enrich the soil and provide essential nutrients for your peanut plants.
* Garden Trowel or Shovel: For planting and digging.
* Watering Can or Hose: To keep your peanut plants adequately watered.
* Mulch (Optional): Mulch helps retain moisture, suppress weeds, and regulate soil temperature. Straw, hay, or wood chips are good options.
* Fertilizer (Optional): A balanced fertilizer can give your peanut plants a boost, but it’s not always necessary if your soil is already rich in nutrients.
* Patience: Growing peanuts takes time and patience. Don’t get discouraged if you don’t see results immediately.
Preparing Your Soil
Peanuts are pretty picky about their soil. They need well-draining soil that’s rich in organic matter. Here’s how to get your soil ready for planting:
1. Choose a Sunny Location: Peanuts need at least 6-8 hours of direct sunlight per day. Select a spot in your garden that gets plenty of sun.
2. Test Your Soil (Optional): A soil test can tell you the pH level and nutrient content of your soil. Peanuts prefer a slightly acidic soil pH of 6.0 to 6.5. If your soil is too alkaline, you can amend it with sulfur.
3. Amend the Soil: If your soil is heavy clay or sandy, you’ll need to amend it to improve drainage and fertility. Add plenty of compost or aged manure to the soil. Work it in thoroughly with a garden trowel or shovel.
4. Loosen the Soil: Use a garden fork or tiller to loosen the soil to a depth of at least 12 inches. This will make it easier for the peanut pegs (the structures that develop into peanuts) to penetrate the soil.
5. Level the Soil: Rake the soil smooth and level. This will ensure even watering and drainage.
Planting Your Peanut Seeds
Now for the fun part – planting your peanut seeds! Here’s how to do it:
1. Soak the Seeds (Optional): Soaking the peanut seeds in water for a few hours before planting can help speed up germination. However, this step is not essential.
2. Planting Time: Wait until the soil has warmed up to at least 65°F (18°C) before planting. This is usually a few weeks after the last frost.
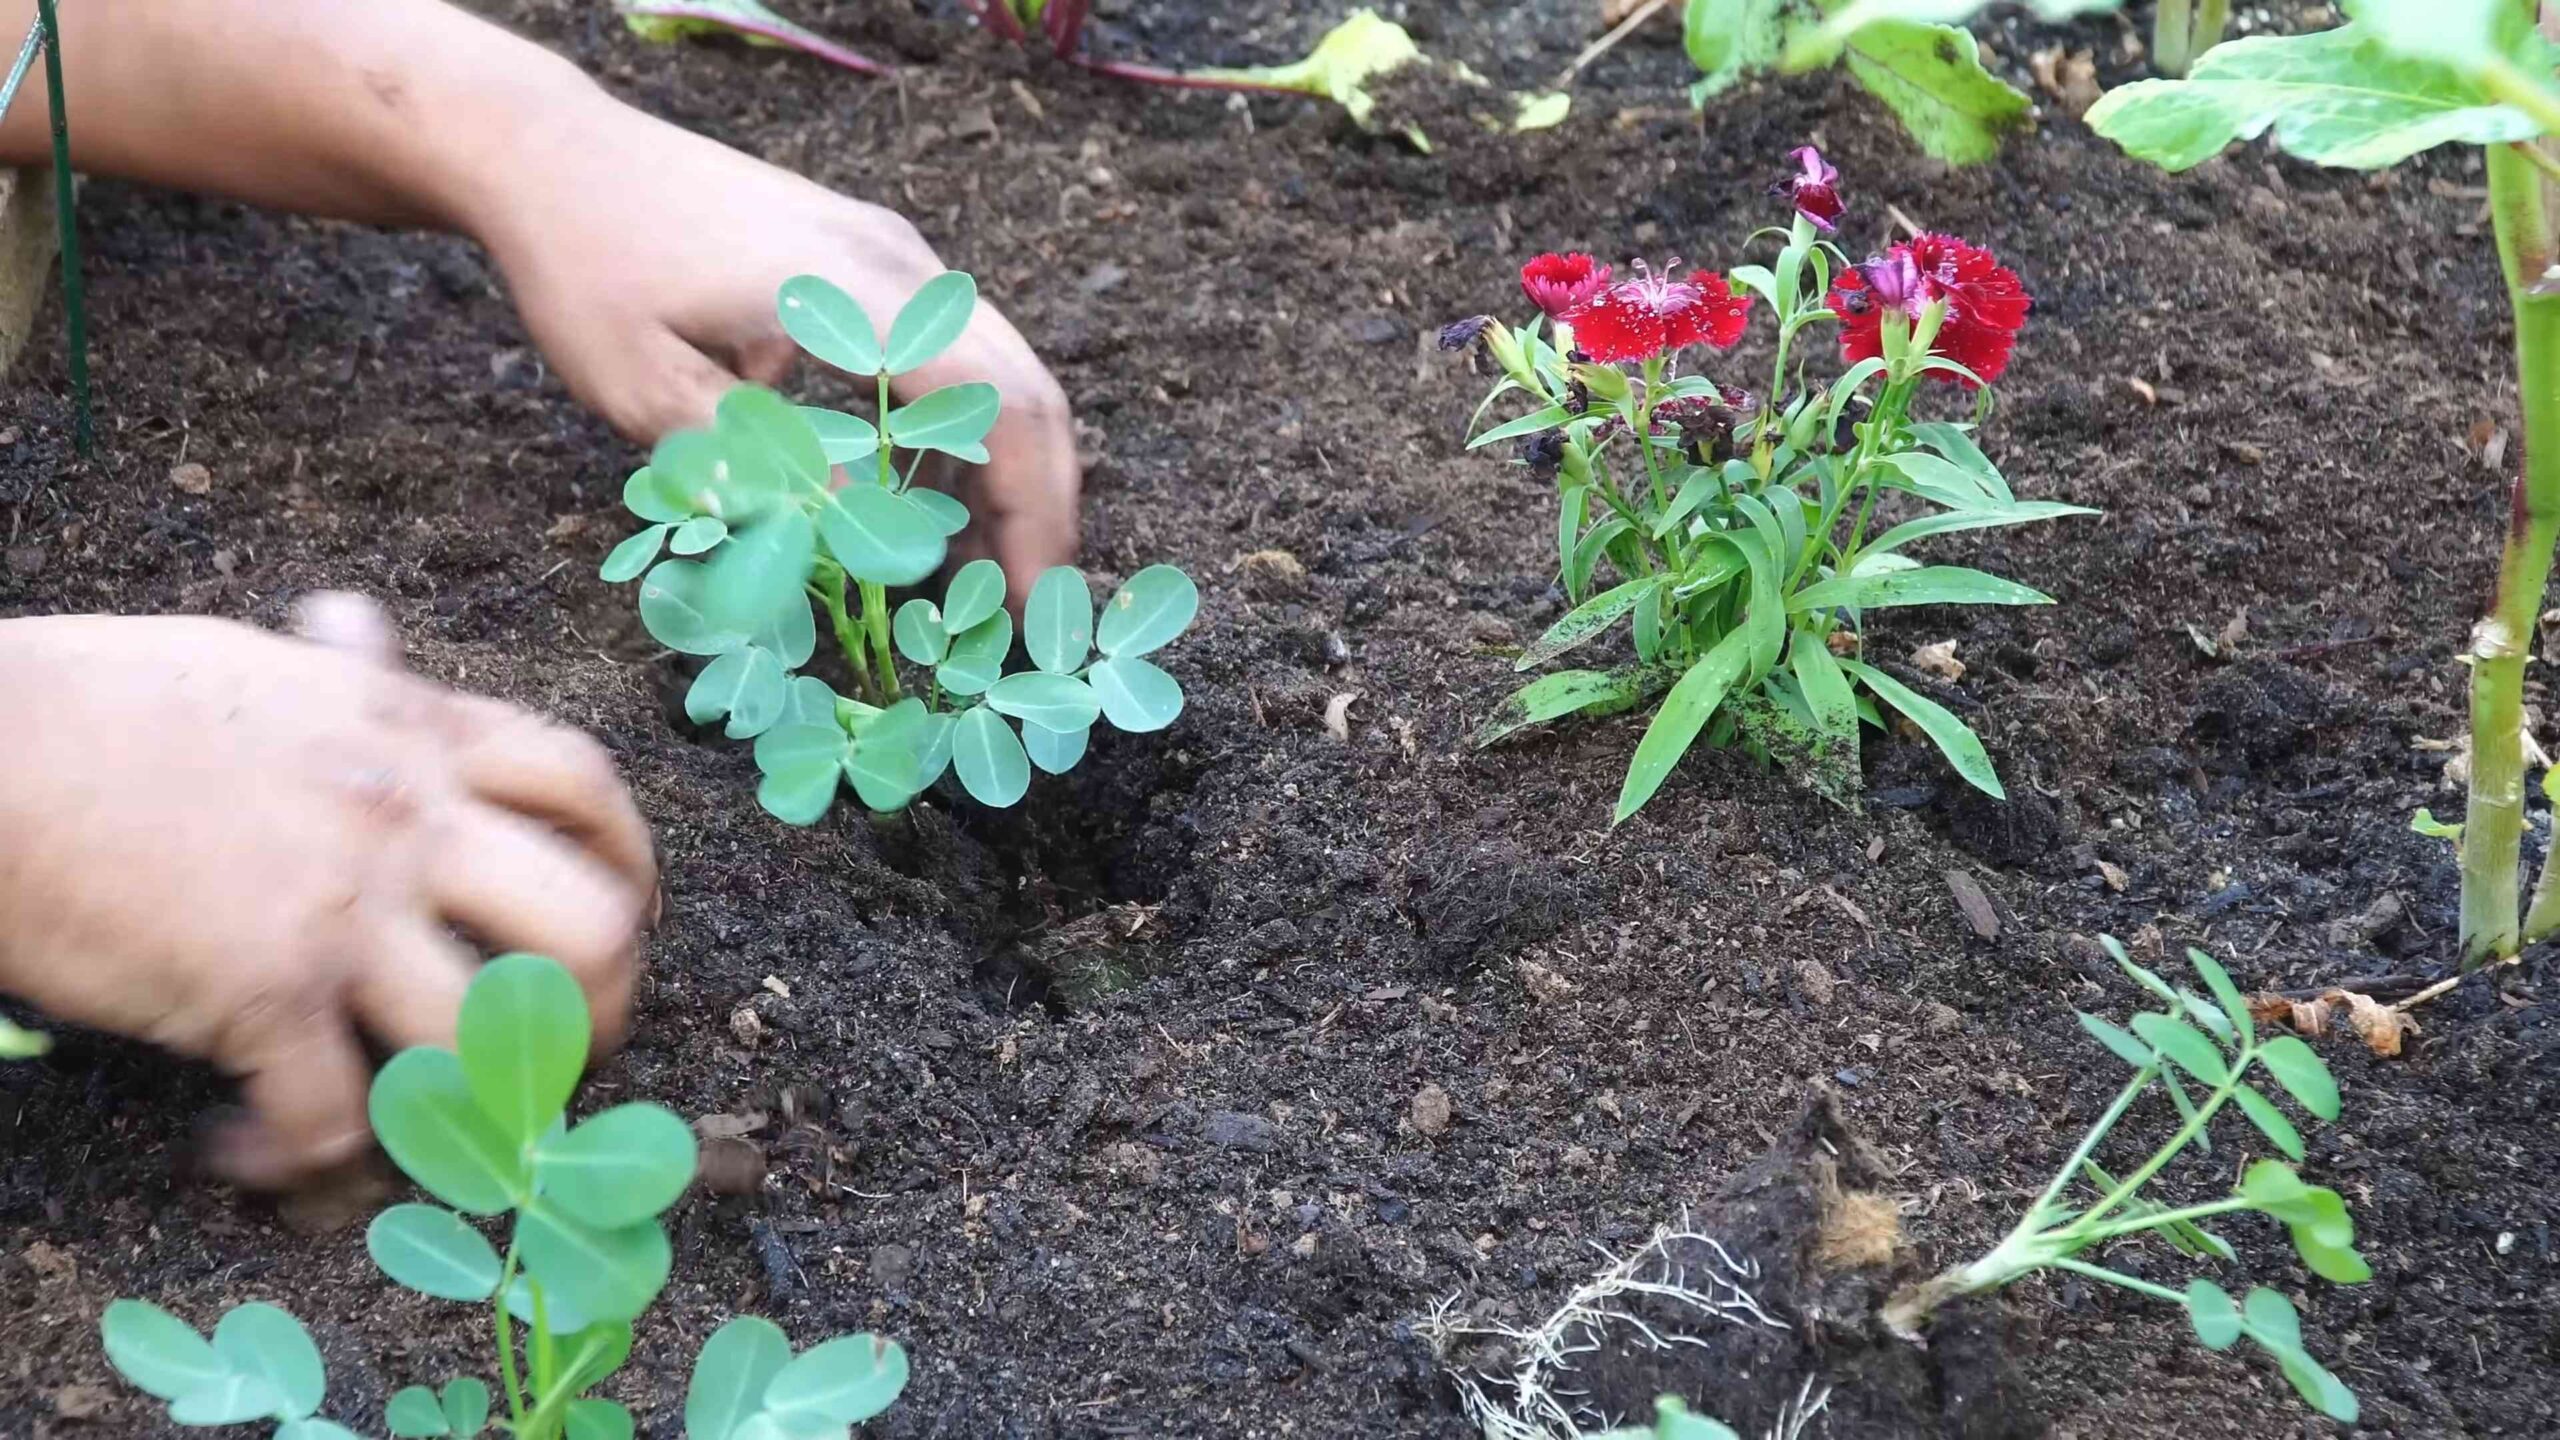
3. Spacing: Plant the peanut seeds 1-2 inches deep and 6-8 inches apart in rows that are 2-3 feet apart. If you’re planting in containers, plant 2-3 seeds per container.
4. Cover the Seeds: Gently cover the seeds with soil and pat it down lightly.
5. Water Thoroughly: Water the soil thoroughly after planting. Keep the soil consistently moist but not waterlogged until the seeds germinate.
Caring for Your Peanut Plants
Once your peanut plants have sprouted, it’s important to provide them with proper care to ensure a bountiful harvest.
1. Watering: Water your peanut plants regularly, especially during dry periods. Peanuts need about 1 inch of water per week. Avoid overwatering, as this can lead to root rot.
2. Weeding: Keep the area around your peanut plants free of weeds. Weeds can compete with your peanut plants for nutrients and water.
3. Fertilizing (Optional): If your peanut plants are not growing vigorously, you can fertilize them with a balanced fertilizer. Follow the instructions on the fertilizer label. Avoid over-fertilizing, as this can lead to excessive foliage growth and fewer peanuts.
4. Hilling: About a month after the peanut plants have flowered, you’ll need to “hill” them. This involves mounding soil around the base of the plants. Hilling helps support the plants and encourages the pegs to penetrate the soil.
5. Pest and Disease Control: Peanuts are generally resistant to pests and diseases, but they can be susceptible to certain problems, such as aphids, spider mites, and leaf spot. Monitor your plants regularly for signs of pests or diseases. If you notice any problems, take action immediately to control them. Insecticidal soap or neem oil can be used to control aphids and spider mites. Fungicides can be used to control leaf spot.
Harvesting Your Peanuts
Harvesting is the most exciting part! Here’s how to know when your peanuts are ready and how to harvest them:
1. Timing: Peanuts typically take 120-150 days to mature. You’ll know they’re ready to harvest when the leaves start to turn yellow and the plants begin to die back.
2. Digging: Use a garden fork or shovel to carefully dig up the peanut plants. Be careful not to damage the peanuts.
3. Shaking: Gently shake the soil off the peanut plants.
4. Drying: Hang the peanut plants upside down in a well-ventilated area for 2-4 weeks to dry. This will allow the peanuts to cure and develop their flavor. You can also dry them in a single layer on screens.
5. Picking: Once the peanut plants are dry, you can pick the peanuts off the plants.
6. Cleaning: Wash the peanuts in water to remove any remaining soil.
7. Drying Again: Spread the peanuts out in a single layer on screens or trays and let them dry completely. This may take several days.
Roasting Your Peanuts
Now that you’ve harvested and dried your peanuts, it’s time to roast them! Here’s how to roast your own homegrown peanuts:
1. Preheat Oven: Preheat your oven to 350°F (175°C).
2. Spread Peanuts: Spread the peanuts out in a single layer on a baking sheet.
3. Roast: Roast the peanuts for 15-20 minutes, or until they are golden brown and fragrant. Stir them occasionally to ensure even roasting.
4. Cool: Let the peanuts cool completely before eating.
5. Enjoy: Enjoy your delicious, homegrown roasted peanuts! You can eat them plain, add them to salads, or use them in other recipes.
Storing Your Peanuts
Proper storage is essential to keep your peanuts fresh and flavorful.
1. Shelling (Optional): You can store peanuts in their shells or shelled. Shelled peanuts will take up less space, but they may not stay as fresh as long.
2. Airtight Container: Store the peanuts in an airtight container in a cool, dry place.
3. Refrigeration or Freezing: For longer storage, you can refrigerate or freeze the peanuts. Refrigerated peanuts will last for several months, while frozen peanuts will last for up to a year.
Troubleshooting
Even with the best care, you might encounter some problems while growing peanuts. Here are a few common issues and how to address them:
* Poor Germination: If your peanut seeds don’t germinate, it could be due to several factors, such as cold soil, poor-quality seeds, or overwatering. Make sure the soil is warm enough before planting, use fresh seeds from a reputable source, and avoid overwatering.
* Yellowing Leaves: Yellowing leaves can be a sign of nutrient deficiency, overwatering, or disease. Check the soil pH and nutrient levels, adjust your watering schedule, and
Conclusion
So, there you have it! Growing peanuts at home is not only achievable, but it’s also a deeply rewarding experience that connects you to the origins of your food. Forget the store-bought bags filled with who-knows-what; imagine the satisfaction of harvesting your own fresh, flavorful peanuts, knowing exactly where they came from and how they were grown.
This DIY trick, as we’ve outlined, is a must-try for several compelling reasons. First, it’s surprisingly simple. You don’t need acres of farmland or specialized equipment. A sunny spot in your garden, a container on your patio, or even a large pot indoors can become a peanut-producing haven. Second, it’s incredibly educational, especially if you have children. Watching the peanut plants grow, flower, and then mysteriously bury their pegs into the ground to form peanuts is a fascinating lesson in botany and the wonders of nature. Third, the taste of homegrown peanuts is simply superior. They’re fresher, more flavorful, and have a unique sweetness that you won’t find in commercially grown varieties.
But the benefits don’t stop there. Growing your own peanuts is also a sustainable choice. You’re reducing your carbon footprint by eliminating the transportation and processing involved in getting peanuts from farm to store. Plus, you can control the use of pesticides and herbicides, ensuring that your peanuts are grown organically and safely.
Looking for variations? Consider experimenting with different peanut varieties. Virginia peanuts are known for their large size, while Spanish peanuts are smaller and sweeter. Runner peanuts are commonly used for peanut butter, and Valencia peanuts are often roasted in their shells. Each variety offers a unique flavor profile and growing characteristics, so do some research and choose the one that best suits your taste and climate.
You can also try different planting methods. Direct sowing is the simplest approach, but starting your peanut plants indoors can give them a head start, especially in cooler climates. Experiment with different soil amendments to improve drainage and nutrient availability. Adding compost or well-rotted manure can significantly boost peanut production.
Don’t be afraid to get creative with your peanut harvest. Roast them in the oven with your favorite spices, use them to make homemade peanut butter, or add them to salads, stir-fries, and other dishes. The possibilities are endless!
We wholeheartedly encourage you to try this DIY trick and experience the joy of growing your own peanuts. It’s a fun, educational, and rewarding project that will bring you closer to nature and provide you with a delicious and sustainable source of food.
And most importantly, we want to hear about your experience! Share your photos, tips, and stories with us in the comments section below. Let’s create a community of peanut growers and learn from each other’s successes and challenges. Together, we can unlock the secrets to growing the perfect peanut crop and enjoy the fruits (or rather, the nuts) of our labor. So, grab some peanut seeds, get your hands dirty, and start growing your own delicious and nutritious peanuts today! This **growing peanuts at home** guide is your first step to a rewarding experience.
Frequently Asked Questions (FAQ)
1. What kind of climate is best for growing peanuts?
Peanuts thrive in warm climates with a long growing season of at least 120 frost-free days. They need plenty of sunshine and well-drained soil. The ideal temperature range for peanut growth is between 68°F and 86°F (20°C and 30°C). While they can be grown in cooler climates, you may need to start them indoors and provide extra protection from frost.
2. What type of soil is best for growing peanuts?
Peanuts prefer sandy loam soil that is well-drained and rich in organic matter. Heavy clay soils can be problematic because they retain too much moisture and can hinder the development of peanut pods. The ideal soil pH for peanuts is between 6.0 and 6.5. If your soil is too acidic or alkaline, you can amend it with lime or sulfur, respectively.
3. How do I plant peanut seeds?
You can plant peanut seeds directly in the ground or start them indoors. If planting directly, wait until the soil has warmed up to at least 65°F (18°C). Sow the seeds 1-2 inches deep and 6-8 inches apart in rows that are 2-3 feet apart. If starting indoors, sow the seeds in peat pots or biodegradable containers 4-6 weeks before the last expected frost. Transplant the seedlings outdoors after the danger of frost has passed.
4. How often should I water peanut plants?
Peanut plants need consistent moisture, especially during flowering and pod development. Water deeply and regularly, especially during dry spells. Avoid overwatering, as this can lead to root rot. A good rule of thumb is to water when the top inch of soil feels dry to the touch.
5. Do peanut plants need fertilizer?
Peanuts are legumes, which means they can fix nitrogen from the atmosphere. However, they still benefit from fertilization, especially with phosphorus and potassium. Apply a balanced fertilizer (e.g., 10-10-10) at planting time and again when the plants begin to flower. Avoid over-fertilizing with nitrogen, as this can promote excessive vegetative growth at the expense of pod development.
6. How long does it take for peanuts to mature?
Peanuts typically take 120-150 days to mature, depending on the variety and growing conditions. You’ll know they’re ready to harvest when the leaves begin to turn yellow and the inside of the peanut shells are dark brown.
7. How do I harvest peanuts?
To harvest peanuts, carefully dig up the entire plant, being careful not to damage the pods. Gently shake off the excess soil and hang the plants upside down in a well-ventilated area to dry for 2-3 weeks. Once the plants are dry, you can remove the peanuts from the vines.
8. How do I store peanuts?
Store peanuts in a cool, dry place in an airtight container. Shelled peanuts can be stored in the refrigerator for several months or in the freezer for up to a year.
9. What are some common pests and diseases that affect peanut plants?
Common pests that affect peanut plants include aphids, spider mites, and leafhoppers. Common diseases include leaf spot, white mold, and root rot. You can control pests and diseases by using organic pesticides and fungicides, practicing crop rotation, and ensuring good air circulation.
10. Can I grow peanuts in containers?
Yes, you can grow peanuts in containers. Choose a large container (at least 12 inches in diameter and 12 inches deep) with drainage holes. Fill the container with a well-draining potting mix and plant the peanut seeds as described above. Water regularly and fertilize as needed.
11. What are the benefits of growing peanuts at home?
Growing peanuts at home offers several benefits, including:
* Fresh, flavorful peanuts
* Control over growing practices (e.g., organic gardening)
* Educational opportunity for children
* Sustainable food source
* Reduced carbon footprint
* Sense of accomplishment
12. Can I use store-bought peanuts to grow peanut plants?
It’s generally not recommended to use store-bought peanuts to grow peanut plants, especially roasted or salted peanuts. These peanuts may have been treated to prevent sprouting. However, you can use raw, unsalted peanuts that are specifically labeled for planting. Look for peanut seeds at your local garden center or online seed supplier.
13. My peanut plants are flowering, but I don’t see any peanuts forming. What could be the problem?
There are several reasons why your peanut plants may be flowering but not producing peanuts. One possibility is that the soil is too dry. Peanuts need consistent moisture during flowering and pod development. Another possibility is that the soil is lacking in essential nutrients, such as phosphorus and potassium. Make sure to fertilize your plants with a balanced fertilizer. Finally, it’s possible that the flowers are not being pollinated properly. While peanuts are self-pollinating, they can benefit from the help of bees and other pollinators. Consider planting flowers near your peanut plants to attract pollinators.
14. How can I improve the yield of my peanut crop?
To improve the yield of your peanut crop, consider the following tips:
* Choose a peanut variety that is well-suited to your climate and growing conditions.
* Plant your peanuts in well-drained soil that is rich in organic matter.
* Provide consistent moisture, especially during flowering and pod development.
* Fertilize your plants with a balanced fertilizer.
* Control pests and diseases.
* Practice crop rotation.
* Ensure good air circulation.
* Harvest your peanuts at the right time.
15. Is growing peanuts at home organic?
Yes, growing peanuts at home can be organic. By using organic soil amendments, fertilizers, and pest control methods, you can ensure that your peanuts are grown without the use of synthetic chemicals. Look for organic peanut seeds and follow organic gardening practices to grow a healthy and sustainable peanut crop.

Leave a Comment