

Growing Mint at Home can be incredibly rewarding, filling your kitchen with the fresh, invigorating scent and providing you with a readily available supply for teas, cocktails, and culinary creations. But let’s be honest, sometimes it feels like mint has a mind of its own, either taking over your entire garden or stubbornly refusing to thrive. Have you ever dreamed of effortlessly plucking fresh mint leaves for your mojito, only to be met with a sad, leggy plant?
Mint has a rich history, dating back to ancient civilizations where it was valued for its medicinal and aromatic properties. The Romans, for example, used mint to freshen their breath and flavor their sauces. Today, the desire to cultivate this versatile herb remains strong, but the challenges persist. That’s where our DIY tricks and hacks come in!
I’m here to share some simple, yet effective, methods to ensure you’re growing mint at home like a pro, regardless of your gardening experience. We’ll tackle common issues like controlling its spread, optimizing sunlight, and preventing diseases. These DIY solutions will not only save you money but also empower you to enjoy a thriving mint patch, adding a touch of freshness to your life, one leaf at a time. Let’s get started and unlock the secrets to a flourishing mint garden!
Growing Mint at Home: A DIY Guide for Fresh Flavor All Year Round
Hey there, fellow herb enthusiasts! I’m so excited to share my tried-and-true method for growing mint at home. Trust me, having fresh mint on hand is a game-changer for everything from mojitos and teas to salads and desserts. Plus, it’s surprisingly easy, even if you don’t have a green thumb (like me, sometimes!). This guide will walk you through everything you need to know to cultivate your own thriving mint patch, indoors or outdoors.
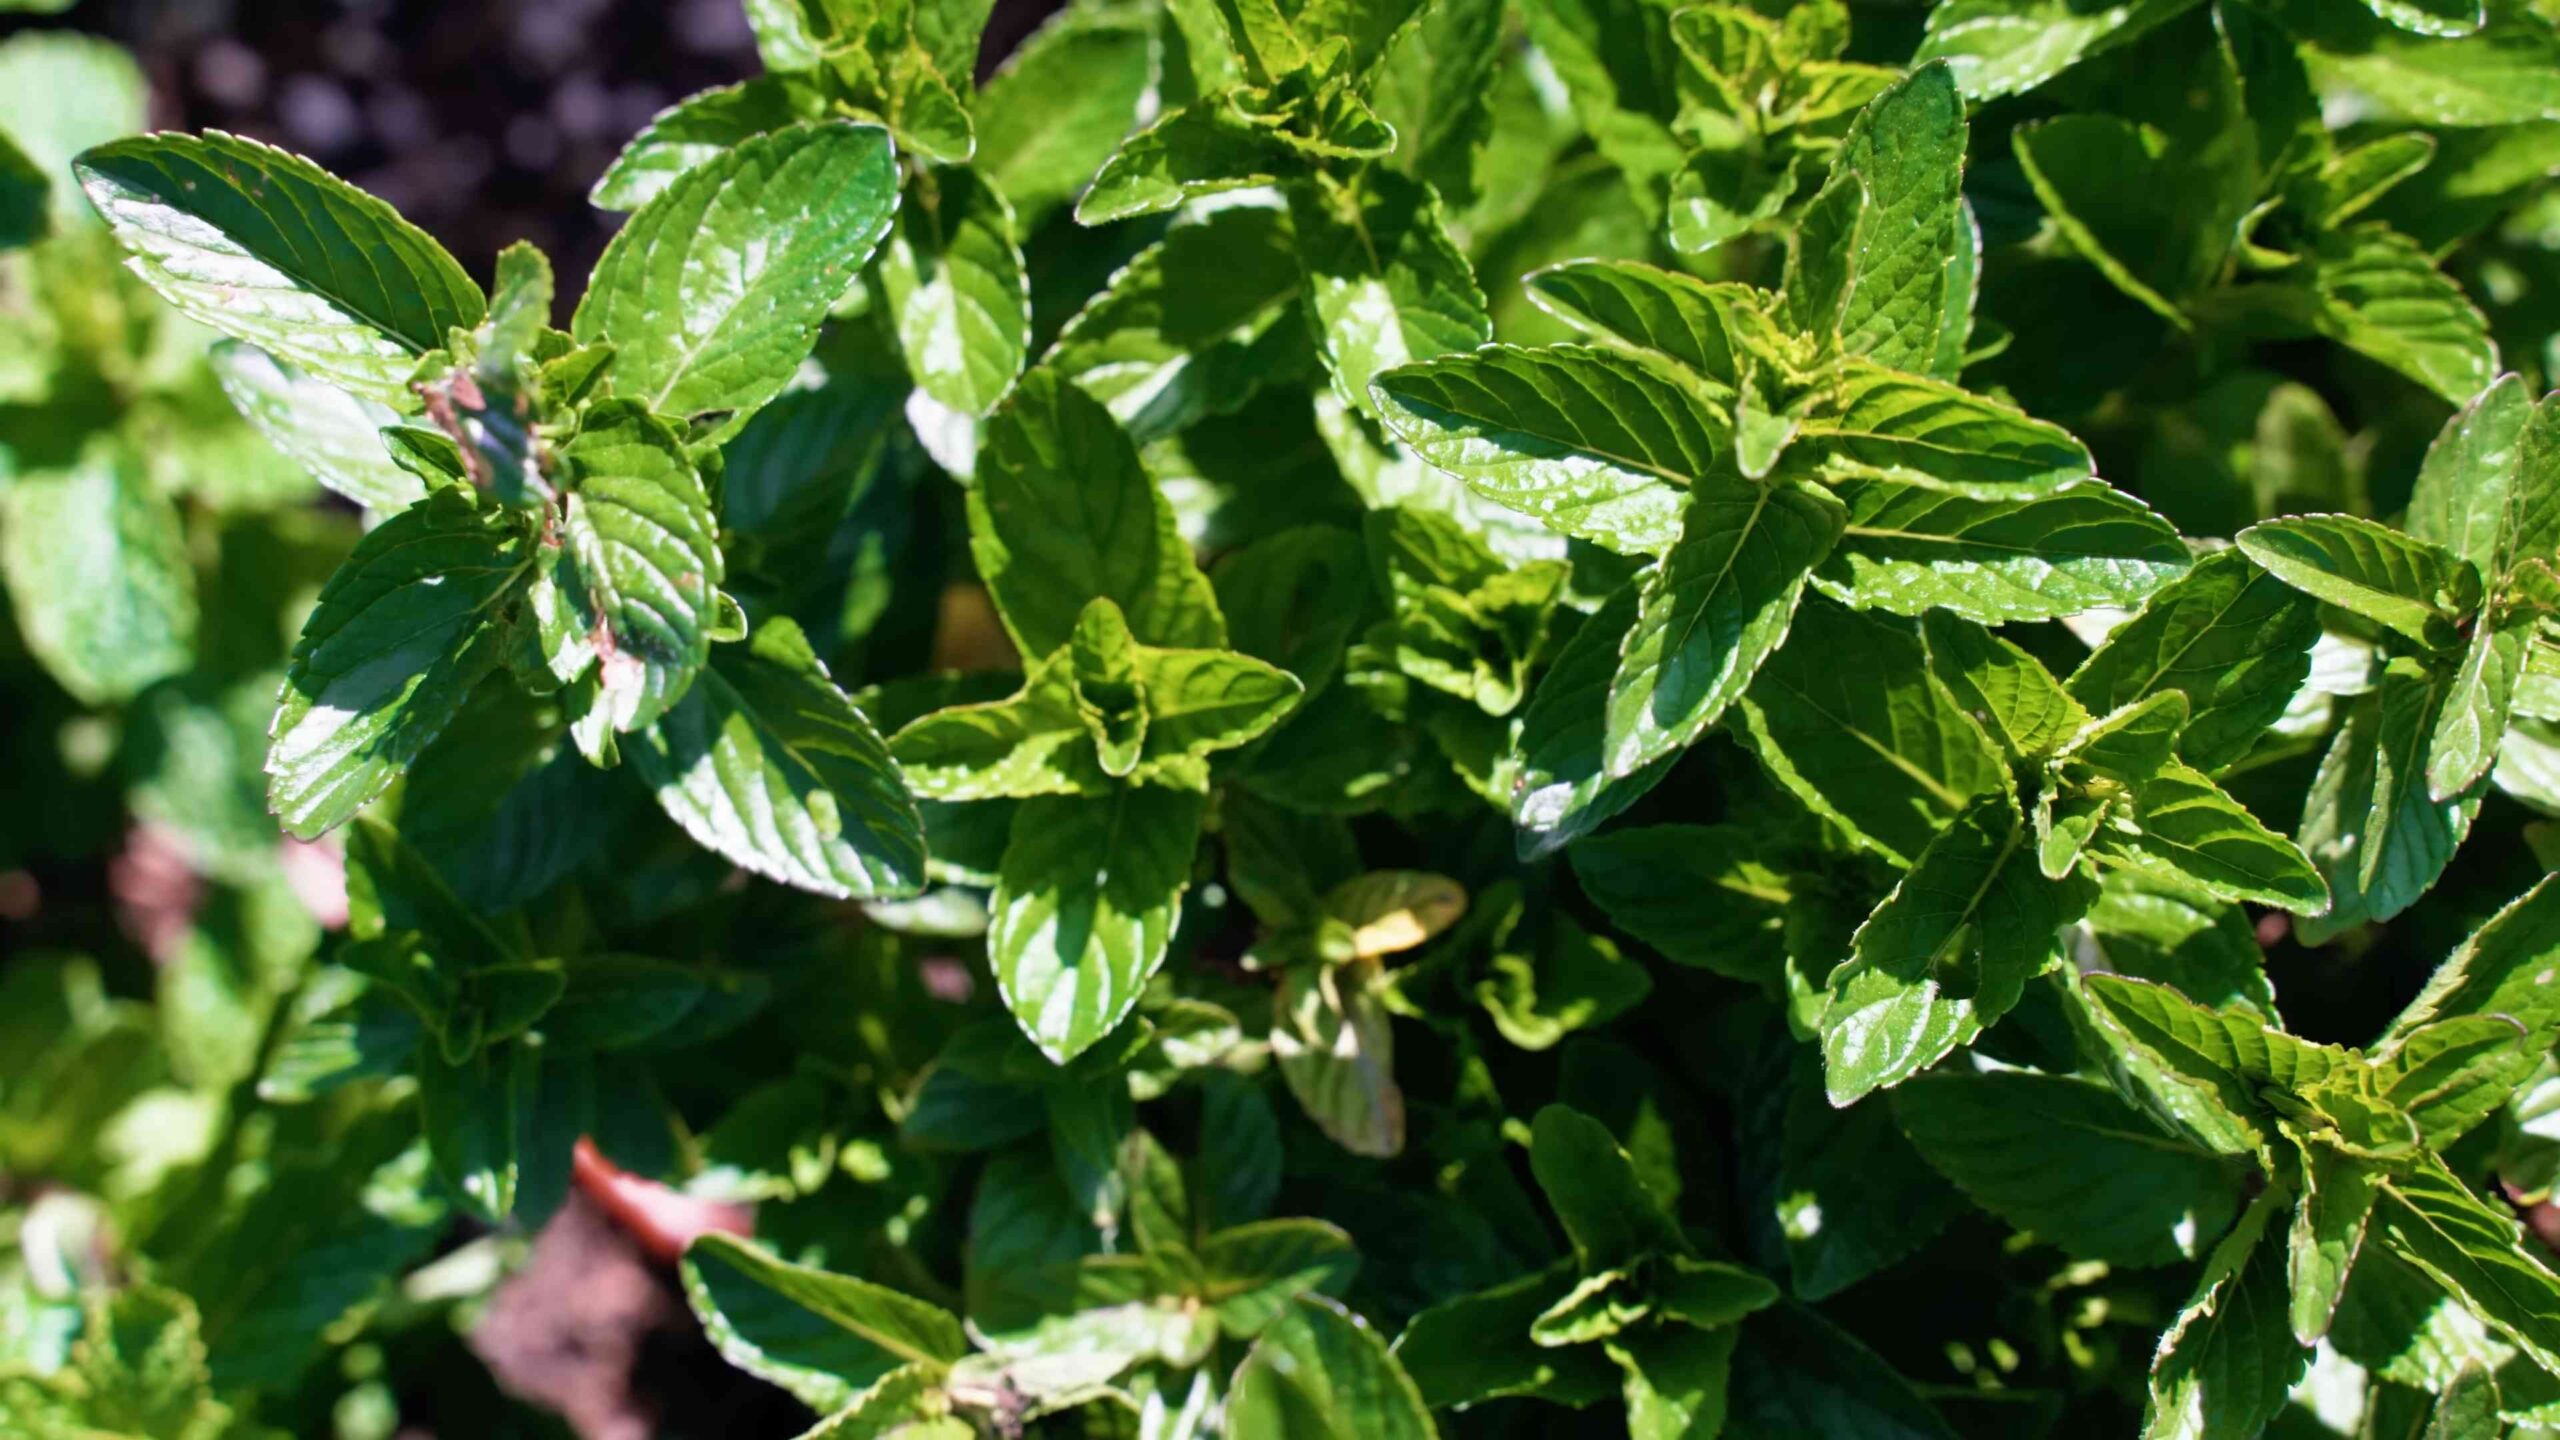
Choosing Your Mint Variety
Before we dive into the nitty-gritty, let’s talk about mint varieties. There’s a whole world of mint out there, each with its own unique flavor profile. Here are a few popular choices:
* Peppermint: The classic, strong mint flavor perfect for teas and candies.
* Spearmint: A milder, sweeter mint often used in chewing gum and sauces.
* Chocolate Mint: Yes, you read that right! It has a subtle chocolatey aroma and flavor.
* Apple Mint: A fruity, slightly fuzzy mint with a hint of apple.
* Orange Mint: A citrusy mint that adds a bright note to drinks and dishes.
I recommend starting with peppermint or spearmint, as they’re generally the easiest to grow. But feel free to experiment and find your favorite!
Getting Started: What You’ll Need
Okay, let’s gather our supplies. Here’s what you’ll need to get your mint-growing journey underway:
* Mint cuttings or seedlings: You can find these at most nurseries or garden centers. You can also propagate mint from cuttings (more on that later!).
* Potting mix: Use a well-draining potting mix specifically formulated for containers.
* A pot or container: Choose a pot that’s at least 6 inches in diameter and has drainage holes. Mint can be invasive, so I highly recommend growing it in a container to prevent it from taking over your garden.
* Watering can or hose: For keeping your mint hydrated.
* Optional: Fertilizer (a balanced liquid fertilizer is best), gardening gloves.
Propagating Mint from Cuttings (Optional but Awesome!)
If you already have access to a mint plant, you can easily propagate new plants from cuttings. This is a super cost-effective way to expand your mint collection!
1. Select a healthy stem: Choose a stem that’s about 4-6 inches long and has several leaves.
2. Remove the lower leaves: Strip off the leaves from the bottom 2 inches of the stem. This is where the roots will grow.
3. Place the cutting in water: Put the stem in a glass or jar filled with water, making sure the nodes (where the leaves were removed) are submerged.
4. Wait for roots to develop: Place the glass in a bright, indirect light location. Change the water every few days. You should start to see roots forming within a week or two.
5. Plant the rooted cutting: Once the roots are about an inch long, you can plant the cutting in a pot filled with potting mix.
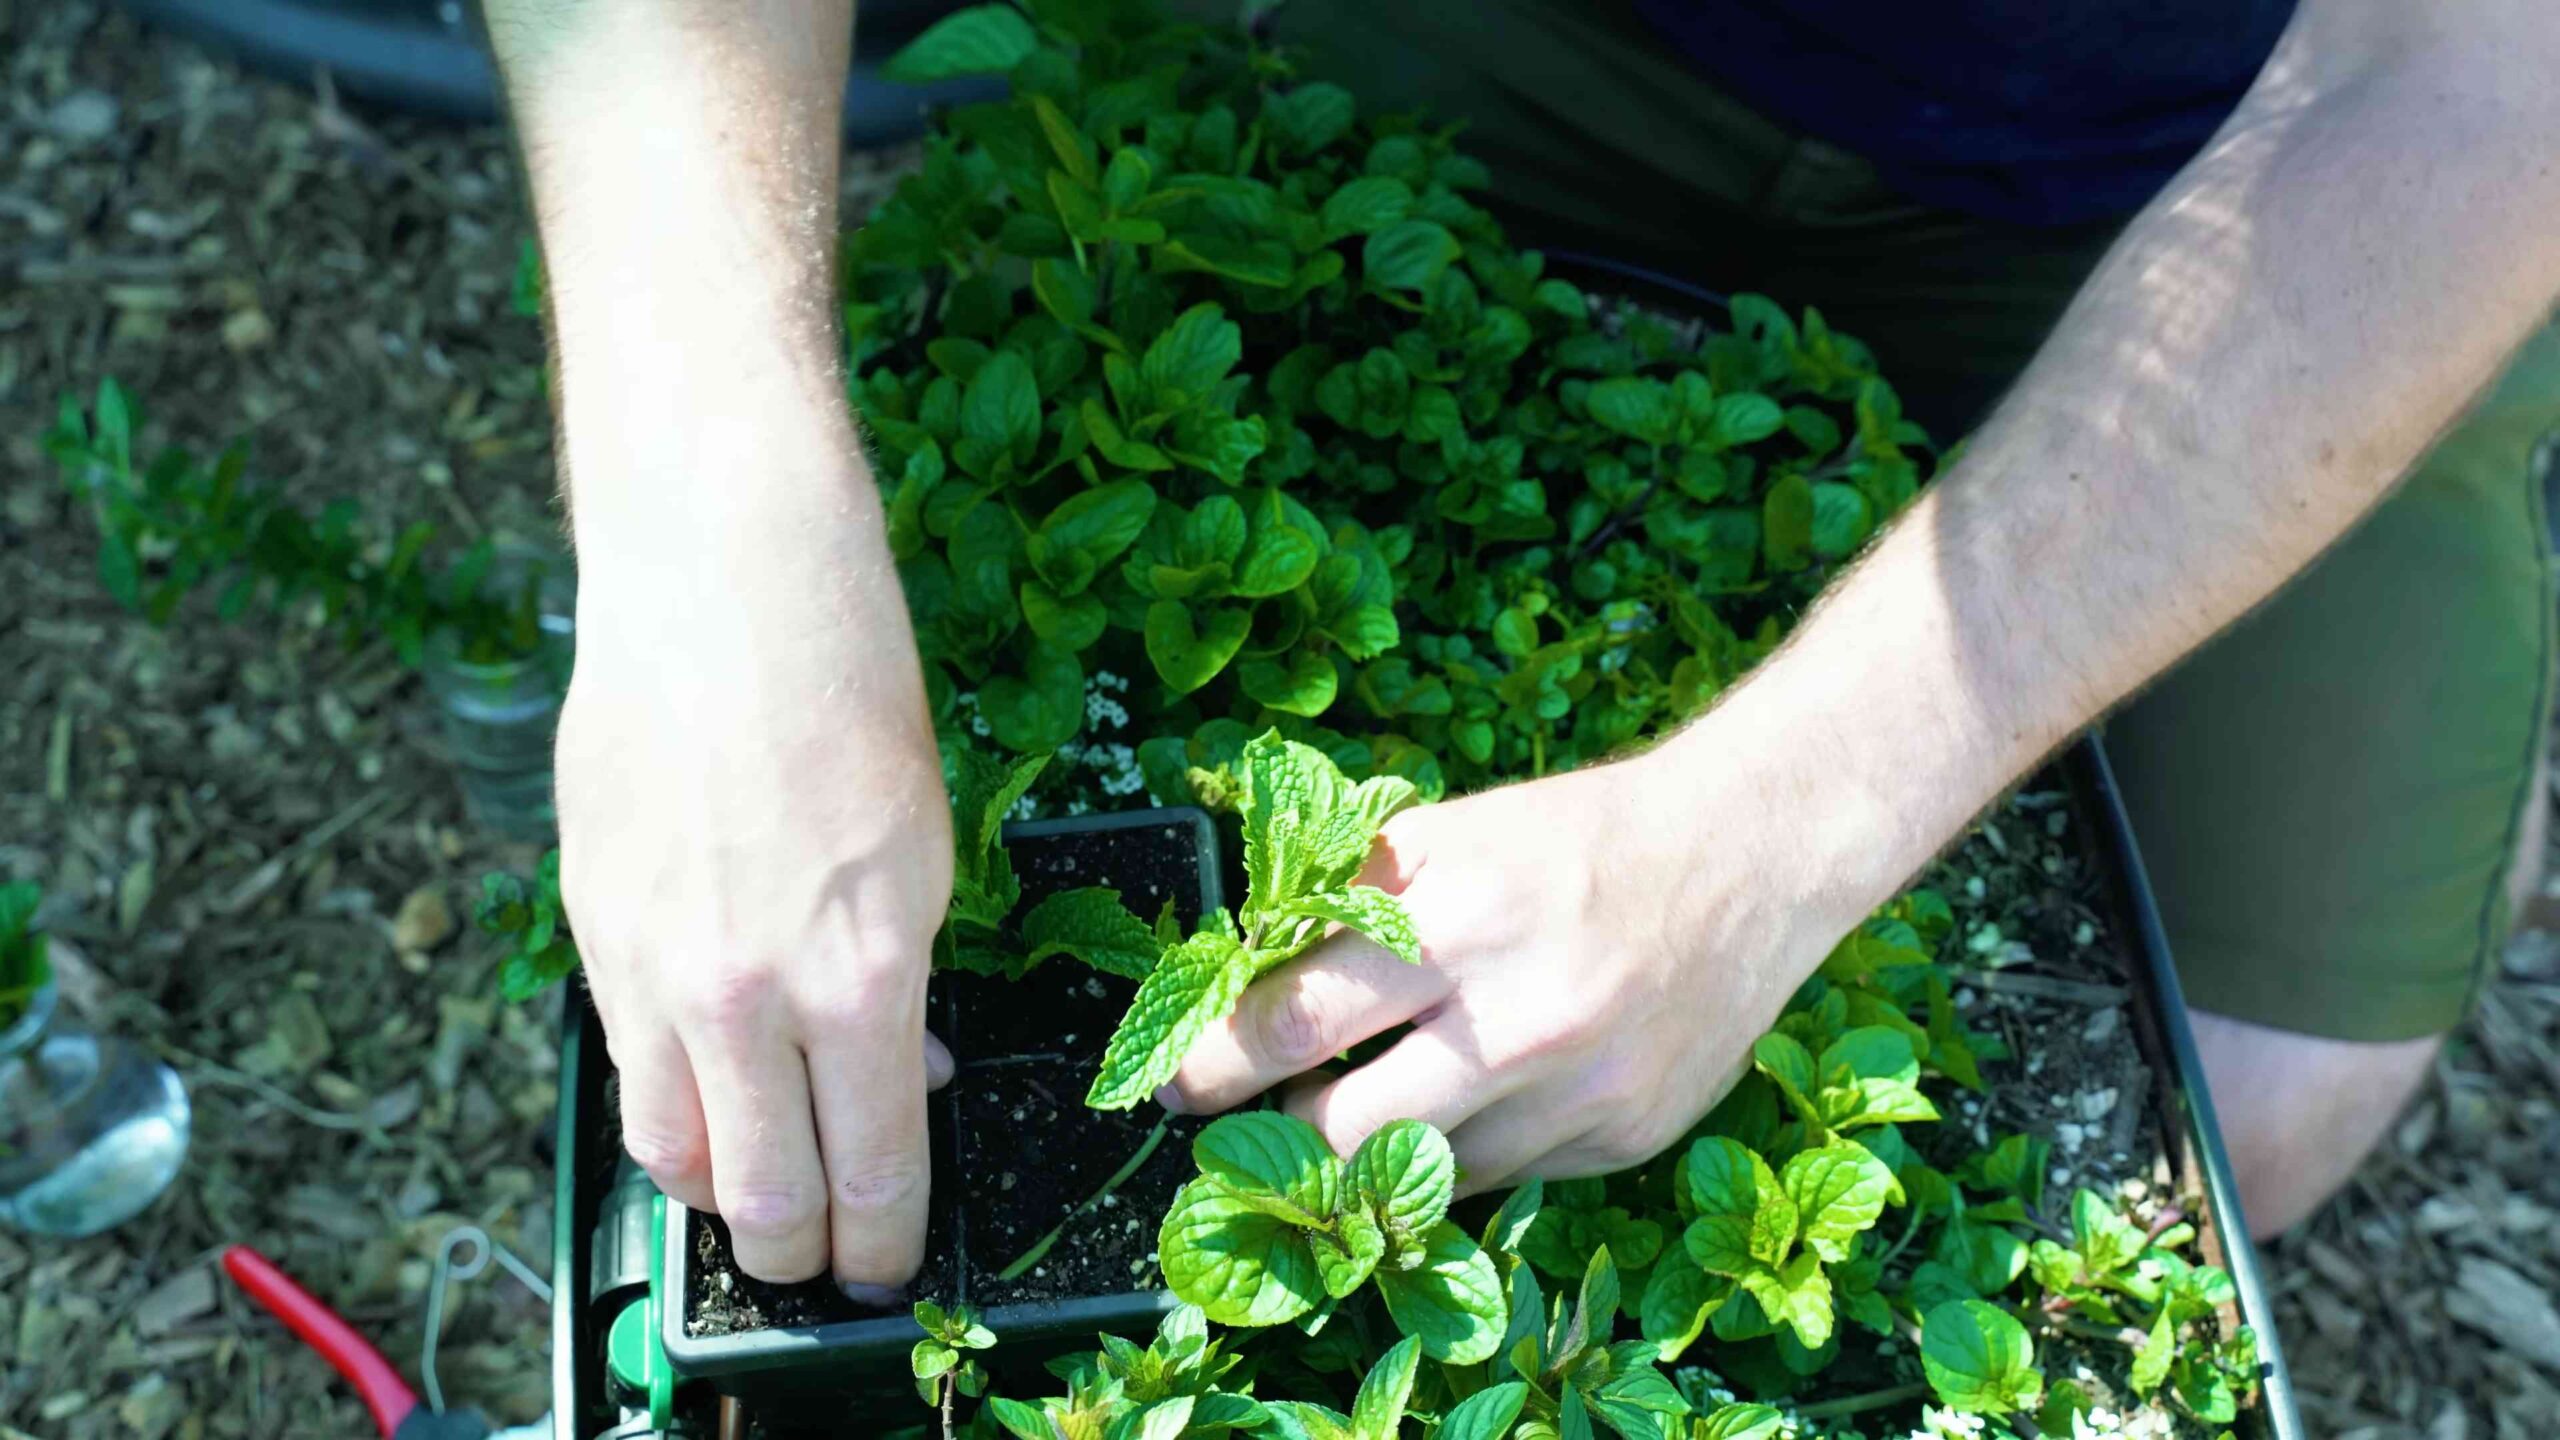
Planting Your Mint
Now for the fun part – planting! Whether you’re starting with cuttings or seedlings, the process is pretty much the same.
1. Prepare the pot: Fill your pot with potting mix, leaving about an inch of space at the top.
2. Make a hole: Dig a small hole in the center of the pot, large enough to accommodate the roots of your mint plant.
3. Plant the mint: Gently remove the mint seedling from its container or carefully place the rooted cutting into the hole.
4. Backfill with soil: Fill in the hole with potting mix, gently pressing down around the base of the plant.
5. Water thoroughly: Water the pot until the water drains out of the bottom.
Caring for Your Mint
Okay, you’ve planted your mint! Now, let’s talk about how to keep it happy and healthy.
* Sunlight: Mint thrives in partial shade to full sun. Aim for at least 4-6 hours of sunlight per day. If you’re growing mint indoors, place it near a sunny window.
* Watering: Mint likes consistently moist soil, but not soggy. Water when the top inch of soil feels dry to the touch. Avoid overwatering, as this can lead to root rot.
* Fertilizing: Feed your mint with a balanced liquid fertilizer every 2-4 weeks during the growing season (spring and summer). Follow the instructions on the fertilizer label.
* Pruning: Regular pruning is essential for keeping your mint plant bushy and productive. Pinch off the top leaves of the stems to encourage branching. You can also harvest larger amounts of mint as needed.
* Pest control: Mint is generally pest-resistant, but it can occasionally be affected by aphids or spider mites. If you notice any pests, try spraying the plant with insecticidal soap.
* Overwintering: If you live in a cold climate, you’ll need to protect your mint plant during the winter. You can either bring the pot indoors or mulch around the base of the plant to insulate the roots.
Harvesting Your Mint
Harvesting mint is super easy and rewarding!
1. When to harvest: You can start harvesting mint as soon as the plant is established, usually a few weeks after planting.
2. How to harvest: Simply snip off the stems with scissors or pruning shears. You can harvest as much or as little as you need.
3. Preserving your harvest: If you have more mint than you can use fresh, you can dry it for later use. To dry mint, hang the stems upside down in a cool, dry place until they are brittle. You can also dry mint in a dehydrator or oven.
Troubleshooting Common Mint Problems
Even with the best care, you might encounter a few problems along the way. Here are some common issues and how to fix them:
* Yellowing leaves: This could be a sign of overwatering, underwatering, or nutrient deficiency. Adjust your watering schedule and fertilize the plant if needed.
* Leggy growth: This usually indicates that the plant isn’t getting enough sunlight. Move it to a brighter location.
* Powdery mildew: This is a fungal disease that can cause a white, powdery coating on the leaves. Improve air circulation around the plant and treat it with a fungicide if necessary.
* Root rot: This is caused by overwatering and can lead to the plant’s demise. Make sure your pot has good drainage and avoid overwatering.
Mint in the Kitchen: Unleash the Flavor!
Now that you have a thriving mint patch, it’s time to put it to good use! Here are just a few ideas:
* Mojitos: The classic Cuban cocktail. Muddle mint with lime juice, sugar, and rum, then top with soda water.
* Mint tea: Steep fresh mint leaves in hot water for a refreshing and soothing beverage.
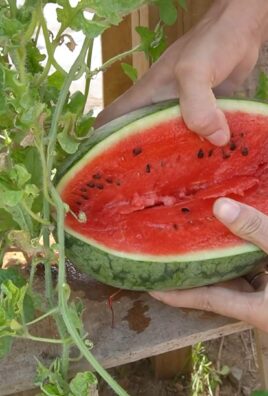
* Salads: Add chopped mint to salads for a burst of fresh flavor. It pairs especially well with fruits like watermelon and strawberries.
* Sauces: Mint sauce is a traditional accompaniment to lamb. You can also add mint to other sauces, such as pesto or yogurt sauce.
* Desserts: Mint is a delicious addition to desserts like ice cream, chocolate cake, and fruit tarts.
* Infused water: Add mint leaves to a pitcher of water for a refreshing and flavorful drink.
Controlling Mint’s Invasive Nature
I can’t stress this enough: mint is an enthusiastic grower! If you plant it directly in the ground, it can quickly spread and take over your garden. That’s why I strongly recommend growing it in a container.
If you do choose to plant mint in the ground, consider using a barrier to contain its roots. You can bury a plastic or metal edging around the planting area to prevent the mint from spreading.
Enjoying Your Homegrown Mint
Growing mint at home is a rewarding experience that will provide you with fresh flavor all year round. With a little care and attention, you can enjoy a thriving mint patch that will enhance your culinary creations and bring a touch of freshness to your life. So go ahead, get your hands dirty and start growing your own mint today! You won’t regret it. Happy gardening!
Conclusion
So, there you have it! Mastering the art of growing mint at home is not only achievable, but it’s also incredibly rewarding. We’ve walked you through the simple steps, from choosing the right container to providing the perfect environment for your mint to thrive. But why is this DIY trick a must-try?
Firstly, think about the sheer convenience. No more last-minute dashes to the grocery store for a sprig of mint! Fresh, fragrant mint will be readily available right in your kitchen, ready to elevate your cocktails, teas, salads, and desserts. Secondly, consider the cost savings. Buying fresh herbs regularly can quickly add up, but with your own mint plant, you’ll have a continuous supply at a fraction of the price.
Beyond the practical benefits, growing mint at home offers a connection to nature and a sense of accomplishment. There’s something deeply satisfying about nurturing a plant and watching it flourish under your care. Plus, the aroma of fresh mint wafting through your home is an instant mood booster!
But the fun doesn’t stop there! Once you’ve mastered the basics, you can experiment with different varieties of mint. Peppermint, spearmint, chocolate mint, and even pineapple mint – the possibilities are endless! Each variety offers a unique flavor profile, allowing you to customize your culinary creations. You can also explore different container options, from terracotta pots to repurposed jars, adding a touch of personal style to your indoor garden.
Consider using your homegrown mint to create refreshing infused water, adding a few sprigs to a pitcher of water with cucumber and lemon. Or, dry your mint leaves to make your own herbal tea blend. You can even use mint-infused oil for cooking or as a fragrant massage oil. The versatility of mint is truly remarkable.
Growing mint at home is more than just a gardening project; it’s a lifestyle upgrade. It’s about embracing fresh, natural ingredients, saving money, and connecting with nature in a meaningful way.
We wholeheartedly encourage you to give this DIY trick a try. It’s easier than you might think, and the rewards are well worth the effort. Don’t be afraid to experiment, make mistakes, and learn along the way. Gardening is a journey, not a destination.
And most importantly, we want to hear about your experience! Share your photos, tips, and stories with us in the comments below. Let’s create a community of mint-loving gardeners and inspire others to embrace the joy of growing their own herbs at home. What variety of mint are you most excited to grow? What creative ways do you plan to use your homegrown mint? We can’t wait to hear from you!
Frequently Asked Questions (FAQ)
1. What is the best type of container for growing mint indoors?
The best type of container for growing mint indoors is one that is at least 6 inches deep and has drainage holes. Mint spreads quickly, so choose a container that is large enough to accommodate its growth. Terracotta pots are a good option because they allow the soil to breathe, preventing overwatering. Plastic pots are also suitable, but be sure to monitor the soil moisture carefully. You can also use repurposed containers like jars or cans, but make sure they are clean and have drainage holes.
2. What kind of soil should I use for growing mint?
Mint thrives in well-draining soil that is rich in organic matter. A good potting mix specifically formulated for herbs is ideal. You can also create your own potting mix by combining equal parts of potting soil, compost, and perlite or vermiculite. The compost will provide nutrients, while the perlite or vermiculite will improve drainage. Avoid using garden soil, as it can be too heavy and may contain pests or diseases.
3. How much sunlight does mint need?
Mint needs at least 4-6 hours of sunlight per day to thrive. Place your mint plant in a sunny windowsill or under a grow light. If you don’t have enough natural light, you can supplement with a fluorescent or LED grow light. Rotate the plant regularly to ensure that all sides receive equal light exposure. If the leaves start to turn yellow or pale, it may be a sign that the plant is not getting enough light.
4. How often should I water my mint plant?
Water your mint plant when the top inch of soil feels dry to the touch. Water thoroughly until the water drains out of the drainage holes. Avoid overwatering, as this can lead to root rot. Mint prefers consistently moist soil, but it doesn’t like to sit in standing water. During the summer months, you may need to water your mint plant more frequently.
5. How do I fertilize my mint plant?
Fertilize your mint plant every 2-4 weeks during the growing season (spring and summer) with a balanced liquid fertilizer diluted to half strength. Avoid over-fertilizing, as this can lead to leggy growth and a loss of flavor. You can also use a slow-release fertilizer at the beginning of the growing season.
6. How do I prune my mint plant?
Pruning your mint plant regularly will encourage bushier growth and prevent it from becoming leggy. Pinch off the top leaves and stems to promote branching. You can also harvest leaves as needed for culinary use. If your mint plant starts to flower, pinch off the flower buds to prevent it from going to seed.
7. How do I prevent mint from spreading too much?
Mint is known for its invasive nature, so it’s important to contain its growth. If you’re growing mint in a garden bed, consider planting it in a container or surrounding it with a barrier to prevent it from spreading. When growing mint indoors, make sure to keep it in a pot and avoid planting it directly in the ground.
8. What are some common pests and diseases that affect mint?
Mint is generally resistant to pests and diseases, but it can be susceptible to spider mites, aphids, and powdery mildew. Inspect your mint plant regularly for signs of infestation or disease. If you notice any pests, you can try spraying the plant with insecticidal soap or neem oil. For powdery mildew, improve air circulation and avoid overhead watering.
9. Can I grow different varieties of mint together?
It’s generally not recommended to grow different varieties of mint together in the same container, as they can cross-pollinate and lose their distinct flavors. If you want to grow multiple varieties of mint, plant them in separate containers.
10. How do I harvest mint leaves?
Harvest mint leaves by pinching or cutting off the stems just above a leaf node. The best time to harvest mint is in the morning, after the dew has dried. You can use the fresh leaves immediately or store them in the refrigerator for a few days. To dry mint leaves, hang them upside down in a cool, dry place or use a dehydrator.
Leave a Comment