

Growing Leaf Mustard in Bottles: Sounds a little unconventional, right? But trust me, this DIY project is about to revolutionize your small-space gardening game! For centuries, humans have cultivated mustard greens, not just for their peppery bite in our food, but also for their medicinal properties. From ancient Rome, where mustard seeds were ground into a paste, to modern-day kitchens around the globe, this versatile plant has a rich and flavorful history.
But why bottles? Well, let’s face it, not everyone has a sprawling backyard or even a sunny balcony. Many of us are living in apartments or smaller homes, craving that fresh, homegrown taste without the space commitment. That’s where this ingenious DIY trick comes in. Growing Leaf Mustard in Bottles allows you to bring the garden indoors, utilizing recycled materials and minimal space to create a thriving little ecosystem. Imagine snipping fresh mustard greens right from your windowsill to add a zesty kick to your salads or stir-fries – it’s fresher, cheaper, and incredibly satisfying. Plus, it’s a fantastic way to reduce waste and add a touch of green to your living space. So, grab those empty bottles, and let’s get started on this fun and rewarding project!
Growing Leaf Mustard Greens in Recycled Bottles: A Fun and Sustainable DIY Project
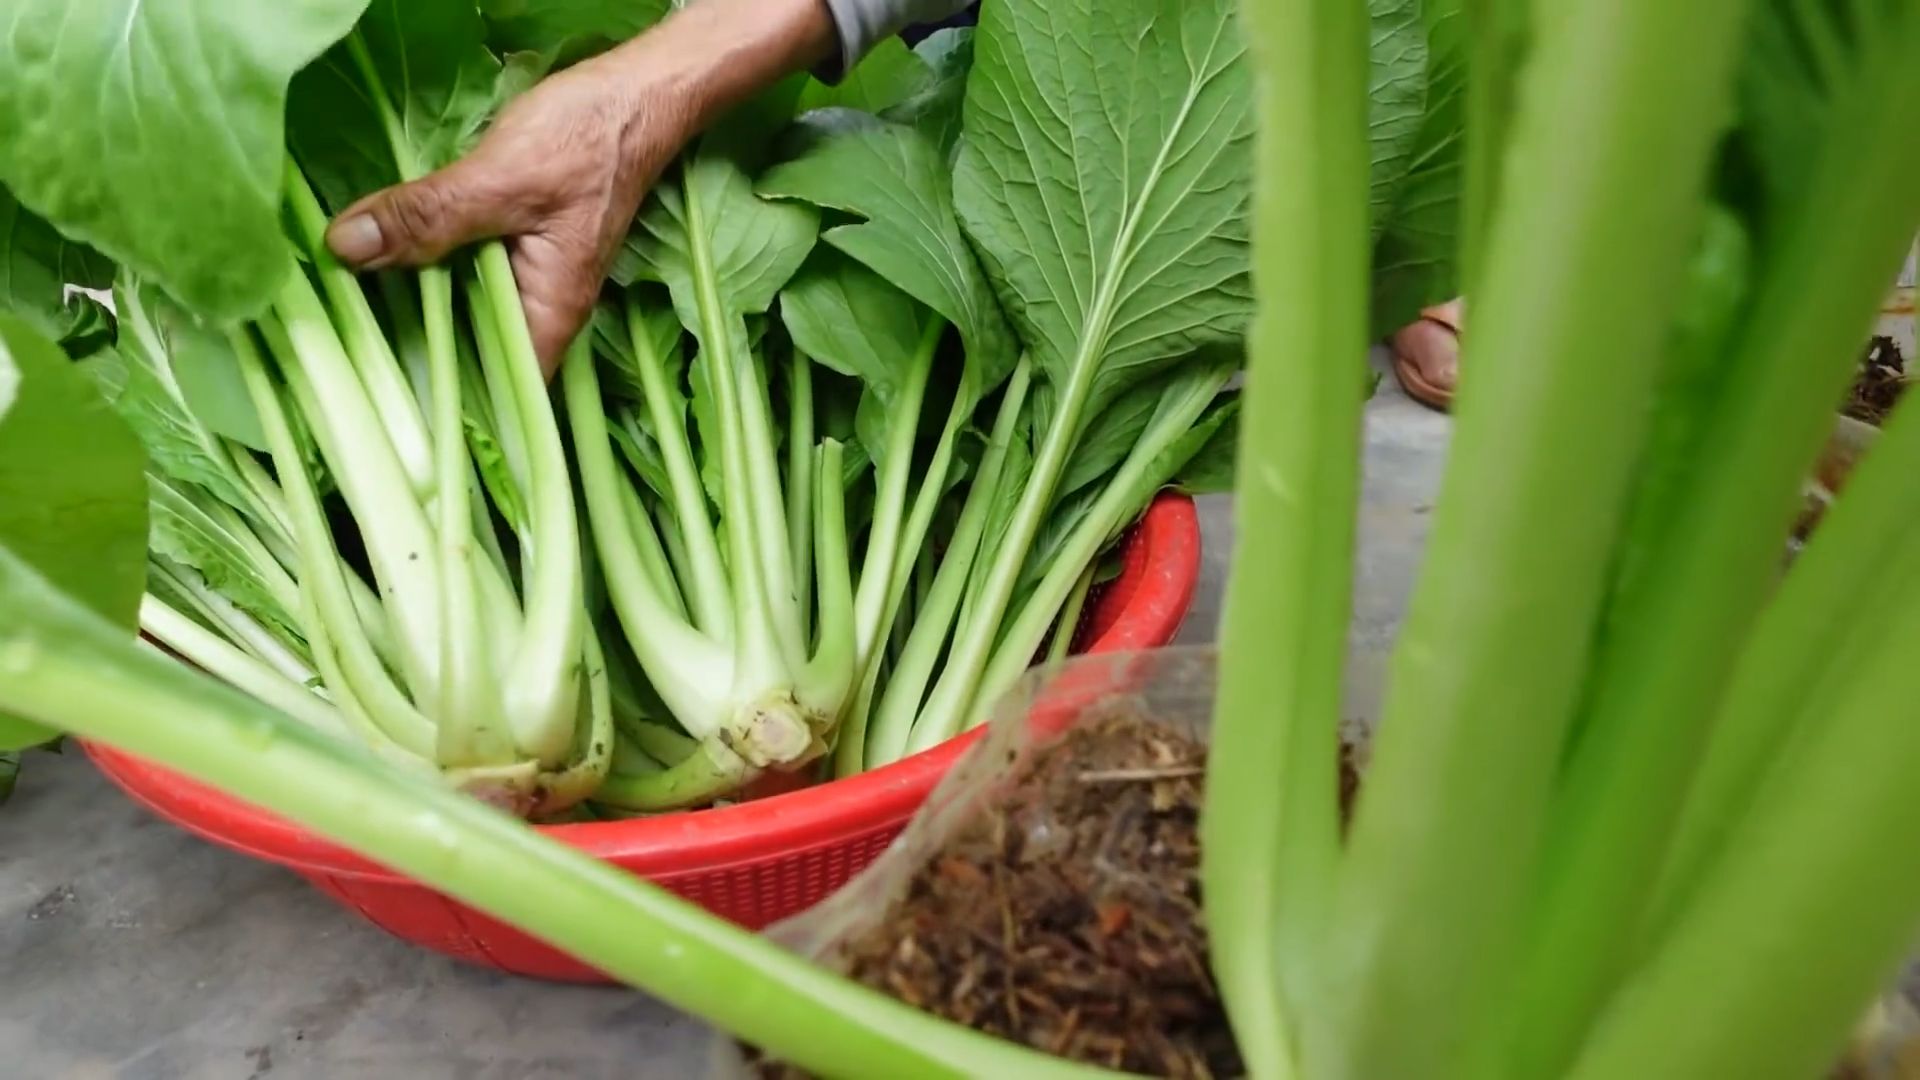
Hey there, fellow gardening enthusiasts! I’m super excited to share this incredibly easy and rewarding DIY project with you: growing delicious and nutritious leaf mustard greens in recycled plastic bottles. It’s a fantastic way to reduce waste, enjoy fresh greens right at your fingertips, and add a touch of green to your home, even if you don’t have a traditional garden. Trust me, once you taste the peppery zing of homegrown mustard greens, you’ll be hooked!
What You’ll Need
Before we dive in, let’s gather our supplies. This is a low-cost project, and you probably have most of these items lying around already.
* Recycled Plastic Bottles: Think soda bottles, water bottles, juice bottles – anything that’s relatively sturdy and can hold soil. I prefer using 2-liter bottles because they offer ample space for the roots to grow.
* Leaf Mustard Seeds: You can find these at your local garden center or online. There are many varieties of leaf mustard, each with its own unique flavor and texture. I personally love the ‘Red Giant’ variety for its beautiful color and spicy kick.
* Potting Soil: Choose a good quality potting mix that drains well. Avoid using garden soil, as it can become compacted in containers and hinder root growth.
* Gravel or Small Stones: This is for drainage. We’ll be adding a layer to the bottom of the bottles to prevent waterlogging.
* Scissors or a Utility Knife: For cutting the plastic bottles. Be careful!
* Drill or Nail (Optional): For creating drainage holes.
* Watering Can or Spray Bottle: For watering your mustard greens.
* Measuring Cup: For measuring soil and water.
* Gloves (Optional): To keep your hands clean.
* Permanent Marker: To label your bottles.
Preparing the Bottles
This is where we transform those discarded bottles into mini-gardens!
1. Clean the Bottles: Thoroughly wash the plastic bottles with soap and water to remove any residue. Rinse them well and let them dry completely. This is important to prevent any contamination that could harm your plants.
2. Cut the Bottles: There are a couple of ways to cut the bottles, depending on the look you’re going for.
* Option 1: Horizontal Cut (Hanging Planters): Cut the bottle horizontally, about halfway down. This creates two separate containers. You can use the top half as a funnel for watering or discard it. This method is great if you want to hang your mustard greens. You can poke holes near the cut edge and thread string or wire through them.
* Option 2: Vertical Cut (Window Box Style): Cut a large rectangular opening on one side of the bottle, leaving the bottom intact. This creates a window box-style planter. This is my preferred method because it’s stable and easy to manage.
Safety First! Be extremely careful when using scissors or a utility knife. Always cut away from yourself and use a stable surface.
3. Create Drainage Holes: If you haven’t already, create drainage holes in the bottom of the bottle. You can use a drill or carefully poke holes with a nail. Aim for at least 3-4 holes to ensure proper drainage. This is crucial to prevent root rot.
4. Smooth the Edges (Optional): If the cut edges are sharp, you can smooth them down with sandpaper or cover them with tape to prevent accidental cuts.
Planting the Mustard Greens
Now for the fun part – planting the seeds!
1. Add Drainage Layer: Place a layer of gravel or small stones at the bottom of the bottle, about 1-2 inches deep. This will help with drainage and prevent the soil from becoming waterlogged.
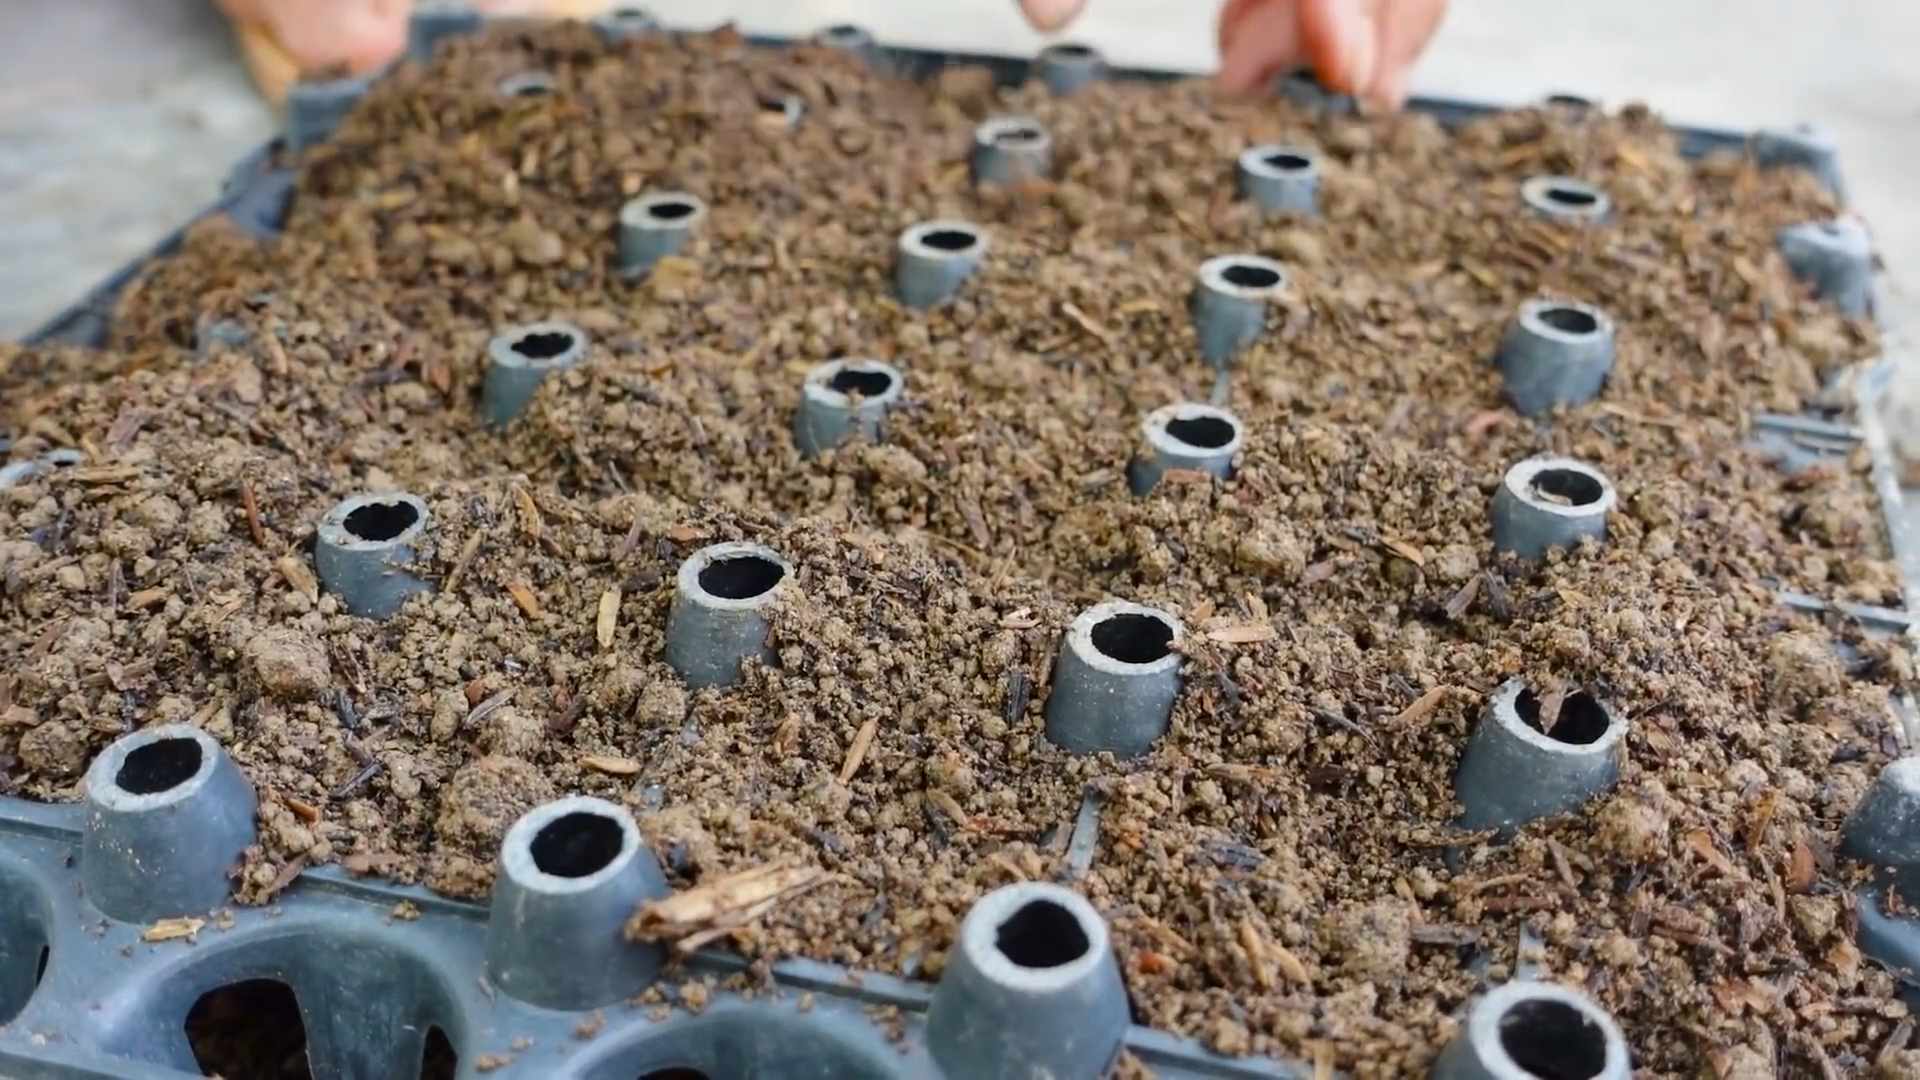
2. Fill with Potting Soil: Fill the bottle with potting soil, leaving about an inch of space at the top. Gently pat down the soil to remove any air pockets.
3. Sow the Seeds: Sprinkle the mustard seeds evenly over the surface of the soil. Don’t overcrowd them; give them some space to grow. A good rule of thumb is to space them about ½ inch apart.
4. Cover the Seeds: Lightly cover the seeds with a thin layer of potting soil, about ¼ inch deep.
5. Water Gently: Gently water the soil using a watering can or spray bottle. Be careful not to wash away the seeds. The soil should be moist but not soggy.
6. Label the Bottles: Use a permanent marker to label the bottles with the type of mustard greens you planted and the date. This will help you keep track of your plants.
Caring for Your Mustard Greens
Mustard greens are relatively easy to care for, but here are a few tips to ensure they thrive.
1. Sunlight: Place the bottles in a location that receives at least 4-6 hours of sunlight per day. A sunny windowsill or balcony is ideal. If you don’t have enough natural light, you can supplement with a grow light.
2. Watering: Water the mustard greens regularly, keeping the soil consistently moist but not soggy. Check the soil moisture by sticking your finger into the soil. If it feels dry, it’s time to water. Avoid overwatering, as this can lead to root rot.
3. Fertilizing: Mustard greens are heavy feeders, so they benefit from regular fertilization. You can use a liquid fertilizer diluted to half strength every 2-3 weeks. Alternatively, you can add compost to the soil before planting.
4. Thinning: Once the seedlings emerge, thin them out to give them more space to grow. Remove the weaker seedlings, leaving the strongest ones about 2-3 inches apart. You can eat the thinned seedlings as microgreens!
5. Pest Control: Mustard greens are generally pest-resistant, but they can sometimes be affected by aphids or flea beetles. If you notice any pests, you can try spraying them with insecticidal soap or neem oil.
6. Rotation: Rotate the bottles regularly to ensure that all sides of the plants receive equal sunlight. This will prevent them from becoming leggy and growing towards the light.
Harvesting Your Mustard Greens
The best part – enjoying the fruits (or rather, leaves!) of your labor!
1. Harvest Time: You can start harvesting your mustard greens when they are about 4-6 inches tall, usually around 30-40 days after planting.
2. Harvesting Method: Use scissors or a knife to cut the outer leaves, leaving the inner leaves to continue growing. This is known as a “cut-and-come-again” method, which allows you to harvest multiple times from the same plant.
3. Storage: Wash the harvested mustard greens and store them in a plastic bag in the refrigerator. They will stay fresh for several days.
Troubleshooting
Even with the best care, you might encounter a few challenges. Here are some common issues and how to address them:
* Yellowing Leaves: This could be a sign of overwatering, underwatering, or nutrient deficiency. Check the soil moisture and adjust your watering accordingly. If the soil is dry, water more frequently. If the soil is soggy, allow it to dry out before watering again. You can also try fertilizing the plants with a balanced fertilizer.
* Leggy Growth: This is usually caused by insufficient sunlight. Move the bottles to a sunnier location or supplement with a grow light.
* Slow Growth: This could be due to poor soil, lack of nutrients, or cold temperatures. Make sure you’re using a good quality potting mix and fertilizing regularly. If the temperature is too cold, move the bottles indoors or provide some protection.
* Pests: As mentioned earlier, aphids and flea beetles can sometimes be a problem. Spray the plants with insecticidal soap or neem oil to control these pests.
Variations and Ideas
Once you’ve mastered the basics, you can experiment with different varieties of leaf mustard and try different bottle configurations.
* Different Varieties: Try growing different varieties of leaf mustard, such as ‘Red Giant’, ‘Green Wave’, or ‘Southern Giant Curled’. Each variety has its own unique flavor and texture.
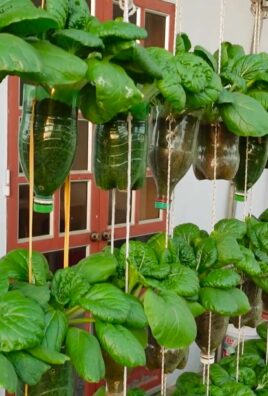
* Vertical Garden: Create a vertical garden by hanging multiple bottles from a wall or fence. This is a great way to save space and add a touch of green to your outdoor area.
* Herb Garden: You can also use this method to grow other herbs, such as basil, parsley, or cilantro.
* Gift Idea: These bottle gardens make great gifts for friends and family. Personalize them with decorative paint or labels.
Growing leaf mustard greens in recycled bottles is a fun, sustainable, and rewarding project that anyone can do. So, grab some bottles, seeds, and soil, and get ready to enjoy fresh, homegrown greens all year round! Happy gardening!
Conclusion
So, there you have it! Growing leaf mustard in bottles isn’t just a quirky gardening experiment; it’s a genuinely practical and rewarding way to enjoy fresh, peppery greens right at your fingertips. We’ve walked through the simple steps, highlighting how accessible and space-saving this method truly is. Forget sprawling gardens and complicated setups – with a few repurposed bottles, some soil, and a packet of seeds, you can cultivate a vibrant supply of delicious leaf mustard, ready to add a zesty kick to your meals.
The beauty of this DIY trick lies in its adaptability. Feel free to experiment with different bottle sizes and shapes. Larger bottles will, of course, allow for more substantial harvests, while smaller bottles are perfect for windowsill gardens or adding a touch of green to compact spaces. Consider using different types of soil mixes to see what works best for your local climate and the specific variety of leaf mustard you’re growing. Some gardeners swear by adding a bit of compost tea to their watering routine for an extra boost of nutrients.
Beyond the basic method, there are countless variations you can explore. Try painting your bottles with vibrant colors to add a decorative element to your indoor garden. You could even create a vertical garden by hanging multiple bottles from a wall or balcony railing. For those living in colder climates, consider placing your bottles near a sunny window or using a grow light to ensure your leaf mustard thrives even during the winter months.
But the real magic happens when you start incorporating your homegrown leaf mustard into your cooking. Imagine adding a handful of freshly harvested leaves to your salads, stir-fries, or soups. The peppery bite of homegrown leaf mustard is far superior to anything you can find in the grocery store. It’s a flavor explosion that will elevate your dishes and impress your friends and family.
This isn’t just about growing a plant; it’s about connecting with your food, embracing sustainability, and adding a touch of green to your life. It’s about experiencing the satisfaction of nurturing something from seed to table. And it’s about proving that you don’t need a sprawling garden to enjoy the benefits of fresh, homegrown produce.
We wholeheartedly encourage you to give this DIY trick a try. It’s a fun, easy, and rewarding project that will bring a touch of nature into your home and a burst of flavor to your meals. Don’t be afraid to experiment, adapt, and make it your own.
Most importantly, we want to hear about your experience! Share your photos, tips, and stories with us in the comments below. Let us know what worked for you, what challenges you faced, and what delicious dishes you created with your homegrown leaf mustard. Your feedback will not only inspire others to try this DIY trick but also help us refine and improve our instructions. Let’s build a community of bottle gardeners and share the joy of growing our own food! So, grab some bottles, some seeds, and get ready to experience the magic of growing leaf mustard in bottles. You won’t regret it!
Frequently Asked Questions (FAQ)
What kind of bottles are best for growing leaf mustard?
Almost any plastic or glass bottle can be used, but clear plastic bottles are generally preferred because they allow you to easily monitor the soil moisture. Avoid using bottles that have contained harmful chemicals. Thoroughly clean and rinse the bottles before planting. Bottles with wider mouths are easier to plant in and harvest from.
What kind of soil should I use?
A well-draining potting mix is ideal. You can also create your own mix by combining equal parts of potting soil, compost, and perlite or vermiculite. This will provide the necessary nutrients and drainage for healthy leaf mustard growth. Avoid using garden soil, as it can be too heavy and may contain pests or diseases.
How often should I water my leaf mustard plants?
Water regularly, keeping the soil consistently moist but not waterlogged. Check the soil moisture by sticking your finger about an inch into the soil. If it feels dry, it’s time to water. Overwatering can lead to root rot, so be careful not to overdo it. The frequency of watering will depend on the climate, the size of the bottle, and the type of soil you’re using.
How much sunlight do leaf mustard plants need?
Leaf mustard thrives in full sun to partial shade. Aim for at least 4-6 hours of direct sunlight per day. If you’re growing your plants indoors, place them near a sunny window or use a grow light to supplement natural light. Insufficient sunlight can result in leggy growth and reduced yields.
How long does it take for leaf mustard to grow?
Leaf mustard is a fast-growing crop. You can typically start harvesting leaves within 3-4 weeks of planting. The exact time will depend on the variety of leaf mustard, the growing conditions, and the temperature.
How do I harvest leaf mustard?
Harvest the outer leaves as needed, leaving the inner leaves to continue growing. This cut-and-come-again method allows you to enjoy a continuous supply of fresh leaf mustard. Avoid harvesting more than one-third of the plant at a time to ensure it continues to thrive.
Can I grow different varieties of leaf mustard in bottles?
Absolutely! Experiment with different varieties of leaf mustard to find your favorites. Some popular varieties include Red Giant, Green Wave, and Osaka Purple. Each variety has its own unique flavor and appearance.
What are some common problems when growing leaf mustard in bottles?
Some common problems include aphids, flea beetles, and fungal diseases. Regularly inspect your plants for pests and diseases. If you notice any problems, take action immediately. You can use insecticidal soap or neem oil to control pests, and fungicides to prevent or treat fungal diseases. Proper watering and ventilation can also help prevent problems.
Can I grow leaf mustard indoors year-round?
Yes, you can grow leaf mustard indoors year-round, provided you have adequate light and temperature. Use a grow light to supplement natural light during the winter months. Maintain a consistent temperature between 60-75°F (15-24°C).
Is it necessary to add fertilizer?
While not always necessary, adding a diluted liquid fertilizer every few weeks can help promote healthy growth and increase yields. Use a balanced fertilizer or one specifically formulated for leafy greens. Follow the instructions on the fertilizer label carefully. Over-fertilizing can damage your plants.
How do I prevent my leaf mustard from bolting (going to seed)?
Bolting is a natural process that occurs when plants are stressed by heat or lack of water. To prevent bolting, keep your plants well-watered and provide shade during the hottest part of the day. Harvest leaves regularly to encourage continued vegetative growth.
Can I reuse the soil in the bottles?
It’s generally not recommended to reuse soil, as it can harbor pests and diseases. However, if you choose to reuse soil, be sure to sterilize it first by baking it in the oven at 200°F (93°C) for 30 minutes. You should also amend the soil with fresh compost or fertilizer to replenish nutrients.
What can I do with my leaf mustard harvest?
Leaf mustard is a versatile ingredient that can be used in a variety of dishes. Add it to salads, stir-fries, soups, sandwiches, or wraps. You can also use it to make pesto or mustard greens. The peppery flavor of leaf mustard adds a delicious kick to any meal.
How do I store harvested leaf mustard?
Store harvested leaf mustard in the refrigerator in a plastic bag or container. It will stay fresh for several days. Wash the leaves just before using them.
Leave a Comment