

Growing Dill Indoors can seem like a daunting task, especially if you’re used to seeing this fragrant herb thriving in sprawling outdoor gardens. But fear not, fellow plant enthusiasts! I’m here to tell you that bringing the fresh, anise-like aroma and feathery foliage of dill into your home is not only possible, but surprisingly easy with a few simple tricks and DIY hacks.
For centuries, dill has been cherished not just for its culinary uses, but also for its medicinal properties and even symbolic meanings. In ancient Greece, it was a symbol of wealth and good fortune, while in medieval times, it was believed to ward off evil spirits. Today, we appreciate dill for its ability to elevate everything from pickles and salads to fish dishes and creamy dips.
But why bother growing dill indoors? Well, imagine having fresh dill readily available year-round, regardless of the weather outside. No more last-minute trips to the grocery store or settling for dried herbs that lack the vibrant flavor of fresh dill. Plus, it’s a fantastic way to add a touch of greenery to your living space and enjoy the therapeutic benefits of nurturing a living plant. This DIY guide will equip you with the knowledge and simple techniques to successfully cultivate dill indoors, transforming your windowsill into a thriving herb garden. Let’s get started!
Growing Dill Indoors: A Beginner’s Guide to Fresh Herbs Year-Round
Okay, so you want fresh dill all year round, even when the snow’s piling up outside? I get it! Dill is amazing, and having it readily available for dips, salads, and pickling is a total game-changer. Growing dill indoors is totally doable, and I’m going to walk you through everything you need to know. Let’s get started!
What You’ll Need
Before we dive into the nitty-gritty, let’s gather our supplies. Here’s a checklist of everything you’ll need to successfully grow dill indoors:
* Dill Seeds: Obviously! Choose a variety that’s known to do well indoors. ‘Fernleaf’ is a popular choice because it’s compact.
* Potting Mix: Don’t use garden soil! It’s too heavy and doesn’t drain well. Opt for a high-quality, well-draining potting mix specifically formulated for containers.
* Containers: Dill needs room for its roots to grow. Choose pots that are at least 6-8 inches in diameter and depth. Make sure they have drainage holes!
* Grow Lights (Optional, but Recommended): Dill needs a lot of light, and unless you have a super sunny south-facing window, you’ll probably need supplemental lighting. LED grow lights are energy-efficient and work great.
* Watering Can or Spray Bottle: For gentle watering.
* Small Shovel or Trowel: For planting the seeds.
* Seed Starting Tray (Optional): If you prefer to start your seeds indoors before transplanting.
* Fertilizer (Optional): A balanced liquid fertilizer can help your dill thrive, but it’s not strictly necessary.
Getting Started: Planting Your Dill Seeds
Alright, let’s get our hands dirty! This is the fun part.
1. Prepare Your Containers: Fill your chosen containers with the potting mix, leaving about an inch of space at the top. Gently pat down the soil to remove any large air pockets.
2. Sow the Seeds: Dill seeds are small, so you don’t need to plant them too deep. Sprinkle the seeds evenly over the surface of the soil. I usually aim for about 5-6 seeds per pot. Then, gently cover them with a thin layer (about 1/4 inch) of potting mix.
3. Water Thoroughly: Use your watering can or spray bottle to gently water the soil until it’s evenly moist. Be careful not to overwater, as this can cause the seeds to rot.
4. Provide Light and Warmth: Dill seeds need warmth to germinate. The ideal temperature is between 70-75°F (21-24°C). Place your pots in a warm location, either near a sunny window or under your grow lights. If using grow lights, position them a few inches above the soil surface.
5. Maintain Moisture: Keep the soil consistently moist, but not soggy. Check the soil moisture daily and water as needed. A spray bottle is great for this, as it prevents overwatering.
Germination and Early Growth
This is where the patience comes in! Dill seeds typically germinate within 7-14 days.
1. Watch for Seedlings: Once the seedlings emerge, make sure they’re getting plenty of light. If they’re stretching towards the light source, it means they need more light. Adjust the position of your grow lights or move the pots to a sunnier location.
2. Thinning (If Necessary): If you planted multiple seeds per pot, you might need to thin them out once they’re a few inches tall. Choose the strongest-looking seedling in each pot and carefully snip off the others at the soil line. This will give the remaining seedling more room to grow.
3. Watering: Continue to water regularly, keeping the soil consistently moist. Avoid letting the soil dry out completely, but also avoid overwatering, which can lead to root rot.
4. Fertilizing (Optional): If you want to give your dill a boost, you can start fertilizing it with a balanced liquid fertilizer diluted to half strength. Follow the instructions on the fertilizer label. I usually fertilize every 2-3 weeks.
Providing the Right Environment
Dill is a relatively easy herb to grow, but it does have some specific needs.
* Light: As I mentioned before, dill needs a lot of light – at least 6 hours of direct sunlight per day. If you’re growing it indoors, you’ll likely need to supplement with grow lights. I recommend using LED grow lights, as they’re energy-efficient and provide the right spectrum of light for plant growth. Position the lights a few inches above the plants and adjust as they grow.
* Temperature: Dill prefers temperatures between 60-70°F (15-21°C). Avoid placing your plants near drafts or sources of extreme heat or cold.
* Humidity: Dill doesn’t need high humidity, but it does appreciate a little bit of moisture in the air. You can increase humidity by misting the plants with water or placing a tray of water near them.
* Air Circulation: Good air circulation is important to prevent fungal diseases. Make sure your plants have plenty of space around them and avoid overcrowding. You can also use a small fan to circulate the air.
Harvesting Your Dill
Now for the best part – harvesting your homegrown dill!
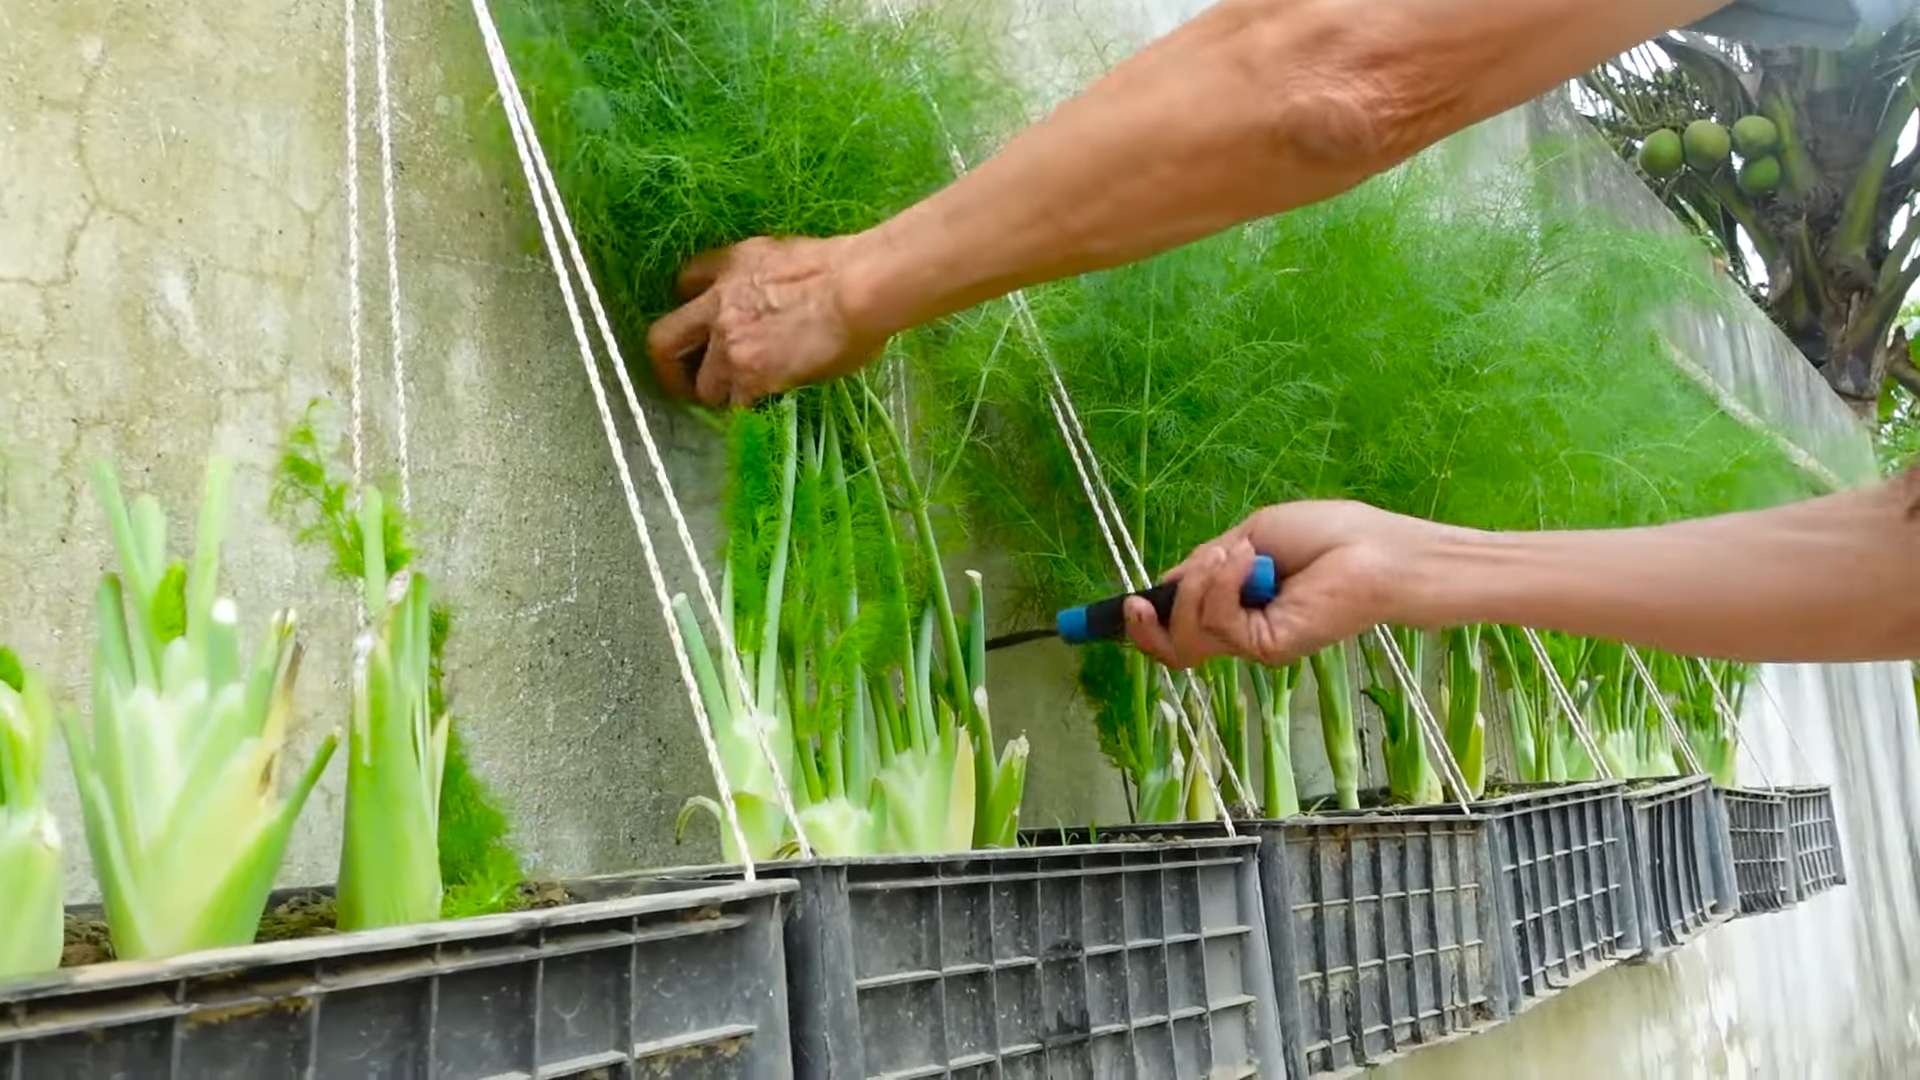
1. When to Harvest: You can start harvesting dill once the plants are about 6-8 inches tall. The leaves will be most flavorful before the plant starts to flower.
2. How to Harvest: Use scissors or pruning shears to snip off the leaves or entire stems. Avoid cutting off more than one-third of the plant at a time, as this can stress it.
3. Encouraging Growth: To encourage continued growth, pinch off any flower buds that appear. This will prevent the plant from going to seed and will encourage it to produce more leaves.
4. Using Your Dill: Fresh dill is best used immediately, but you can also store it in the refrigerator for a few days. To store it, wrap the dill in a damp paper towel and place it in a plastic bag. You can also freeze dill for longer storage. To freeze it, chop the dill and place it in ice cube trays with water or olive oil. Once frozen, transfer the cubes to a freezer bag.
Troubleshooting Common Problems
Even with the best care, you might encounter some problems when growing dill indoors. Here are some common issues and how to address them:
* Yellowing Leaves: This can be caused by overwatering, underwatering, or nutrient deficiencies. Check the soil moisture and adjust your watering accordingly. If you suspect a nutrient deficiency, try fertilizing with a balanced liquid fertilizer.
* Leggy Growth: This is usually caused by insufficient light. Make sure your plants are getting enough light, either from a sunny window or grow lights.
* Pests: Dill can be susceptible to pests like aphids and spider mites. Inspect your plants regularly for signs of infestation. If you find pests, you can try spraying them with insecticidal soap or neem oil.
* Fungal Diseases: Fungal diseases can be caused by poor air circulation and excessive moisture. Make sure your plants have plenty of space around them and avoid overwatering. If you notice signs of fungal disease, such as powdery mildew, you can try spraying the plants with a fungicide.
Extending Your Harvest
To keep your dill plants producing throughout the year, consider succession planting. This means planting new seeds every few weeks. This will ensure that you always have a fresh supply of dill.
You can also try overwintering your dill plants. To do this, bring the plants indoors before the first frost. Place them in a sunny location and water them regularly. They may not grow as much during the winter, but they should start producing again in the spring.
Enjoying Your Homegrown Dill
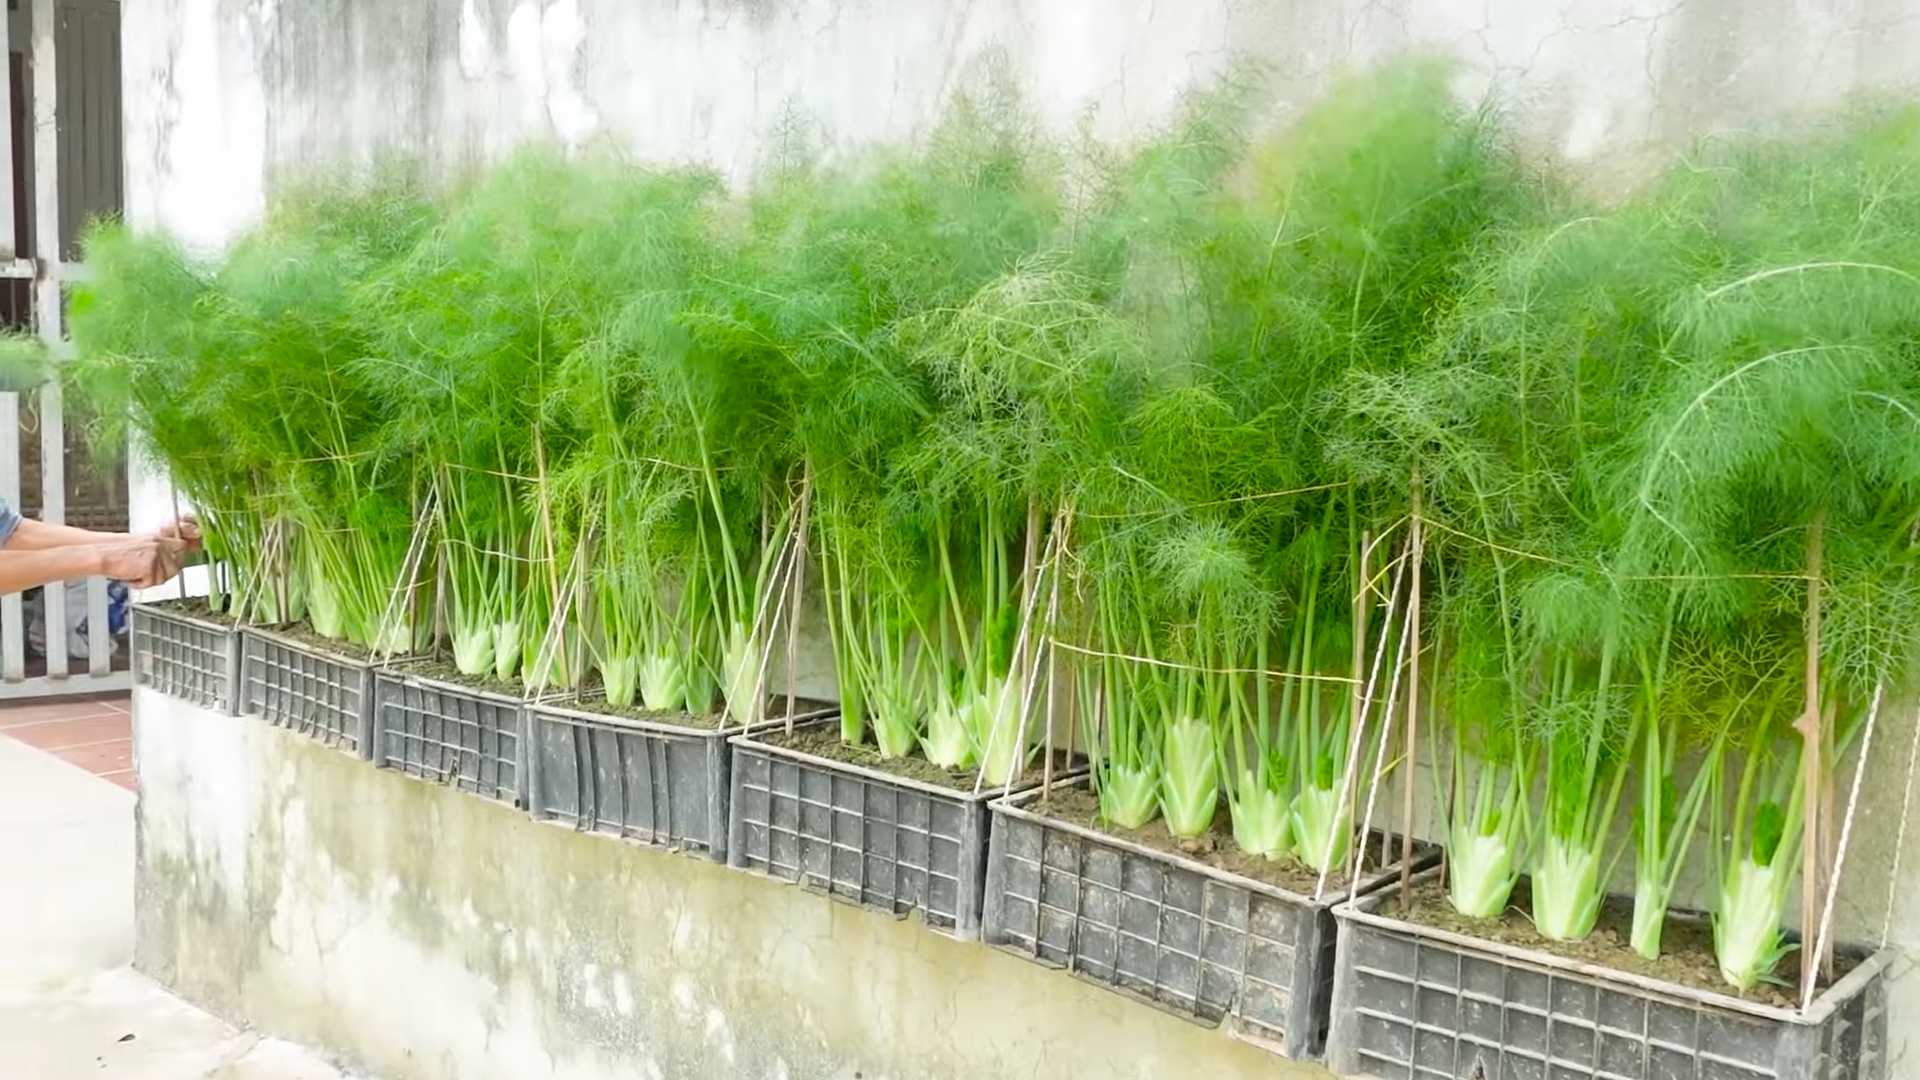
Now that you’ve successfully grown dill indoors, it’s time to enjoy the fruits (or rather, herbs) of your labor! Use your fresh dill in all your favorite recipes, from dips and salads to soups and stews. You can also use it to make dill pickles, dill butter, or dill-infused oil. The possibilities are endless!
Growing dill indoors is a rewarding experience that allows you to enjoy fresh herbs year-round. With a little bit of care and attention, you can have a thriving dill plant that provides you with a constant supply of flavorful leaves. Happy growing!
Conclusion
So, there you have it! Growing dill indoors isn’t just a whimsical dream for those of us without sprawling gardens; it’s a genuinely achievable and incredibly rewarding endeavor. We’ve walked through the simple steps, from selecting the right seeds and containers to providing the optimal light and watering conditions. But why is this DIY trick a must-try?
Firstly, imagine the sheer convenience of having fresh, fragrant dill readily available at your fingertips, regardless of the season. No more last-minute trips to the grocery store or settling for dried herbs that lack the vibrant flavor of the real deal. With homegrown dill, your culinary creations will reach a new level of deliciousness. Think of the possibilities: creamy dill sauces, flavorful dill pickles, refreshing dill-infused salads, and so much more.
Secondly, growing dill indoors is a fantastic way to connect with nature, even within the confines of your home. Nurturing a plant from seed to harvest is a deeply satisfying experience, offering a sense of accomplishment and a welcome dose of greenery to your living space. It’s a small but meaningful way to bring the outdoors in and brighten up your day.
And finally, let’s not forget the cost savings! Over time, the expense of buying fresh dill from the store can really add up. By growing your own, you’ll be saving money while enjoying a superior product. It’s a win-win situation!
Now, for a few suggestions and variations to personalize your indoor dill-growing experience:
* Experiment with different varieties of dill. While ‘Bouquet’ dill is a popular choice for its compact size and abundant foliage, there are other varieties like ‘Long Island Mammoth’ that you might want to try. Each variety has its own unique flavor profile and growth habits.
* Consider companion planting. Dill is known to be a good companion plant for certain vegetables, such as tomatoes and cucumbers. You could try growing dill alongside these plants in your indoor garden to promote their growth and deter pests.
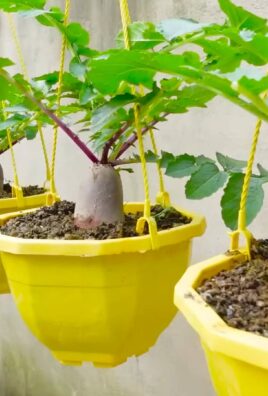
* Get creative with your containers. While a standard pot will certainly do the trick, you can also use repurposed containers like mason jars, tin cans, or even old teacups to add a touch of personality to your indoor garden. Just make sure the container has adequate drainage.
* Don’t be afraid to prune. Regular pruning will encourage bushier growth and prevent your dill plant from becoming leggy. Simply snip off the top leaves as needed, and use them fresh in your cooking.
We wholeheartedly encourage you to give this DIY trick a try. Growing dill indoors is easier than you might think, and the rewards are well worth the effort. Once you’ve experienced the joy of harvesting your own fresh dill, you’ll never want to go back to store-bought herbs again.
So, grab some seeds, find a sunny spot, and get ready to embark on your indoor dill-growing adventure! And most importantly, don’t forget to share your experience with us. We’d love to hear about your successes, your challenges, and any tips or tricks you’ve discovered along the way. Share your photos and stories in the comments below, and let’s create a community of indoor dill enthusiasts! Happy growing!
Frequently Asked Questions (FAQ)
What kind of soil is best for growing dill indoors?
Dill thrives in well-draining soil that is rich in organic matter. A good potting mix specifically formulated for herbs or vegetables is ideal. You can also amend a general-purpose potting mix with compost or other organic materials to improve its drainage and nutrient content. Avoid using garden soil, as it can be too heavy and may contain pests or diseases. The ideal pH for dill is between 6.0 and 7.5.
How much sunlight does indoor dill need?
Dill requires at least 6 hours of direct sunlight per day to thrive. A south-facing window is usually the best option, but an east- or west-facing window can also work if it provides sufficient light. If you don’t have access to enough natural light, you can supplement with a grow light. Position the grow light a few inches above the dill plants and keep it on for 12-16 hours per day. Insufficient light will result in leggy, weak plants with poor flavor.
How often should I water my indoor dill?
Water dill regularly, but avoid overwatering. The soil should be kept consistently moist, but not soggy. Allow the top inch of soil to dry out slightly between waterings. When you water, water deeply until water drains out of the bottom of the pot. Be sure to empty the saucer beneath the pot to prevent root rot. The frequency of watering will depend on factors such as the size of the pot, the type of soil, and the temperature and humidity of your home.
How do I harvest dill from my indoor plant?
You can start harvesting dill leaves as soon as the plant is about 6-8 inches tall. Simply snip off the leaves with scissors or your fingers. Start by harvesting the outer leaves first, and avoid removing more than one-third of the plant at a time. Regular harvesting will encourage bushier growth and prevent the plant from bolting (going to seed). You can also harvest the dill seeds once the plant has flowered and the seed heads have dried.
What are some common problems when growing dill indoors?
Some common problems when growing dill indoors include:
* Leggy growth: This is usually caused by insufficient light. Make sure your dill plant is getting enough sunlight or supplement with a grow light.
* Yellowing leaves: This can be caused by overwatering, underwatering, or nutrient deficiencies. Check the soil moisture and adjust your watering schedule accordingly. You may also need to fertilize your dill plant with a balanced liquid fertilizer.
* Pests: Dill can be susceptible to pests such as aphids and spider mites. Inspect your plants regularly for signs of infestation and treat with an appropriate insecticide or insecticidal soap.
* Bolting: Bolting is when the plant prematurely goes to seed. This can be caused by high temperatures or stress. To prevent bolting, keep your dill plant in a cool, well-ventilated location and water it regularly.
Can I grow dill from seed indoors?
Yes, growing dill from seed indoors is a great way to get a head start on the growing season. Sow the seeds directly into your chosen container, about ¼ inch deep. Keep the soil moist and warm, and the seeds should germinate in about 7-14 days. Once the seedlings have emerged, thin them out so that there is only one plant per pot.
How do I prevent dill from bolting indoors?
Bolting, or premature flowering, can make dill leaves taste bitter. To prevent bolting indoors, maintain consistent watering, avoid high temperatures (ideally below 75°F), and provide adequate light. Regular harvesting of the leaves can also help delay bolting. If your dill plant does start to bolt, you can still harvest the seeds for use in cooking or for planting next season.
Can I transplant my indoor dill plant outdoors?
Yes, you can transplant your indoor dill plant outdoors once the weather has warmed up and the risk of frost has passed. Choose a sunny location with well-draining soil. Harden off the plant by gradually exposing it to outdoor conditions for a week or two before transplanting. Water the plant well after transplanting and protect it from strong winds and direct sunlight for the first few days.
What are the best companion plants for dill indoors?
While space may be limited indoors, consider companion planting dill with other herbs like basil or parsley. These herbs can benefit from dill’s pest-repelling properties. Avoid planting dill near fennel, as they can cross-pollinate and affect the flavor of both plants.
How long will my indoor dill plant last?
With proper care, your indoor dill plant can last for several months. However, dill is an annual plant, meaning it completes its life cycle in one growing season. Eventually, the plant will bolt and die. You can extend the life of your dill plant by regularly harvesting the leaves and preventing bolting. You can also save the seeds from your dill plant and plant them again next season to continue enjoying fresh dill.
Leave a Comment