

Growing Chili Peppers can seem daunting, but trust me, with a few clever tricks and a little DIY spirit, you’ll be harvesting a fiery bounty in no time! Forget those bland, store-bought peppers – imagine the satisfaction of adding homegrown heat to your favorite dishes. For centuries, chili peppers have been prized not only for their flavor but also for their medicinal properties and cultural significance. From the ancient Aztecs using them in rituals to the vibrant spice markets of Asia, these fiery fruits have a rich and fascinating history.
But why should you embark on this spicy adventure? Well, besides the obvious deliciousness, growing chili peppers yourself allows you to control the entire process, ensuring organic, pesticide-free produce. Plus, let’s be honest, there’s something incredibly rewarding about nurturing a tiny seed into a thriving plant that yields such flavorful results. This article is packed with easy-to-follow DIY hacks that will help you overcome common challenges, maximize your yield, and unlock the secrets to cultivating the perfect chili pepper patch, even if you’re a complete beginner. So, grab your gardening gloves, and let’s get started!
Growing Chili Peppers: From Seed to Sizzling Harvest!
Okay, chili pepper enthusiasts, gather ’round! I’m going to walk you through everything you need to know to grow your own fiery peppers, right from seed. It might seem daunting, but trust me, with a little patience and these simple steps, you’ll be swimming in chili peppers before you know it!
Getting Started: Seeds and Supplies
First things first, let’s talk about what you’ll need. This isn’t a super complicated project, but having the right tools and materials will make your life a whole lot easier.
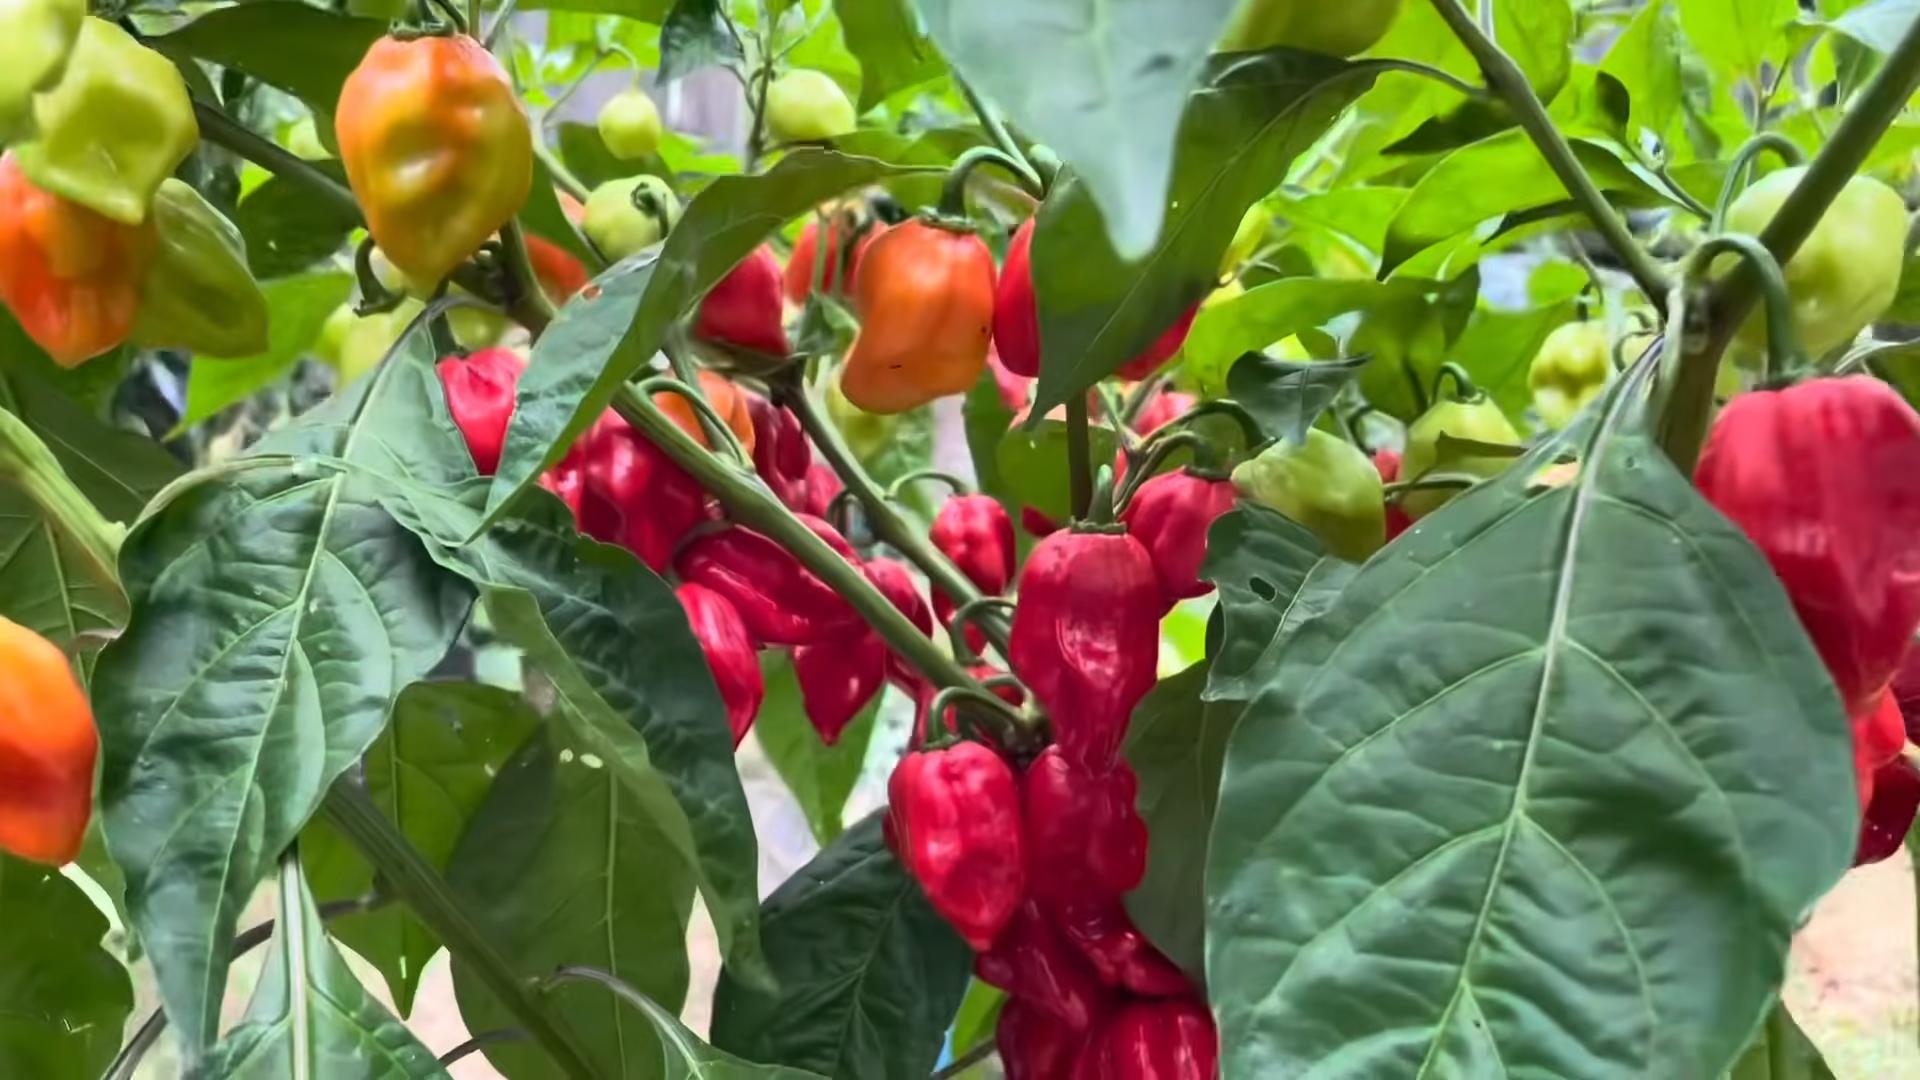
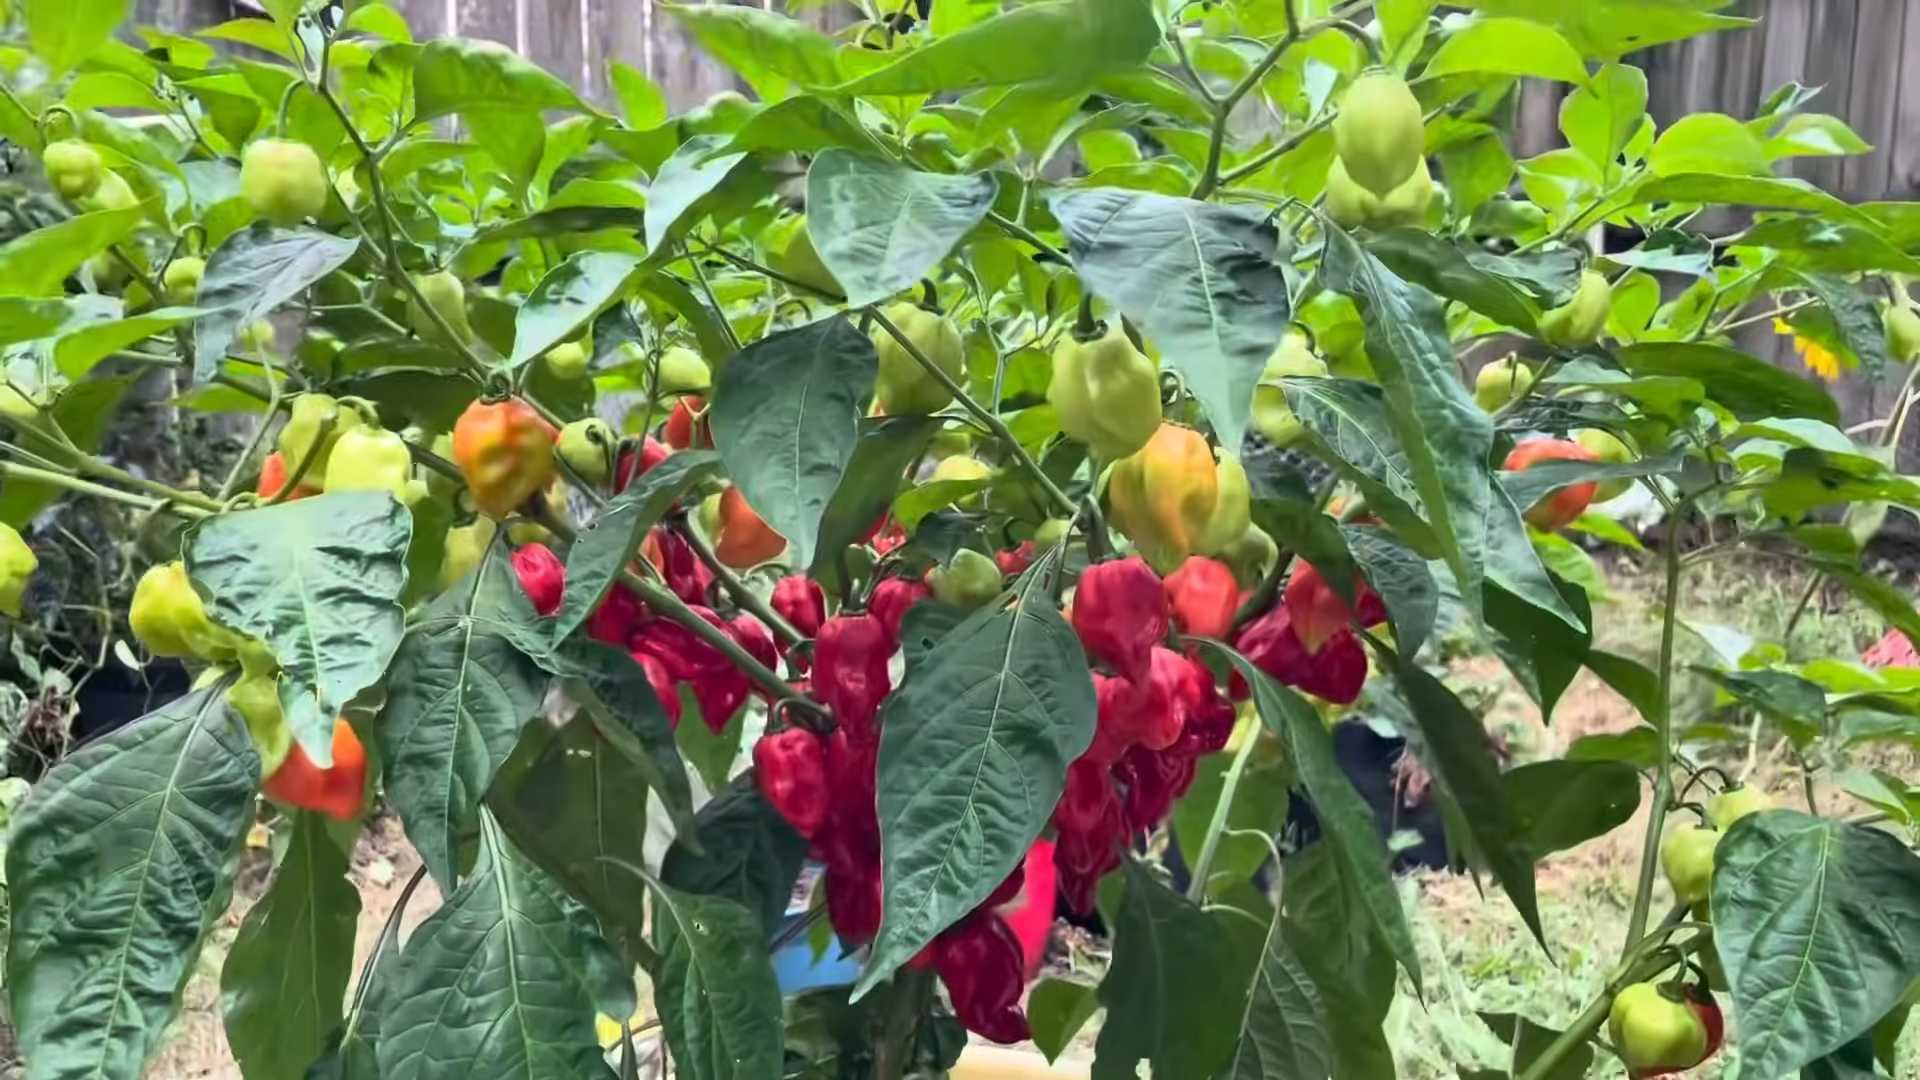
* Chili Pepper Seeds: Obviously! Choose varieties based on your heat preference. Jalapeños are a great starting point, but don’t be afraid to branch out to habaneros, scotch bonnets, or even ghost peppers if you’re feeling brave! I always recommend buying seeds from a reputable source to ensure good germination rates.
* Seed Starting Trays or Small Pots: These will be your nurseries for your baby pepper plants.
* Seed Starting Mix: This is a light, sterile soil mix specifically designed for seedlings. Don’t use regular garden soil; it’s too heavy and can harbor diseases.
* Heat Mat (Optional but Recommended): Chili peppers love warmth, and a heat mat will significantly improve germination rates, especially for hotter varieties.
* Grow Lights (Optional but Recommended): If you’re starting seeds indoors before the last frost, grow lights will provide the necessary light for healthy seedling development. A simple fluorescent shop light works wonders!
* Spray Bottle: For gently watering your seedlings.
* Small Fan: To provide gentle air circulation, which helps prevent fungal diseases and strengthens stems.
* Plant Labels and a Permanent Marker: Trust me, you’ll want to label your seedlings, especially if you’re growing multiple varieties.
* Potting Mix: For transplanting your seedlings into larger containers.
* Fertilizer: A balanced fertilizer specifically formulated for vegetables.
Phase 1: Sowing the Seeds
This is where the magic begins! We’re going to coax those tiny seeds into becoming thriving chili pepper plants.
1. Prepare Your Seed Starting Trays: Fill your seed starting trays or small pots with seed starting mix. Gently tap the trays to settle the mix, but don’t pack it down too tightly.
2. Sow the Seeds: Make a small indentation (about ¼ inch deep) in the center of each cell or pot. Place 1-2 seeds in each indentation. I usually plant two seeds per cell just to increase my chances of germination.
3. Cover the Seeds: Gently cover the seeds with seed starting mix.
4. Water Thoroughly: Use your spray bottle to thoroughly moisten the seed starting mix. You want it to be damp, but not soggy.
5. Provide Warmth: Place your seed starting trays on a heat mat, if you’re using one. The ideal soil temperature for chili pepper germination is around 80-85°F (27-29°C).
6. Provide Light (If Indoors): If you’re starting seeds indoors, place them under grow lights. Keep the lights on for 14-16 hours per day.
7. Maintain Moisture: Keep the seed starting mix consistently moist, but not waterlogged. Check the moisture level daily and mist with your spray bottle as needed.
8. Be Patient: Chili pepper seeds can take anywhere from 7 to 21 days (or even longer for some varieties) to germinate. Don’t give up!
Phase 2: Nurturing the Seedlings
Once your seeds have sprouted, it’s time to focus on providing the right conditions for healthy seedling growth.
1. Thin the Seedlings: If you planted two seeds per cell and both germinated, thin them out by snipping off the weaker seedling at the soil line with a pair of scissors. This will prevent overcrowding and ensure that the remaining seedling has enough space and nutrients to thrive.
2. Adjust Watering: As your seedlings grow, they’ll need more water. Water them when the top inch of soil feels dry to the touch. Avoid overwatering, as this can lead to root rot.
3. Provide Air Circulation: Use a small fan to provide gentle air circulation around your seedlings. This will help prevent fungal diseases and strengthen their stems.
4. Fertilize Sparingly: Once your seedlings have developed their first set of true leaves (the leaves that appear after the initial seed leaves), you can start fertilizing them with a diluted solution of balanced fertilizer. Follow the instructions on the fertilizer package. I usually start with half the recommended strength.
5. Harden Off the Seedlings: Before transplanting your seedlings outdoors, you’ll need to “harden them off.” This process gradually acclimates them to outdoor conditions, such as sunlight, wind, and temperature fluctuations. Start by placing your seedlings outdoors in a sheltered location for a few hours each day, gradually increasing the amount of time they spend outdoors over the course of a week or two.
Phase 3: Transplanting and Growing Outdoors
Now for the exciting part – getting those chili pepper plants into their permanent homes!
1. Choose a Sunny Location: Chili peppers need at least 6-8 hours of direct sunlight per day. Choose a location in your garden that receives plenty of sun.
2. Prepare the Soil: Chili peppers prefer well-drained soil that is rich in organic matter. Amend your soil with compost or other organic matter before planting.
3. Transplant the Seedlings: Gently remove the seedlings from their trays or pots. Be careful not to damage the roots. Dig a hole that is slightly larger than the root ball of the seedling. Place the seedling in the hole and backfill with soil. Gently firm the soil around the base of the plant.
4. Water Thoroughly: Water the transplanted seedlings thoroughly.
5. Space the Plants Properly: Space your chili pepper plants according to the variety. Generally, you’ll want to space them about 18-24 inches apart.
6. Mulch Around the Plants: Apply a layer of mulch around the base of the plants to help retain moisture, suppress weeds, and regulate soil temperature.
7. Water Regularly: Water your chili pepper plants regularly, especially during hot, dry weather. Aim to keep the soil consistently moist, but not waterlogged.
8. Fertilize Regularly: Fertilize your chili pepper plants every 2-3 weeks with a balanced fertilizer. Follow the instructions on the fertilizer package.
9. Provide Support (If Needed): Some chili pepper varieties, especially those with heavy fruit, may need support. Use stakes or cages to support the plants and prevent them from falling over.
10. Watch Out for Pests and Diseases: Keep an eye out for common chili pepper pests and diseases, such as aphids, spider mites, and blossom end rot. Take action to control pests and diseases as soon as you notice them. I prefer using organic methods whenever possible.
11. Prune (Optional): Pruning can help improve air circulation and encourage bushier growth. You can prune your chili pepper plants by removing any suckers (small shoots that grow from the base of the plant) or any dead or diseased leaves.
Phase 4: Harvesting and Enjoying Your Peppers!
The moment you’ve been waiting for! Harvesting your delicious, homegrown chili peppers.
1. Know When to Harvest: The best time to harvest chili peppers depends on the variety and your personal preference. Generally, chili peppers are ready to harvest when they have reached their mature color and size.
2. Harvest Carefully: Use a pair of scissors or pruning shears to cut the peppers from the plant. Be careful not to damage the plant.
3. Handle with Care: Some chili peppers can be very hot, so it’s a good idea to wear gloves when harvesting them. Avoid touching your eyes or face after handling chili peppers.
4. Enjoy Your Harvest: Use your chili peppers fresh, or dry them, freeze them, or pickle them for later use. The possibilities are endless! I love making hot sauce, chili oil, and adding them to my favorite dishes.
Important Considerations:
* Climate: Chili peppers are warm-weather plants and thrive in temperatures between 70-85°F (21-29°C). If you live in a cooler climate, you may need to start your seeds indoors earlier and provide extra protection for your plants.
* Soil Drainage: Well-drained soil is essential for chili pepper growth. If your soil is heavy or clay-like, amend it with compost or other organic matter to improve drainage.
* Sunlight: Chili peppers need plenty of sunlight to produce a good crop. Choose a location that receives at least 6-8 hours of direct sunlight per day.
* Watering: Water your chili pepper plants regularly, especially
Conclusion
So, there you have it! Mastering the art of growing chili peppers at home is not only achievable but also incredibly rewarding. From the vibrant colors adorning your plants to the fiery flavors enhancing your dishes, the benefits are undeniable. This DIY approach empowers you to control every aspect of the growing process, ensuring healthier plants, richer flavors, and a sustainable source of your favorite spice.
Why is this a must-try? Because store-bought chili peppers, while convenient, often lack the depth of flavor and the sheer satisfaction that comes from nurturing your own plants. You know exactly what went into growing them – no mystery pesticides or questionable farming practices. Plus, the sheer variety you can cultivate is astounding. Forget being limited to the standard jalapenos; imagine a garden bursting with habaneros, scotch bonnets, serranos, and even the elusive ghost pepper!
Consider these variations to personalize your chili pepper growing experience:
* Hydroponics: For those with limited space or a penchant for modern gardening techniques, hydroponics offers a soil-free alternative. Chili peppers thrive in hydroponic systems, often producing faster growth and higher yields.
* Container Gardening: Perfect for balconies, patios, or small gardens, container gardening allows you to move your chili pepper plants to optimize sunlight exposure and protect them from harsh weather. Choose pots that are at least 5 gallons in size to accommodate the root systems.
* Companion Planting: Enhance your chili pepper garden by planting beneficial companions like basil, tomatoes, and carrots. These plants can deter pests, improve soil health, and even enhance the flavor of your chili peppers.
* Fermenting Your Harvest: Don’t let any of your precious chili peppers go to waste! Fermenting them is a fantastic way to preserve them and create delicious hot sauces, chili pastes, and other culinary delights. Experiment with different fermentation techniques and flavor combinations to create your signature hot sauce.
* Different Soil Mixes: Experiment with different soil mixes to see what works best for your climate and growing conditions. A well-draining soil is crucial for chili peppers, so consider adding perlite or vermiculite to improve drainage.
Growing chili peppers is more than just a gardening project; it’s an adventure. It’s about connecting with nature, learning new skills, and ultimately, enjoying the fruits (or rather, the peppers!) of your labor. The satisfaction of harvesting your own homegrown chili peppers and using them to create delicious meals is unparalleled.
So, what are you waiting for? Grab some seeds or seedlings, prepare your soil, and embark on your chili pepper growing journey today. We are confident that you will find it to be a rewarding and flavorful experience.
We encourage you to try this DIY trick and share your experiences with us! Post photos of your chili pepper plants, share your favorite recipes, and let us know what challenges you encountered and how you overcame them. Your insights will help other aspiring chili pepper growers and contribute to a vibrant community of passionate gardeners. Let’s cultivate a world of flavor, one chili pepper at a time! Remember, successful **growing chili peppers** is within your reach with a little patience and the right guidance.
Frequently Asked Questions (FAQ)
What is the best time of year to start growing chili peppers?
The ideal time to start growing chili peppers depends on your climate. In general, chili peppers thrive in warm weather and require a long growing season. If you live in a region with mild winters, you can start your seeds indoors 6-8 weeks before the last expected frost. If you live in a colder climate, you may need to start your seeds even earlier. The key is to ensure that the seedlings have enough time to mature before transplanting them outdoors. You can also purchase starter plants from a local nursery to get a head start on the growing season.
What kind of soil is best for growing chili peppers?
Chili peppers prefer well-draining soil that is rich in organic matter. A slightly acidic to neutral pH (around 6.0 to 7.0) is ideal. You can amend your garden soil with compost, aged manure, or other organic materials to improve its fertility and drainage. If you are growing chili peppers in containers, use a high-quality potting mix that is specifically formulated for vegetables. Avoid using garden soil in containers, as it can become compacted and restrict root growth.
How much sunlight do chili peppers need?
Chili peppers require at least 6-8 hours of direct sunlight per day to thrive. Choose a location in your garden that receives plenty of sunlight throughout the day. If you are growing chili peppers indoors, place them near a sunny window or use grow lights to supplement natural light. Insufficient sunlight can result in leggy plants with poor fruit production.
How often should I water my chili pepper plants?
Water your chili pepper plants regularly, especially during hot and dry weather. The soil should be kept consistently moist, but not waterlogged. Overwatering can lead to root rot, so it’s important to allow the soil to dry out slightly between waterings. Check the soil moisture by sticking your finger into the soil about an inch deep. If the soil feels dry, it’s time to water.
What are some common pests and diseases that affect chili peppers?
Chili peppers can be susceptible to various pests and diseases, including aphids, spider mites, whiteflies, blossom-end rot, and fungal diseases. Regularly inspect your plants for signs of infestation or disease. Use organic pest control methods, such as insecticidal soap or neem oil, to control pests. To prevent fungal diseases, ensure good air circulation around your plants and avoid overwatering. Blossom-end rot is caused by a calcium deficiency, so amend your soil with calcium-rich amendments like bone meal or crushed eggshells.
How do I harvest chili peppers?
Chili peppers are typically ready to harvest when they have reached their mature color and size. The color will depend on the variety of chili pepper you are growing. Use pruning shears or scissors to cut the peppers from the plant, leaving a small stem attached. Handle the peppers with care, as some varieties can be very hot. Wear gloves when handling hot peppers to avoid skin irritation.
How do I store chili peppers?
Fresh chili peppers can be stored in the refrigerator for up to a week. For longer storage, you can dry, freeze, or pickle them. To dry chili peppers, string them together and hang them in a well-ventilated area until they are completely dry. You can also use a dehydrator to speed up the drying process. To freeze chili peppers, wash and dry them thoroughly, then place them in freezer bags or containers. Pickled chili peppers can be stored in the refrigerator for several months.
How can I make my chili peppers hotter?
Several factors can influence the heat level of chili peppers, including genetics, growing conditions, and stress. To increase the heat of your chili peppers, provide them with plenty of sunlight, water, and nutrients. Avoid overwatering or underwatering, as this can stress the plants and reduce their heat levels. Some gardeners believe that withholding water from chili pepper plants a few weeks before harvest can increase their heat, but this can also reduce yields. Experiment with different growing techniques to find what works best for you.
What are some good companion plants for chili peppers?
Companion planting can benefit chili peppers by deterring pests, improving soil health, and enhancing flavor. Some good companion plants for chili peppers include basil, tomatoes, carrots, onions, garlic, and marigolds. Basil repels aphids and whiteflies, while tomatoes provide shade and support. Carrots attract beneficial insects, and onions and garlic deter pests. Marigolds repel nematodes and other soil pests.
Can I grow chili peppers indoors year-round?
Yes, you can grow chili peppers indoors year-round, provided you have the right conditions. Chili peppers need plenty of sunlight, so you may need to supplement natural light with grow lights. Use a well-draining potting mix and water regularly. Fertilize your plants with a balanced fertilizer every few weeks. You may also need to hand-pollinate the flowers to ensure fruit production.

Leave a Comment