

Growing Cauliflower at Home might seem daunting, but trust me, it’s more achievable than you think! Have you ever dreamt of strolling into your backyard and harvesting a crisp, creamy head of cauliflower for dinner? It’s a truly rewarding experience, and this guide is your key to unlocking that dream.
Cauliflower, a member of the Brassica family, has a rich history dating back to ancient times. Originating in the Mediterranean, it was a prized vegetable in Roman gardens and has since spread across the globe, becoming a staple in countless cuisines. But let’s face it, store-bought cauliflower can sometimes be underwhelming – lacking flavor and freshness. That’s where the magic of DIY comes in!
I understand that many people are intimidated by the prospect of growing their own vegetables, especially something like cauliflower. But with the right knowledge and a few simple tricks, you can successfully cultivate this nutritious and delicious vegetable right in your own backyard. This article will provide you with easy-to-follow steps and insider tips to ensure a bountiful harvest. Growing Cauliflower at Home not only provides you with fresh, organic produce, but it’s also a fantastic way to connect with nature, reduce your carbon footprint, and save money. So, let’s get our hands dirty and embark on this exciting gardening adventure together!
Growing Cauliflower at Home: A Beginner’s Guide
Okay, so you want to grow your own cauliflower? Awesome! It’s a rewarding experience, even if it can be a little tricky. Don’t worry, I’m here to guide you through the process. Let’s break it down step-by-step so you can enjoy fresh, homegrown cauliflower.
Choosing the Right Variety
First things first, you need to pick the right cauliflower variety for your climate and growing season. This is super important! Some varieties are better suited for warmer weather, while others thrive in cooler conditions.
* Consider your climate: Are you in a region with hot summers or mild winters? This will influence your choice.
* Think about the growing season: How long is your growing season? Some cauliflower varieties mature faster than others.
* Popular varieties: Some popular and reliable varieties include ‘Snowball Y Improved’ (a classic white variety), ‘Graffiti’ (a stunning purple cauliflower), and ‘Cheddar’ (a vibrant orange cauliflower). I personally love ‘Snowball Y Improved’ because it’s pretty forgiving for beginners.
Starting from Seed vs. Transplants
You have two main options: starting your cauliflower from seed or buying transplants from a nursery. Both have their pros and cons.
* Starting from seed: This gives you more control over the entire process and can be more cost-effective. However, it requires more time and effort.
* Buying transplants: This is a quicker and easier option, especially if you’re short on time or space. Just make sure to choose healthy, vigorous-looking plants.
I usually start my cauliflower from seed indoors about 4-6 weeks before the last expected frost. This gives them a head start and ensures they’re strong enough to handle the outdoor conditions.
Preparing the Soil
Cauliflower needs rich, well-drained soil to thrive. Think of it as giving your cauliflower plants a luxurious spa day – they need all the right nutrients to flourish!
* Soil pH: Cauliflower prefers a soil pH between 6.0 and 7.0. You can test your soil using a soil testing kit, which you can find at most garden centers.
* Amendments: Amend your soil with plenty of organic matter, such as compost or well-rotted manure. This will improve drainage, fertility, and water retention. I usually add a generous layer of compost to my garden beds before planting.
* Fertilizer: Incorporate a balanced fertilizer into the soil before planting. Look for a fertilizer with a ratio of 10-10-10 or something similar.
Planting Your Cauliflower
Now comes the fun part – getting those cauliflower plants into the ground!
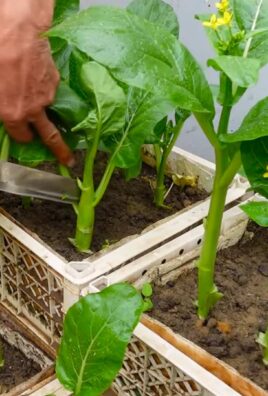
1. Harden off your seedlings (if starting from seed): Before transplanting your seedlings outdoors, you need to harden them off. This means gradually exposing them to outdoor conditions over a period of 7-10 days. Start by placing them in a sheltered location for a few hours each day, gradually increasing the amount of time they spend outdoors.
2. Choose a sunny location: Cauliflower needs at least 6 hours of sunlight per day.
3. Space your plants properly: Space your cauliflower plants 18-24 inches apart in rows that are 24-36 inches apart. This will give them enough room to grow and prevent overcrowding.
4. Dig holes: Dig holes that are slightly larger than the root balls of your seedlings or transplants.
5. Plant carefully: Gently remove the seedlings or transplants from their containers and place them in the holes. Make sure the top of the root ball is level with the soil surface.
6. Backfill with soil: Fill the holes with soil and gently firm the soil around the plants.
7. Water thoroughly: Water the plants thoroughly after planting.
Caring for Your Cauliflower
Once your cauliflower plants are in the ground, it’s important to provide them with proper care to ensure they grow healthy and produce delicious heads.
* Watering: Cauliflower needs consistent moisture, especially during hot weather. Water deeply and regularly, aiming for about 1-2 inches of water per week. I like to use a soaker hose to water my cauliflower plants, as this helps to prevent fungal diseases.
* Fertilizing: Fertilize your cauliflower plants every 2-3 weeks with a balanced fertilizer. You can also use a liquid fertilizer, such as fish emulsion or seaweed extract.
* Weeding: Keep the area around your cauliflower plants free of weeds. Weeds compete with cauliflower for nutrients and water.
* Mulching: Apply a layer of mulch around your cauliflower plants to help retain moisture, suppress weeds, and regulate soil temperature. I like to use straw or wood chips as mulch.
* Pest control: Cauliflower is susceptible to several pests, including cabbage worms, aphids, and flea beetles. Inspect your plants regularly for signs of pests and take action promptly. You can use organic pest control methods, such as insecticidal soap or neem oil. I’ve found that covering my plants with row covers can also help to prevent pest infestations.
Blanching Cauliflower
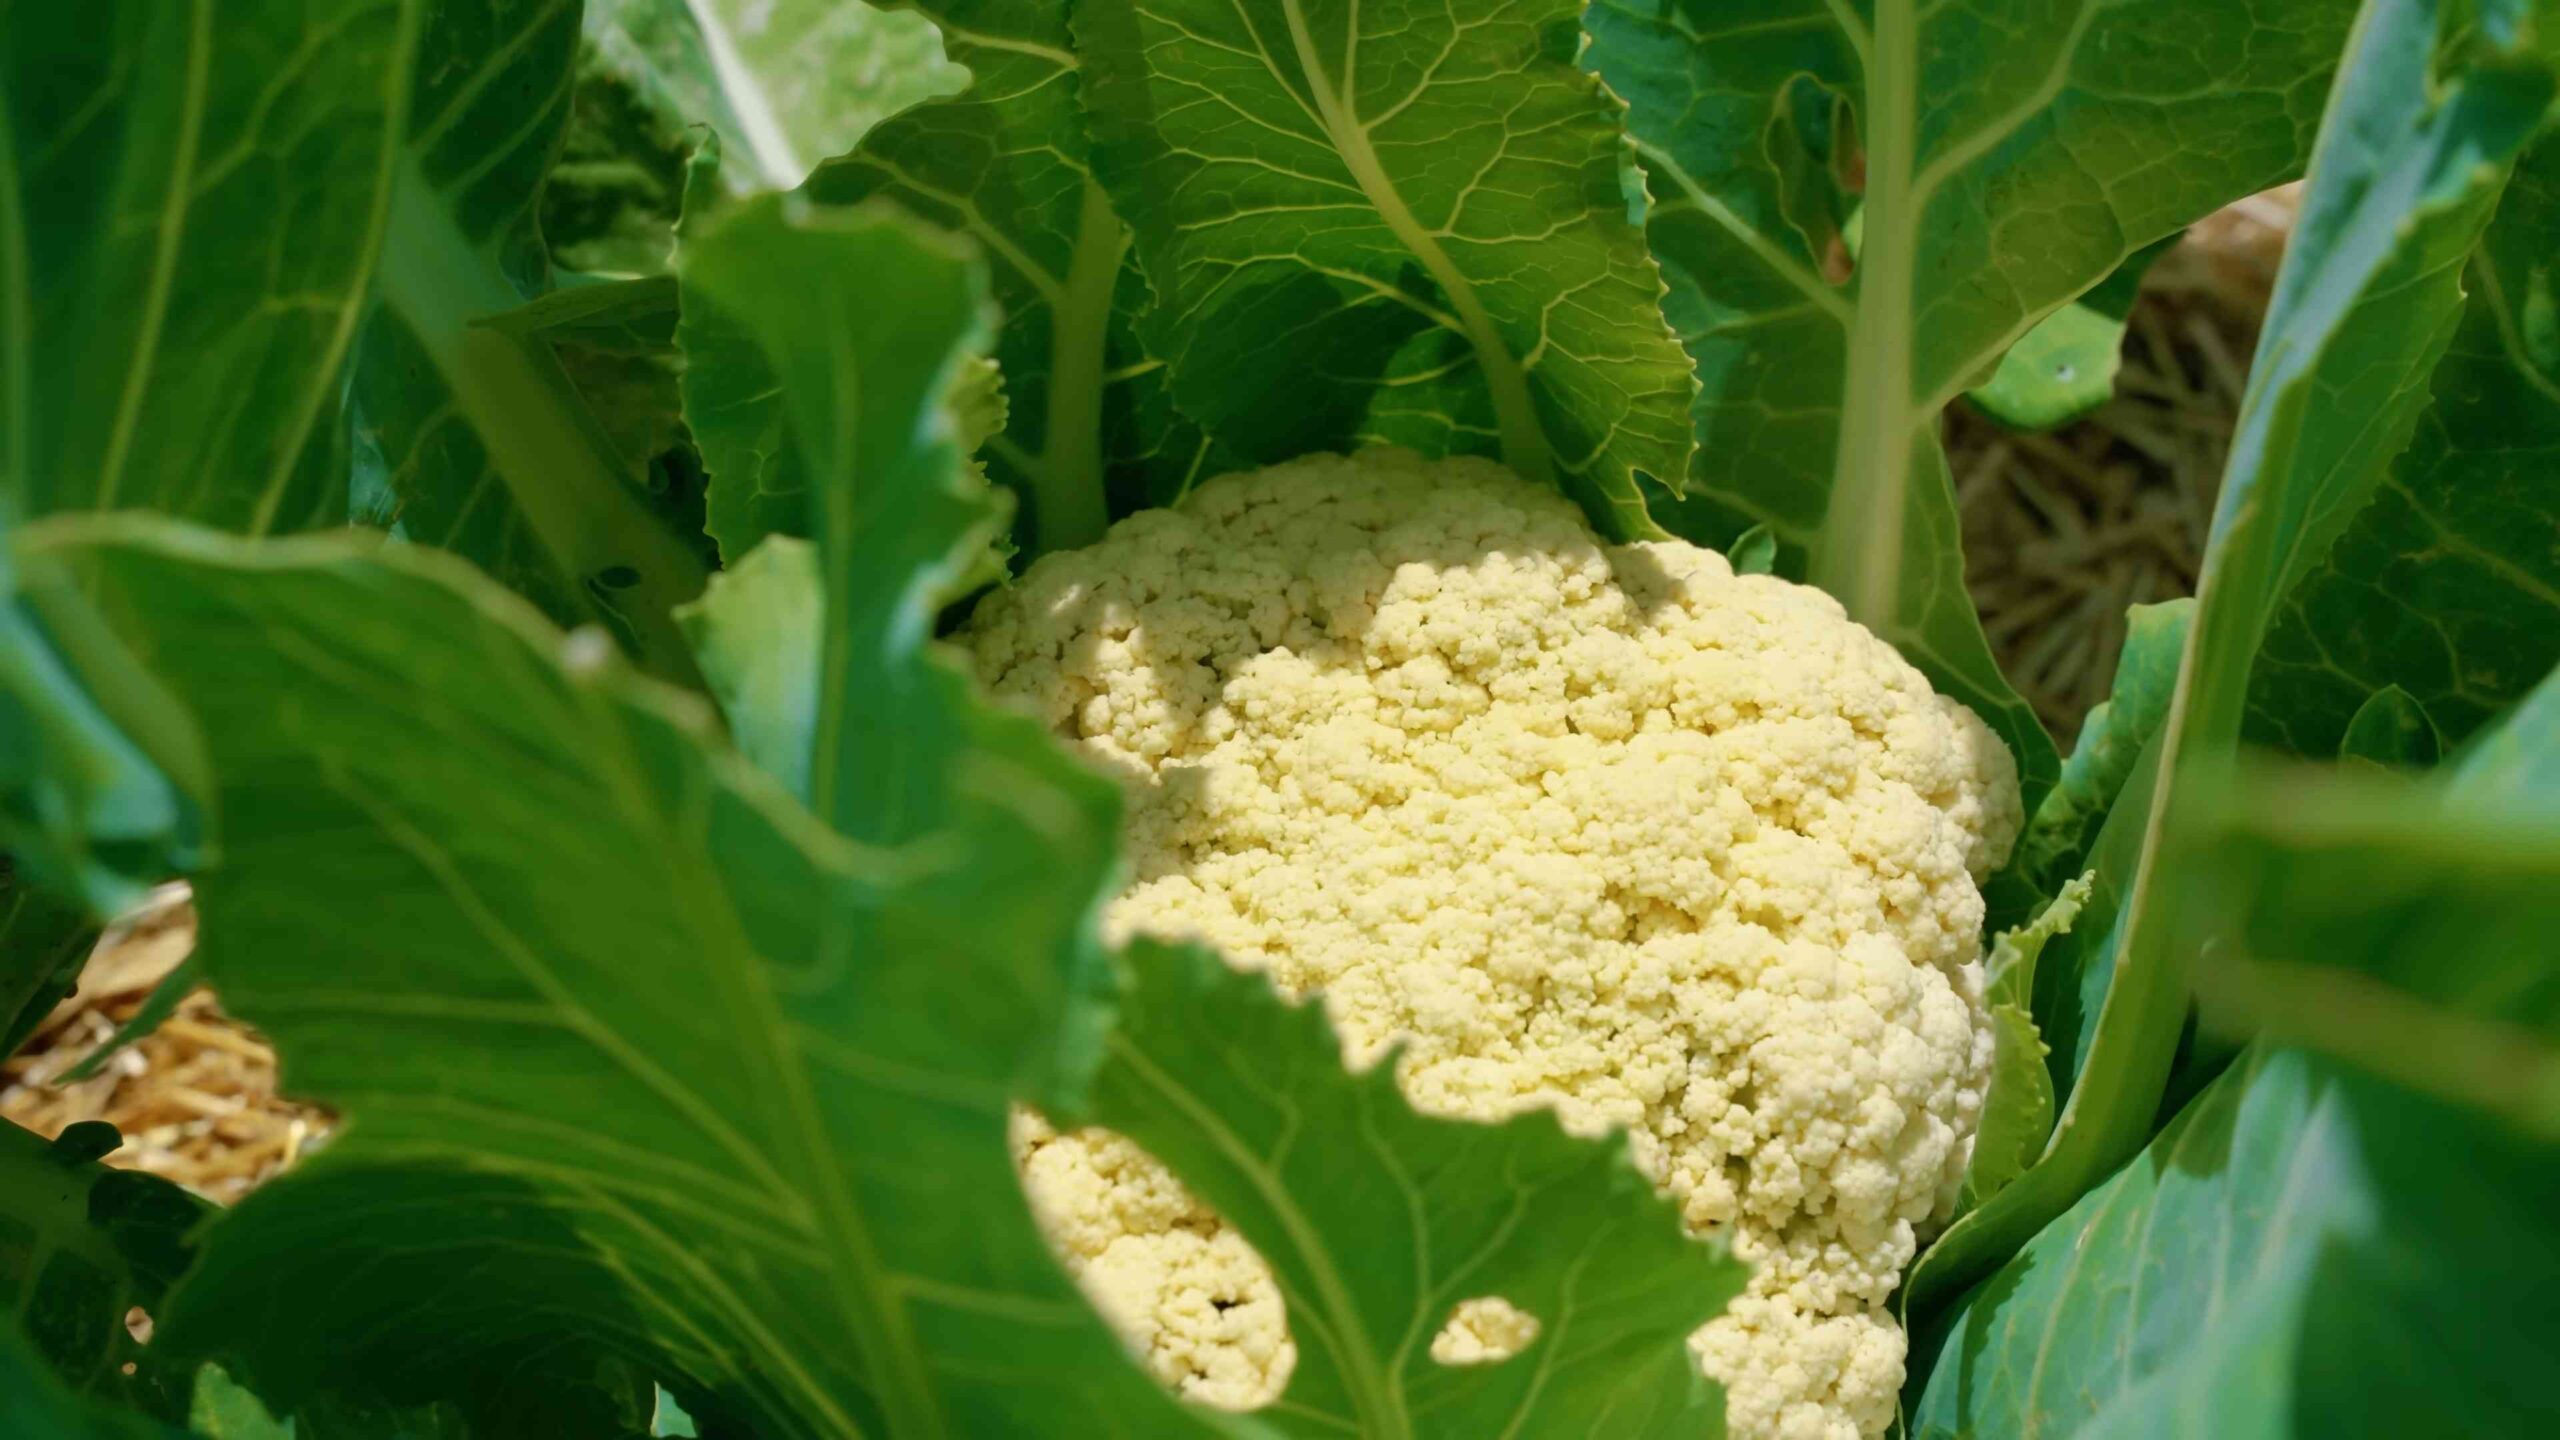
Blanching is the process of covering the developing cauliflower head to prevent it from turning yellow or brown. This is especially important for white cauliflower varieties.
1. When to blanch: Start blanching your cauliflower when the head is about 2-3 inches in diameter.
2. How to blanch: Gently pull the outer leaves of the plant over the head and secure them with twine or rubber bands. You can also use clothespins or special blanching clips.
3. Check regularly: Check the cauliflower head regularly to make sure it’s still covered. You may need to adjust the leaves as the head grows.
Some newer varieties are self-blanching, meaning their leaves naturally curl inward to protect the head. If you’re growing one of these varieties, you may not need to manually blanch them.
Harvesting Your Cauliflower
Harvesting your cauliflower at the right time is crucial for getting the best flavor and texture.
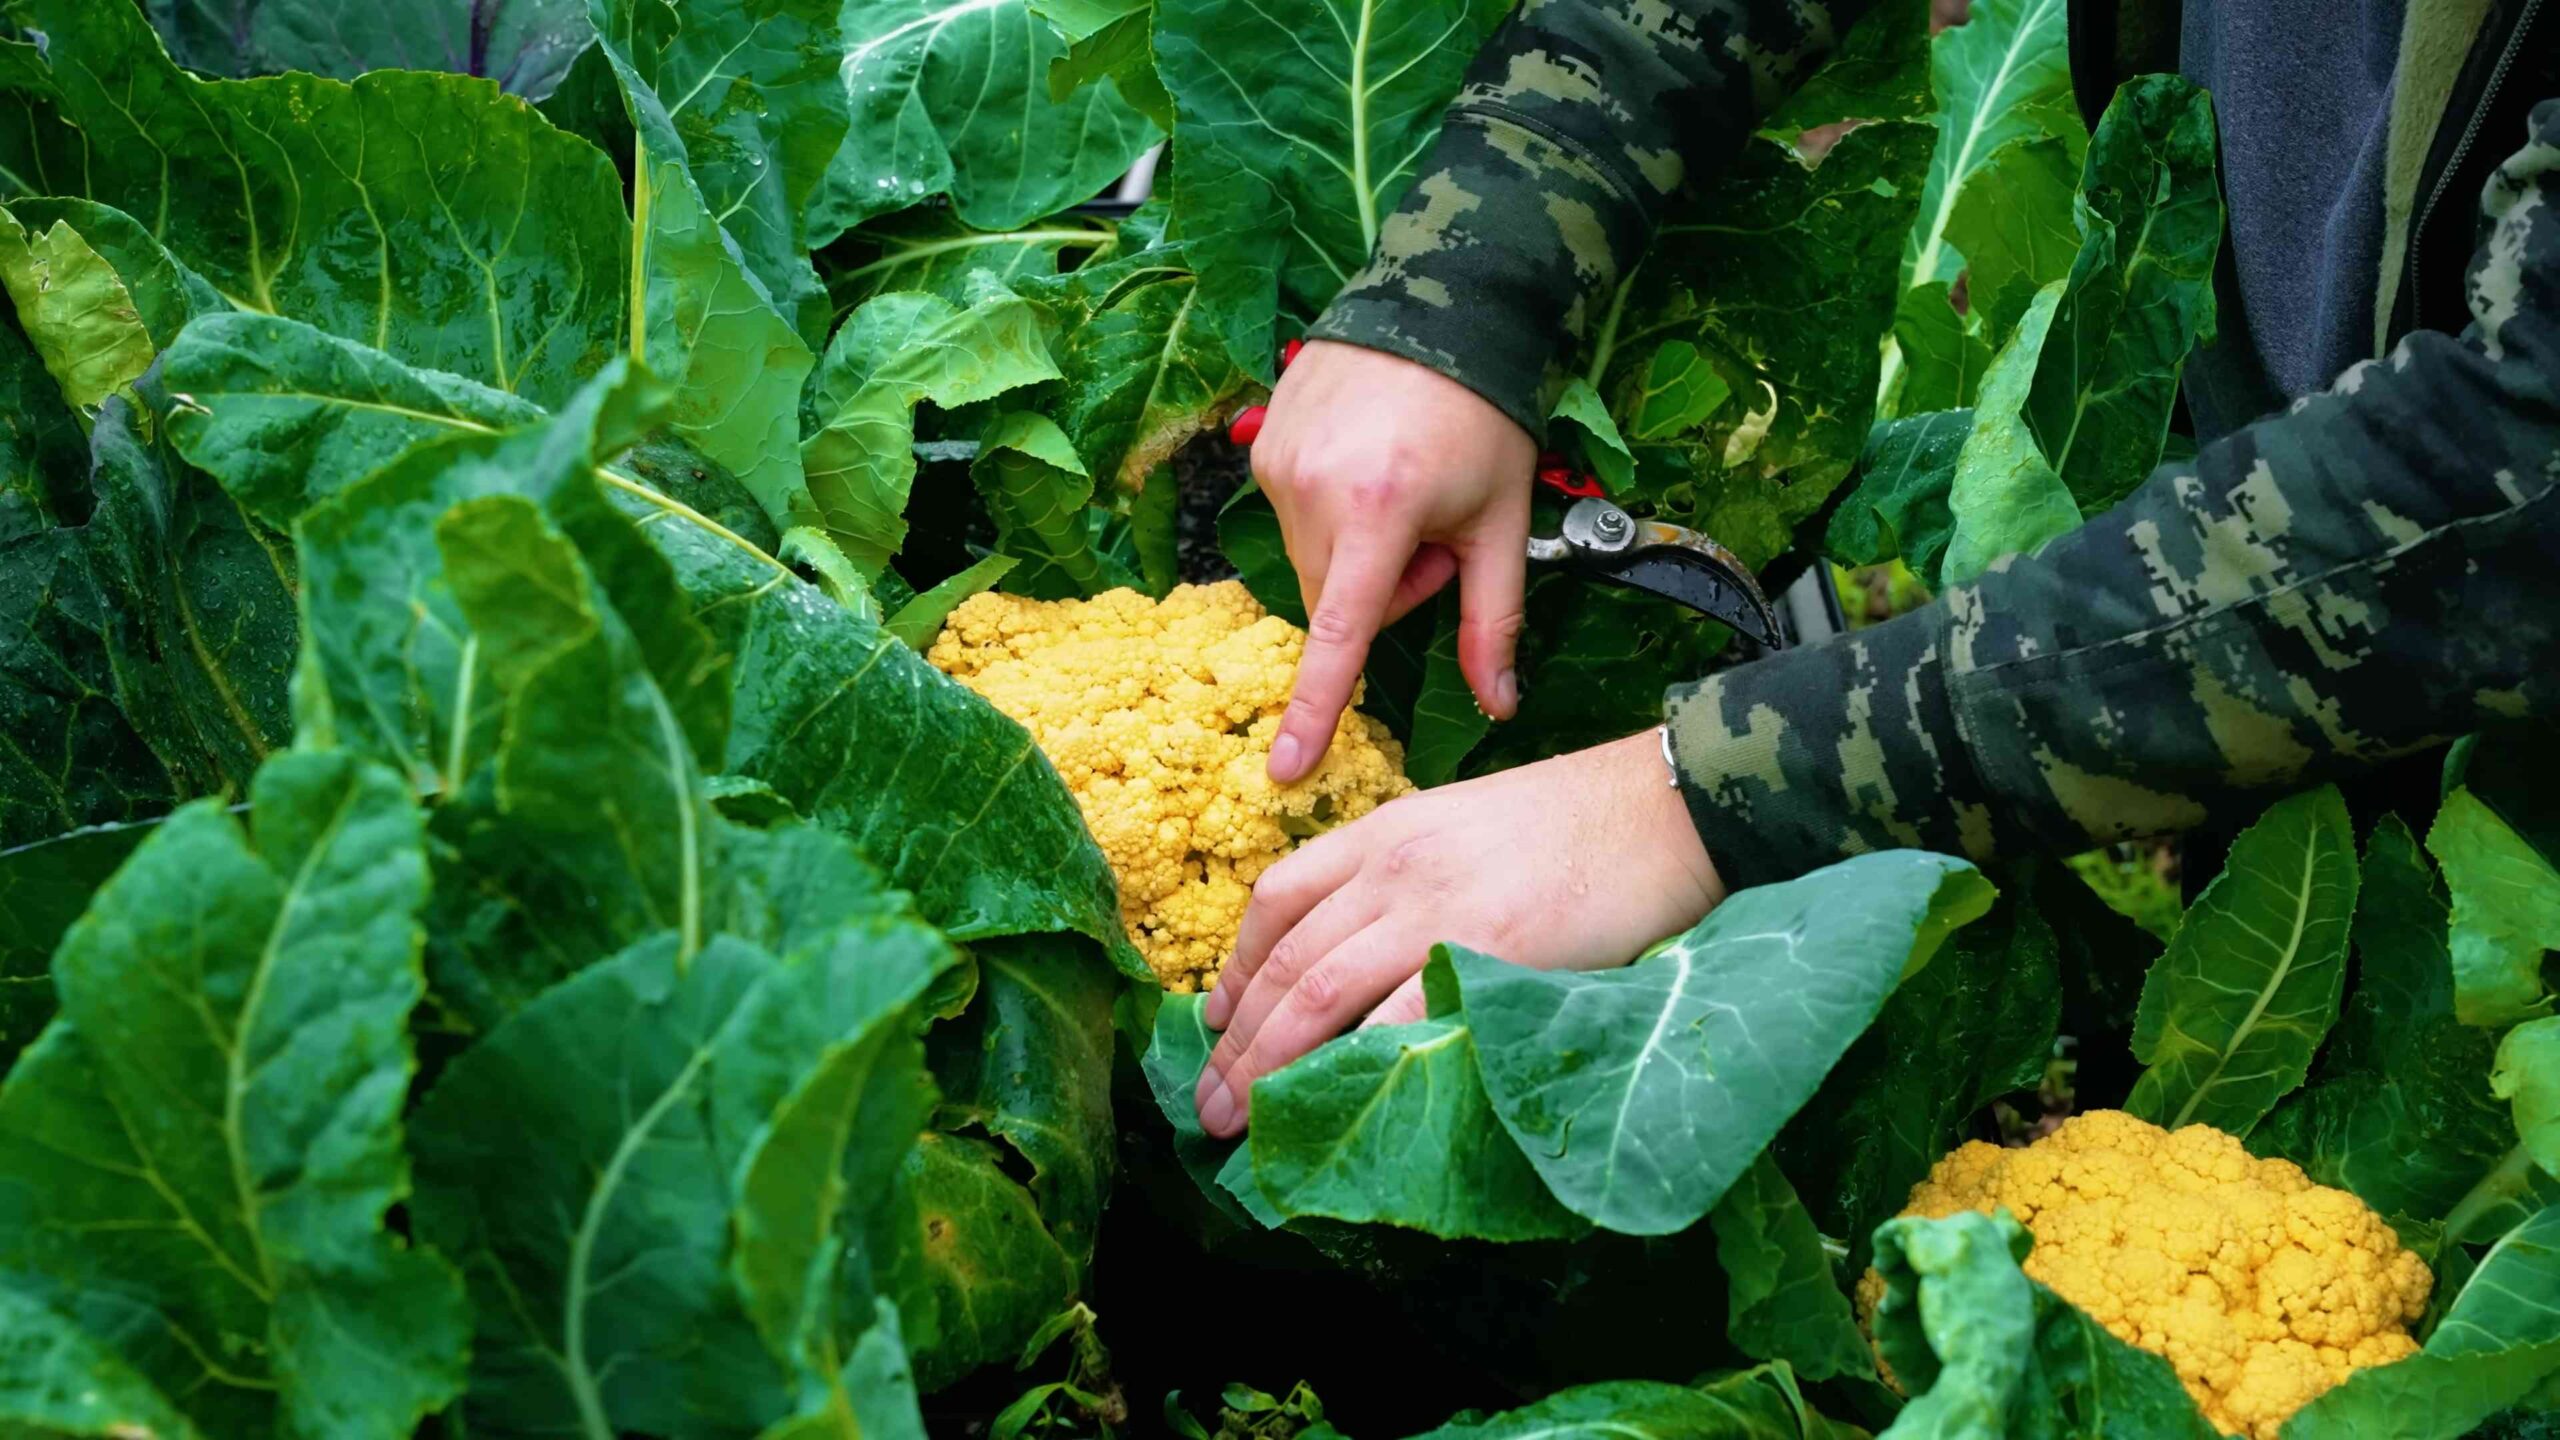
1. When to harvest: Harvest your cauliflower when the head is firm, compact, and about 6-8 inches in diameter. The curds (the small, tightly packed florets that make up the head) should be tightly closed and not starting to separate.
2. How to harvest: Use a sharp knife to cut the cauliflower head from the plant, leaving a few leaves attached to protect the head.
3. Store properly: Store your harvested cauliflower in the refrigerator for up to a week.
Troubleshooting Common Problems
Even with the best care, you may encounter some problems when growing cauliflower. Here are a few common issues and how to address them:
* Buttoning: This is when the cauliflower head forms prematurely and remains small. It’s often caused by stress, such as lack of water or nutrients. Make sure to provide your plants with consistent moisture and fertilizer.
* Ricey heads: This is when the curds of the cauliflower head become loose and grainy. It’s often caused by hot weather or inconsistent watering. Try to provide your plants with shade during the hottest part of the day and water them regularly.
* Clubroot: This is a fungal disease that affects the roots of cauliflower plants, causing them to become swollen and distorted. It can be prevented by improving soil drainage and avoiding planting cauliflower in the same location year after year. If you suspect your plants have clubroot, remove them from the garden and dispose of them properly.
* Pest infestations: As mentioned earlier, cauliflower is susceptible to several pests. Inspect your plants regularly and take action promptly to control any infestations.
Enjoying Your Homegrown Cauliflower
Congratulations! You’ve successfully grown your own cauliflower. Now it’s time to enjoy the fruits (or rather, vegetables) of your labor.
* Roasting: Roasting cauliflower is a simple and delicious way to bring out its natural sweetness. Toss the cauliflower florets with olive oil, salt, and pepper, and roast them in a preheated oven at 400°F (200°C) for 20-25 minutes, or until they’re tender and slightly browned.
* Steaming: Steaming cauliflower is a healthy and quick way to cook it. Steam the cauliflower florets for 5-7 minutes, or until they’re tender-crisp.
* Mashed cauliflower: Mashed cauliflower is a healthy and delicious alternative to mashed potatoes. Steam or boil the cauliflower florets until they’re tender, then mash them with butter, milk, and seasonings.
* Cauliflower rice: Cauliflower rice is a low-carb alternative to rice. Grate the cauliflower florets using a box grater or food processor, then sauté them in a pan with olive oil and seasonings.
* Pickled cauliflower: Pickled cauliflower is a tangy and flavorful condiment that can be enjoyed on its own or added to salads and sandwiches.
Growing cauliflower can be
Conclusion
So, there you have it – a comprehensive guide to successfully growing cauliflower at home! We’ve explored everything from seed selection and soil preparation to pest control and harvesting, equipping you with the knowledge and confidence to cultivate your own delicious and nutritious cauliflower heads.
Why is this DIY endeavor a must-try? Beyond the sheer satisfaction of nurturing a plant from seed to table, growing your own cauliflower offers several compelling advantages. Firstly, you gain complete control over the growing process, ensuring that your cauliflower is free from harmful pesticides and herbicides. This is particularly important for those seeking organic and sustainable food sources. Secondly, homegrown cauliflower boasts a freshness and flavor that simply cannot be matched by store-bought varieties. Imagine the crisp, clean taste of freshly harvested cauliflower, steamed, roasted, or transformed into a creamy soup – the possibilities are endless! Finally, growing cauliflower at home can be a surprisingly cost-effective way to enjoy this versatile vegetable, especially if you plan to harvest multiple heads throughout the growing season.
But the journey doesn’t end here! Feel free to experiment with different cauliflower varieties to discover your personal favorites. Consider trying vibrant purple cauliflower for a visually stunning addition to your meals, or Romanesco cauliflower with its intricate fractal patterns. You can also explore different planting techniques, such as succession planting, to extend your harvest season and enjoy a continuous supply of fresh cauliflower.
For those with limited space, consider growing cauliflower in containers. Choose a large pot with adequate drainage and use a high-quality potting mix. Dwarf varieties of cauliflower are particularly well-suited for container gardening. You can also try companion planting, pairing your cauliflower with herbs like rosemary or thyme to deter pests and enhance flavor.
Don’t be discouraged if your first attempt isn’t perfect. Gardening is a learning process, and every season brings new challenges and opportunities. The key is to be patient, observant, and willing to adapt your approach as needed. Remember to regularly monitor your plants for signs of pests or diseases and take prompt action to address any issues.
We are confident that with a little effort and dedication, you can successfully grow cauliflower at home and enjoy the many rewards of this fulfilling experience. So, grab your gardening gloves, prepare your soil, and embark on this exciting journey! We encourage you to try this DIY trick and share your experiences with us. Let us know what varieties you’ve grown, what challenges you’ve faced, and what delicious recipes you’ve created with your homegrown cauliflower. Share your photos and tips in the comments section below – we can’t wait to hear from you! Happy gardening!
Frequently Asked Questions (FAQ)
What is the best time of year to plant cauliflower?
The timing for planting cauliflower depends largely on your climate. Cauliflower thrives in cool weather, so the ideal planting times are typically in the spring or fall. For a spring crop, start seeds indoors 6-8 weeks before the last expected frost. Transplant seedlings outdoors 2-3 weeks before the last frost. For a fall crop, start seeds indoors in mid-summer and transplant seedlings outdoors in late summer or early fall, allowing ample time for the heads to mature before the first hard frost. Consider your local climate and average frost dates when determining the optimal planting time.
What kind of soil is best for growing cauliflower?
Cauliflower requires well-drained, fertile soil that is rich in organic matter. The ideal soil pH is between 6.0 and 7.0. Before planting, amend the soil with compost, aged manure, or other organic materials to improve drainage, fertility, and water retention. Avoid heavy clay soils, as they can become waterlogged and hinder root development. If you have clay soil, consider adding sand or perlite to improve drainage. A soil test can help you determine the nutrient levels and pH of your soil, allowing you to make necessary amendments to create the optimal growing environment for your cauliflower.
How much sunlight does cauliflower need?
Cauliflower requires at least 6 hours of direct sunlight per day to thrive. Choose a planting location that receives full sun throughout the day. If you live in a particularly hot climate, providing some afternoon shade can help prevent the cauliflower heads from bolting (prematurely flowering). Insufficient sunlight can result in smaller heads and reduced yields.
How often should I water cauliflower?
Cauliflower needs consistent moisture to develop healthy heads. Water deeply and regularly, especially during dry periods. Aim to keep the soil consistently moist but not waterlogged. Mulching around the plants can help retain moisture and suppress weeds. The frequency of watering will depend on factors such as weather conditions, soil type, and plant size. Check the soil moisture regularly and water when the top inch feels dry to the touch.
What are some common pests and diseases that affect cauliflower?
Cauliflower is susceptible to several pests and diseases, including cabbage worms, aphids, flea beetles, clubroot, and black rot. Regularly inspect your plants for signs of infestation or disease. Cabbage worms can be controlled with Bacillus thuringiensis (Bt), a natural insecticide. Aphids can be washed off with a strong stream of water or treated with insecticidal soap. Flea beetles can be deterred with row covers. Clubroot is a soilborne disease that can be prevented by maintaining a proper soil pH and practicing crop rotation. Black rot is a bacterial disease that can be prevented by using disease-free seeds and avoiding overhead watering.
How do I know when my cauliflower is ready to harvest?
Cauliflower is ready to harvest when the head is firm, compact, and reaches the desired size. The size of the head will vary depending on the variety, but typically ranges from 6 to 8 inches in diameter. The curds (the individual florets that make up the head) should be tightly packed together and free from blemishes or discoloration. Use a sharp knife to cut the head from the plant, leaving a few leaves attached to protect the head.
Why is my cauliflower head turning yellow or brown?
Yellowing or browning of the cauliflower head can be caused by several factors, including overexposure to sunlight, nutrient deficiencies, or disease. To prevent yellowing from sunlight, blanch the head by tying the outer leaves together over the developing head when it reaches about 3 inches in diameter. Nutrient deficiencies can be addressed by amending the soil with fertilizer or compost. Diseases can be treated with appropriate fungicides or bactericides.
Can I grow cauliflower in containers?
Yes, cauliflower can be grown in containers, especially dwarf varieties. Choose a large pot with adequate drainage and use a high-quality potting mix. Provide regular watering and fertilization. Container-grown cauliflower may require more frequent watering than plants grown in the ground.
What is “blanching” cauliflower and why is it important?
Blanching cauliflower refers to covering the developing head with its own leaves to protect it from direct sunlight. This prevents the head from turning yellow or brown and helps maintain its white color and delicate flavor. When the head reaches about 3 inches in diameter, tie the outer leaves together over the head using twine or rubber bands. Check the head regularly and harvest when it reaches the desired size.
How can I store harvested cauliflower?
Harvested cauliflower can be stored in the refrigerator for up to a week. Wrap the head in plastic wrap or store it in a perforated plastic bag to maintain humidity. Avoid washing the cauliflower before storing it, as this can promote spoilage. You can also freeze cauliflower for longer storage. To freeze cauliflower, blanch the florets in boiling water for 3 minutes, then plunge them into ice water to stop the cooking process. Drain well and freeze in a single layer on a baking sheet before transferring to a freezer bag or container.

Leave a Comment