

Grow Watermelon at Home? Absolutely! Imagine biting into a juicy, sweet, homegrown watermelon on a hot summer day. Sounds idyllic, right? Well, it’s more achievable than you might think! For centuries, watermelons have been a symbol of summer abundance and a refreshing treat enjoyed across cultures. From ancient Egypt, where they were depicted in hieroglyphics, to modern-day backyard gardens, the allure of this vibrant fruit has endured.
But let’s be honest, the thought of growing your own watermelon can be a little intimidating. They seem so big and demanding! That’s where these DIY tricks and hacks come in. I’m going to share some simple, effective methods that will help you grow watermelon at home, even if you have limited space or gardening experience.
Why do you need these tricks? Because store-bought watermelons, while convenient, often lack the intense flavor and satisfaction of a homegrown one. Plus, you’ll know exactly what went into growing yours – no mystery chemicals or long-distance transportation. Get ready to unlock the secrets to a bountiful watermelon harvest and impress your friends and family with your green thumb!
Grow Your Own Juicy Watermelons: A DIY Guide
Hey there, fellow gardening enthusiasts! Ever dreamt of biting into a sweet, homegrown watermelon on a hot summer day? Well, dream no more! Growing your own watermelons is totally achievable, even if you’re a beginner. I’m going to walk you through everything you need to know, from choosing the right variety to harvesting that perfect melon. Let’s get started!
Choosing the Right Watermelon Variety
First things first, you need to pick a watermelon variety that suits your climate and garden space. Here’s a quick rundown of some popular options:
* Sugar Baby: This is a classic choice for smaller gardens. It produces relatively small, round watermelons (around 8-10 pounds) that are incredibly sweet and mature quickly (around 75 days).
* Crimson Sweet: A widely popular variety known for its disease resistance and delicious flavor. The fruits are larger (around 20-25 pounds) and have a vibrant red flesh. They take about 85 days to mature.
* Jubilee: These are large, oblong watermelons (25-35 pounds) with a thick rind, making them great for shipping and storage. They have a sweet, slightly grainy texture and take around 95 days to mature.
* Icebox Watermelons: If you’re really short on space, consider icebox varieties like ‘Tiger Baby’ or ‘Bush Sugar Baby’. These produce smaller melons (5-8 pounds) on compact vines.
* Seedless Varieties: If you prefer seedless watermelons, look for varieties like ‘Triploid’ or ‘Millionaire’. Keep in mind that seedless watermelons require a pollinator variety planted nearby to ensure fruit set.
Pro Tip: Check your local climate and growing season before choosing a variety. Shorter growing seasons will require faster-maturing varieties.
Preparing Your Garden Bed
Watermelons are heavy feeders and need plenty of space to sprawl. Here’s how to prep your garden bed for success:
* Sunlight: Watermelons need at least 6-8 hours of direct sunlight per day. Choose a location that gets plenty of sun.
* Soil: Watermelons thrive in well-drained, sandy loam soil with a pH between 6.0 and 6.8.
* Soil Testing: It’s always a good idea to test your soil to determine its pH and nutrient levels. You can purchase a soil testing kit at most garden centers or send a sample to your local agricultural extension office.
* Amendments: Amend your soil with plenty of organic matter, such as compost, well-rotted manure, or peat moss. This will improve drainage, aeration, and nutrient content.
* Spacing: Watermelons need plenty of space to grow. Space plants 3-5 feet apart in rows that are 8-10 feet apart. For smaller varieties, you can reduce the spacing slightly.
* Raised Beds: If your soil is heavy clay or poorly drained, consider growing watermelons in raised beds. This will improve drainage and prevent root rot.
Starting Watermelon Seeds Indoors (Optional)
While you can direct sow watermelon seeds, starting them indoors gives them a head start, especially in cooler climates.
1. Timing: Start seeds indoors about 4-6 weeks before the last expected frost.
2. Containers: Use peat pots or biodegradable containers to avoid disturbing the roots when transplanting.
3. Soil: Fill the containers with a seed-starting mix.
4. Sowing: Sow 2-3 seeds per container, about 1 inch deep.
5. Watering: Water gently to moisten the soil.
6. Warmth: Keep the containers in a warm location (70-80°F) until germination. A heat mat can be helpful.
7. Light: Once the seeds germinate, move the containers to a sunny window or under grow lights.
8. Thinning: Once the seedlings have their first true leaves, thin them to one plant per container.
9. Hardening Off: Before transplanting, gradually acclimate the seedlings to outdoor conditions by hardening them off for a week. Place them outside for a few hours each day, gradually increasing the amount of time they spend outdoors.
Planting Watermelon Seedlings or Seeds
Once the soil has warmed up and the danger of frost has passed, it’s time to plant your watermelon seedlings or seeds.
1. Prepare the Planting Hole: Dig a hole that is slightly larger than the root ball of the seedling or the size of the seed.
2. Amend the Hole: Add a handful of compost or well-rotted manure to the bottom of the hole.
3. Planting Seedlings: Gently remove the seedling from its container and place it in the hole. Make sure the top of the root ball is level with the surrounding soil. Backfill the hole with soil and gently firm it around the plant.
4. Planting Seeds: Sow 2-3 seeds per hill, about 1 inch deep. Space the hills according to the recommended spacing for your chosen variety.
5. Watering: Water thoroughly after planting.
6. Mulching: Apply a layer of mulch around the plants to help retain moisture, suppress weeds, and regulate soil temperature. Straw, hay, or black plastic mulch are all good options.
Caring for Your Watermelon Plants
Watermelons need consistent care to thrive. Here’s what you need to do:
* Watering: Watermelons need plenty of water, especially during hot, dry weather. Water deeply and regularly, aiming for about 1-2 inches of water per week. Avoid overhead watering, as this can promote fungal diseases. Drip irrigation is an excellent option.
* Fertilizing: Watermelons are heavy feeders and benefit from regular fertilization. Use a balanced fertilizer (e.g., 10-10-10) at planting time and then side-dress with a nitrogen-rich fertilizer every 2-3 weeks during the growing season.
* Weeding: Keep the garden bed free of weeds, as they can compete with watermelons for nutrients and water. Hand-pull weeds or use a hoe to cultivate the soil.
* Pest Control: Watermelons can be susceptible to pests such as aphids, squash bugs, and cucumber beetles. Monitor your plants regularly and take action if you see signs of infestation. Insecticidal soap, neem oil, and hand-picking are all effective control methods.
* Disease Control: Watermelons can also be susceptible to diseases such as powdery mildew, anthracnose, and fusarium wilt. Choose disease-resistant varieties and practice good sanitation to prevent disease. Remove infected leaves and vines promptly. Fungicides can be used to control fungal diseases.
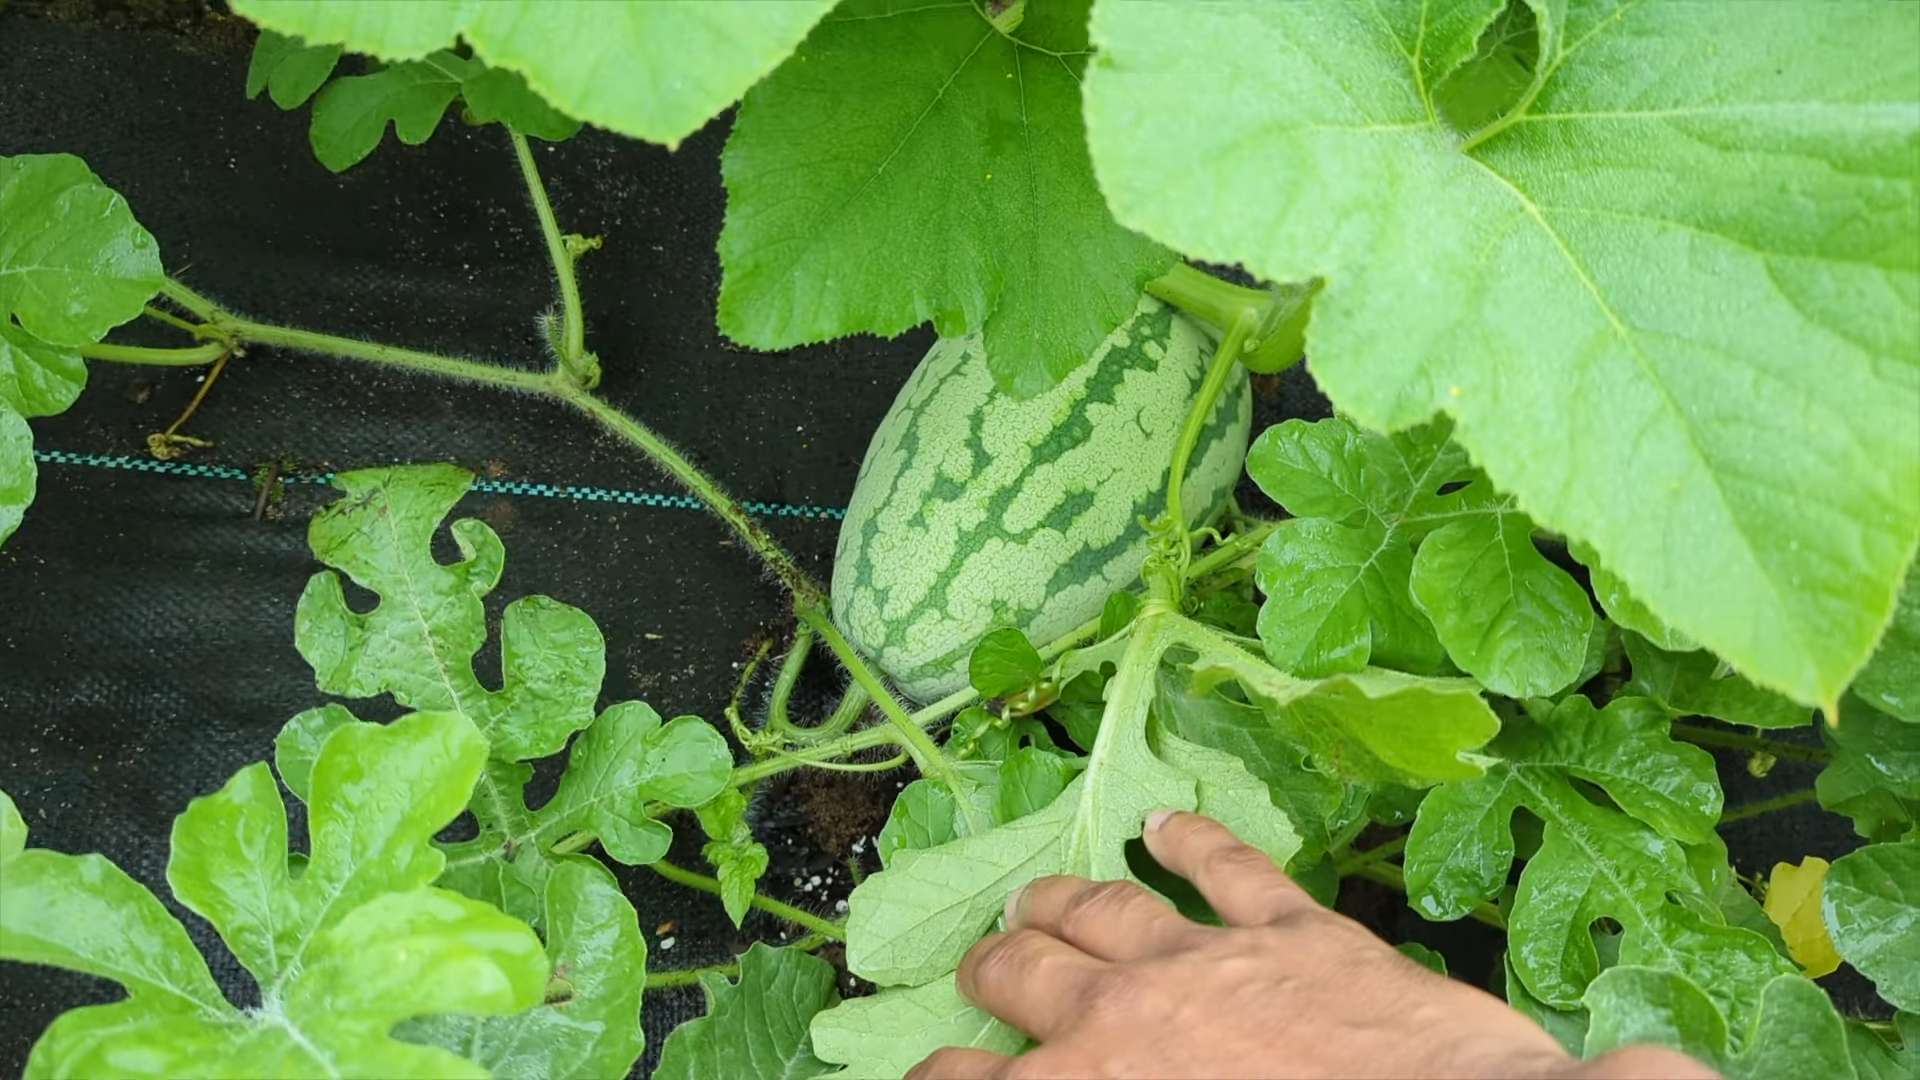
* Pollination: Watermelons require pollination to set fruit. Bees are the primary pollinators. If you don’t see many bees in your garden, you may need to hand-pollinate the flowers. To hand-pollinate, use a small paintbrush to transfer pollen from the male flowers to the female flowers. Female flowers have a small, immature watermelon at the base of the flower.
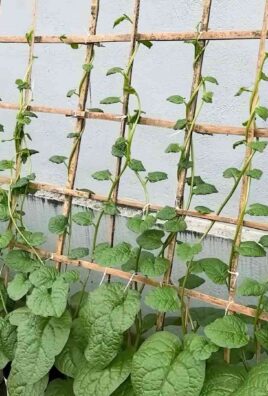
* Vine Training: As the vines grow, you can train them to grow in a specific direction. This can help to save space and prevent the fruits from rotting on the ground. You can use stakes or trellises to support the vines.
* Fruit Support: As the watermelons grow larger, they may need support to prevent them from breaking off the vine. You can use slings made from old pantyhose or netting to support the fruits.
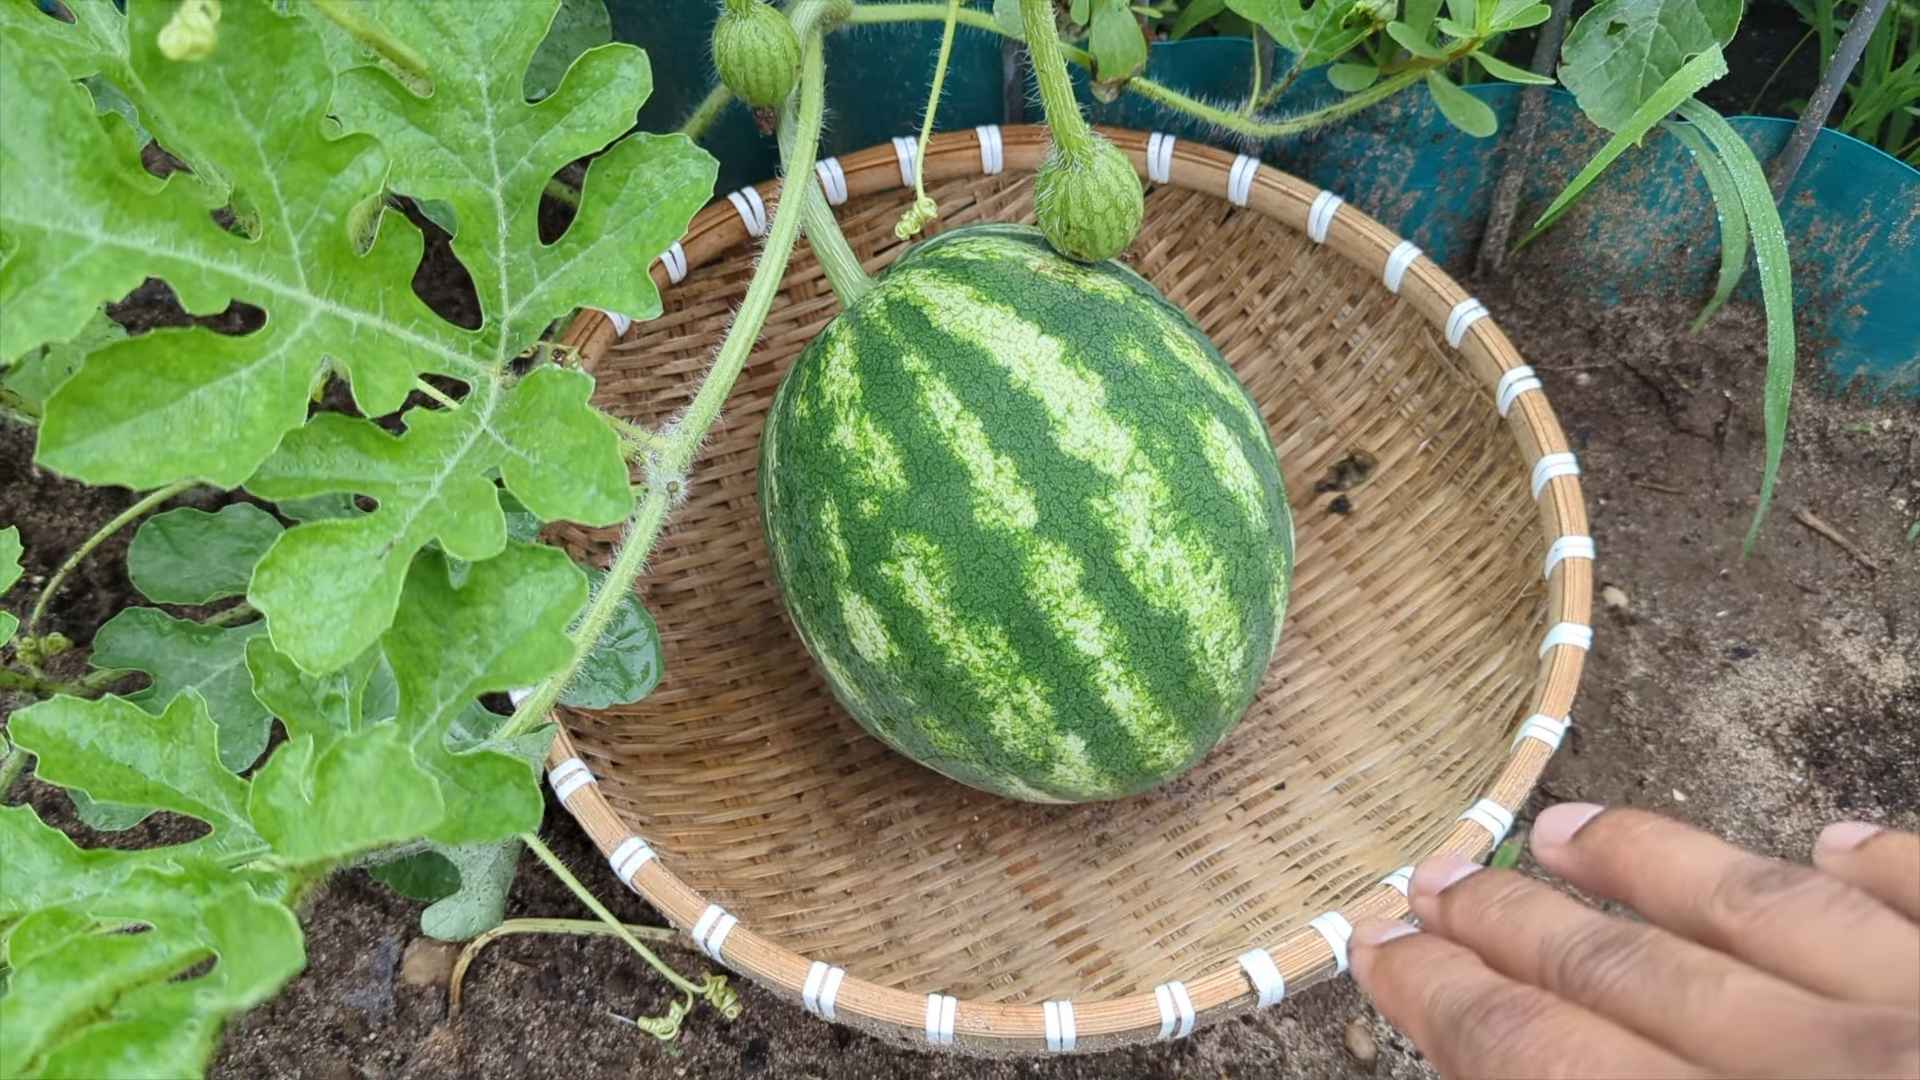
Harvesting Your Watermelons
Knowing when to harvest your watermelons is crucial for getting that perfect, sweet flavor. Here are a few signs to look for:
* Days to Maturity: Check the seed packet or plant tag for the days to maturity. This is a good starting point, but it’s not always accurate.
* Tendril: The tendril closest to the watermelon should be brown and dry.
* Ground Spot: The ground spot (the area where the watermelon rests on the ground) should be yellow or cream-colored.
* Thumping: Thump the watermelon. A ripe watermelon will sound hollow.
* Rind: The rind should be dull and waxy, not shiny.
* Stem: The stem should be slightly shrunken and dry.
Harvesting Tips:
1. Use a sharp knife or pruning shears to cut the watermelon from the vine, leaving a few inches of stem attached.
2. Handle the watermelons carefully to avoid bruising them.
3. Store watermelons in a cool, dry place. They will keep for several weeks.
Troubleshooting Common Watermelon Problems
Even with the best care, you might encounter some problems while growing watermelons. Here are
Conclusion
So, there you have it! Growing watermelons at home, while it might seem daunting at first, is entirely achievable with a little planning, patience, and the right techniques. We’ve walked you through the entire process, from selecting the perfect variety for your climate to nurturing those precious seedlings and finally, harvesting your own juicy, homegrown watermelons.
But why should you even bother? Why not just pick one up at the grocery store? The answer is simple: flavor and satisfaction. There’s nothing quite like the taste of a watermelon you’ve grown yourself. It’s sweeter, more vibrant, and bursting with a freshness you just can’t find in commercially grown fruit. Plus, the sheer joy of watching a tiny seed transform into a sprawling vine laden with delicious watermelons is an incredibly rewarding experience.
This DIY approach to growing watermelons allows you to control every aspect of the process, ensuring you’re using organic methods and avoiding harmful pesticides. You know exactly what went into your watermelon, making it a healthier and more sustainable choice for you and your family.
Don’t be afraid to experiment! Try different watermelon varieties to see which ones thrive in your specific microclimate. Consider using companion planting techniques to deter pests and attract beneficial insects. You could even try growing watermelons in containers if you have limited space. The possibilities are endless!
Growing watermelons at home is not just about the fruit; it’s about the journey. It’s about connecting with nature, learning new skills, and enjoying the fruits (literally!) of your labor. It’s about creating memories and sharing the bounty with friends and family.
We encourage you to take the plunge and give it a try. Don’t worry if you don’t get it perfect the first time. Gardening is a learning process, and every mistake is an opportunity to grow (pun intended!).
Once you’ve harvested your first homegrown watermelon, we’d love to hear about your experience! Share your photos, tips, and stories in the comments below. Let’s create a community of home gardeners who are passionate about growing their own delicious and healthy food. What variety did you choose? What challenges did you face? What did you learn? Your insights could help other aspiring watermelon growers succeed.
So, grab some seeds, get your hands dirty, and get ready to enjoy the sweet taste of success. Happy growing!
Frequently Asked Questions (FAQs)
1. What is the best time to start growing watermelons at home?
The timing depends on your climate. Watermelons need a long, warm growing season (at least 70-85 days). In colder climates, start seeds indoors 6-8 weeks before the last expected frost. In warmer climates, you can direct sow seeds outdoors after the soil has warmed to at least 70°F (21°C). A soil thermometer is a great investment for ensuring optimal germination.
2. What kind of soil is best for growing watermelons?
Watermelons thrive in well-drained, sandy loam soil that is rich in organic matter. The soil pH should be between 6.0 and 6.8. Before planting, amend your soil with compost or well-rotted manure to improve drainage and fertility. Avoid heavy clay soils, as they can retain too much moisture and lead to root rot.
3. How much sunlight do watermelons need?
Watermelons are sun-loving plants and require at least 6-8 hours of direct sunlight per day. Choose a planting location that receives full sun throughout the day. Insufficient sunlight can result in smaller fruits and reduced yields.
4. How often should I water my watermelon plants?
Watermelons need consistent moisture, especially during fruit development. Water deeply and regularly, aiming for about 1-2 inches of water per week. Avoid overhead watering, as it can promote fungal diseases. Drip irrigation or soaker hoses are excellent options for delivering water directly to the roots. Reduce watering as the fruits ripen to prevent them from splitting.
5. What are some common pests and diseases that affect watermelons?
Common pests include aphids, squash bugs, vine borers, and cucumber beetles. Diseases include powdery mildew, fusarium wilt, and anthracnose. Regularly inspect your plants for signs of pests or diseases. Use organic pest control methods, such as insecticidal soap or neem oil, to control pests. Ensure good air circulation and avoid overhead watering to prevent fungal diseases. Crop rotation can also help prevent soilborne diseases.
6. How do I know when my watermelon is ripe?
There are several indicators of ripeness. The tendril closest to the fruit should be brown and dry. The underside of the watermelon (where it rests on the ground) should turn from white to a creamy yellow. When you thump the watermelon, it should sound hollow and deep. The rind should also be dull rather than shiny. These are all good signs that your watermelon is ready to harvest.
7. Can I grow watermelons in containers?
Yes, you can grow watermelons in containers, but you’ll need a large container (at least 20 gallons) and a dwarf or bush variety. Ensure the container has good drainage and use a high-quality potting mix. Container-grown watermelons may require more frequent watering and fertilization than those grown in the ground.
8. What are some good companion plants for watermelons?
Good companion plants for watermelons include marigolds (to deter nematodes), nasturtiums (to attract beneficial insects), and basil (to repel pests). Avoid planting watermelons near potatoes or other members of the nightshade family, as they can compete for nutrients.
9. How can I improve pollination of my watermelon plants?
Watermelons require pollination to set fruit. If you’re not seeing many bees in your garden, you can hand-pollinate the flowers. Use a small paintbrush to transfer pollen from the male flowers (which have a thin stem) to the female flowers (which have a small fruit behind the flower). Do this in the morning, when the pollen is most viable.
10. What are some different varieties of watermelons I can grow at home?
There are many different varieties of watermelons to choose from, each with its own unique characteristics. Some popular varieties include Sugar Baby (a small, early-maturing variety), Crimson Sweet (a classic red-fleshed variety), Jubilee (a large, oblong variety), and Yellow Doll (a yellow-fleshed variety). Consider your climate, space limitations, and personal preferences when selecting a variety.
11. How do I store my harvested watermelons?
Whole watermelons can be stored at room temperature for about a week. For longer storage, refrigerate them. Cut watermelons should be wrapped tightly in plastic wrap and stored in the refrigerator. They will last for about 3-5 days.
12. Can I save seeds from my homegrown watermelons?
Yes, you can save seeds from your homegrown watermelons, but only if they are not hybrid varieties. Hybrid varieties will not produce true-to-type seeds. To save seeds, scoop them out of the watermelon, rinse them thoroughly, and dry them on a paper towel. Store the dried seeds in an airtight container in a cool, dark place.
Leave a Comment