

Grow radishes in small spaces? Absolutely! You might think you need acres of land to enjoy the crisp, peppery goodness of homegrown radishes, but I’m here to tell you that’s simply not true. For centuries, even in the smallest of kitchen gardens, radishes have been a staple crop, offering a quick and satisfying harvest. From ancient Egypt, where they were a common food, to modern urban gardens, radishes have proven their adaptability.
But why bother squeezing radishes into your already limited space? Well, besides their delicious taste, they’re incredibly fast growers, often ready to harvest in just a few weeks. This makes them perfect for impatient gardeners (like me!) and a great way to get a quick win. Plus, they’re packed with nutrients and add a delightful crunch to salads and snacks.
In this article, I’m going to share my favorite DIY tricks and hacks for maximizing your radish yield, even if you’re working with a tiny balcony, a windowsill, or a small raised bed. We’ll cover everything from choosing the right varieties to optimizing your soil and watering techniques. So, get ready to grow radishes in small spaces like a pro and enjoy a fresh, homegrown harvest in no time!
Growing Radishes in Small Spaces: A DIY Guide
Hey there, fellow gardening enthusiasts! So, you’re itching to grow some fresh, peppery radishes but are short on space? Don’t worry, I’ve got you covered! Radishes are fantastic because they’re quick to mature and don’t need a ton of room. I’m going to walk you through how to cultivate these little root veggies even if you only have a balcony, patio, or even a sunny windowsill. Let’s get our hands dirty!
Choosing the Right Radish Variety
First things first, let’s talk about radish varieties. Not all radishes are created equal, especially when it comes to space requirements. Some varieties get quite large, while others stay compact. For small spaces, I highly recommend these:
* Cherry Belle: These are classic, round, and red radishes that mature super quickly (around 22 days!). They’re perfect for containers.
* French Breakfast: These are elongated, red radishes with a white tip. They have a milder flavor and are also great for containers.
* Easter Egg: This is a mix of radishes in different colors (red, pink, purple, white). They’re fun to grow and add a pop of color to your garden.
* Sparkler: Similar to Cherry Belle, but with a slightly milder flavor.
Preparing Your Container
Okay, now that we’ve picked our radish stars, let’s get their home ready!
* Container Size: Radishes don’t need super deep containers, but they do need enough room to grow. I recommend a container that’s at least 6 inches deep and wide. The bigger the container, the more radishes you can grow!
* Drainage: This is crucial! Radishes hate soggy soil. Make sure your container has drainage holes at the bottom. If it doesn’t, you’ll need to drill some.
* Potting Mix: Don’t use garden soil! It’s too heavy and compacts easily. Instead, use a good quality potting mix. I like to use a mix that’s specifically formulated for vegetables. It should be light, airy, and well-draining.
Planting Your Radish Seeds
Alright, time to get those seeds in the ground!
1. Fill the Container: Fill your container with potting mix, leaving about an inch of space at the top.
2. Water the Soil: Gently water the soil until it’s evenly moist. You don’t want it soaking wet, just damp.
3. Sow the Seeds: Radish seeds are small, so be careful not to plant them too deep. I usually sow them about ½ inch deep and about 1 inch apart. If you’re using a larger container, you can space them a little further apart (2 inches).
4. Cover the Seeds: Gently cover the seeds with a thin layer of potting mix.
5. Water Again: Lightly water the soil again to settle the seeds in.
6. Label Your Container: Don’t forget to label your container with the radish variety and the date you planted them. This will help you keep track of when they should be ready to harvest.
Caring for Your Radishes
Now comes the waiting game, but don’t worry, it won’t be long! Radishes are fast growers.
1. Sunlight: Radishes need at least 6 hours of sunlight per day. If you don’t have a sunny spot, you can use a grow light.
2. Watering: Keep the soil consistently moist, but not soggy. Water when the top inch of soil feels dry to the touch. Overwatering can lead to root rot, so be careful!
3. Thinning: Once your seedlings emerge (usually within a few days), you’ll need to thin them out. This means removing some of the seedlings so that the remaining ones have enough space to grow. Choose the strongest seedlings and snip off the weaker ones at the soil line. Don’t pull them out, as this can disturb the roots of the other seedlings.
4. Fertilizing: Radishes don’t need a lot of fertilizer. I usually give them a light feeding of a balanced liquid fertilizer (like 10-10-10) about two weeks after they emerge. Follow the instructions on the fertilizer package.
5. Weed Control: Keep an eye out for weeds and remove them as soon as you see them. Weeds can compete with your radishes for nutrients and water.
Protecting Your Radishes from Pests
Thankfully, radishes aren’t usually bothered by too many pests, but there are a few things to watch out for:
* Flea Beetles: These tiny beetles can chew small holes in the leaves of your radishes. You can control them by covering your plants with row covers or by spraying them with insecticidal soap.
* Root Maggots: These are small, white larvae that feed on the roots of radishes. You can prevent them by covering your plants with row covers or by adding beneficial nematodes to the soil.
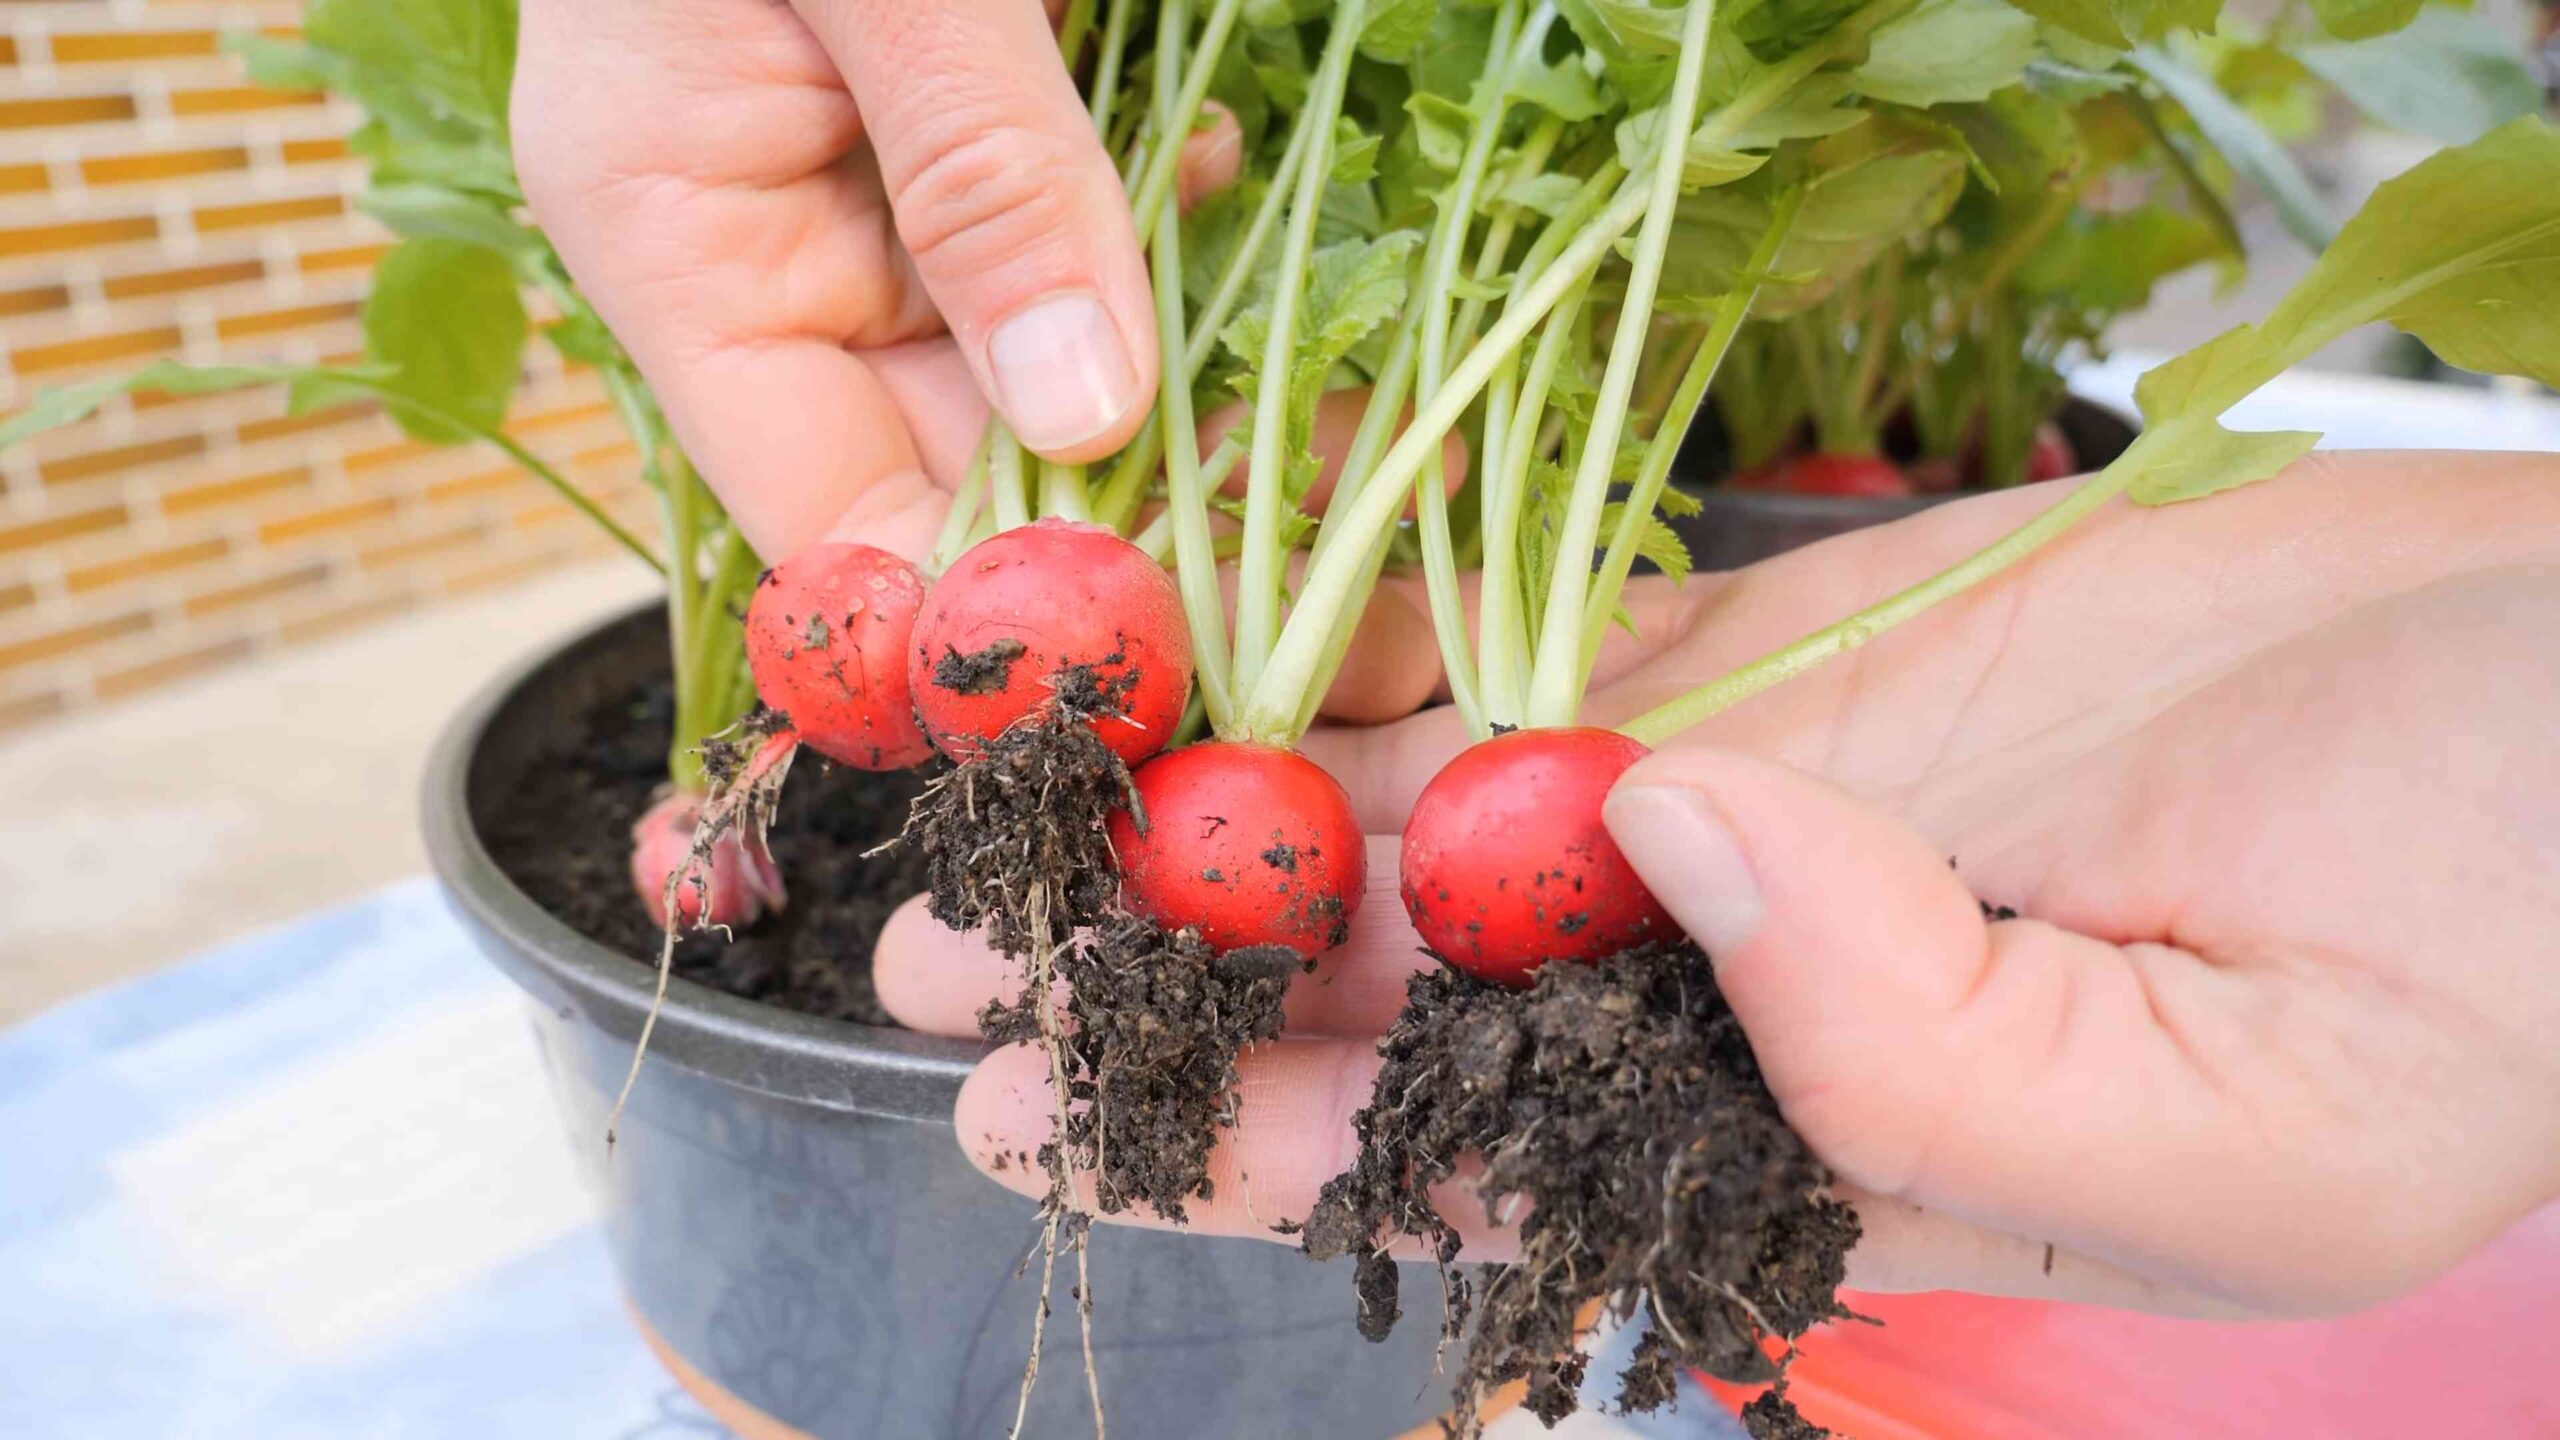
Harvesting Your Radishes
This is the best part! Radishes are usually ready to harvest about 3-4 weeks after planting.
1. Check for Size: The size of your radishes will depend on the variety you’re growing. Check the seed packet for the expected size.
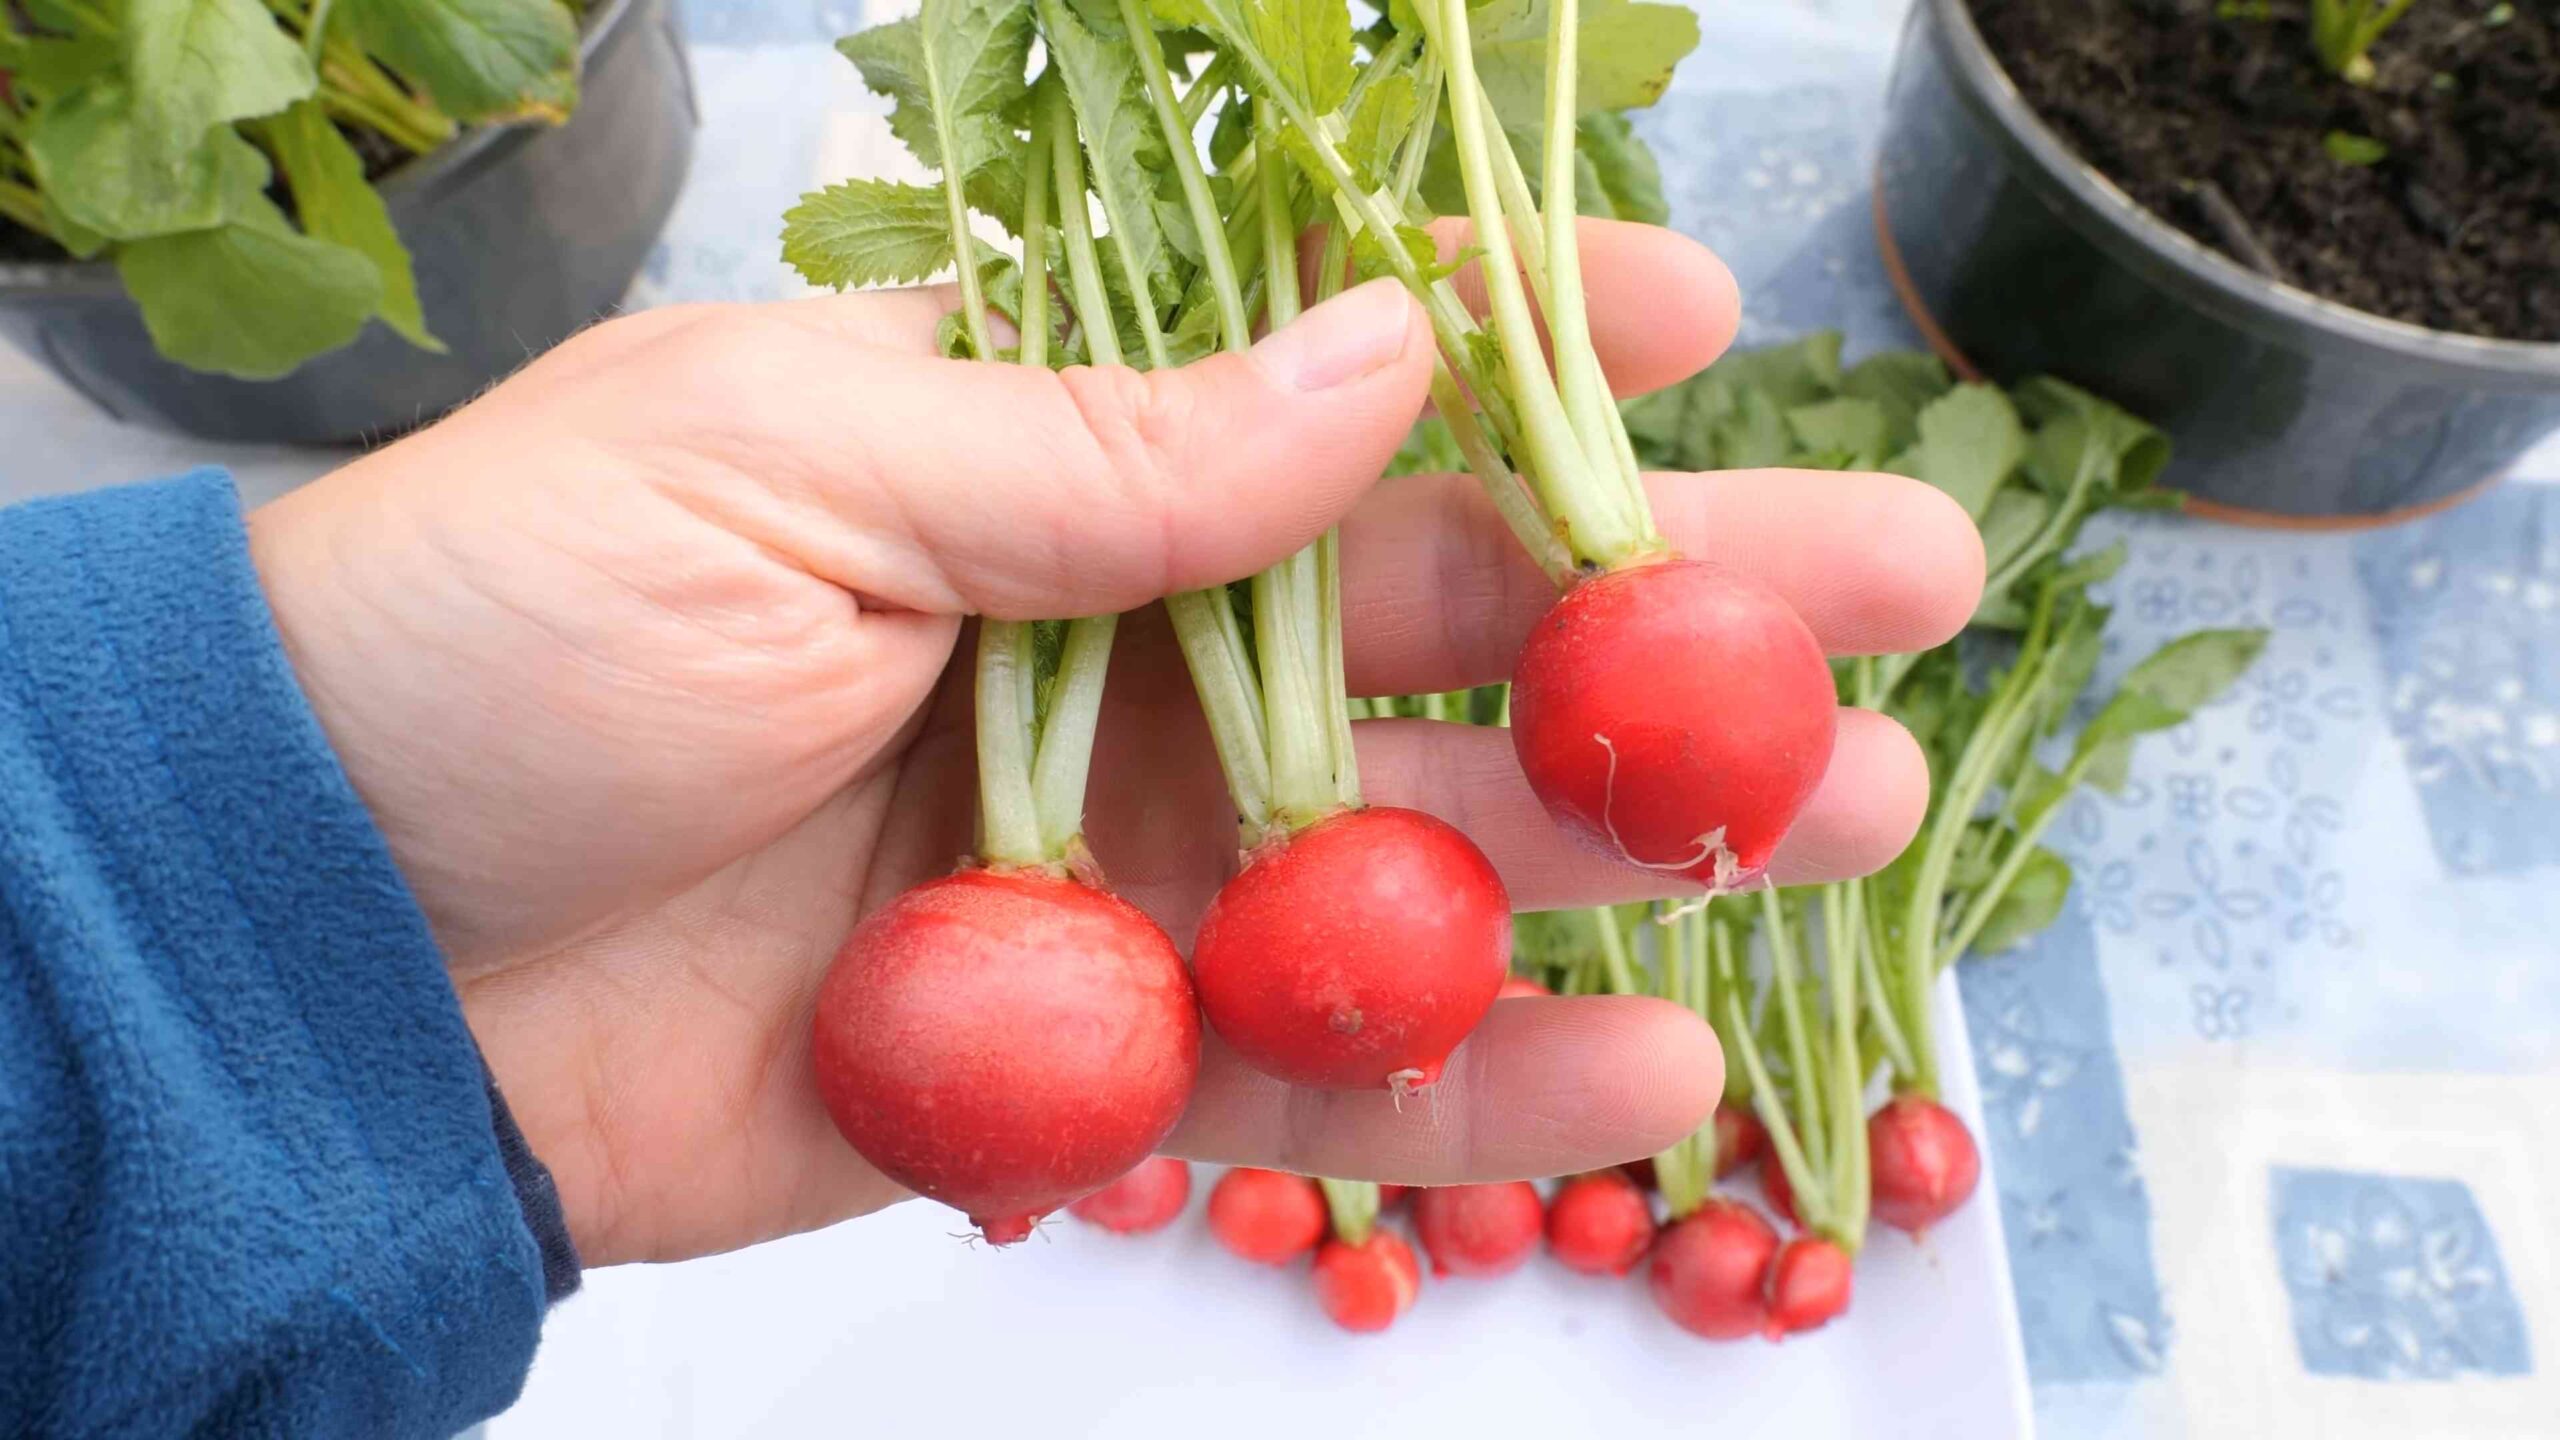
2. Test a Few: Gently pull up a few radishes to check their size and maturity. If they’re the right size, you can harvest the rest.
3. Harvest Carefully: Gently pull the radishes out of the soil. If the soil is dry, you may need to loosen it with a trowel first.
4. Wash and Store: Wash the radishes thoroughly and remove the greens. You can store them in the refrigerator for up to a week.
Succession Planting for Continuous Harvest
Here’s a little secret to keep those radishes coming all season long: succession planting! This means planting a new batch of radish seeds every 1-2 weeks. This way, you’ll have a continuous supply of fresh radishes.
Troubleshooting Common Problems
Even with the best care, you might encounter a few problems along the way. Here are some common issues and how to fix them:
* Radishes are small and skinny: This is usually caused by overcrowding or lack of sunlight. Make sure you thin your seedlings properly and provide them with enough sunlight.
* Radishes are cracked: This is usually caused by inconsistent watering. Make sure you water your radishes regularly and evenly.
* Radishes are too spicy: This can be caused by hot weather or dry soil. Try growing your radishes in a shadier spot or watering them more frequently.
* Radishes are woody: This is usually caused by letting them grow too long. Harvest your radishes when they’re the right size.
Creative Container Ideas
Don’t feel limited to just regular pots! Get creative with your containers. Here are a few ideas:
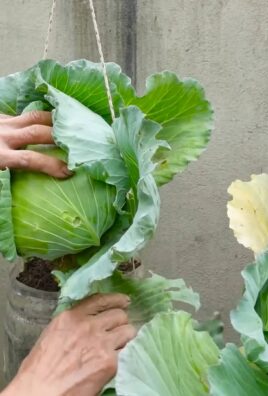
* Hanging Baskets: Radishes can look beautiful in hanging baskets. Just make sure the basket is deep enough and has good drainage.
* Window Boxes: Window boxes are perfect for growing radishes on a sunny windowsill.
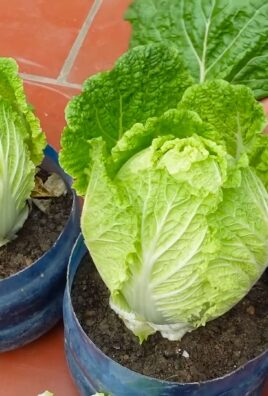
* Upcycled Containers: Use old buckets, tubs, or even tires to create unique radish planters. Just make sure they have drainage holes.
* Vertical Gardens: If you’re really short on space, consider building a vertical garden. You can use pallets, trellises, or even hanging shoe organizers to create a vertical radish garden.
Enjoying Your Homegrown Radishes
Now that you’ve harvested your radishes, it’s time to enjoy them! Here are a few ideas:
* Eat them raw: Radishes are delicious eaten raw in salads, sandwiches, or as a snack.
* Roast them: Roasting radishes mellows out their flavor and makes them tender and sweet.
* Pickle them: Pickled radishes are a tangy and delicious condiment.
* Add them to soups and stews: Radishes add a peppery kick to soups and stews.
* Use the greens: Don’t throw away the radish greens! They’re edible and nutritious. You can add them to salads, stir-fries, or soups.
Final Thoughts
Growing radishes in small spaces is a rewarding and easy way to enjoy fresh, homegrown vegetables. With a little bit of planning and care, you can have a bountiful harvest of radishes even if you only have a small balcony or patio. So, get out there and start planting! Happy gardening!
Conclusion
So, there you have it! Growing radishes in small spaces is not only achievable but also incredibly rewarding. This DIY trick, utilizing readily available materials and minimal space, opens up the possibility of fresh, peppery radishes even for those with the tiniest balconies or patios. Forget the store-bought varieties that often lack the vibrant flavor and crisp texture of homegrown produce. With this method, you’ll be enjoying garden-fresh radishes in just a few short weeks.
The beauty of this approach lies in its adaptability. Feel free to experiment with different container sizes and materials. Upcycled buckets, repurposed plastic bins, or even old tires can all serve as excellent radish homes. Consider companion planting to maximize your small space. Carrots and lettuce, for example, are known to thrive alongside radishes, creating a mutually beneficial ecosystem.
Don’t be afraid to try different radish varieties too! From the classic Cherry Belle to the spicy French Breakfast or the colorful Easter Egg blend, there’s a radish out there to suit every palate. Each variety offers a unique flavor profile and visual appeal, adding even more excitement to your small-space garden.
This DIY radish growing method is a game-changer for urban gardeners and anyone looking to enjoy fresh, homegrown produce without a sprawling garden. It’s cost-effective, space-saving, and incredibly satisfying to watch those tiny seeds transform into crisp, flavorful radishes.
We wholeheartedly encourage you to give this DIY trick a try. It’s a simple, fun, and rewarding project that will bring a touch of freshness and flavor to your table. And most importantly, don’t keep your success (or even your learning experiences!) to yourself. Share your radish-growing journey with us! Post photos of your container gardens, tell us about your favorite radish varieties, and let us know any tips or tricks you discover along the way. Your experiences can inspire others to embrace the joy of growing their own food, no matter how small their space may be. Let’s cultivate a community of small-space radish growers!
Ready to get started?
Grab your seeds, gather your materials, and prepare to be amazed at how easy and rewarding it is to grow your own radishes in even the smallest of spaces. Happy gardening!
Frequently Asked Questions (FAQ)
What kind of container is best for growing radishes in small spaces?
The ideal container for growing radishes should be at least 6 inches deep to allow for root development. The width and length will depend on how many radishes you want to grow. A good starting point is a container that’s at least 12 inches wide and long. You can use a variety of materials, including plastic pots, terracotta pots, upcycled buckets, or even grow bags. Ensure the container has drainage holes to prevent waterlogging, which can lead to root rot. Consider the weight of the container, especially if you’re placing it on a balcony or rooftop. Lighter materials like plastic are easier to move around.
How often should I water my radishes?
Radishes need consistent moisture to grow quickly and develop a crisp texture. Water deeply whenever the top inch of soil feels dry to the touch. Avoid overwatering, as this can lead to fungal diseases. The frequency of watering will depend on the weather conditions and the type of container you’re using. In hot, dry weather, you may need to water daily. In cooler, wetter weather, you may only need to water every few days. A good rule of thumb is to check the soil moisture regularly and water accordingly.
What kind of soil should I use for growing radishes?
Radishes prefer well-draining, loose soil that is rich in organic matter. A good potting mix specifically formulated for vegetables is a great option. You can also amend your existing soil with compost or other organic materials to improve drainage and fertility. Avoid using heavy clay soil, as it can compact and restrict root growth. The ideal soil pH for radishes is between 6.0 and 7.0.
How much sunlight do radishes need?
Radishes need at least 6 hours of sunlight per day to thrive. However, they can tolerate some shade, especially in hot climates. If you’re growing radishes indoors, you may need to supplement with grow lights to provide adequate light. Position your container in a sunny location, such as a south-facing balcony or patio. If you live in a particularly hot climate, consider providing some afternoon shade to prevent the soil from drying out too quickly.
When is the best time to plant radishes?
Radishes are a cool-season crop, meaning they grow best in cooler temperatures. The ideal time to plant radishes is in early spring or late summer/early fall. Avoid planting radishes during the hottest months of the year, as they may bolt (go to seed) prematurely. Check your local planting calendar for specific planting dates in your area. You can also succession plant radishes every few weeks to ensure a continuous harvest throughout the growing season.
How long does it take for radishes to grow?
Radishes are one of the fastest-growing vegetables. Most varieties mature in just 3-4 weeks. The exact time will depend on the variety, the weather conditions, and the soil fertility. Check the seed packet for specific information on the maturity time of your chosen variety. To harvest, gently pull the radishes from the soil when they reach the desired size.
What are some common problems when growing radishes?
Some common problems when growing radishes include flea beetles, root maggots, and fungal diseases. Flea beetles can create small holes in the leaves, while root maggots can damage the roots. Fungal diseases can cause the leaves to turn yellow or brown. To prevent these problems, use good cultural practices, such as crop rotation, proper watering, and well-draining soil. You can also use organic pest control methods, such as neem oil or insecticidal soap.
Can I eat the radish greens?
Yes, radish greens are edible and nutritious! They have a peppery flavor similar to the radish root. You can use them in salads, soups, or stir-fries. Make sure to wash the greens thoroughly before eating them. Harvest the greens when they are young and tender for the best flavor.
What are some good companion plants for radishes?
Radishes are known to be good companion plants for several other vegetables. Carrots, lettuce, spinach, and peas are all good choices. Radishes can help to deter pests that might otherwise attack these plants. They also help to loosen the soil, making it easier for other plants to grow. Avoid planting radishes near hyssop, as it can inhibit their growth.
How do I prevent radishes from cracking?
Radishes can crack if they experience inconsistent watering. To prevent cracking, water your radishes regularly and deeply, especially during dry spells. Mulching around the plants can also help to retain moisture in the soil. Harvest the radishes when they reach the desired size, as they are more likely to crack if they are left in the ground for too long.
Leave a Comment