

Grow Potatoes at Home – imagine harvesting a bounty of fresh, earthy potatoes right from your own backyard! Forget those bland, store-bought spuds; with a few simple tricks and a little DIY spirit, you can cultivate flavorful, homegrown potatoes that will elevate your meals to a whole new level.
The humble potato has a rich history, dating back thousands of years to the Andes Mountains of South America. It sustained civilizations and fueled empires, and now, it can nourish your family too! For centuries, people have relied on potatoes as a staple food, and the ability to grow potatoes at home offers a sense of self-sufficiency and connection to the earth that’s incredibly rewarding.
In today’s world, where we’re increasingly conscious of food miles and the quality of what we eat, learning to grow your own produce is more important than ever. This DIY guide will provide you with easy-to-follow steps and clever hacks to successfully grow potatoes, even if you have limited space or gardening experience. We’ll cover everything from choosing the right potato varieties to maximizing your yield, ensuring you enjoy a delicious and satisfying harvest. So, grab your gardening gloves, and let’s get started on this exciting journey to homegrown potato goodness!
Grow Your Own Delicious Potatoes: A Beginner’s Guide
Hey there, fellow gardening enthusiasts! Ever dreamt of digging up your own homegrown potatoes, bursting with flavor and freshness? Well, dream no more! Growing potatoes at home is surprisingly easy and rewarding, even if you’re a complete beginner. I’m going to walk you through a simple method that works wonders, whether you have a sprawling garden or just a few containers on your balcony. Let’s get our hands dirty!
Choosing Your Potatoes and Preparing Them for Planting
Before we dive into the planting process, we need to select the right potatoes and get them ready. This is a crucial step for a successful harvest.
* Seed Potatoes vs. Store-Bought Potatoes: While you *can* technically plant store-bought potatoes, I highly recommend using certified seed potatoes. Seed potatoes are specifically grown for planting and are guaranteed to be disease-free. Store-bought potatoes might be treated to prevent sprouting, which will hinder their growth.
* Choosing the Right Variety: Consider your climate and taste preferences. Some popular varieties include Yukon Gold (creamy and buttery), Russet (great for baking and fries), and Red Pontiac (waxy and good for boiling). Do some research to find varieties that thrive in your area.
* Chitting (Sprouting) Your Potatoes: This is where the magic begins! Chitting encourages your potatoes to sprout before planting, giving them a head start.
1. Gather Your Supplies: You’ll need your seed potatoes, an egg carton or a similar container, and a cool, bright location (but not direct sunlight).
2. Place Potatoes in the Carton: Arrange the potatoes in the egg carton with the “eyes” (those little indentations) facing upwards.
3. Wait for Sprouts: Over the next few weeks (usually 4-6 weeks), the eyes will start to sprout. Aim for sprouts that are about 1-2 inches long and sturdy.
4. Keep Them Cool and Bright: The ideal temperature for chitting is around 50-60°F (10-15°C). Avoid direct sunlight, which can dry out the sprouts.
Planting Your Sprouted Potatoes
Now that our potatoes are happily sprouting, it’s time to get them in the ground (or container!).
* Timing is Key: Potatoes are cool-season crops, so plant them in early spring, about 2-4 weeks before the last expected frost. You can also plant a second crop in late summer for a fall harvest in milder climates.
* Choosing Your Planting Method: You have a few options:
* In-Ground Planting: This is ideal if you have a garden bed with well-draining soil.
* Container Planting: Perfect for smaller spaces like balconies or patios. Use large containers (at least 10 gallons) with drainage holes.
* Potato Bags: These are specifically designed for growing potatoes and make harvesting a breeze.
* Preparing the Soil: Potatoes need loose, well-draining soil that’s rich in organic matter.
1. Amend the Soil: Whether you’re planting in the ground or in containers, amend the soil with compost, aged manure, or other organic matter. This will improve drainage and provide essential nutrients.
2. Check the pH: Potatoes prefer slightly acidic soil (pH 6.0-6.5). You can test your soil with a soil testing kit and amend it accordingly.
* Planting the Potatoes:
1. Dig a Trench or Hole: Dig a trench or hole that’s about 4-6 inches deep.
2. Space the Potatoes: Space the potatoes about 12 inches apart in the trench or hole. If you’re planting in containers, plant one or two potatoes per container, depending on the size.
3. Place the Potatoes: Place the potatoes in the trench or hole with the sprouts facing upwards.
4. Cover with Soil: Gently cover the potatoes with soil.
5. Water Thoroughly: Water the soil well after planting.
Hilling Your Potatoes: The Secret to a Bountiful Harvest
Hilling is a crucial technique for growing potatoes. It encourages the plant to produce more potatoes along the stem.
* What is Hilling? Hilling involves gradually mounding soil around the potato plants as they grow. This encourages the plant to produce more tubers (potatoes) along the buried stem.
* When to Hill: Start hilling when the potato plants are about 6-8 inches tall.
* How to Hill:
1. Gather Soil: Use soil from between the rows or from a separate pile.
2. Mound the Soil: Gently mound the soil around the base of the plants, covering about half of the stem.
3. Repeat: Repeat this process every few weeks as the plants grow, until you have a mound of soil that’s about 12 inches high.
4. Alternative Hilling Materials: If you’re growing in containers, you can also use straw, hay, or compost to hill your potatoes.
Caring for Your Potato Plants
Once your potatoes are planted and hilled, it’s time to provide them with the care they need to thrive.
* Watering: Potatoes need consistent moisture, especially during tuber formation. Water deeply whenever the top inch of soil feels dry. Avoid overwatering, which can lead to rot.
* Fertilizing: Potatoes are heavy feeders, so fertilize them regularly with a balanced fertilizer. Follow the instructions on the fertilizer package. You can also side-dress with compost or aged manure.
* Weeding: Keep the area around your potato plants free of weeds. Weeds compete with the potatoes for nutrients and water.
* Pest and Disease Control: Keep an eye out for common potato pests like potato beetles and aphids. You can handpick them off the plants or use an organic insecticide. Also, watch out for diseases like blight. Ensure good air circulation and avoid overhead watering to minimize the risk of disease. If you spot any signs of disease, remove the affected leaves immediately.
Harvesting Your Homegrown Potatoes
The moment we’ve all been waiting for! Harvesting your own potatoes is incredibly satisfying.
* When to Harvest: The timing of your harvest depends on the variety of potato you’re growing and whether you want “new potatoes” or mature potatoes.
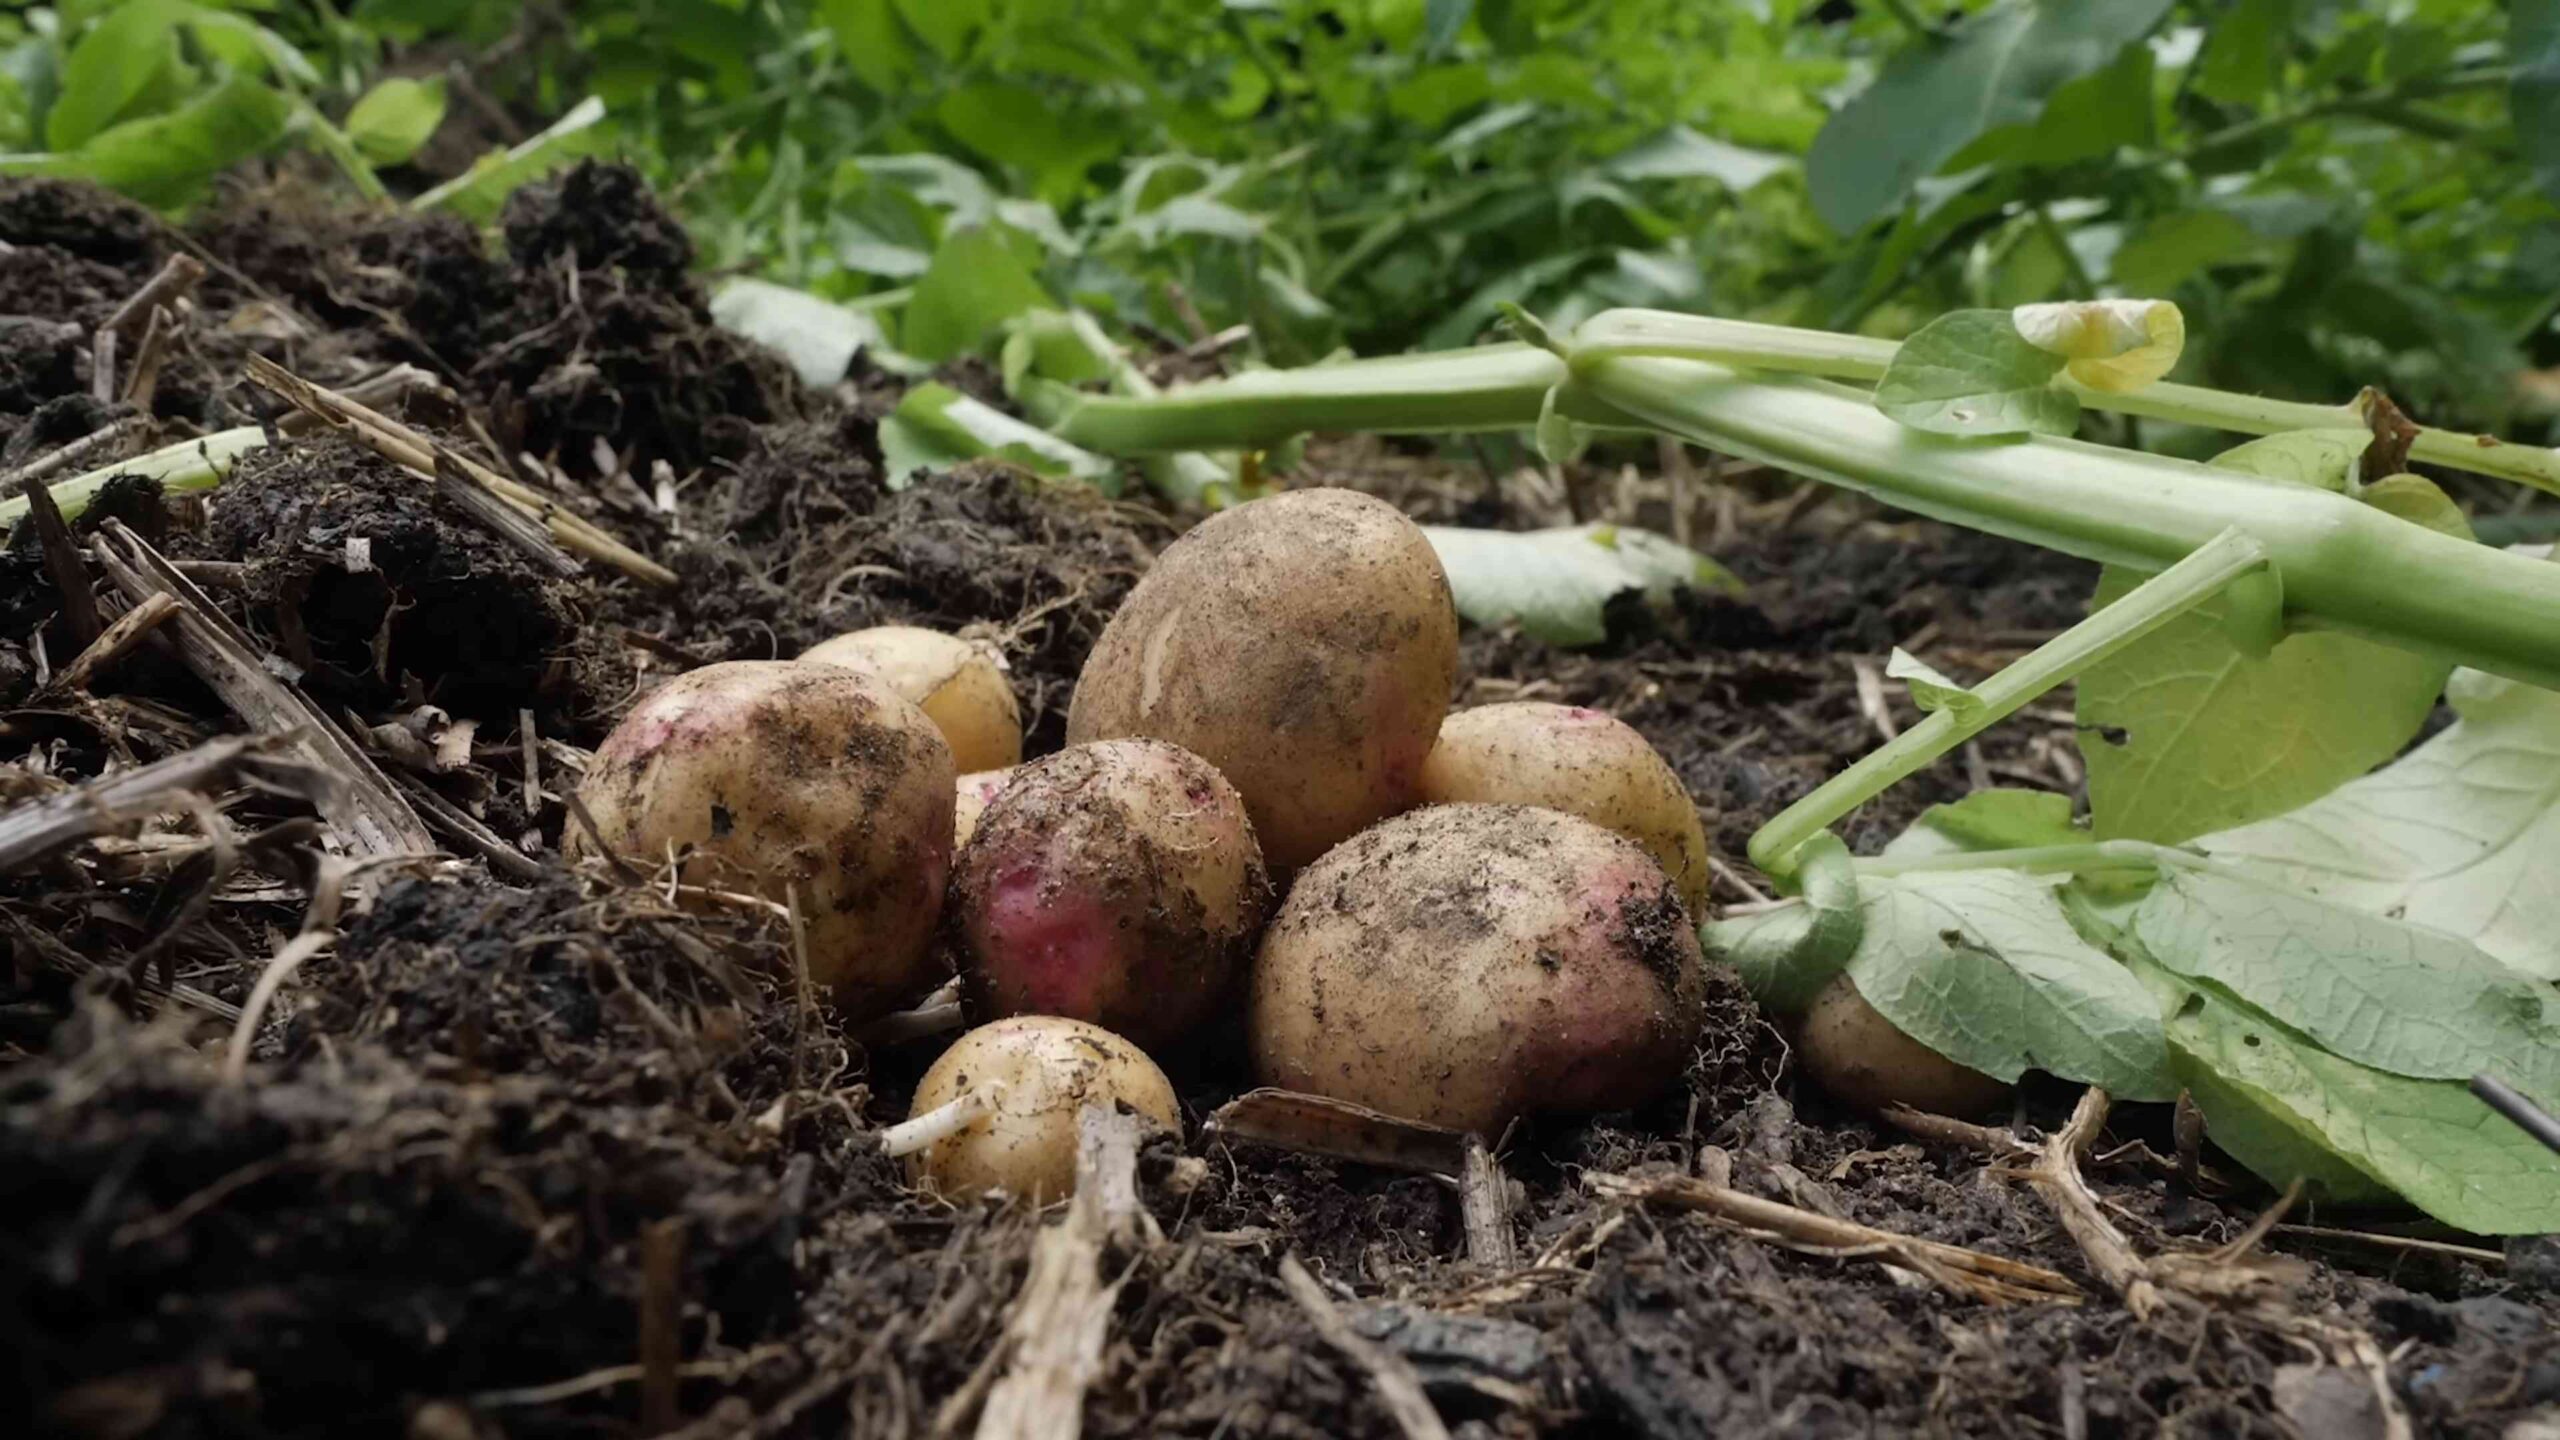
* New Potatoes: These are small, tender potatoes that are harvested early. You can start harvesting new potatoes about 2-3 weeks after the plants flower.
* Mature Potatoes: These are larger potatoes that are harvested later in the season. Wait until the foliage starts to die back before harvesting mature potatoes.
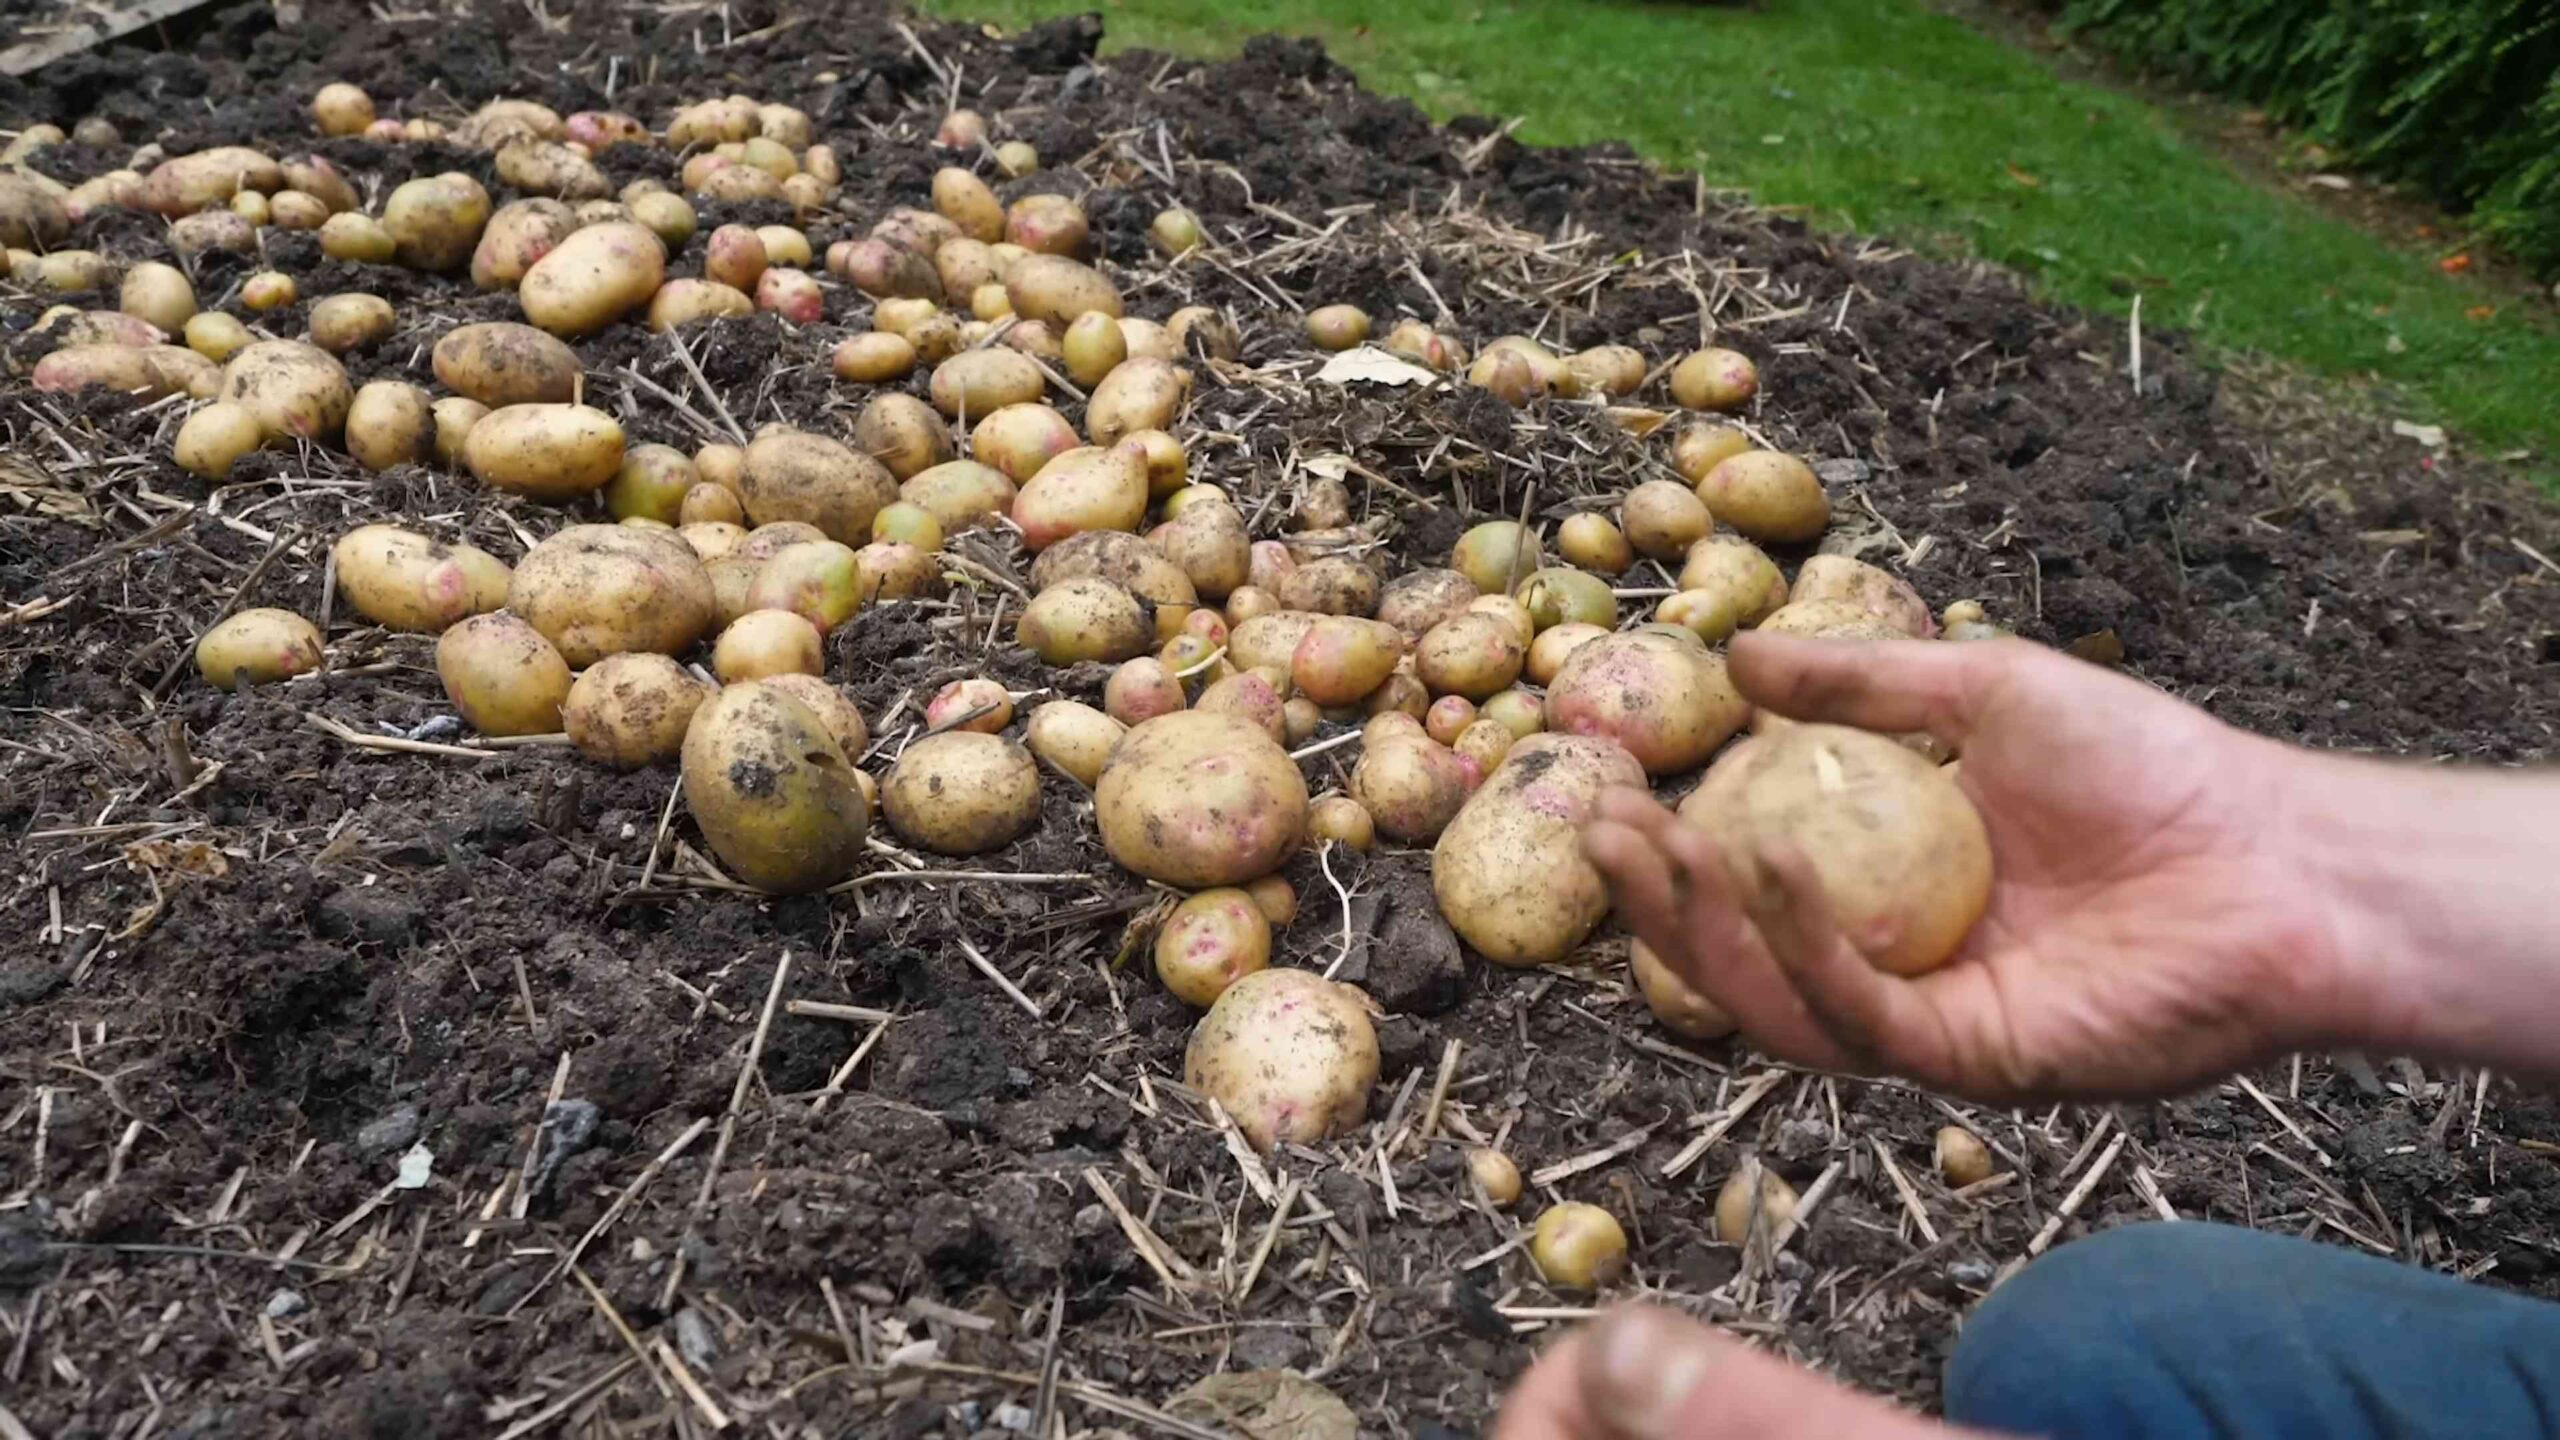
* How to Harvest:
1. Dig Carefully: Use a garden fork or shovel to carefully dig around the potato plants. Be careful not to damage the potatoes.
2. Lift the Plants: Gently lift the plants from the soil and search for the potatoes.
3. Collect the Potatoes: Collect all the potatoes and brush off any excess soil.
4. Cure the Potatoes (for Mature Potatoes): If you’re harvesting mature potatoes, cure them for a week or two in a cool, dark, and well-ventilated place. This will help them develop a thicker skin and store longer.
Storing Your Potatoes
Proper storage is essential for keeping your potatoes fresh and delicious.
* Ideal Storage Conditions: Store potatoes in a cool, dark, and well-ventilated place. The ideal temperature is around 40-50°F (4-10°C).
* Avoid Light: Light can cause potatoes to turn green and produce solanine, a toxic substance.
* Don’t Wash Before Storing: Washing potatoes before storing them can encourage rot.
* Check Regularly: Check your stored potatoes regularly and remove any that are starting to rot.
Troubleshooting Common Potato Problems
Even with the best care, you might encounter some challenges along the way. Here are a few common problems and how to address them:
* Potato Scab: This is a common soilborne disease that causes rough, scabby patches on the potatoes. To prevent potato scab, maintain a slightly acidic soil pH and avoid overwatering.
* Potato Beetles: These pesky beetles can defoliate your potato plants. Handpick them off the plants or use an organic insecticide.
* Blight: This fungal disease can cause the foliage to turn brown and die. Ensure good air circulation and avoid overhead watering to minimize the risk of blight. If you spot any signs of blight, remove the affected leaves immediately.
* Green Potatoes: As mentioned earlier, light can cause potatoes to turn green and produce solanine. Discard any green potatoes.
Enjoying Your Homegrown Potatoes
Congratulations! You’ve successfully
Conclusion
So, there you have it! Growing potatoes at home, especially using the container gardening method we’ve explored, is not just a fun project; it’s a rewarding experience that puts fresh, flavorful potatoes right at your fingertips. Forget those bland, store-bought spuds – imagine the taste of freshly dug, homegrown potatoes in your favorite dishes. The difference is truly remarkable.
This DIY potato-growing trick is a must-try for several reasons. First, it’s incredibly space-efficient. Whether you have a sprawling garden or just a small balcony, container gardening allows you to cultivate potatoes virtually anywhere. Second, it offers greater control over the growing environment. You can tailor the soil, watering, and sunlight exposure to optimize potato production. Third, it’s a fantastic way to connect with nature and learn about the food you eat. There’s something deeply satisfying about nurturing a plant from seed (or in this case, a seed potato) to harvest.
But the best reason to try this is the taste! Freshly harvested potatoes have a unique, earthy sweetness that you simply can’t find in commercially grown varieties. Think of creamy mashed potatoes, crispy roasted potatoes, or perfectly seasoned potato salad – all made with potatoes you grew yourself. The possibilities are endless!
Feeling adventurous? Consider experimenting with different potato varieties. Russets are great for baking and frying, Yukon Golds are perfect for mashing, and red potatoes hold their shape well in salads. You can even try growing fingerling potatoes for a gourmet touch. Another variation is to add companion plants to your potato containers. Marigolds can help deter pests, while basil can improve the flavor of your potatoes. Get creative and see what works best for you!
We’ve covered the basics, but remember that gardening is a journey of learning and discovery. Don’t be afraid to experiment, make mistakes, and adapt your approach as needed. The most important thing is to have fun and enjoy the process.
We are confident that you’ll find this DIY potato-growing trick to be a game-changer. It’s a simple, effective, and incredibly satisfying way to grow your own food. So, grab some seed potatoes, a container, and some soil, and get started today!
We can’t wait to hear about your experiences. Share your photos, tips, and stories in the comments below. Let’s build a community of home potato growers and inspire others to embrace the joy of gardening. Happy growing!
Frequently Asked Questions (FAQs)
What kind of container should I use for growing potatoes?
The ideal container should be at least 20 gallons in size to allow ample room for the potato plants to develop. A large bucket, a plastic storage bin, or even a grow bag will work well. Make sure the container has drainage holes to prevent waterlogging, which can lead to root rot. You can also use a specialized potato growing bag, which often has a flap or opening near the bottom for easy harvesting.
What type of soil is best for growing potatoes in containers?
Potatoes thrive in well-draining, slightly acidic soil. A mix of equal parts potting soil, compost, and peat moss is a good starting point. Avoid using garden soil, as it can be too heavy and compact, hindering root growth. You can also add perlite or vermiculite to improve drainage and aeration. Ensure the soil is rich in organic matter to provide the necessary nutrients for healthy potato development.
How often should I water my potato plants?
Water your potato plants regularly, especially during hot and dry weather. The soil should be consistently moist but not waterlogged. Check the soil moisture by sticking your finger about an inch deep. If the soil feels dry, it’s time to water. Avoid overwatering, as this can lead to fungal diseases. As the plants mature and the potatoes begin to form, you may need to increase the watering frequency.
How much sunlight do potato plants need?
Potato plants need at least six hours of direct sunlight per day to thrive. Choose a location that receives plenty of sunlight throughout the day. If you live in a particularly hot climate, you may need to provide some afternoon shade to prevent the plants from overheating. Insufficient sunlight can result in weak growth and reduced potato yields.
When is the best time to plant potatoes?
The best time to plant potatoes is in early spring, about two to four weeks before the last expected frost. The soil temperature should be at least 45°F (7°C). In warmer climates, you can also plant potatoes in the fall for a winter harvest. Check your local gardening calendar for specific planting dates in your area.
How do I “hill” my potato plants?
“Hilling” is the process of adding more soil around the stems of the potato plants as they grow. This encourages the plants to produce more potatoes along the buried stems. When the plants are about 6 inches tall, add a few inches of soil around the base of the stems, leaving the top leaves exposed. Repeat this process every few weeks as the plants continue to grow.
How long does it take for potatoes to grow?
Potatoes typically take 70 to 100 days to mature, depending on the variety. Early-season potatoes can be harvested in as little as 70 days, while late-season varieties may take up to 100 days or more. You can start harvesting “new potatoes” (small, immature potatoes) a few weeks after the plants flower. For full-sized potatoes, wait until the foliage starts to turn yellow and die back.
How do I know when my potatoes are ready to harvest?
The best way to tell if your potatoes are ready to harvest is to observe the foliage. When the leaves start to turn yellow and die back, it’s a sign that the potatoes have reached maturity. You can also gently dig around the base of the plant to check the size of the potatoes. If they are the size you want, you can harvest them.
What are some common pests and diseases that affect potato plants?
Common pests that affect potato plants include aphids, potato beetles, and flea beetles. Diseases include early blight, late blight, and potato scab. You can control pests by handpicking them off the plants, using insecticidal soap, or introducing beneficial insects. Prevent diseases by ensuring good air circulation, avoiding overwatering, and using disease-resistant potato varieties.
How should I store my harvested potatoes?
Store your harvested potatoes in a cool, dark, and dry place. The ideal temperature is between 40°F and 50°F (4°C and 10°C). Avoid storing potatoes in the refrigerator, as this can cause them to develop a sweet taste. Store them in a well-ventilated container, such as a burlap sack or a wire basket. Properly stored potatoes can last for several months.
Can I grow potatoes from store-bought potatoes?
While you can technically grow potatoes from store-bought potatoes, it’s generally not recommended. Store-bought potatoes may have been treated with chemicals to prevent sprouting, and they may also carry diseases. It’s best to use certified seed potatoes, which are specifically grown for planting and are guaranteed to be disease-free.
What are the benefits of growing potatoes at home?
Growing potatoes at home offers several benefits, including access to fresh, flavorful potatoes, control over the growing environment, and the satisfaction of growing your own food. Homegrown potatoes often taste better than store-bought potatoes, and you can choose from a wider variety of potato types. Plus, gardening is a great way to relieve stress and connect with nature.
Leave a Comment