

Grow Parsley at Home – and unlock a world of fresh, vibrant flavor right outside your door! Imagine stepping into your garden, snipping a handful of fragrant parsley, and adding it to your favorite dishes. No more wilted bunches from the grocery store; just the bright, peppery taste of homegrown goodness. But how do you achieve this culinary dream, especially if you’re short on space or gardening experience?
Parsley, with its rich history dating back to ancient Greece and Rome, wasn’t always just a garnish. It was once revered for its medicinal properties and even used to crown victors in athletic competitions! Today, while we might not be crowning athletes with parsley, its culinary importance remains undeniable. It’s a staple in countless cuisines, adding a fresh, herbaceous note to everything from soups and salads to sauces and stews.
That’s where these DIY tricks and hacks come in. I know, like me, you’re probably tired of buying parsley only to have it turn yellow and sad in your refrigerator within days. Growing your own parsley is not only more economical but also ensures you always have fresh herbs on hand. Plus, it’s incredibly rewarding! In this article, I’m going to share my favorite, easy-to-follow methods for how to grow parsley at home, whether you have a sprawling garden or just a sunny windowsill. Get ready to ditch the store-bought stuff and embrace the joy of homegrown flavor!
Growing Parsley at Home: A DIY Guide for Fresh Herbs All Year Round
Hey there, fellow herb enthusiasts! I’m so excited to share my tried-and-true method for growing parsley right in your own home. Forget those sad, wilted bunches from the grocery store – with a little effort, you can have fresh, vibrant parsley whenever you need it. This guide will walk you through everything you need to know, from choosing the right variety to harvesting your bounty. Let’s get started!
Choosing Your Parsley Variety
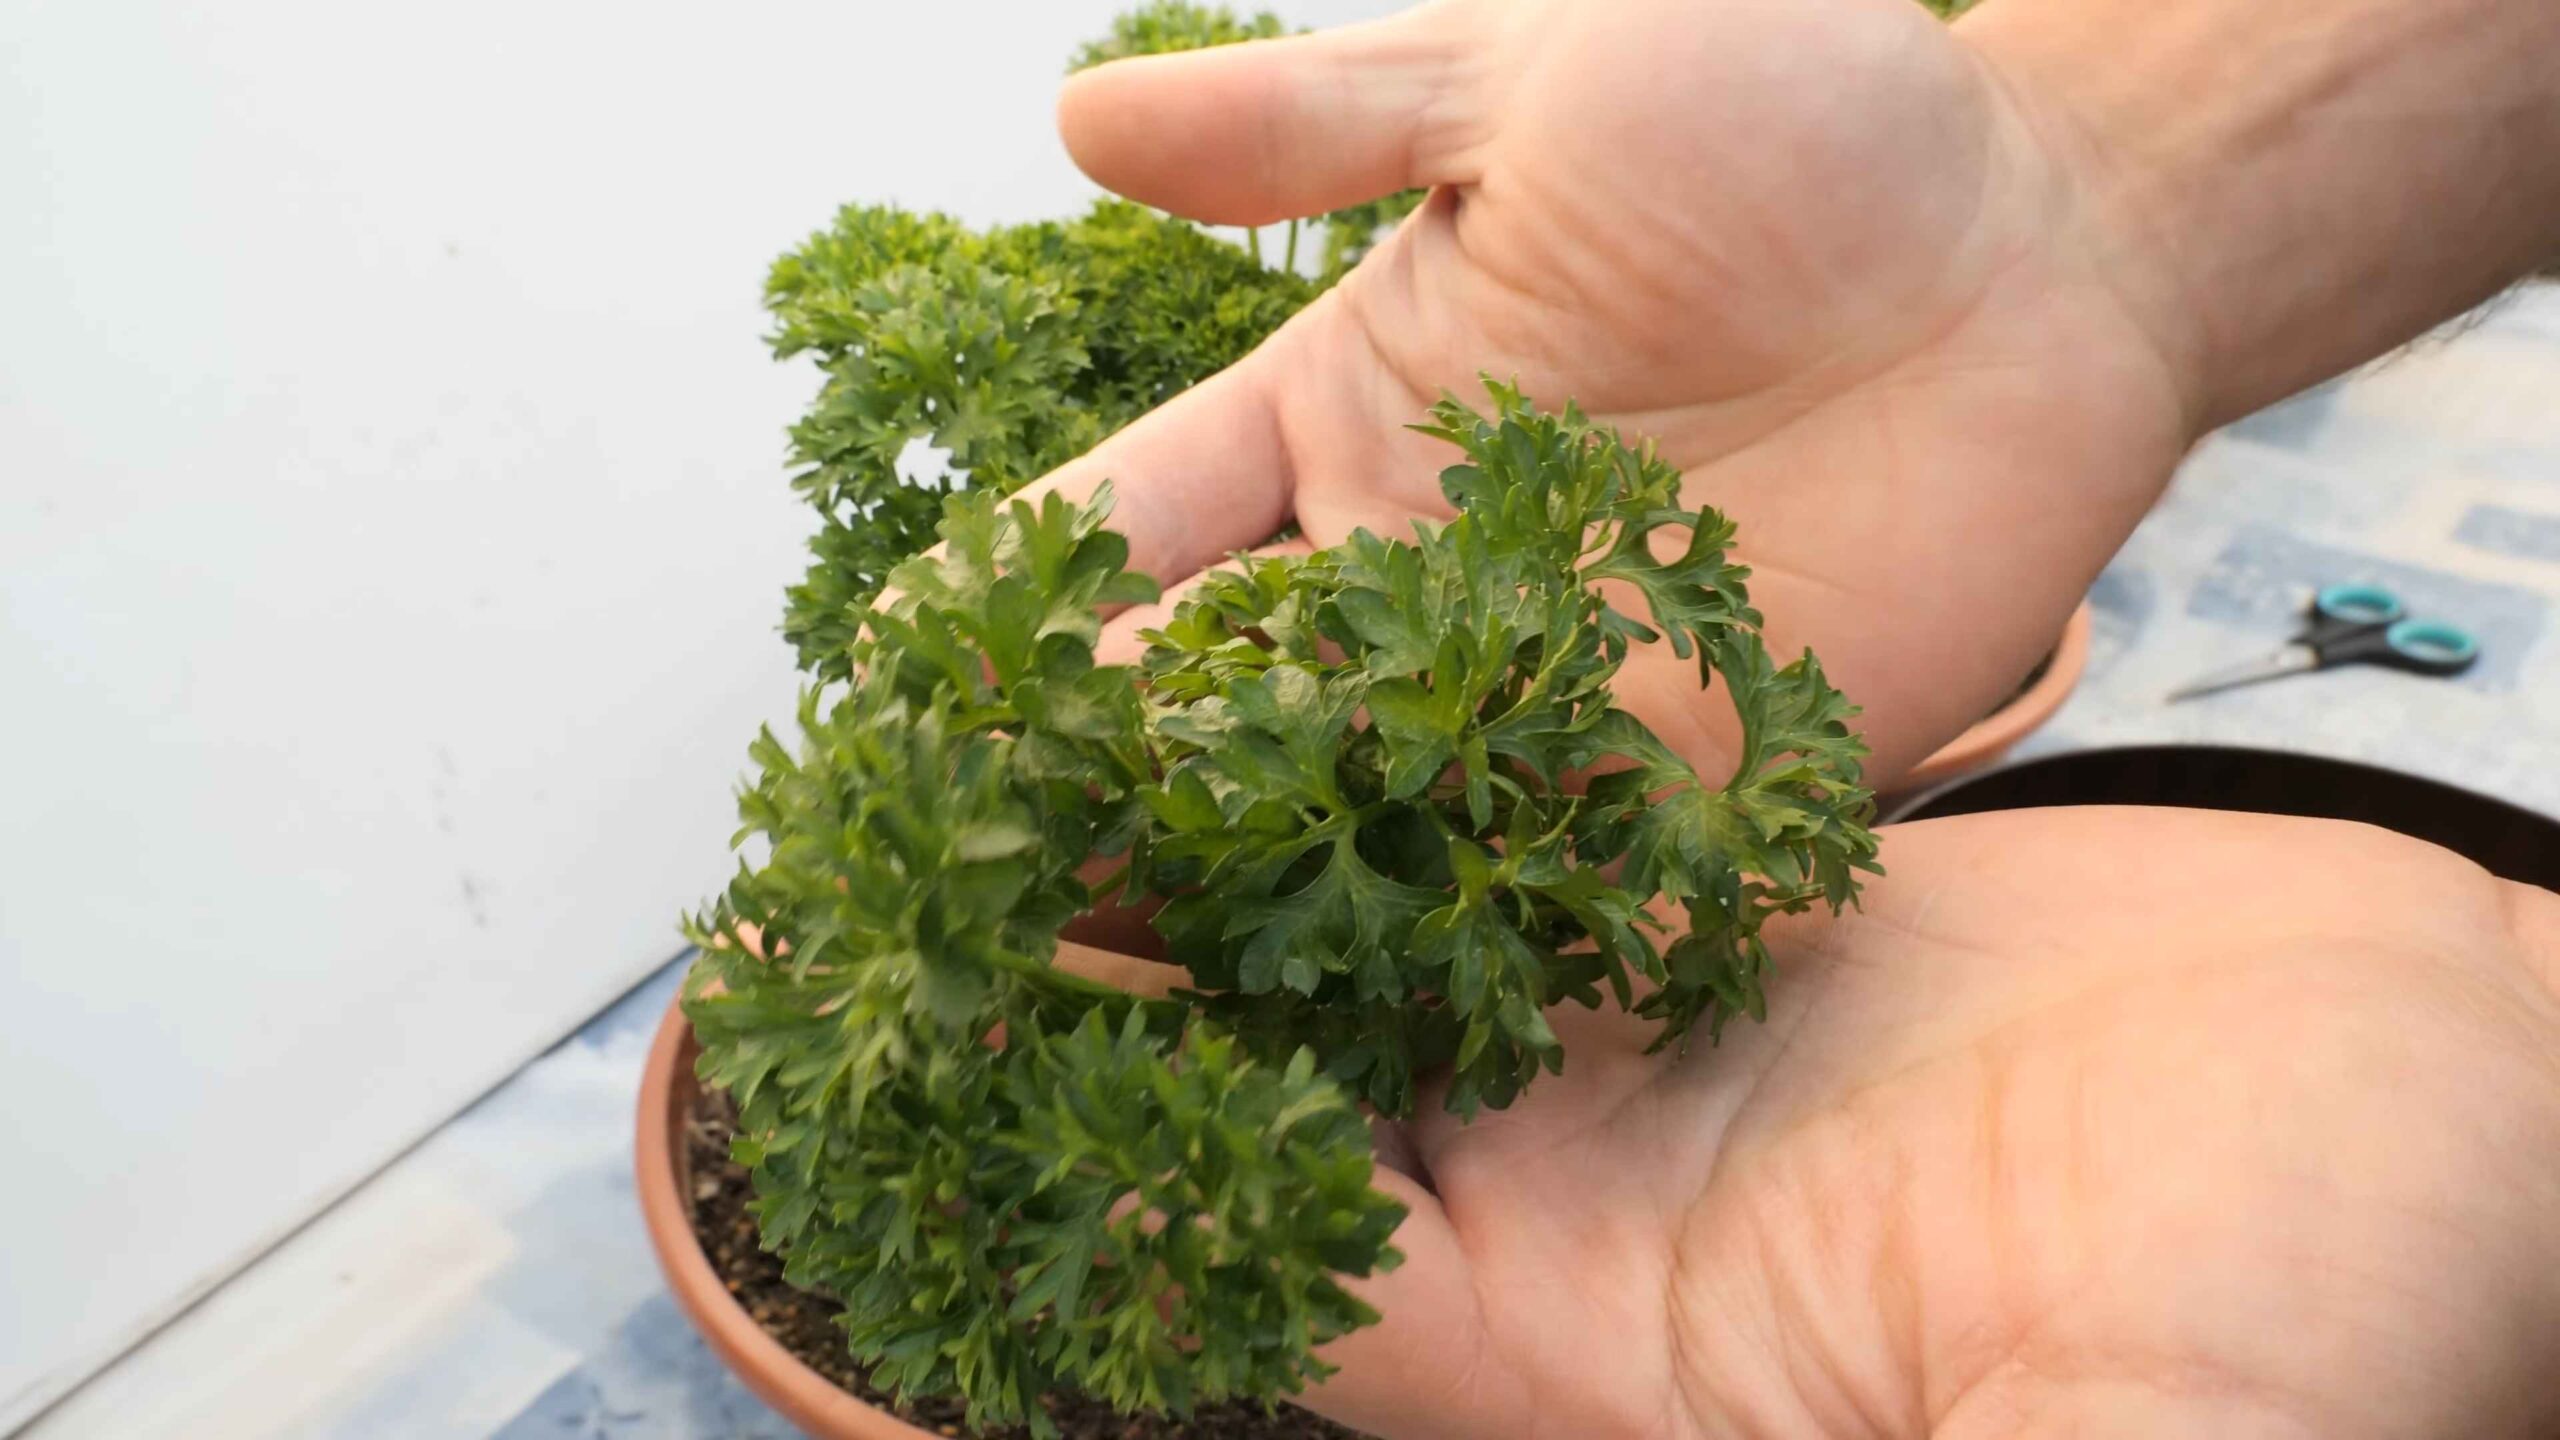
First things first, you need to decide what kind of parsley you want to grow. There are two main types:
* Curly Parsley: This is the classic parsley you see most often. It has a slightly more robust flavor and is great for garnishing.
* Flat-Leaf (Italian) Parsley: This variety has a stronger, more pronounced flavor and is often preferred for cooking. I personally love using it in sauces and stews.
Both are easy to grow, so the choice really comes down to personal preference. I recommend trying both to see which one you like best!
Gathering Your Supplies
Before you start planting, make sure you have everything you need. Here’s a checklist:
* Parsley Seeds or Seedlings: You can start from seed or buy small starter plants. Seeds take a bit longer, but it’s more rewarding (in my opinion!).
* Potting Mix: Use a high-quality potting mix that drains well. Avoid using garden soil, as it can compact and hinder growth.
* Pots: Choose pots that are at least 6 inches in diameter and have drainage holes. I prefer terracotta pots because they allow the soil to breathe.
* Watering Can or Spray Bottle: For gentle watering.
* Grow Lights (Optional): If you don’t have a sunny spot, grow lights can be a lifesaver.
* Small Trowel or Spoon: For planting.
* Fertilizer (Optional): A balanced liquid fertilizer can help boost growth.
Planting Your Parsley
Okay, now for the fun part – planting! Whether you’re starting from seed or using seedlings, the process is pretty straightforward.
Starting from Seeds:
1. Soak the Seeds: Parsley seeds have a reputation for being slow to germinate. To speed things up, soak them in warm water for 12-24 hours before planting. This helps soften the seed coat.
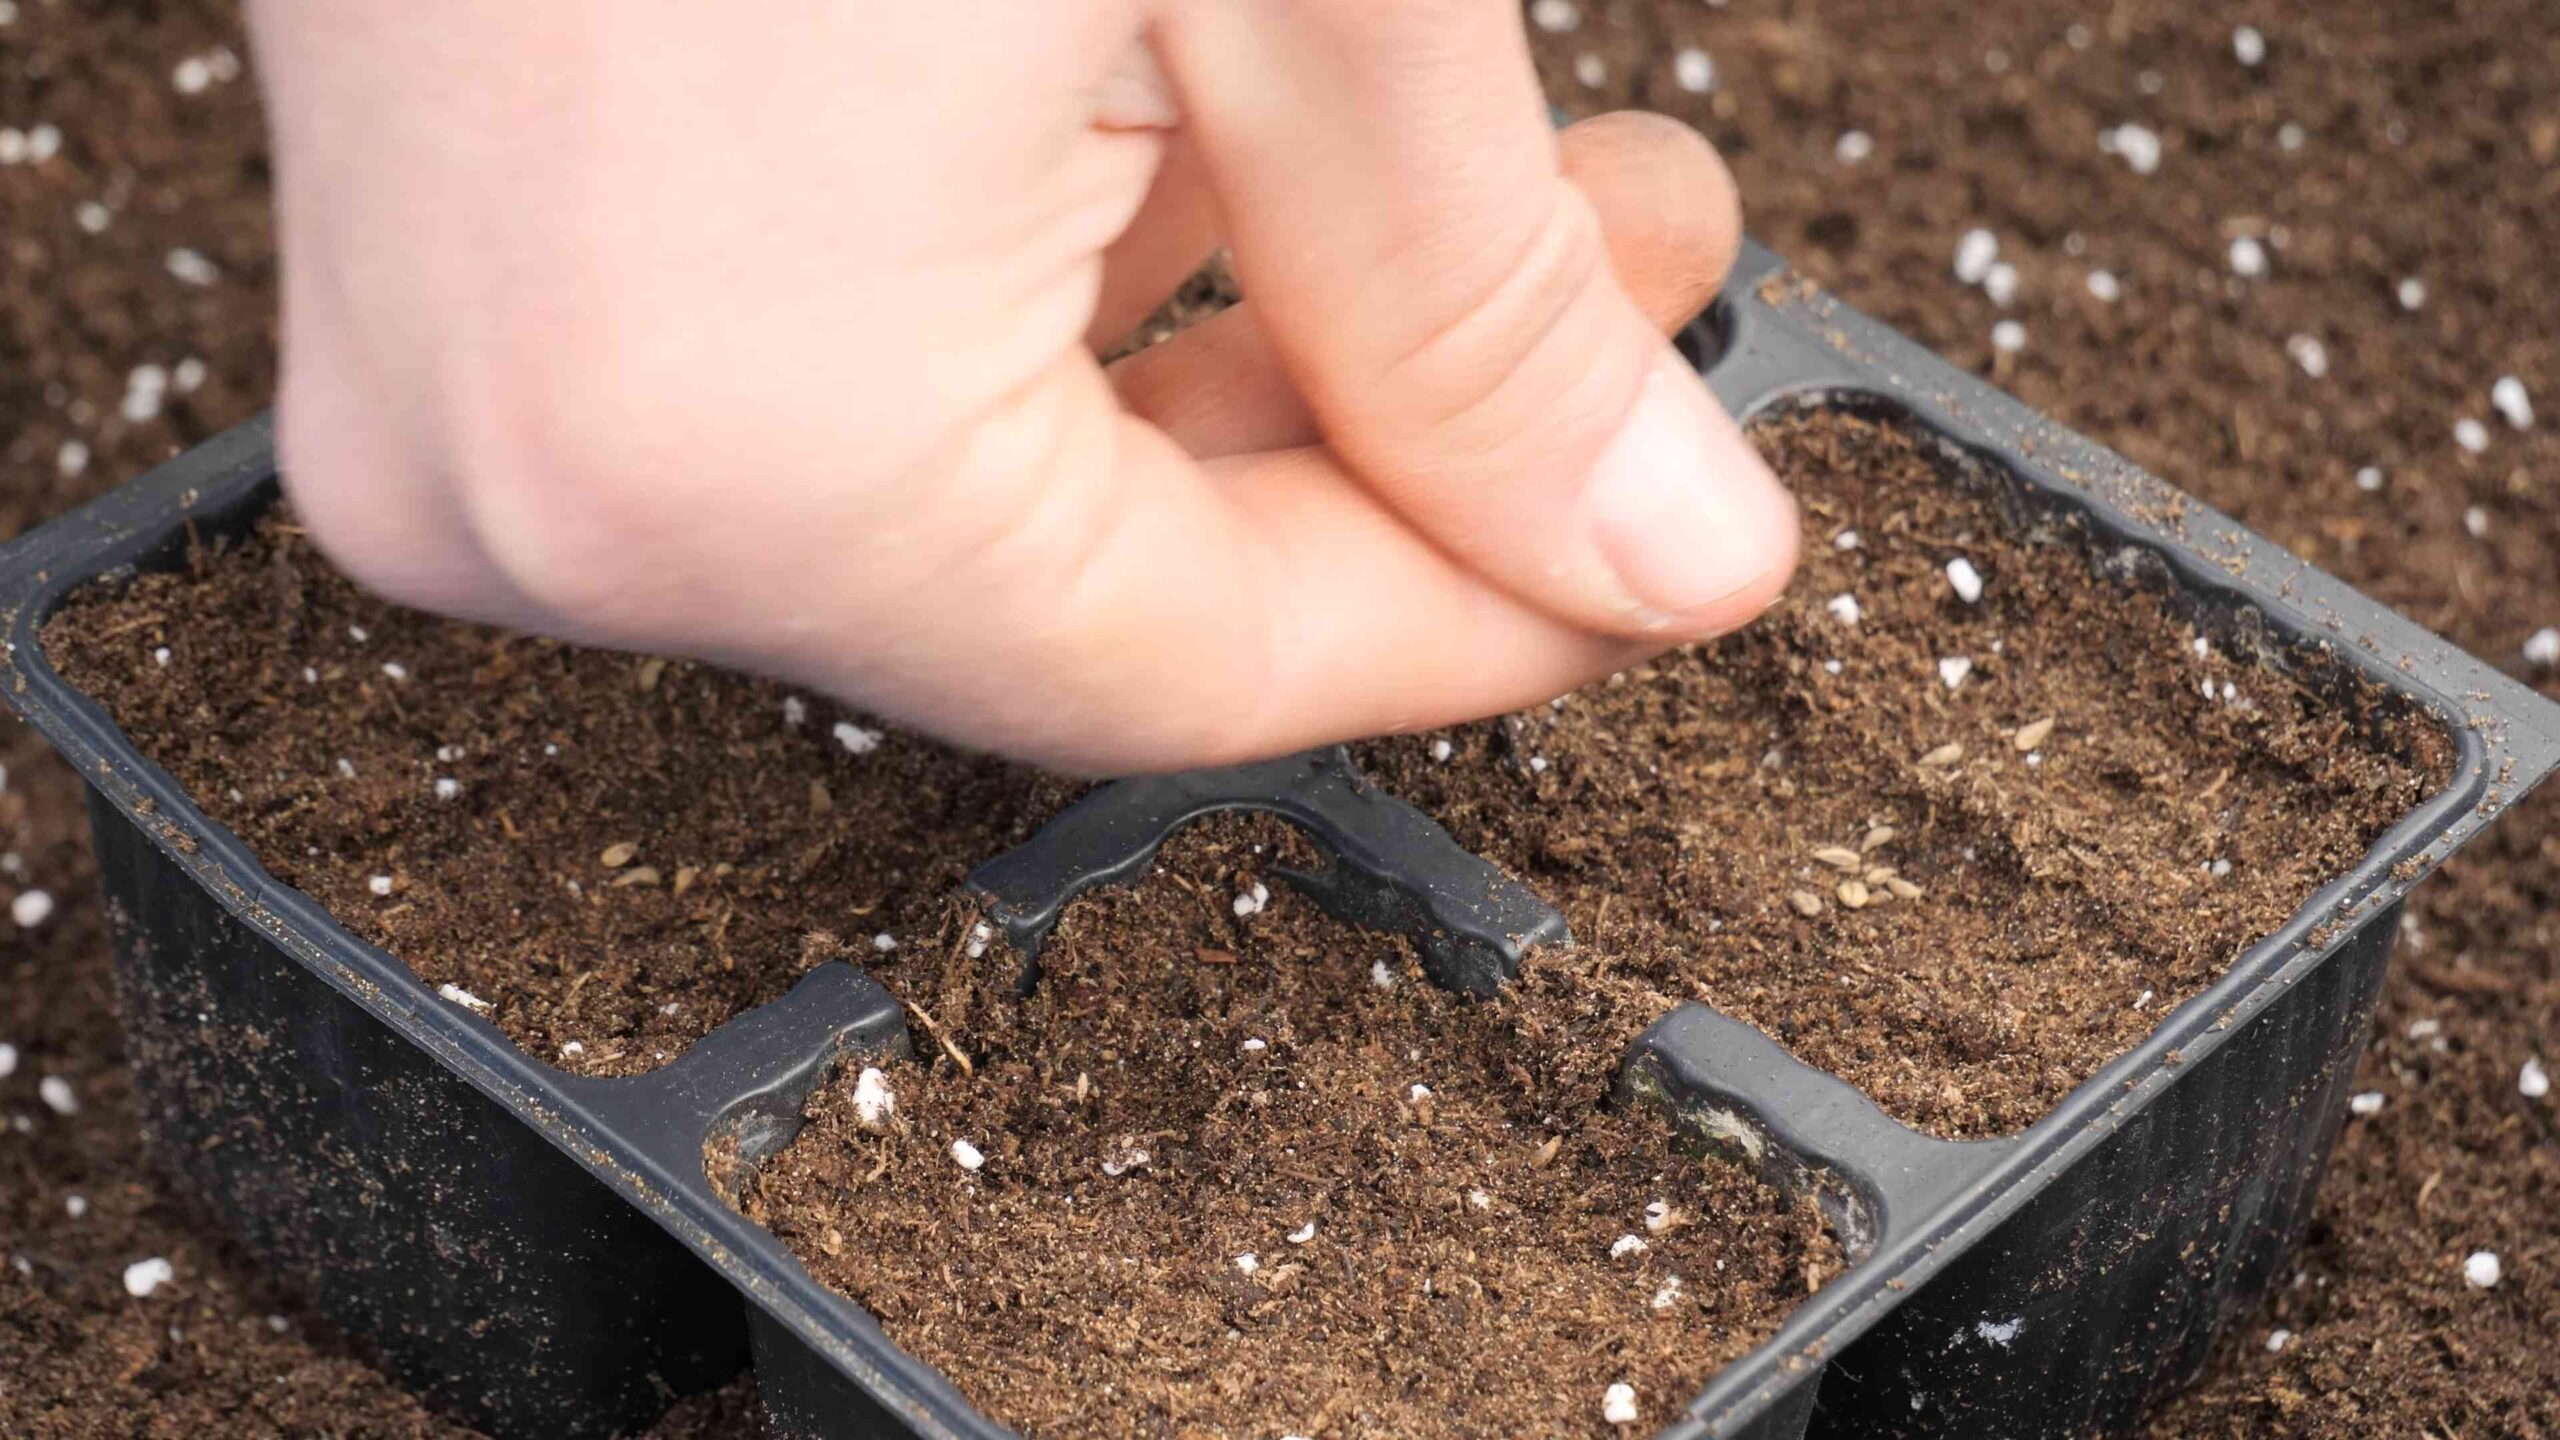
2. Prepare the Pot: Fill your pot with potting mix, leaving about an inch of space at the top. Gently pat down the soil.
3. Sow the Seeds: Sprinkle the parsley seeds evenly over the surface of the soil. You don’t need to bury them too deep – just a light covering of soil will do. Aim for about ¼ inch depth.
4. Water Gently: Use a spray bottle or watering can with a gentle nozzle to moisten the soil. Be careful not to dislodge the seeds.
5. Cover and Wait: Cover the pot with plastic wrap or a clear plastic bag to create a humid environment. This will help the seeds germinate. Place the pot in a warm, bright location (but not direct sunlight).
6. Monitor and Water: Check the soil moisture daily. Keep the soil consistently moist, but not soggy. Once the seeds germinate (usually in 2-3 weeks, sometimes longer!), remove the plastic wrap.
7. Thin Seedlings: Once the seedlings have a few sets of true leaves, thin them out so that they are spaced about 2-3 inches apart. This gives them room to grow.
Planting Seedlings:
1. Prepare the Pot: Fill your pot with potting mix, leaving about an inch of space at the top.
2. Remove Seedling from Container: Gently squeeze the sides of the seedling container to loosen the plant. Carefully remove the seedling, being careful not to damage the roots.
3. Plant the Seedling: Dig a small hole in the potting mix large enough to accommodate the seedling’s root ball. Place the seedling in the hole and gently backfill with potting mix.
4. Water Thoroughly: Water the seedling thoroughly after planting.
Caring for Your Parsley
Now that your parsley is planted, it’s time to give it the TLC it needs to thrive.
* Light: Parsley needs at least 6 hours of sunlight per day. If you don’t have a sunny window, use grow lights. I’ve found that LED grow lights work really well and don’t use too much energy.
* Watering: Keep the soil consistently moist, but not waterlogged. Water when the top inch of soil feels dry to the touch. Overwatering can lead to root rot, so be careful!
* Fertilizing: Parsley isn’t a heavy feeder, but a little fertilizer can help boost growth. Use a balanced liquid fertilizer diluted to half strength every 2-3 weeks.
* Temperature: Parsley prefers temperatures between 50°F and 80°F (10°C and 27°C). Avoid exposing it to extreme temperatures.
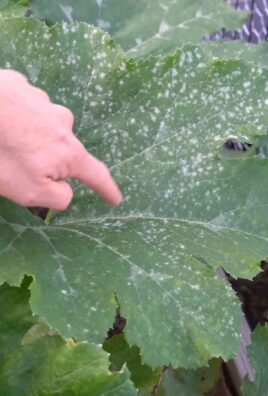
* Pest Control: Parsley is generally pest-resistant, but keep an eye out for aphids and spider mites. If you spot any pests, you can try spraying them with insecticidal soap or neem oil. I prefer to use natural methods whenever possible.
* Pruning: Regular pruning encourages bushier growth. Pinch off any yellowing or dead leaves.
Harvesting Your Parsley
The best part! You can start harvesting parsley once the plants are about 6 inches tall.
1. Harvesting Technique: Use scissors or pruning shears to cut the outer stems near the base of the plant. This encourages new growth from the center.
2. Regular Harvesting: Harvest regularly to keep the plant producing. The more you harvest, the more it will grow!
3. Storage: Freshly harvested parsley can be stored in the refrigerator for up to a week. Wrap it in a damp paper towel and place it in a plastic bag. You can also freeze parsley for longer storage. Chop it up and freeze it in ice cube trays with a little water or olive oil.
Troubleshooting
Even with the best care, you might encounter a few challenges along the way. Here are some common problems and how to fix them:
* Yellowing Leaves: This could be a sign of overwatering, underwatering, or nutrient deficiency. Check the soil moisture and adjust your watering schedule accordingly. If the soil is dry, water more often. If it’s soggy, water less often. You can also try fertilizing with a balanced liquid fertilizer.
* Leggy Growth: This usually happens when the plant isn’t getting enough light. Move it to a sunnier location or use grow lights.
* Slow Growth: This could be due to a number of factors, including poor soil, lack of nutrients, or insufficient light. Make sure you’re using a high-quality potting mix, fertilizing regularly, and providing enough light.
* Pests: As mentioned earlier, keep an eye out for aphids and spider mites. Treat them with insecticidal soap or neem oil.
Extending the Life of Your Parsley
Parsley is a biennial plant, which means it typically lives for two years. However, it often bolts (goes to seed) in its second year, which can make the leaves bitter. To extend the life of your parsley and prevent bolting:
* Pinch off Flower Buds: If you see any flower buds forming, pinch them off. This will prevent the plant from going to seed and keep the leaves tasting good.
* Provide Shade: In hot weather, provide some shade to protect the plant from the intense sun.
* Overwintering: In colder climates, you can overwinter parsley indoors. Bring the pot inside before the first frost and place it in a sunny location.
Enjoying Your Homegrown Parsley
Now that you’ve successfully grown your own parsley, it’s time to enjoy the fruits (or rather, herbs!) of your labor. Here are some ideas:
* Garnish: Use curly parsley to garnish soups, salads, and other dishes.
* Cooking: Add flat-leaf parsley to sauces, stews, and omelets.
* Pesto: Make a delicious parsley pesto.
* Salads: Chop up parsley and add it to salads for a fresh, herbaceous flavor.
* Smoothies: Add a handful of parsley to your smoothies for a nutritional boost.
Growing parsley at home is a rewarding experience. Not only do you get fresh, flavorful herbs, but you also get the satisfaction of knowing that you grew them yourself. So, grab your seeds or seedlings, and get planting! Happy gardening!
Conclusion
So, there you have it! Growing your own parsley at home isn’t just a fun project; it’s a game-changer for your culinary adventures. Forget those sad, wilted bunches from the grocery store. Imagine stepping into your kitchen and snipping fresh, vibrant parsley whenever you need it. The difference in flavor is truly remarkable – a bright, clean taste that elevates everything from simple pasta dishes to complex stews.
This DIY trick is a must-try for several reasons. First and foremost, it’s incredibly cost-effective. A single packet of parsley seeds costs a fraction of what you’d spend on pre-packaged parsley over the course of a year. Second, you control the quality. You know exactly what’s going into your parsley – no pesticides, no questionable handling. Just pure, unadulterated flavor. Third, it’s incredibly rewarding. There’s something deeply satisfying about nurturing a plant from seed to harvest, knowing you’re contributing to your own food supply.
But the benefits don’t stop there. Growing parsley at home also allows for experimentation. Try different varieties! Curly parsley offers a classic look and slightly peppery flavor, while flat-leaf (Italian) parsley boasts a more robust, herbaceous taste. You can even grow both and see which you prefer for different dishes. Consider planting your parsley in a decorative pot to add a touch of greenery to your kitchen windowsill. Or, if you have a larger garden, dedicate a small patch specifically to herbs.
For those with limited space, container gardening is your best friend. Parsley thrives in pots, making it perfect for apartments, balconies, or even sunny patios. Just ensure your container has adequate drainage and use a good quality potting mix. You can even companion plant your parsley with tomatoes or peppers, as it’s believed to deter certain pests.
And don’t forget about preserving your harvest! Parsley can be easily dried for later use. Simply hang bunches upside down in a cool, dry place until completely brittle. Alternatively, you can chop it up and freeze it in ice cube trays with a little water or olive oil. This way, you’ll have fresh parsley on hand even during the off-season.
We wholeheartedly encourage you to give this DIY trick a try. It’s simple, affordable, and incredibly rewarding. Once you experience the joy of harvesting your own fresh parsley, you’ll never go back to store-bought again.
We’re confident that you’ll love the results. So, grab some seeds, find a sunny spot, and get growing! And most importantly, we want to hear about your experience. Share your photos, tips, and tricks in the comments below. Let’s build a community of home gardeners and spread the joy of fresh, homegrown parsley! Let us know if you have any questions about how to grow parsley at home. We are here to help!
Frequently Asked Questions (FAQ)
How long does it take for parsley to grow from seed?
Parsley can be a bit slow to germinate, so patience is key! Typically, it takes anywhere from 2 to 4 weeks for parsley seeds to sprout. Soaking the seeds in warm water for 24 hours before planting can help speed up the germination process. Keep the soil consistently moist during this time, but avoid overwatering. Once the seedlings emerge, they’ll grow relatively quickly, and you can start harvesting leaves in about 70-90 days.
What kind of soil is best for growing parsley?
Parsley thrives in well-draining soil that is rich in organic matter. A good quality potting mix is ideal for container gardening. If you’re planting in the ground, amend the soil with compost or well-rotted manure to improve drainage and fertility. Parsley prefers a slightly acidic to neutral soil pH, ideally between 6.0 and 7.0. You can test your soil pH with a simple soil testing kit available at most garden centers.
How much sunlight does parsley need?
Parsley needs at least 6 hours of sunlight per day to thrive. A sunny windowsill or a spot in the garden that receives full sun is ideal. However, in very hot climates, parsley can benefit from some afternoon shade to prevent the leaves from scorching. If you’re growing parsley indoors, consider using a grow light to supplement natural sunlight, especially during the winter months.
How often should I water parsley?
Parsley prefers consistently moist soil, but it doesn’t like to be waterlogged. Water deeply whenever the top inch of soil feels dry to the touch. Avoid overhead watering, as this can lead to fungal diseases. Instead, water at the base of the plant. During hot, dry weather, you may need to water more frequently. Check the soil moisture regularly to ensure your parsley is getting enough water.
How do I harvest parsley?
Harvest parsley by snipping off the outer stems near the base of the plant. This encourages new growth from the center. Avoid cutting more than one-third of the plant at a time, as this can stress the plant and reduce its yield. You can harvest parsley throughout the growing season, as needed. The more you harvest, the more the plant will produce.
Can I grow parsley indoors?
Yes, parsley can be successfully grown indoors. Choose a pot that is at least 6 inches in diameter and has drainage holes. Use a good quality potting mix and place the pot in a sunny windowsill or under a grow light. Water regularly and fertilize every few weeks with a balanced liquid fertilizer. Rotate the pot regularly to ensure even growth.
What are some common pests and diseases that affect parsley?
Parsley is generally a hardy plant, but it can be susceptible to certain pests and diseases. Aphids, spider mites, and whiteflies are common pests that can infest parsley. These can be controlled with insecticidal soap or neem oil. Fungal diseases, such as powdery mildew and leaf spot, can also affect parsley. These can be prevented by ensuring good air circulation and avoiding overhead watering. If you notice any signs of pests or diseases, treat them promptly to prevent them from spreading.
Can I freeze parsley?
Yes, freezing parsley is a great way to preserve it for later use. Wash and dry the parsley thoroughly. Chop it into small pieces and place it in ice cube trays. Fill the trays with water or olive oil and freeze. Once frozen, transfer the parsley cubes to a freezer bag or container. You can then add the frozen parsley cubes directly to soups, stews, sauces, and other dishes.
Is parsley a perennial or an annual?
Parsley is technically a biennial, meaning it lives for two years. However, it is typically grown as an annual, as its flavor tends to decline in the second year. In the first year, parsley produces lush foliage. In the second year, it will flower and set seed, after which the plant will die. To ensure a continuous supply of fresh parsley, it’s best to start new plants each year.
What are some creative ways to use fresh parsley?
Beyond the usual garnishes, fresh parsley can be used in a variety of creative ways. Add it to salads, soups, stews, sauces, and dips. Use it to make pesto or chimichurri sauce. Blend it into smoothies or juices for a nutritional boost. Add it to omelets or frittatas. Use it to flavor homemade bread or crackers. The possibilities are endless! Don’t be afraid to experiment and discover your own favorite ways to use fresh, homegrown parsley.


Leave a Comment