

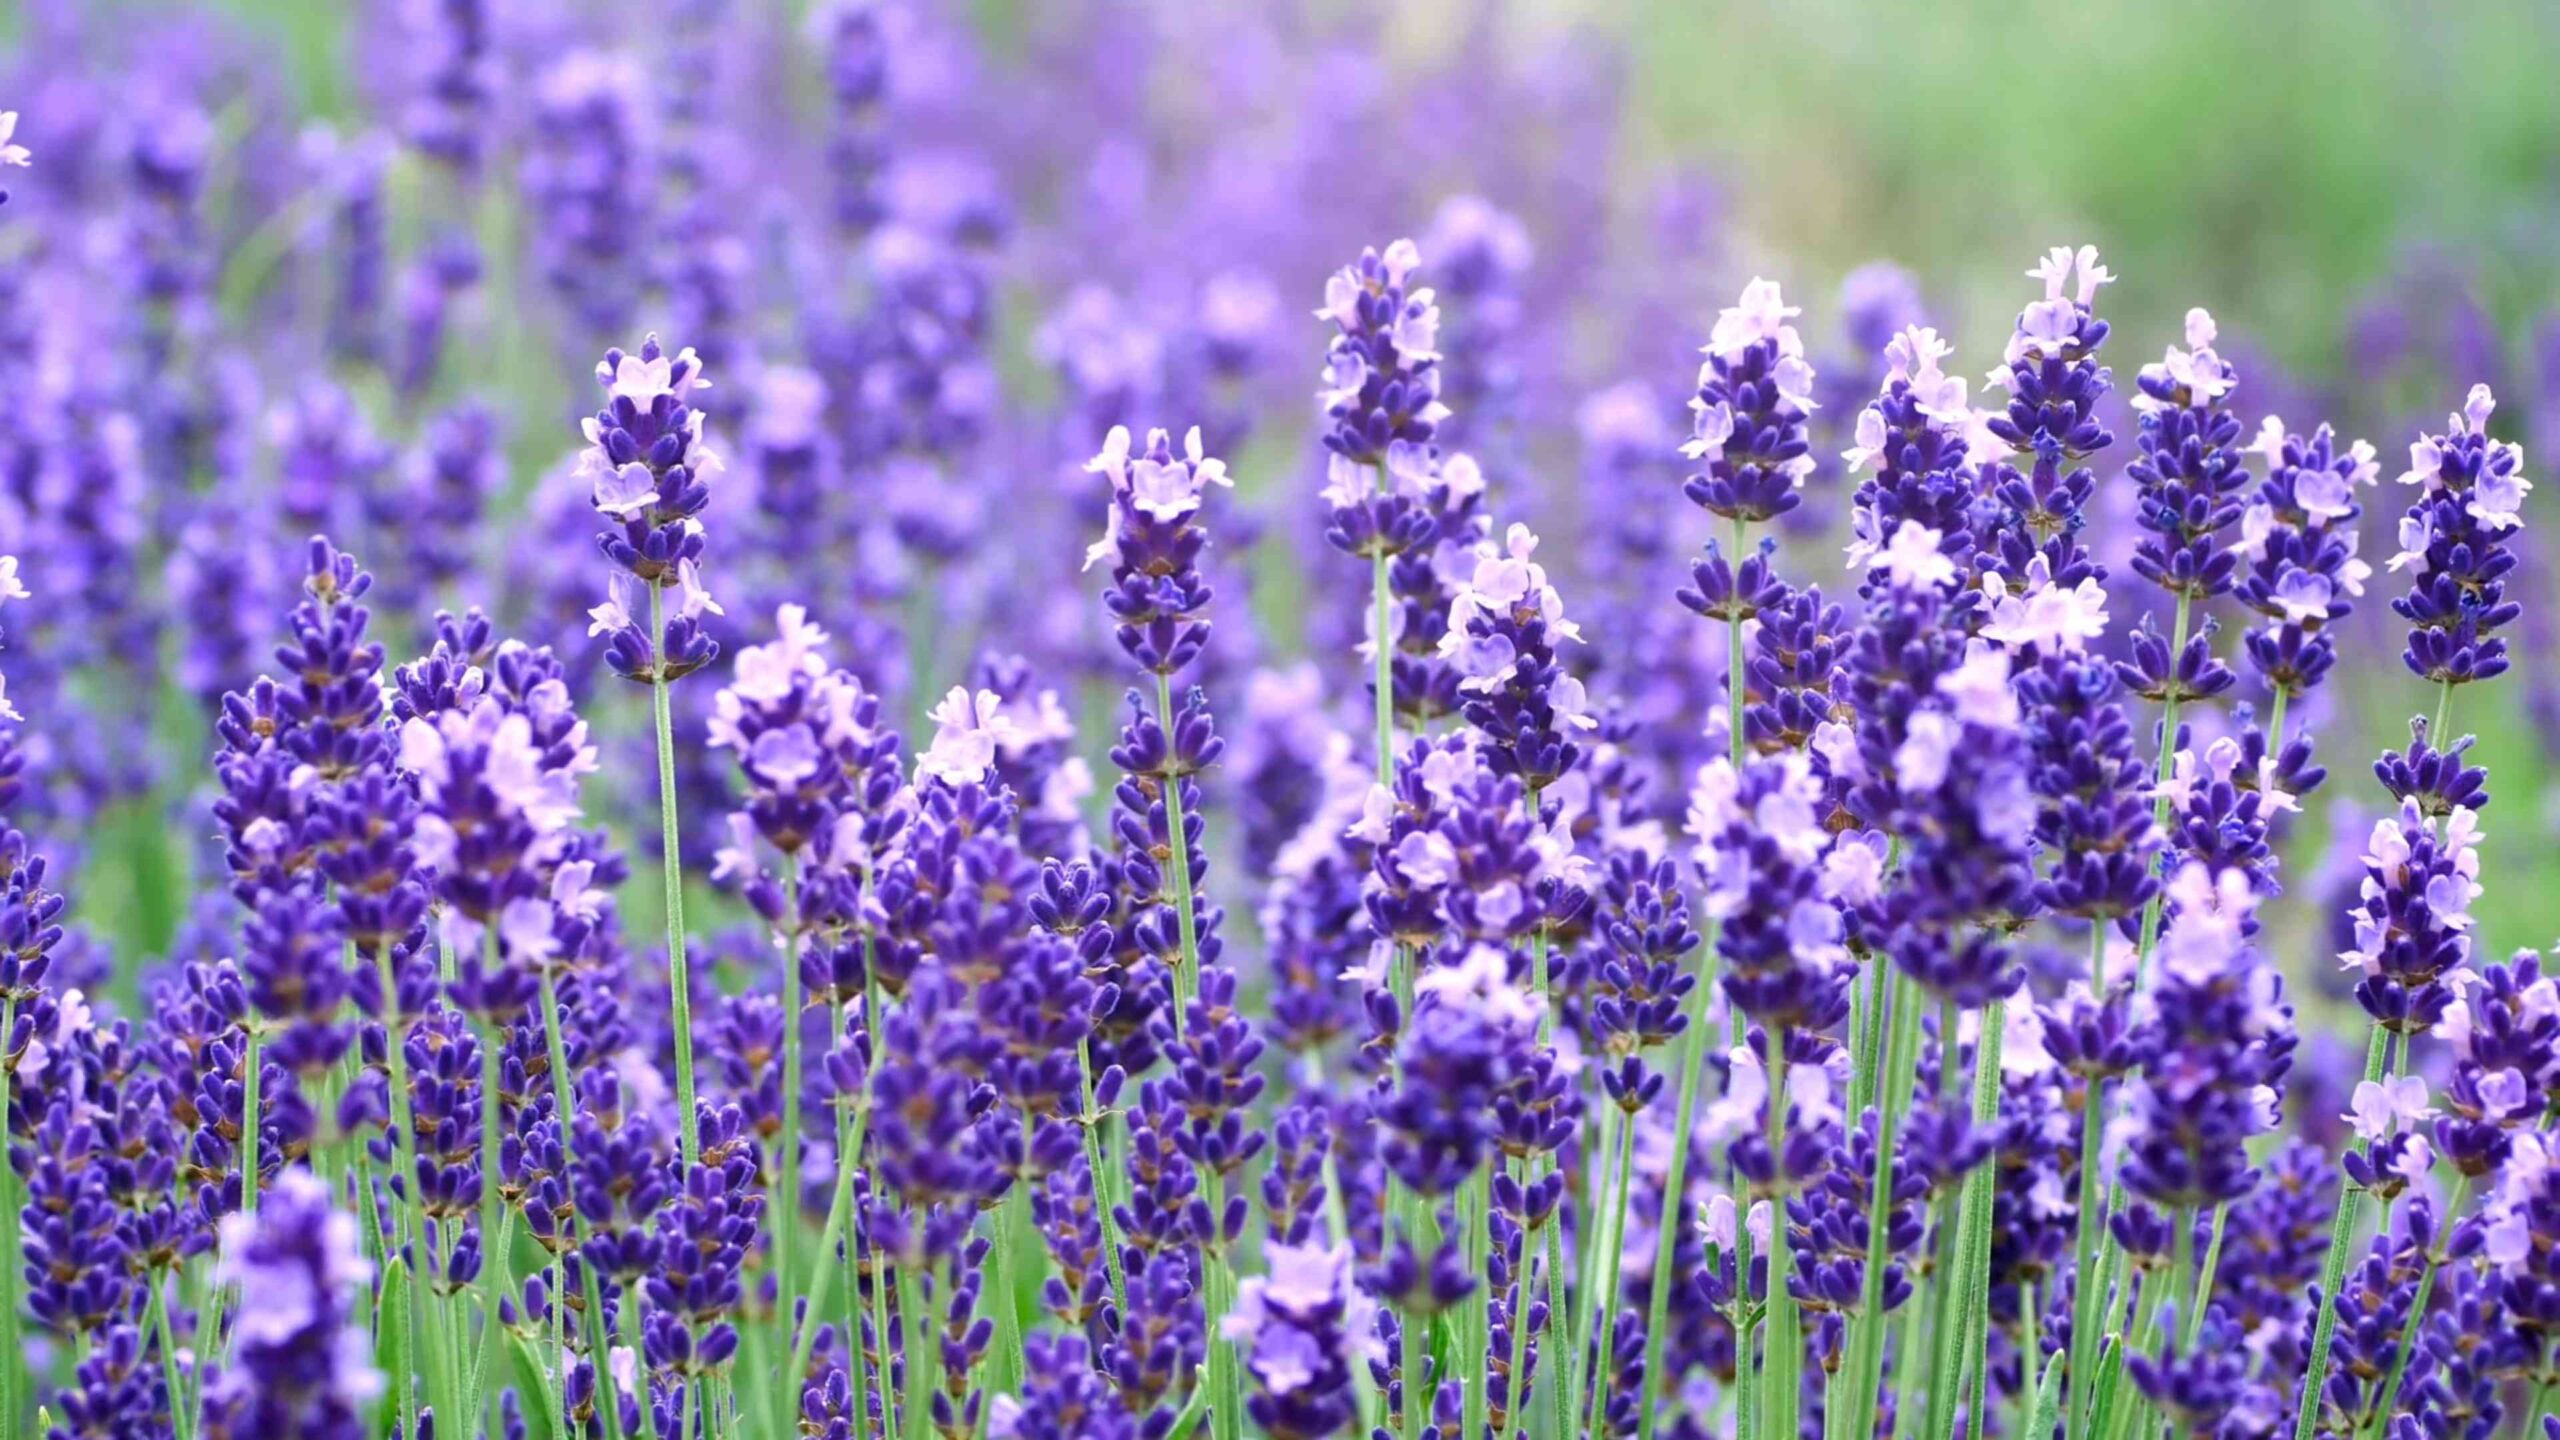
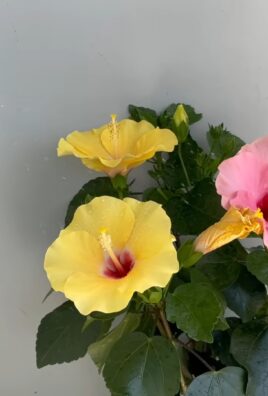
Grow Lavender Shrubs and transform your garden into a fragrant, buzzing haven! Have you ever dreamed of strolling through your own little slice of Provence, inhaling the calming scent of lavender as bees happily hum around you? Well, dream no more! This isn’t just about planting a pretty flower; it’s about creating an experience, a sensory escape right in your backyard.
Lavender has a rich history, dating back to ancient times when it was used for medicinal purposes, perfumes, and even embalming! The Romans carried it throughout their empire, spreading its delightful aroma and beneficial properties far and wide. Today, lavender continues to be cherished for its beauty, fragrance, and therapeutic qualities.
But let’s be honest, sometimes growing lavender can feel a little…tricky. That’s where this DIY guide comes in! I’m going to share my tried-and-true secrets for successfully grow lavender shrubs, even if you don’t have a “green thumb.” We’ll cover everything from choosing the right variety for your climate to mastering the art of pruning for abundant blooms.
Why do you need these DIY tricks? Because store-bought lavender can be expensive, and nothing beats the satisfaction of nurturing your own plants from tiny seedlings to thriving shrubs. Plus, imagine the endless possibilities: lavender wands, sachets, culinary creations, and of course, a stunning garden that will be the envy of the neighborhood. So, grab your gardening gloves, and let’s get started!
DIY: Transforming Your Garden with Lavender Shrubs
Okay, let’s dive into the wonderful world of lavender! I’m going to walk you through everything you need to know to successfully grow these fragrant beauties in your own garden. Lavender isn’t just pretty; it’s also incredibly versatile, attracting pollinators, providing aromatic foliage, and offering delightful flowers for crafts and aromatherapy.
Choosing the Right Lavender Variety
Before we even think about planting, it’s crucial to pick the right lavender variety for your climate and garden conditions. Not all lavenders are created equal!
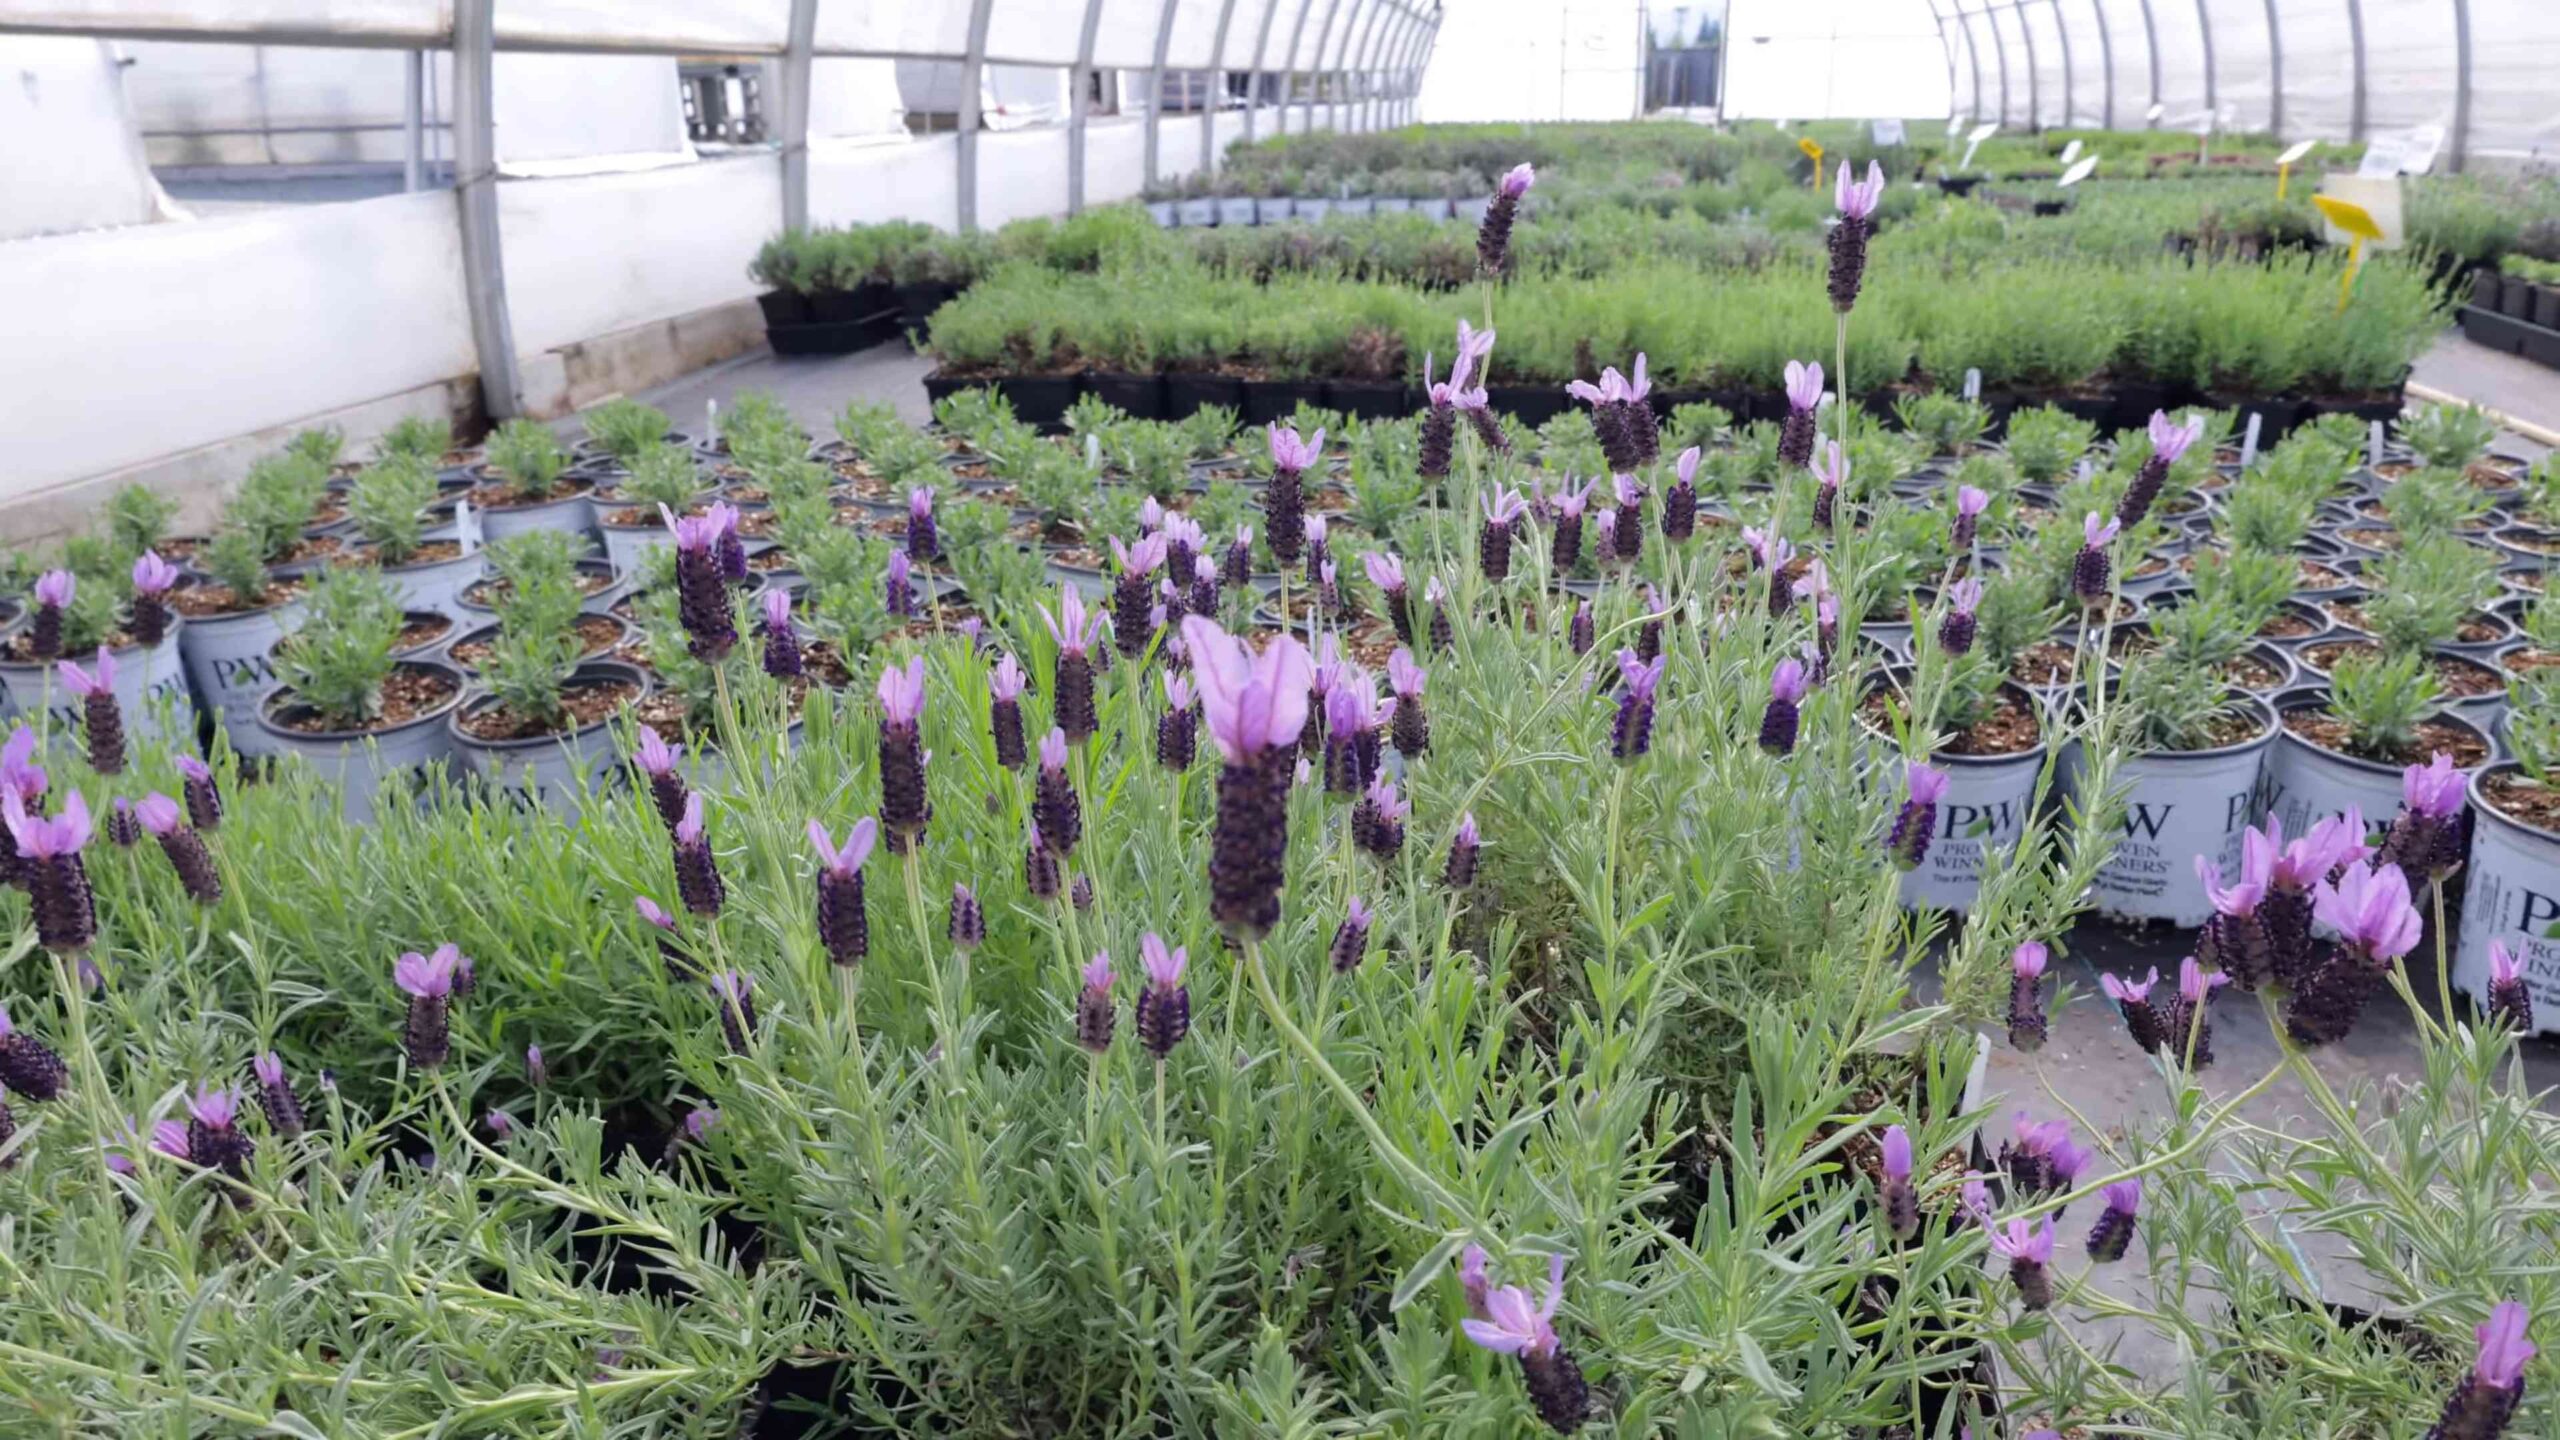
* English Lavender (Lavandula angustifolia): This is the classic lavender, known for its sweet fragrance and cold hardiness. It’s a great choice for cooler climates. Varieties like ‘Munstead’ and ‘Hidcote’ are popular and reliable.
* Lavandin (Lavandula x intermedia): A hybrid between English lavender and spike lavender, lavandins are larger, more vigorous, and have a stronger, camphoraceous scent. They’re generally more heat-tolerant than English lavender. ‘Grosso’ is a widely grown lavandin variety, prized for its high oil content.
* Spanish Lavender (Lavandula stoechas): This lavender is easily recognizable by the “ears” or bracts on top of its flower spikes. It’s less cold-hardy than English lavender and lavandin, preferring warmer climates.
* French Lavender (Lavandula dentata): This variety has toothed leaves and a more sprawling habit. It’s also less cold-hardy and best suited for mild climates.
Things to consider when choosing:
* Climate: Check the hardiness zone for each variety to ensure it can survive your winters.
* Size: Consider how large the lavender will grow at maturity and choose a spot with enough space.
* Fragrance: Each variety has a slightly different scent. If possible, smell the flowers before you buy to make sure you like the fragrance.
* Bloom Time: Different varieties bloom at different times, so you can choose a mix to extend the flowering season in your garden.
Preparing the Soil
Lavender thrives in well-drained, slightly alkaline soil. This is probably the most important factor for success. Lavender hates wet feet!
* Soil Testing: Ideally, you should test your soil pH to determine if it needs amending. You can buy a soil testing kit at most garden centers. Lavender prefers a pH between 6.5 and 8.0.
* Improving Drainage: If your soil is heavy clay, you’ll need to improve drainage. Amend the soil with plenty of organic matter, such as compost or well-rotted manure. You can also add sand or gravel to improve drainage.
* Adding Lime: If your soil is acidic (pH below 6.5), you can add lime to raise the pH. Follow the instructions on the lime package for application rates.
* Creating a Mound: Planting lavender on a slight mound can also help improve drainage.
Planting Your Lavender
Now for the fun part! Let’s get those lavender plants in the ground.
1. Choose a Sunny Location: Lavender needs at least 6-8 hours of sunlight per day.
2. Dig a Hole: Dig a hole that is twice as wide as the root ball of your lavender plant and just as deep.
3. Amend the Soil (if needed): Mix some compost or well-rotted manure into the soil you removed from the hole.
4. Remove the Lavender from its Container: Gently remove the lavender plant from its container, being careful not to damage the roots. If the roots are pot-bound (tightly circling the root ball), gently loosen them with your fingers.
5. Place the Lavender in the Hole: Place the lavender plant in the hole, making sure the top of the root ball is level with the surrounding soil.
6. Backfill the Hole: Backfill the hole with the amended soil, gently firming it around the plant.
7. Water Thoroughly: Water the lavender plant thoroughly after planting.
8. Mulch Lightly: Apply a light layer of mulch around the base of the plant to help retain moisture and suppress weeds. Use a mulch that doesn’t hold too much moisture, like gravel or crushed stone. Avoid using wood chips or bark mulch, as they can retain too much moisture and lead to root rot.
Caring for Your Lavender
Once your lavender is planted, it’s important to provide proper care to ensure it thrives.
* Watering: Lavender is drought-tolerant once established, so avoid overwatering. Water deeply but infrequently, allowing the soil to dry out between waterings. Overwatering is a common cause of lavender death.
* Fertilizing: Lavender doesn’t need a lot of fertilizer. In fact, too much fertilizer can lead to leggy growth and fewer flowers. If you want to fertilize, use a balanced fertilizer sparingly in the spring.
* Pruning: Pruning is essential for maintaining the shape and vigor of your lavender plants.
* First Year: In the first year, lightly prune the tips of the stems after the first flush of flowers to encourage branching.
* Subsequent Years: Prune more heavily in late summer or early fall, after the flowers have faded. Cut back about one-third of the plant’s growth, being careful not to cut into the old wood (the woody part of the stem). Pruning too hard can kill the plant.
* Deadheading: Regularly deadhead spent flowers to encourage more blooms.
* Weeding: Keep the area around your lavender plants free of weeds. Weeds compete with lavender for water and nutrients.
* Pest and Disease Control: Lavender is generally pest and disease-resistant. However, it can be susceptible to root rot if the soil is too wet. Watch out for signs of root rot, such as yellowing leaves and wilting. If you suspect root rot, improve drainage and avoid overwatering.
Harvesting and Drying Lavender
One of the best things about growing lavender is harvesting and drying the flowers!
1. Harvesting: Harvest lavender flowers when about half of the buds on the flower spike have opened. This is when the fragrance is strongest.
2. Cutting the Stems: Cut the stems early in the morning, after the dew has dried. Use sharp scissors or pruning shears.
3. Bundling the Stems: Gather the stems into small bundles and tie them together with twine or rubber bands.
4. Drying the Lavender: Hang the bundles upside down in a cool, dark, and well-ventilated place to dry. You can also dry lavender in a dehydrator or oven on a low setting.
5. Storing the Dried Lavender: Once the lavender is completely dry, you can remove the flowers from the stems and store them in an airtight container.
Using Your Lavender
Now that you have a bounty of dried lavender, what can you do with it? The possibilities are endless!
* Lavender Sachets: Fill small cloth bags with dried lavender flowers to create fragrant sachets. Place them in drawers, closets, or under pillows to repel moths and freshen the air.
* Lavender Oil: Infuse oil with dried lavender flowers to create your own lavender oil. Use it for massage, aromatherapy, or skincare.
* Lavender Tea: Add dried lavender flowers to hot water to make a calming and relaxing tea.
* Lavender Baking: Use dried lavender flowers in baking recipes, such as cookies, cakes, and scones. Be sure to use culinary-grade lavender.
* Lavender Crafts: Use dried lavender flowers in crafts, such as wreaths, potpourri, and bath bombs.
Troubleshooting
Even with the best care, you may encounter some problems when growing lavender. Here are some common issues and how to address them:
* Yellowing Leaves: This can be a sign of overwatering, poor drainage, or nutrient deficiency. Check the soil moisture and drainage, and amend the soil if necessary. You can also try fertilizing with a balanced fertilizer.
* Wilting: This can be a sign of underwatering, root rot, or pest infestation. Check the soil moisture and drainage, and treat any pests or diseases.
* Leggy Growth: This is often caused by too much fertilizer or not enough sunlight. Reduce fertilizer and make sure your lavender is getting at least 6-8 hours of sunlight per day.
* Lack of Flowers: This can be caused by poor soil, not enough sunlight, or improper pruning. Amend the soil, make sure your lavender is getting enough sunlight, and prune properly.
Propagating Lavender
Want more lavender plants? You can easily propagate lavender from cuttings.
1. Take Cuttings: In late spring or early summer, take 4-6 inch cuttings from new growth.
2. Remove Lower Leaves: Remove the leaves from the bottom
Conclusion
So, there you have it! Growing your own lavender shrubs isn’t just a gardening project; it’s an investment in tranquility, beauty, and a touch of Provence right in your backyard. We’ve walked through the essential steps, from selecting the right variety to nurturing your young plants into thriving, fragrant bushes. The benefits are undeniable: the calming aroma, the stunning visual appeal, and the endless possibilities for using your homegrown lavender in culinary creations, aromatherapy blends, and decorative crafts.
But why is this DIY trick a must-try? Because it empowers you to connect with nature in a deeply rewarding way. It’s about more than just buying a plant from a store; it’s about understanding its needs, witnessing its growth, and reaping the rewards of your own hard work. Plus, growing your own lavender is often more cost-effective than purchasing mature plants, especially if you’re looking to create a substantial lavender garden.
Consider these variations to personalize your lavender-growing experience:
* **Experiment with different varieties:** Explore the diverse world of lavender! ‘Hidcote’ is known for its deep purple flowers and compact size, while ‘Provence’ is prized for its strong fragrance and suitability for culinary use. ‘Grosso’ is a hybrid known for its high oil content, making it ideal for essential oil extraction. Try growing a few different varieties to discover your favorites.
* **Create a lavender hedge:** Plant multiple lavender shrubs in a row to create a fragrant and visually stunning hedge. This is a great way to define garden spaces or add privacy.
* **Companion planting:** Lavender is a wonderful companion plant for many vegetables and herbs. Its strong scent can deter pests, and it attracts beneficial pollinators. Try planting lavender near roses, tomatoes, or rosemary.
* **Dried lavender crafts:** Once your lavender is in full bloom, harvest the flowers and dry them to create sachets, potpourri, or even lavender wands. These make wonderful gifts or can be used to freshen up your home.
* **Lavender infused honey:** Infuse your honey with lavender for a unique and delicious treat. Simply add dried lavender buds to a jar of honey and let it steep for a few weeks.
We strongly encourage you to embark on this lavender-growing adventure. It’s a project that offers both immediate gratification and long-term rewards. Imagine strolling through your garden, surrounded by the soothing scent of lavender, knowing that you nurtured these beautiful plants from start to finish.
Don’t be afraid to experiment, learn from your mistakes, and most importantly, enjoy the process. Growing lavender is a journey, not just a destination. And remember, even experienced gardeners face challenges along the way. The key is to be patient, observant, and willing to adapt your approach as needed.
We’re confident that you’ll find growing your own lavender shrubs to be a deeply satisfying and enriching experience. So, grab your gardening gloves, choose your favorite lavender variety, and get started today! We’re eager to hear about your experiences. Share your photos, tips, and questions in the comments below. Let’s create a community of lavender lovers and learn from each other’s successes and challenges. Let us know how your **grow lavender shrubs** project is going!
Frequently Asked Questions (FAQ)
What is the best time of year to plant lavender shrubs?
The best time to plant lavender is in the spring or early fall. This allows the plants to establish their root systems before the extreme temperatures of summer or winter arrive. In areas with mild winters, fall planting is often preferred, as it gives the lavender a head start in the spring. In colder climates, spring planting is recommended to avoid potential frost damage to young plants.
What type of soil is best for growing lavender?
Lavender thrives in well-drained, slightly alkaline soil. Heavy clay soils can be problematic, as they retain too much moisture and can lead to root rot. If you have clay soil, amend it with plenty of organic matter, such as compost or well-rotted manure, to improve drainage. Adding gravel or sand to the planting hole can also help. A soil pH of 6.5 to 8.0 is ideal for lavender. You can test your soil pH with a home testing kit or by sending a sample to a local agricultural extension office.
How much sunlight does lavender need?
Lavender requires at least six to eight hours of direct sunlight per day. Insufficient sunlight can result in leggy growth, fewer flowers, and a weaker fragrance. Choose a planting location that receives full sun throughout the day. If you live in a particularly hot climate, some afternoon shade may be beneficial, but avoid planting lavender in areas that are consistently shaded.
How often should I water my lavender plants?
Lavender is drought-tolerant once established, so it’s important not to overwater it. Water deeply but infrequently, allowing the soil to dry out completely between waterings. Overwatering is a common cause of lavender problems, such as root rot. During the first year after planting, water more regularly to help the plants establish their root systems. However, even young plants should not be kept constantly wet.
How do I prune lavender shrubs?
Pruning is essential for maintaining the shape and health of your lavender shrubs. Prune annually in late summer or early fall, after the flowers have faded. Avoid pruning into the old wood, as lavender does not typically regrow from bare stems. Aim to remove about one-third of the plant’s growth, shaping it into a neat mound. Regular pruning encourages bushier growth and more abundant flowering.
What are some common pests and diseases that affect lavender?
Lavender is generally resistant to pests and diseases, but it can be susceptible to certain problems, particularly in humid climates. Root rot is a common issue caused by overwatering or poorly drained soil. Good drainage is crucial for preventing root rot. Other potential pests include aphids, spider mites, and whiteflies. These can usually be controlled with insecticidal soap or neem oil. Fungal diseases, such as powdery mildew, can also affect lavender, especially in humid conditions. Improve air circulation around the plants and avoid overhead watering to minimize the risk of fungal diseases.
Can I grow lavender in containers?
Yes, lavender can be successfully grown in containers. Choose a pot that is at least 12 inches in diameter and has good drainage holes. Use a well-draining potting mix specifically formulated for container gardening. Water regularly, but allow the soil to dry out between waterings. Container-grown lavender may need to be fertilized more frequently than plants grown in the ground. Use a balanced fertilizer diluted to half strength.
How do I harvest lavender flowers?
Harvest lavender flowers when about half of the buds on the stem have opened. Cut the stems in the morning, after the dew has dried. Bundle the stems together and hang them upside down in a cool, dark, and well-ventilated place to dry. Once the flowers are completely dry, you can remove them from the stems and store them in an airtight container.
Is lavender safe for pets?
Lavender is generally considered safe for pets in small quantities. However, ingesting large amounts of lavender can cause gastrointestinal upset. It’s best to keep lavender plants out of reach of pets that are prone to chewing on plants. The essential oil of lavender can be toxic to pets if ingested or applied topically in concentrated form. Always consult with a veterinarian before using lavender essential oil on your pets.
Leave a Comment