

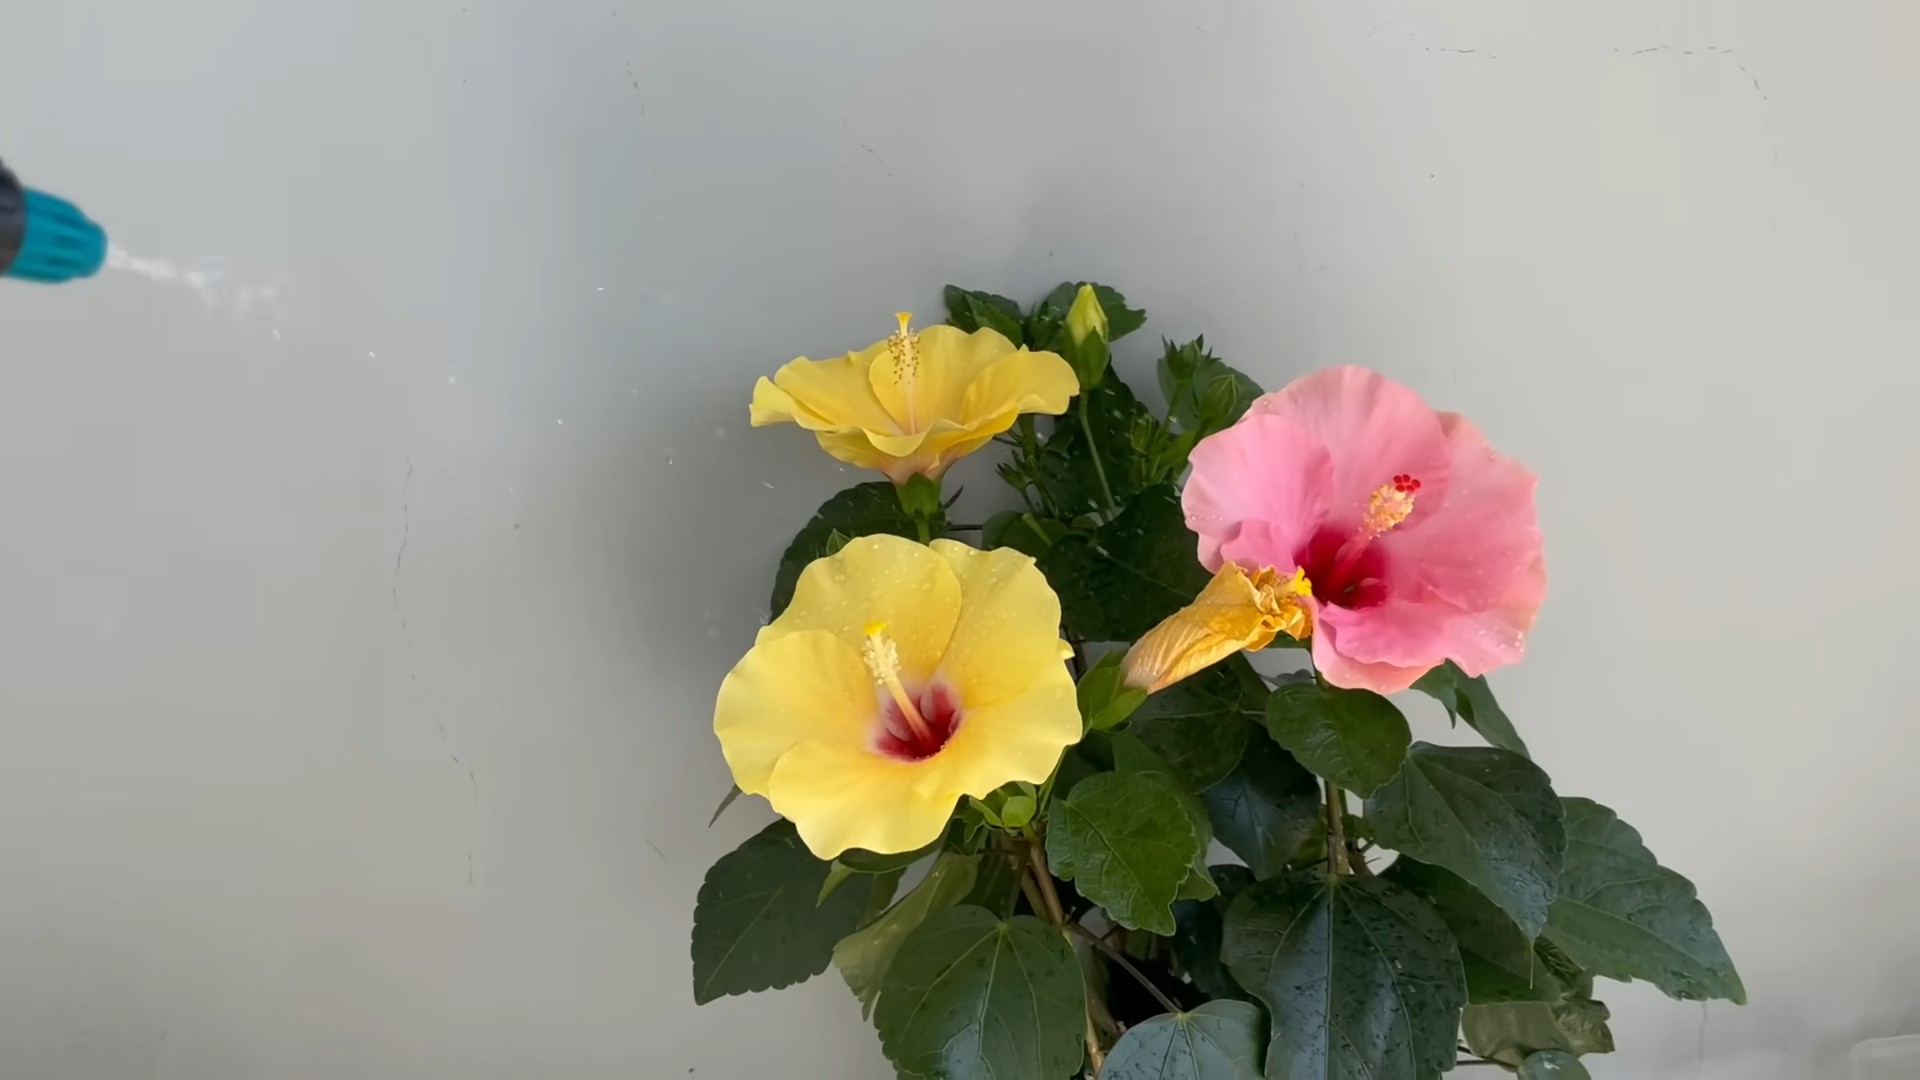
Grow Huge Hibiscus Flowers – isn’t that the dream of every gardener who adores these tropical beauties? I know it’s been mine! Imagine your garden bursting with vibrant, dinner-plate-sized hibiscus blooms, a true spectacle that stops everyone in their tracks. For centuries, hibiscus flowers have been cherished in various cultures, symbolizing beauty, love, and even royalty. In Hawaii, the hibiscus is the state flower, representing sovereignty and respect. In other cultures, they’re offered as gifts to express affection and admiration.
But let’s be honest, achieving those enormous, show-stopping blooms can sometimes feel like a challenge. You might be struggling with small, lackluster flowers, or perhaps your hibiscus just isn’t thriving as you hoped. That’s where these DIY tricks and hacks come in! I’m going to share my tried-and-true secrets to help you grow huge hibiscus flowers, even if you’re a beginner gardener. These simple, yet effective techniques will transform your hibiscus plants into blooming powerhouses, giving you the garden of your dreams. Get ready to unlock the full potential of your hibiscus and prepare for a summer filled with breathtaking blooms!
DIY: Unlocking Giant Hibiscus Blooms – My Secret Garden Formula
Hey fellow plant lovers! I’m so excited to share my tried-and-true method for growing hibiscus flowers that are absolutely HUGE. Forget those puny, dime-sized blooms – we’re talking dinner-plate-sized beauties that will be the envy of the neighborhood. This isn’t just about luck; it’s about understanding what hibiscus plants crave and giving it to them in abundance. Get ready to roll up your sleeves, because we’re about to embark on a journey to hibiscus flower glory!
Understanding Hibiscus Needs: The Foundation for Giant Blooms
Before we dive into the nitty-gritty, let’s quickly cover the basics. Hibiscus plants are tropical divas, and they have specific needs that must be met to encourage those massive blooms. Think of it like this: happy plant, happy flowers!
* Sunlight: Hibiscus plants are sun worshippers. They need at least 6-8 hours of direct sunlight per day. The more sun, the more flowers!
* Watering: Consistent moisture is key, especially during the blooming season. The soil should be consistently moist, but not soggy. Overwatering can lead to root rot, so good drainage is essential.
* Fertilizing: Hibiscus plants are heavy feeders. They need a balanced fertilizer with a slightly higher phosphorus content to promote blooming.
* Pruning: Regular pruning encourages bushier growth and more flowering stems.
* Soil: Well-draining soil that is slightly acidic is ideal.
The Secret Formula: My Step-by-Step Guide to Giant Hibiscus Flowers
Alright, let’s get down to business! This is where the magic happens. I’ve broken down the process into manageable steps to make it super easy for you to follow along.
Phase 1: Preparing Your Hibiscus for Success
This phase is all about setting the stage for incredible growth. We’re going to focus on soil, location, and initial pruning.
1. Choosing the Right Location: First things first, find the sunniest spot in your yard. Remember, 6-8 hours of direct sunlight is non-negotiable. If you’re growing your hibiscus in a pot, make sure you can easily move it to follow the sun. I like to rotate my potted hibiscus every few days to ensure even sun exposure.
2. Soil Preparation is Key: Hibiscus plants thrive in well-draining, slightly acidic soil. If you’re planting in the ground, amend your soil with plenty of organic matter, such as compost or well-rotted manure. This will improve drainage and provide essential nutrients. For potted hibiscus, use a high-quality potting mix specifically formulated for flowering plants. I personally love using a mix of peat moss, perlite, and vermiculite.
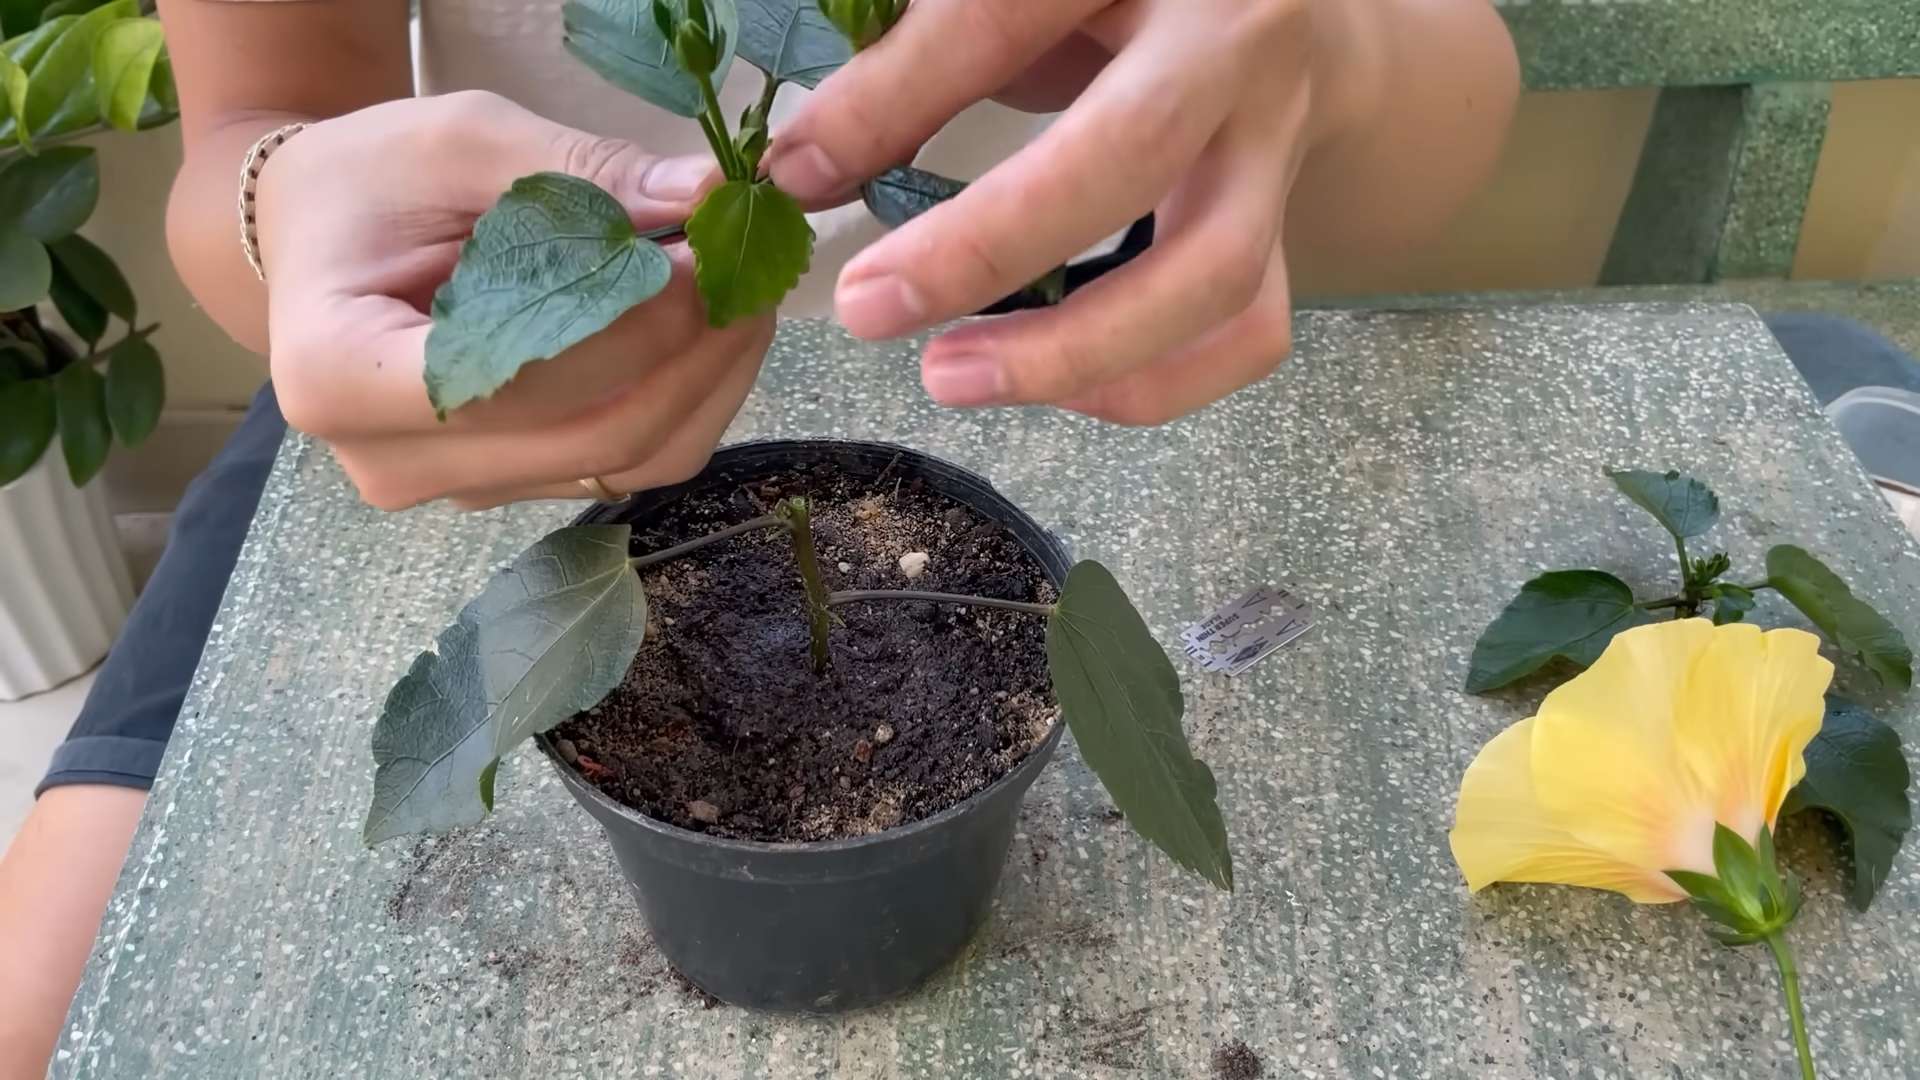
3. Initial Pruning (If Necessary): If your hibiscus plant is overgrown or has any dead or damaged branches, now is the time to prune it. Use sharp, clean pruning shears to make clean cuts just above a node (the point where a leaf or branch grows from the stem). Pruning encourages new growth and more flowering stems. Don’t be afraid to prune; hibiscus plants are surprisingly resilient.
Phase 2: The Watering and Feeding Regimen: Fueling the Blooms
This is where we provide the hibiscus with the water and nutrients it needs to produce those massive flowers. Consistency is key here!
4. Watering Like a Pro: Water your hibiscus deeply whenever the top inch of soil feels dry to the touch. During hot, dry weather, you may need to water it daily. Avoid overwatering, as this can lead to root rot. Make sure your pot has drainage holes to allow excess water to escape. I like to water my hibiscus in the morning so the foliage has time to dry before nightfall, which helps prevent fungal diseases.
5. The Magic Fertilizer Blend: Hibiscus plants are heavy feeders, so regular fertilization is essential. I use a balanced fertilizer with a slightly higher phosphorus content (the middle number on the fertilizer label). Look for a fertilizer specifically formulated for hibiscus or flowering plants. I fertilize my hibiscus every two weeks during the growing season (spring and summer). I use a liquid fertilizer diluted to half strength to avoid burning the roots. I also supplement with Epsom salts (magnesium sulfate) every month. Magnesium helps hibiscus plants absorb nutrients more efficiently, resulting in bigger, brighter blooms. Dissolve one tablespoon of Epsom salts in a gallon of water and use it to water your hibiscus.
6. Foliar Feeding for an Extra Boost: In addition to regular fertilization, I also like to foliar feed my hibiscus every few weeks. Foliar feeding involves spraying the leaves with a diluted fertilizer solution. This allows the plant to absorb nutrients directly through its leaves, providing a quick boost. I use a seaweed extract fertilizer for foliar feeding, as it’s rich in micronutrients and growth hormones.
Phase 3: Ongoing Care and Maintenance: Keeping Your Hibiscus Happy
This phase is all about maintaining the health and vigor of your hibiscus plant throughout the growing season.
7. Regular Pruning for Bushier Growth: Continue to prune your hibiscus plant throughout the growing season to encourage bushier growth and more flowering stems. Pinch back the tips of new growth to promote branching. Remove any dead or damaged branches as soon as you see them.
8. Pest and Disease Control: Keep an eye out for pests such as aphids, spider mites, and whiteflies. These pests can suck the sap from your hibiscus plant, weakening it and reducing flower production. Treat infestations promptly with insecticidal soap or neem oil. Hibiscus plants are also susceptible to fungal diseases such as leaf spot and root rot. Prevent these diseases by providing good air circulation and avoiding overwatering.
9. Deadheading Spent Flowers: Deadheading, or removing spent flowers, encourages the plant to produce more blooms. Simply snip off the faded flowers just below the flower head. This prevents the plant from wasting energy on seed production and redirects it towards producing new flowers.
10. Winter Care (for Colder Climates): If you live in a colder climate, you’ll need to bring your hibiscus indoors for the winter. Before bringing it inside, prune it back significantly and treat it for any pests or diseases. Place it in a sunny window and water it sparingly. Hibiscus plants go dormant during the winter, so they don’t need as much water or fertilizer.
Troubleshooting Common Hibiscus Problems
Even with the best care, you might encounter some problems along the way. Here are a few common issues and how to address them:
* Yellowing Leaves: This can be caused by overwatering, underwatering, nutrient deficiencies, or pest infestations. Check the soil moisture and adjust your watering accordingly. Fertilize your hibiscus regularly and treat any pest infestations promptly.
* Bud Drop: This is when the flower buds fall off before they open. It can be caused by sudden changes in temperature, inconsistent watering, or nutrient deficiencies. Avoid moving your hibiscus plant when it’s in bud, water it consistently, and fertilize it regularly.
* Lack of Flowers: This can be caused by insufficient sunlight, improper fertilization, or over-pruning. Make sure your hibiscus plant is getting at least 6-8 hours of direct sunlight per day, fertilize it regularly with a balanced fertilizer, and avoid pruning it too heavily.
Extra Tips for Hibiscus Flower Success
Here are a few extra tips that I’ve learned over the years that can help you grow even bigger and better hibiscus flowers:
* Use Rainwater: Hibiscus plants love rainwater. It’s naturally soft and slightly acidic, which is ideal for their growth.
* Mulch Around the Base: Mulching around the base of your hibiscus plant helps retain moisture, suppress weeds, and regulate soil temperature.
* Talk to Your Hibiscus: Okay, this might sound a little crazy, but I swear it works! I believe that plants respond to positive energy. So, talk to your hibiscus, tell it how beautiful it is, and encourage it to grow big, beautiful flowers.
My Favorite Hibiscus Varieties for Giant Blooms
Not all hibiscus varieties are created equal. Some are naturally more prone to producing larger blooms than others. Here are a few of my favorite varieties for giant blooms:
* ‘President’ Hibiscus: This variety produces massive, dinner-plate-sized flowers in shades of red, pink, and orange.
* ‘Cajun Hibiscus’: These hybrids are known for their vibrant colors and large, ruffled blooms.
* ‘Ross Ramey’ Hibiscus: This variety produces huge, single flowers in shades of pink and white.
Final Thoughts: Enjoy the Journey!
Growing giant hibiscus flowers is a rewarding experience. It takes time, patience, and a little bit of effort, but the results are well worth it. Don’t be discouraged if you don’t see results immediately. Just keep following these steps, and you’ll be rewarded with a stunning display of giant hibiscus blooms that will brighten up your garden and bring you joy for years to come. Happy gardening!
Conclusion
So, there you have it! Unlocking the secret to growing truly enormous hibiscus flowers isn’t about expensive fertilizers or complicated gardening techniques. It’s about understanding the plant’s needs and providing them in a simple, cost-effective way using our DIY trick. This method, focusing on nutrient-rich banana peels, offers a natural and sustainable approach to boosting your hibiscus’s blooming potential.
Why is this DIY trick a must-try? Because it’s effective, eco-friendly, and incredibly easy. You’re not just feeding your hibiscus; you’re enriching the soil with potassium, phosphorus, and other essential micronutrients that promote vigorous growth and abundant blooms. Store-bought fertilizers can sometimes be harsh and lead to nutrient imbalances, but this natural alternative provides a slow-release, balanced source of nourishment that your hibiscus will absolutely love. Plus, you’re reducing waste by repurposing banana peels that would otherwise end up in the landfill. It’s a win-win for your garden and the environment!
But don’t just take our word for it. The proof is in the pudding, or rather, in the massive hibiscus flowers you’ll soon be showcasing.
Ready to take your hibiscus game to the next level?
Here are a few suggestions and variations to consider:
* Compost Tea Boost: Instead of directly burying the banana peels, you can create a potent compost tea. Simply soak the peels in water for a few days, then use the resulting liquid to water your hibiscus. This allows for faster nutrient absorption.
* Eggshell Enrichment: Combine crushed eggshells with the banana peels for an extra dose of calcium, which is crucial for strong stems and vibrant flower color.
* Coffee Ground Kick: Add used coffee grounds to the mix for a nitrogen boost. Remember that coffee grounds are acidic, so use them sparingly, especially if your soil is already acidic.
* Epsom Salt Enhancement: A sprinkle of Epsom salt (magnesium sulfate) can help improve nutrient uptake and promote lush foliage.
* Different Hibiscus Varieties: While this trick works wonders on most hibiscus varieties, experiment with different types to see which ones respond best. Some varieties might produce even larger blooms than others.
* Monitor Soil pH: Hibiscus plants thrive in slightly acidic soil (pH 6.0-6.5). Regularly test your soil’s pH and adjust as needed to ensure optimal nutrient absorption.
* Sunlight is Key: Remember that even with the best fertilization, hibiscus plants need plenty of sunlight (at least 6 hours per day) to bloom profusely.
We’re confident that this DIY trick will transform your hibiscus plants and reward you with a stunning display of oversized blooms. Don’t be afraid to experiment and find what works best for your specific plant and growing conditions.
Now, it’s your turn! We encourage you to try this simple yet effective method and witness the amazing results for yourself. Share your experiences, photos, and any variations you discover in the comments below. Let’s create a community of hibiscus enthusiasts who are passionate about growing the biggest and most beautiful blooms possible! Let us know if this DIY trick helped you grow huge hibiscus flowers.
Frequently Asked Questions (FAQ)
Q: How many banana peels should I use per hibiscus plant?
A: The number of banana peels depends on the size of your hibiscus plant and the size of the pot or garden bed. A good starting point is 1-2 banana peels per plant for smaller plants in pots and 3-4 peels for larger plants in the ground. You can adjust the amount based on your plant’s response. If you notice any signs of over-fertilization (such as leaf burn), reduce the amount. It’s always better to err on the side of caution and gradually increase the amount as needed. Remember to bury the peels a few inches away from the base of the plant to avoid attracting pests.
Q: How often should I apply banana peels to my hibiscus?
A: You can apply banana peels every 2-4 weeks during the growing season (spring and summer). During the dormant season (fall and winter), reduce the frequency to once every 1-2 months, or stop altogether if your plant is not actively growing. Monitor your plant’s growth and adjust the frequency accordingly. If you’re using compost tea, you can apply it more frequently, perhaps once a week, as it’s a more diluted form of fertilizer.
Q: Can I use frozen banana peels?
A: Yes, you can definitely use frozen banana peels. Freezing doesn’t diminish the nutrient content of the peels. In fact, some gardeners believe that freezing helps break down the cell walls of the peels, making the nutrients more readily available to the plant. Simply thaw the peels before burying them or using them to make compost tea.
Q: Will banana peels attract pests to my garden?
A: While banana peels can attract some pests, such as fruit flies, burying them properly can minimize this risk. Make sure to bury the peels at least a few inches deep in the soil and cover them completely. You can also add a layer of mulch on top to further deter pests. If you’re concerned about pests, consider using the compost tea method instead, as it’s less likely to attract unwanted visitors. Regularly inspect your plants for any signs of pests and take appropriate action if necessary.
Q: My hibiscus isn’t blooming, even after using banana peels. What could be the problem?
A: There could be several reasons why your hibiscus isn’t blooming, even after using banana peels. Here are a few possibilities:
* Insufficient Sunlight: Hibiscus plants need at least 6 hours of direct sunlight per day to bloom profusely. Make sure your plant is getting enough sunlight.
* Improper Watering: Overwatering or underwatering can both inhibit blooming. Hibiscus plants prefer well-drained soil that is kept consistently moist but not soggy.
* Nutrient Imbalance: While banana peels provide potassium and other essential nutrients, your soil might be lacking in other nutrients, such as nitrogen or phosphorus. Consider using a balanced fertilizer in addition to banana peels.
* Pruning: Improper pruning can also affect blooming. Avoid pruning your hibiscus too late in the season, as this can remove flower buds.
* Pests or Diseases: Check your plant for any signs of pests or diseases, which can weaken the plant and prevent it from blooming.
* Temperature: Hibiscus plants are sensitive to cold temperatures. If the temperature drops too low, it can inhibit blooming.
* Soil pH: Ensure your soil pH is slightly acidic (6.0-6.5).
Q: Can I use this trick on other flowering plants besides hibiscus?
A: Yes, you can use this trick on other flowering plants that benefit from potassium, such as roses, tomatoes, and peppers. However, keep in mind that different plants have different nutrient requirements, so you might need to adjust the amount of banana peels you use. Always monitor your plants for any signs of nutrient deficiencies or excesses and adjust your fertilization accordingly.
Q: How do I make banana peel tea?
A: Making banana peel tea is simple! Here’s a basic recipe:
1. Collect 3-5 banana peels.
2. Chop the peels into smaller pieces to help release the nutrients.
3. Place the chopped peels in a large jar or container.
4. Add about 1 gallon of water.
5. Let the mixture steep for 2-3 days, stirring occasionally.
6. Strain the liquid to remove the peels.
7. Dilute the tea with water (1 part tea to 1 part water) before using it to water your plants.
You can store the banana peel tea in the refrigerator for up to a week.
Q: What are the benefits of using banana peels for hibiscus plants?
A: Banana peels are a natural and sustainable source of essential nutrients for hibiscus plants, including:
* Potassium: Promotes strong stems, healthy root development, and abundant blooms.
* Phosphorus: Essential for flower formation and overall plant growth.
* Calcium: Strengthens cell walls and improves nutrient uptake.
* Magnesium: Important for chlorophyll production and photosynthesis.
* Micronutrients: Provides trace elements that are essential for plant health.
Using banana peels as fertilizer can help improve soil fertility, reduce waste, and promote healthy, vibrant hibiscus plants.
Leave a Comment