

Grow Broccoli at Home? Absolutely! Imagine stepping into your backyard and harvesting fresh, vibrant broccoli heads, bursting with flavor and nutrients. No more trips to the grocery store for limp, overpriced produce. This isn’t just a dream; it’s an achievable reality with a few simple tricks and DIY techniques. For centuries, cultivating your own food has been a cornerstone of self-sufficiency and a connection to nature. From ancient Roman gardens to the victory gardens of World War II, growing your own vegetables has always been a way to ensure quality and freshness.
But let’s be honest, sometimes the idea of starting a garden can feel overwhelming. Where do you even begin? That’s where this guide comes in! I’m here to share my favorite DIY hacks and proven methods to help you successfully grow broccoli at home, even if you’re a complete beginner. We’ll cover everything from seed starting to pest control, ensuring you have a bountiful harvest. Why do you need these tricks? Because store-bought broccoli simply can’t compare to the taste and satisfaction of growing your own. Plus, you’ll know exactly what’s going into your food, avoiding harmful pesticides and chemicals. So, grab your gardening gloves, and let’s get started on this exciting journey to homegrown broccoli!
Growing Broccoli at Home: A Beginner’s Guide
Hey there, fellow gardening enthusiasts! I’m so excited to share my experiences with growing broccoli at home. It’s surprisingly rewarding, and nothing beats the taste of fresh, homegrown broccoli. Don’t be intimidated – even if you’re a complete beginner, you can absolutely do this! I’ll walk you through every step, from choosing the right variety to harvesting your delicious crop.
Choosing the Right Broccoli Variety
Before we dive into the nitty-gritty, let’s talk broccoli varieties. There are tons to choose from, and the best one for you will depend on your climate and personal preferences. Here are a few popular options:
* Calabrese: This is your classic broccoli, known for its large, central head. It’s a reliable choice and matures relatively quickly.
* Waltham 29: Another popular variety, Waltham 29 is known for its cold hardiness, making it a good option for cooler climates.
* DiCicco: If you’re looking for a variety that produces smaller, more numerous side shoots after the main head is harvested, DiCicco is a great choice.
* Romanesco: Want something a little different? Romanesco broccoli boasts a unique, fractal-like head that’s as beautiful as it is delicious.
* Broccolini: Technically a hybrid of broccoli and Chinese kale, broccolini has long, slender stalks and small florets. It’s tender and cooks quickly.
I personally love growing Calabrese because it’s reliable and produces a good-sized head. But feel free to experiment and find the variety that works best for you!
Getting Started: Seeds vs. Transplants
You have two main options for starting your broccoli: from seeds or from transplants.
* Starting from Seeds: This gives you more control over the entire process and is generally more economical. However, it requires more time and effort.
* Using Transplants: This is a quicker and easier option, especially for beginners. You can purchase transplants from your local garden center.
I’ve done both, and honestly, I prefer starting from seeds. It’s just so satisfying to watch those tiny sprouts grow into mature plants! But if you’re short on time or space, transplants are a perfectly fine option.
Starting Broccoli from Seeds: A Step-by-Step Guide
If you’re going the seed route, here’s how to do it:
1. Timing is Key: Broccoli is a cool-season crop, so you’ll want to start your seeds indoors about 6-8 weeks before the last expected frost in your area. Check your local frost dates to be sure.
2. Prepare Your Seed Starting Mix: Use a good-quality seed starting mix. This is important because it’s sterile and provides the right nutrients for young seedlings.
3. Sow the Seeds: Fill your seed starting trays or pots with the mix and moisten it gently. Sow the seeds about 1/4 inch deep and cover them lightly with soil.
4. Provide Warmth and Light: Place the trays in a warm location (around 70-75°F) and provide plenty of light. A sunny windowsill might work, but a grow light is even better.
5. Keep the Soil Moist: Water the seedlings regularly, keeping the soil consistently moist but not soggy.
6. Thin the Seedlings: Once the seedlings have their first true leaves (the second set of leaves), thin them out so that only one seedling remains in each cell or pot.
7. Harden Off the Seedlings: About a week before you plan to transplant them outdoors, you’ll need to “harden off” the seedlings. This means gradually exposing them to outdoor conditions to help them adjust. Start by placing them outside for a few hours each day, gradually increasing the amount of time they spend outdoors.
Transplanting Your Broccoli
Whether you started from seeds or purchased transplants, the transplanting process is the same.
1. Prepare the Garden Bed: Choose a sunny location with well-drained soil. Broccoli needs at least 6 hours of sunlight per day. Amend the soil with compost or other organic matter to improve its fertility and drainage.
2. Space the Plants Properly: Space the broccoli plants about 18-24 inches apart in rows that are 24-36 inches apart. This will give them enough room to grow and prevent overcrowding.
3. Dig the Holes: Dig holes that are slightly larger than the root balls of the transplants.
4. Carefully Remove the Transplants: Gently remove the transplants from their containers, being careful not to damage the roots.
5. Plant the Transplants: Place the transplants in the holes and backfill with soil. Gently firm the soil around the base of the plants.
6. Water Thoroughly: Water the transplants thoroughly after planting.
Caring for Your Broccoli Plants
Once your broccoli plants are in the ground, it’s important to provide them with proper care to ensure a healthy and bountiful harvest.
1. Watering: Broccoli needs consistent moisture, especially during hot weather. Water deeply and regularly, aiming to keep the soil consistently moist but not waterlogged. I usually water every other day, but I adjust based on the weather.
2. Fertilizing: Broccoli is a heavy feeder, so it needs plenty of nutrients. Fertilize the plants every 2-3 weeks with a balanced fertilizer. You can also side-dress them with compost or aged manure.
3. Weeding: Keep the garden bed free of weeds, which can compete with the broccoli plants for nutrients and water. Hand-pull weeds regularly or use a hoe to cultivate the soil.
4. Mulching: Apply a layer of mulch around the broccoli plants to help retain moisture, suppress weeds, and regulate soil temperature. Straw, wood chips, or shredded leaves are all good options.
5. Pest Control: Broccoli is susceptible to a few common pests, including cabbage worms, aphids, and flea beetles. Inspect your plants regularly for signs of infestation and take action promptly.
* Cabbage Worms: These green caterpillars can devour broccoli leaves. Hand-pick them off the plants or use a biological insecticide like Bacillus thuringiensis (Bt).
* Aphids: These tiny insects suck sap from the plants, causing them to weaken and become distorted. Spray them with a strong stream of water or use insecticidal soap.
* Flea Beetles: These small, jumping beetles can create tiny holes in the leaves. Cover the plants with row covers to prevent them from reaching the plants.
6. Disease Prevention: Broccoli can also be affected by a few diseases, such as black rot and clubroot. To prevent these diseases, choose disease-resistant varieties, practice crop rotation, and avoid overwatering.
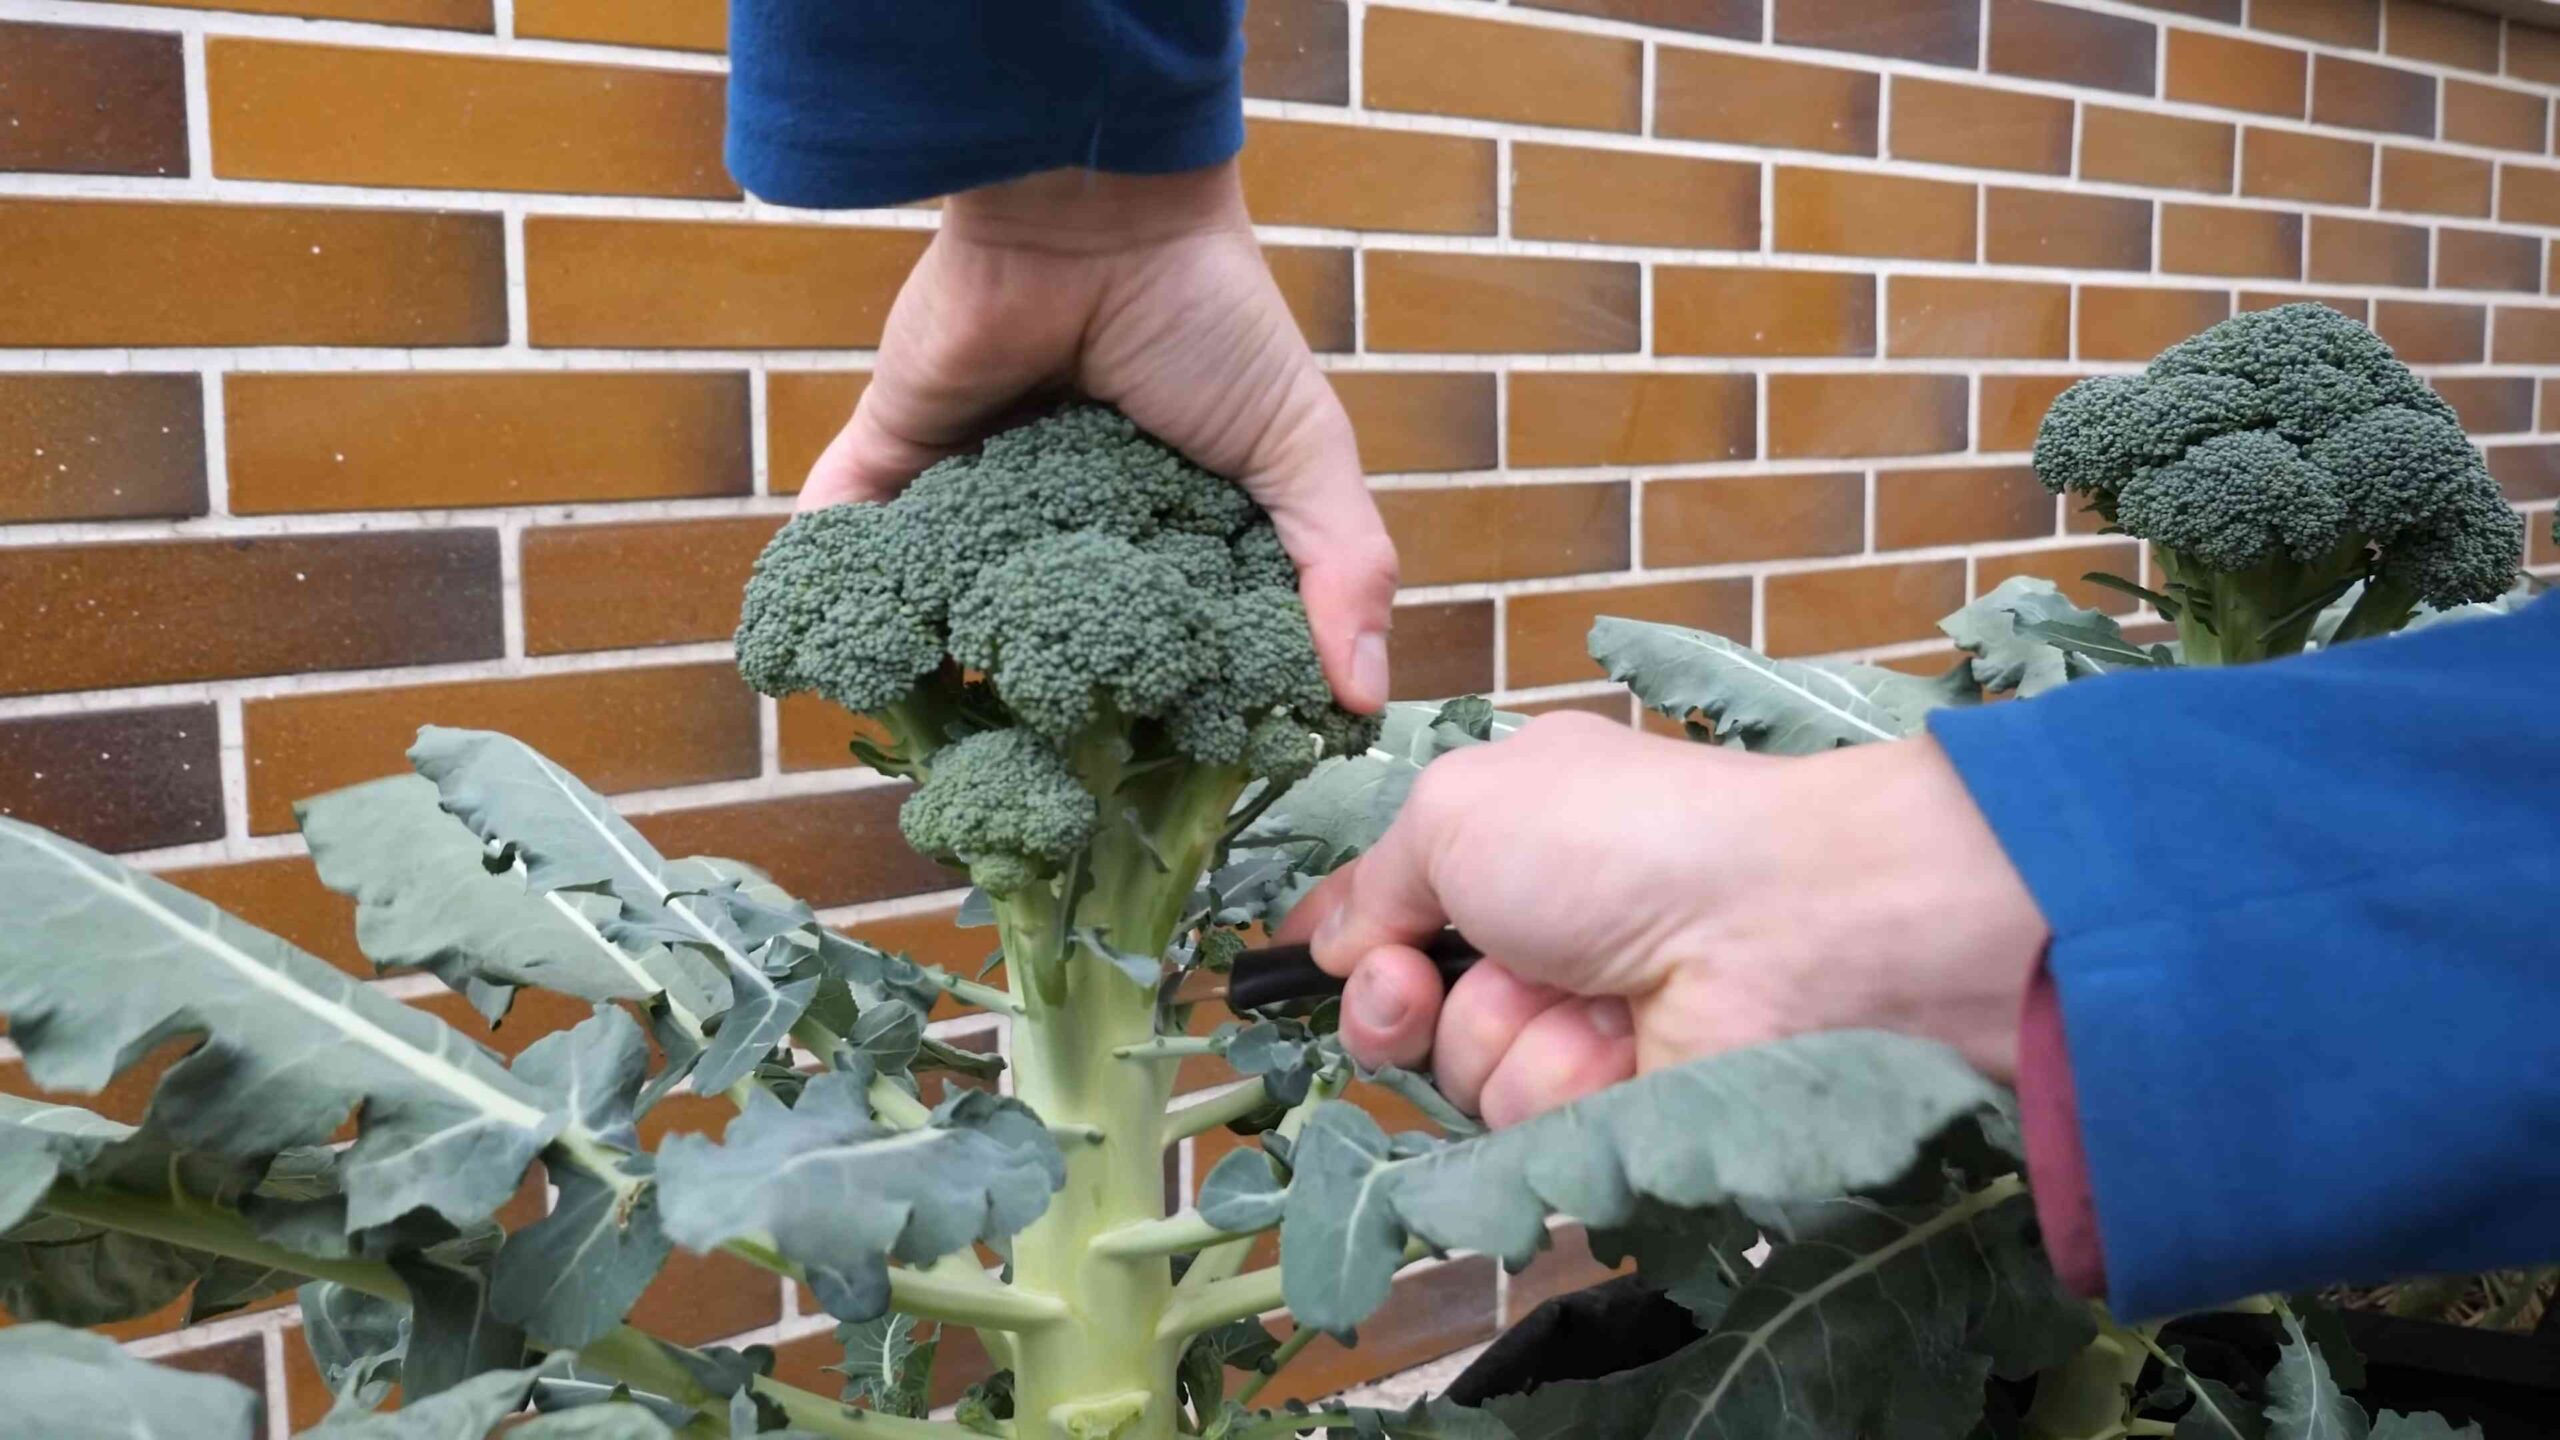
Harvesting Your Broccoli
The moment you’ve been waiting for! Harvesting your broccoli is the most rewarding part of the process.
1. Timing is Everything: Broccoli is ready to harvest when the central head is firm and tight, with tightly closed flower buds. If the buds start to open and turn yellow, it’s time to harvest immediately.
2. Cut the Head: Use a sharp knife to cut the central head from the plant, leaving about 6 inches of stem.
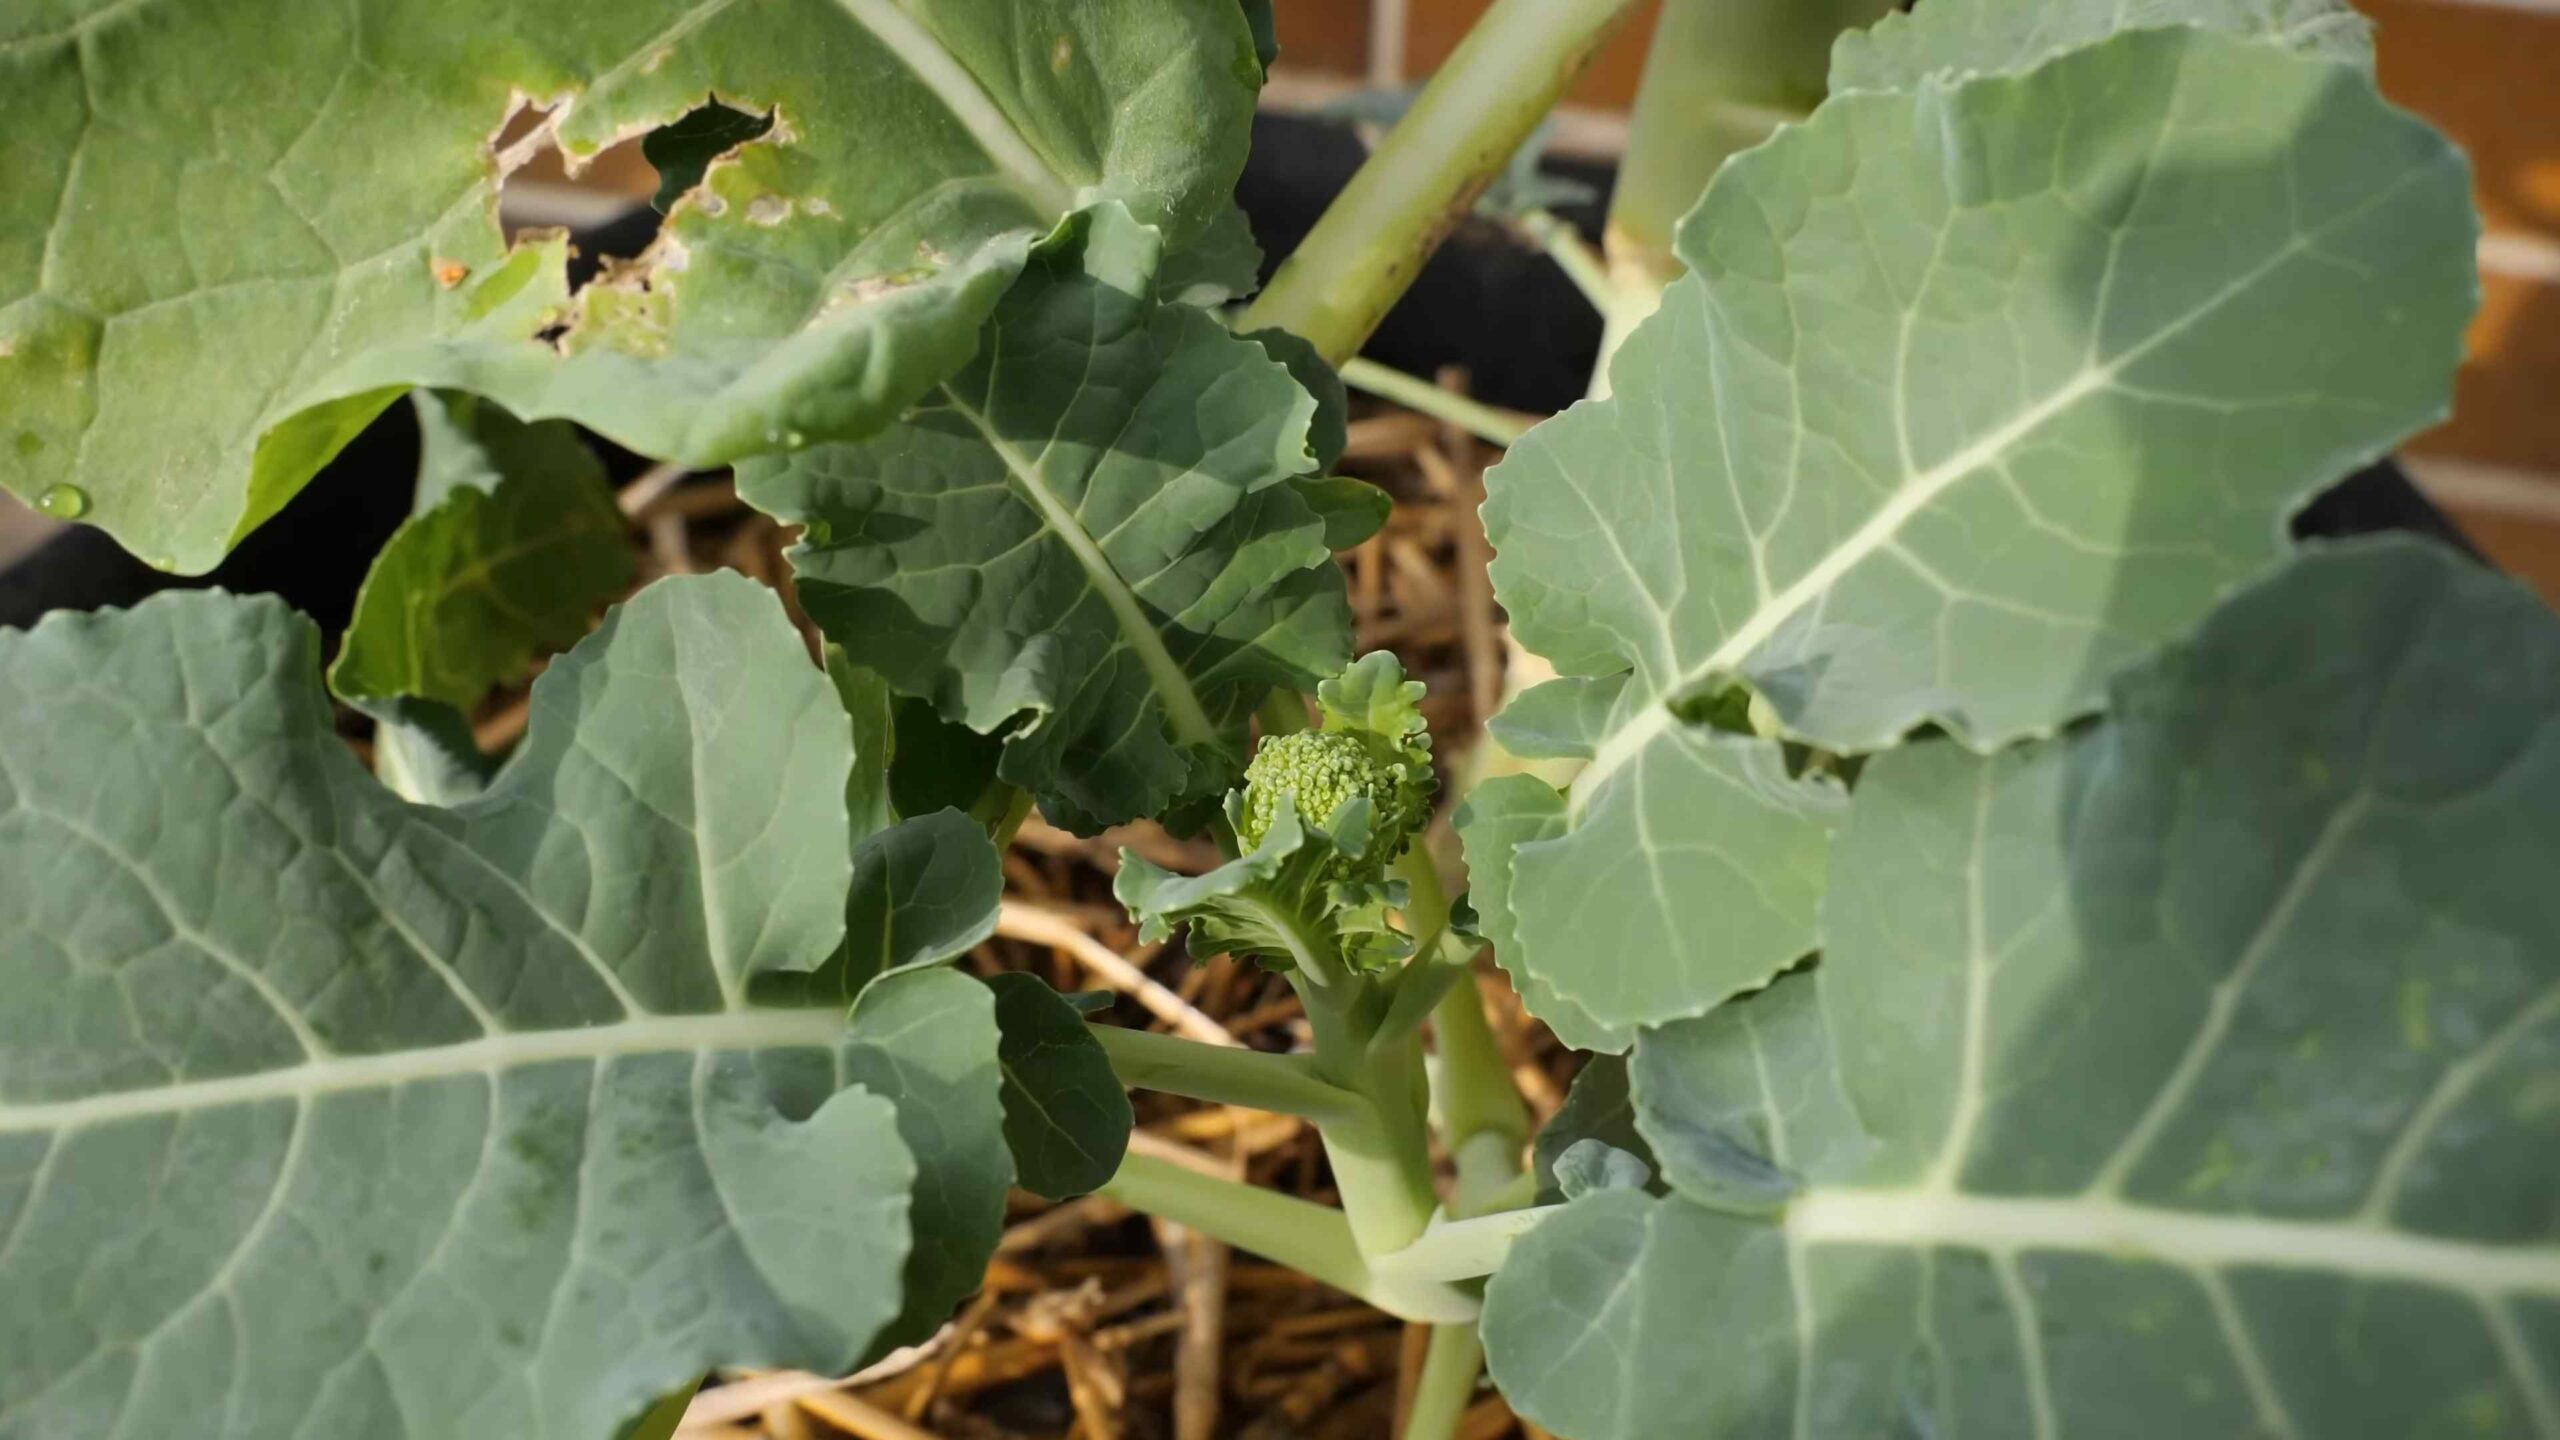
3. Encourage Side Shoots: After harvesting the main head, the plant will often produce smaller side shoots. Continue to water and fertilize the plant to encourage these side shoots to develop.
4. Enjoy Your Harvest: Enjoy your fresh, homegrown broccoli in salads, stir-fries, soups, or roasted as a side dish. It’s incredibly versatile and delicious!
Troubleshooting Common Broccoli Problems
Even with the best care, you might encounter a few problems along the way. Here are some common issues and how to address them:
* Small Heads: This can be caused by a lack of nutrients, insufficient sunlight, or overcrowding. Make sure your plants are getting enough fertilizer and sunlight, and space them properly.
* Yellowing Buds: This indicates that the broccoli is overripe and should be harvested immediately.
* Bolting: Bolting occurs when the plant prematurely flowers, usually due to hot weather. Choose heat-tolerant varieties and provide shade during the hottest part of the day.
* Pest Infestations: As mentioned earlier, broccoli is susceptible to several pests. Inspect your plants regularly and take action promptly to control infestations.
* Disease Problems: Choose disease-resistant varieties and practice good sanitation to prevent disease problems.
Extending Your Broccoli Season
Want to enjoy fresh broccoli for as long as possible? Here are a few tips for extending your growing season:
* Succession Planting: Plant new broccoli seedlings every few weeks to ensure a continuous harvest.
* Fall Planting: In mild climates, you can plant broccoli in the fall for a winter or early spring harvest.
* Cold Frames or Row Covers:
Conclusion
So, there you have it! Growing broccoli at home is not only achievable, but it’s also a deeply rewarding experience. Forget those bland, overpriced heads from the grocery store. Imagine biting into crisp, vibrant, and intensely flavorful broccoli that you nurtured from seed to harvest. The difference is truly remarkable.
This DIY approach to growing broccoli offers a multitude of benefits. You have complete control over the growing process, ensuring your broccoli is free from harmful pesticides and herbicides. You can choose the specific varieties you love most, experimenting with different flavors and textures. Plus, there’s an undeniable satisfaction that comes from providing fresh, healthy food for yourself and your family.
But the advantages don’t stop there. Growing your own broccoli is also a fantastic way to connect with nature, reduce your carbon footprint, and save money in the long run. It’s a sustainable and fulfilling hobby that can bring joy and nourishment to your life.
Why is this DIY broccoli growing method a must-try? Because it empowers you to cultivate superior quality broccoli, tailored to your preferences, while promoting a healthier lifestyle and a more sustainable environment. It’s a win-win-win!
Feeling adventurous? Consider these variations to personalize your broccoli growing journey:
* Succession Planting: Plant new seeds every few weeks to ensure a continuous harvest throughout the growing season.
* Companion Planting: Plant broccoli alongside beneficial companions like marigolds (to deter pests) or dill (to attract beneficial insects).
* Container Gardening: If you have limited space, grow broccoli in large containers on your patio or balcony. Choose dwarf varieties for best results.
* Different Varieties: Explore different broccoli varieties like ‘Romanesco’ (with its striking fractal pattern), ‘Purple Sprouting’ (for a unique color and flavor), or ‘Broccolini’ (a sweeter, more tender option).
* Hydroponics: For a more advanced approach, try growing broccoli hydroponically for faster growth and higher yields.
Don’t be intimidated if you’re a beginner. Growing broccoli at home is easier than you might think. With a little patience, attention, and the right guidance, you’ll be harvesting your own delicious broccoli in no time.
We wholeheartedly encourage you to give this DIY trick a try. Start small, learn as you go, and don’t be afraid to experiment. The rewards are well worth the effort.
And most importantly, we want to hear about your experience! Share your tips, successes, and challenges in the comments below. Let’s build a community of home broccoli growers and inspire others to embrace the joy of homegrown goodness. What are you waiting for? Get your hands dirty and start growing broccoli at home today!
Frequently Asked Questions (FAQ)
Q: How long does it take to grow broccoli from seed?
A: Generally, it takes about 70 to 100 days to grow broccoli from seed to harvest. However, this can vary depending on the variety, climate, and growing conditions. Starting seeds indoors 6-8 weeks before the last expected frost can shorten the time to harvest. Transplanting seedlings outdoors once the soil has warmed up will give them a head start.
Q: What are the best conditions for growing broccoli?
A: Broccoli thrives in cool weather with temperatures between 60°F and 70°F (15°C and 21°C). It requires at least 6 hours of direct sunlight per day and well-drained soil that is rich in organic matter. The soil pH should be between 6.0 and 7.0. Consistent watering is essential, especially during head formation.
Q: What are some common problems when growing broccoli and how can I prevent them?
A: Common problems include cabbage worms, aphids, clubroot, and downy mildew. To prevent these issues:
* Cabbage Worms: Cover your broccoli plants with row covers to prevent butterflies from laying eggs. Handpick any worms you find. Use Bacillus thuringiensis (Bt), a natural insecticide, if necessary.
* Aphids: Spray plants with a strong stream of water to dislodge aphids. Introduce beneficial insects like ladybugs. Use insecticidal soap as a last resort.
* Clubroot: Ensure good soil drainage and avoid planting broccoli in the same spot year after year. Amend the soil with lime to raise the pH.
* Downy Mildew: Provide good air circulation around plants. Avoid overhead watering. Use a copper-based fungicide if necessary.
Q: How do I know when my broccoli is ready to harvest?
A: Broccoli is ready to harvest when the head is firm, tight, and the flower buds are still closed. The head should be a deep green color. Use a sharp knife to cut the head from the plant, leaving a few inches of stem. Side shoots may develop after the main head is harvested, providing additional smaller harvests.
Q: Can I grow broccoli in containers?
A: Yes, you can grow broccoli in containers. Choose a large container (at least 12 inches in diameter) with drainage holes. Use a high-quality potting mix. Dwarf varieties of broccoli are best suited for container gardening. Ensure the container receives at least 6 hours of sunlight per day. Water regularly and fertilize every few weeks.
Q: What kind of fertilizer should I use for broccoli?
A: Broccoli is a heavy feeder and benefits from regular fertilization. Use a balanced fertilizer (e.g., 10-10-10) at planting time. Side-dress with a nitrogen-rich fertilizer (e.g., ammonium nitrate) every few weeks during the growing season. You can also use compost tea or other organic fertilizers.
Q: Can I eat the broccoli leaves?
A: Yes, broccoli leaves are edible and nutritious. They can be cooked like kale or collard greens. Choose young, tender leaves for the best flavor.
Q: Is it better to start broccoli seeds indoors or outdoors?
A: Starting broccoli seeds indoors is generally recommended, especially in areas with short growing seasons. This allows you to get a head start on the growing season and protect the seedlings from harsh weather conditions. However, you can also direct sow broccoli seeds outdoors if you live in an area with a mild climate and a long growing season.
Q: How often should I water my broccoli plants?
A: Water broccoli plants regularly, especially during dry periods. Aim to keep the soil consistently moist but not waterlogged. Water deeply at the base of the plants, avoiding overhead watering to prevent fungal diseases. Check the soil moisture regularly and adjust watering frequency as needed.
Q: What are some good companion plants for broccoli?
A: Good companion plants for broccoli include:
* Marigolds: Deter pests like nematodes and cabbage moths.
* Dill: Attract beneficial insects like ladybugs and lacewings.
* Nasturtiums: Trap aphids and other pests.
* Onions and Garlic: Repel pests and improve soil health.
* Rosemary and Thyme: Repel cabbage moths.
* Lettuce and Spinach: Provide ground cover and suppress weeds.


Leave a Comment