

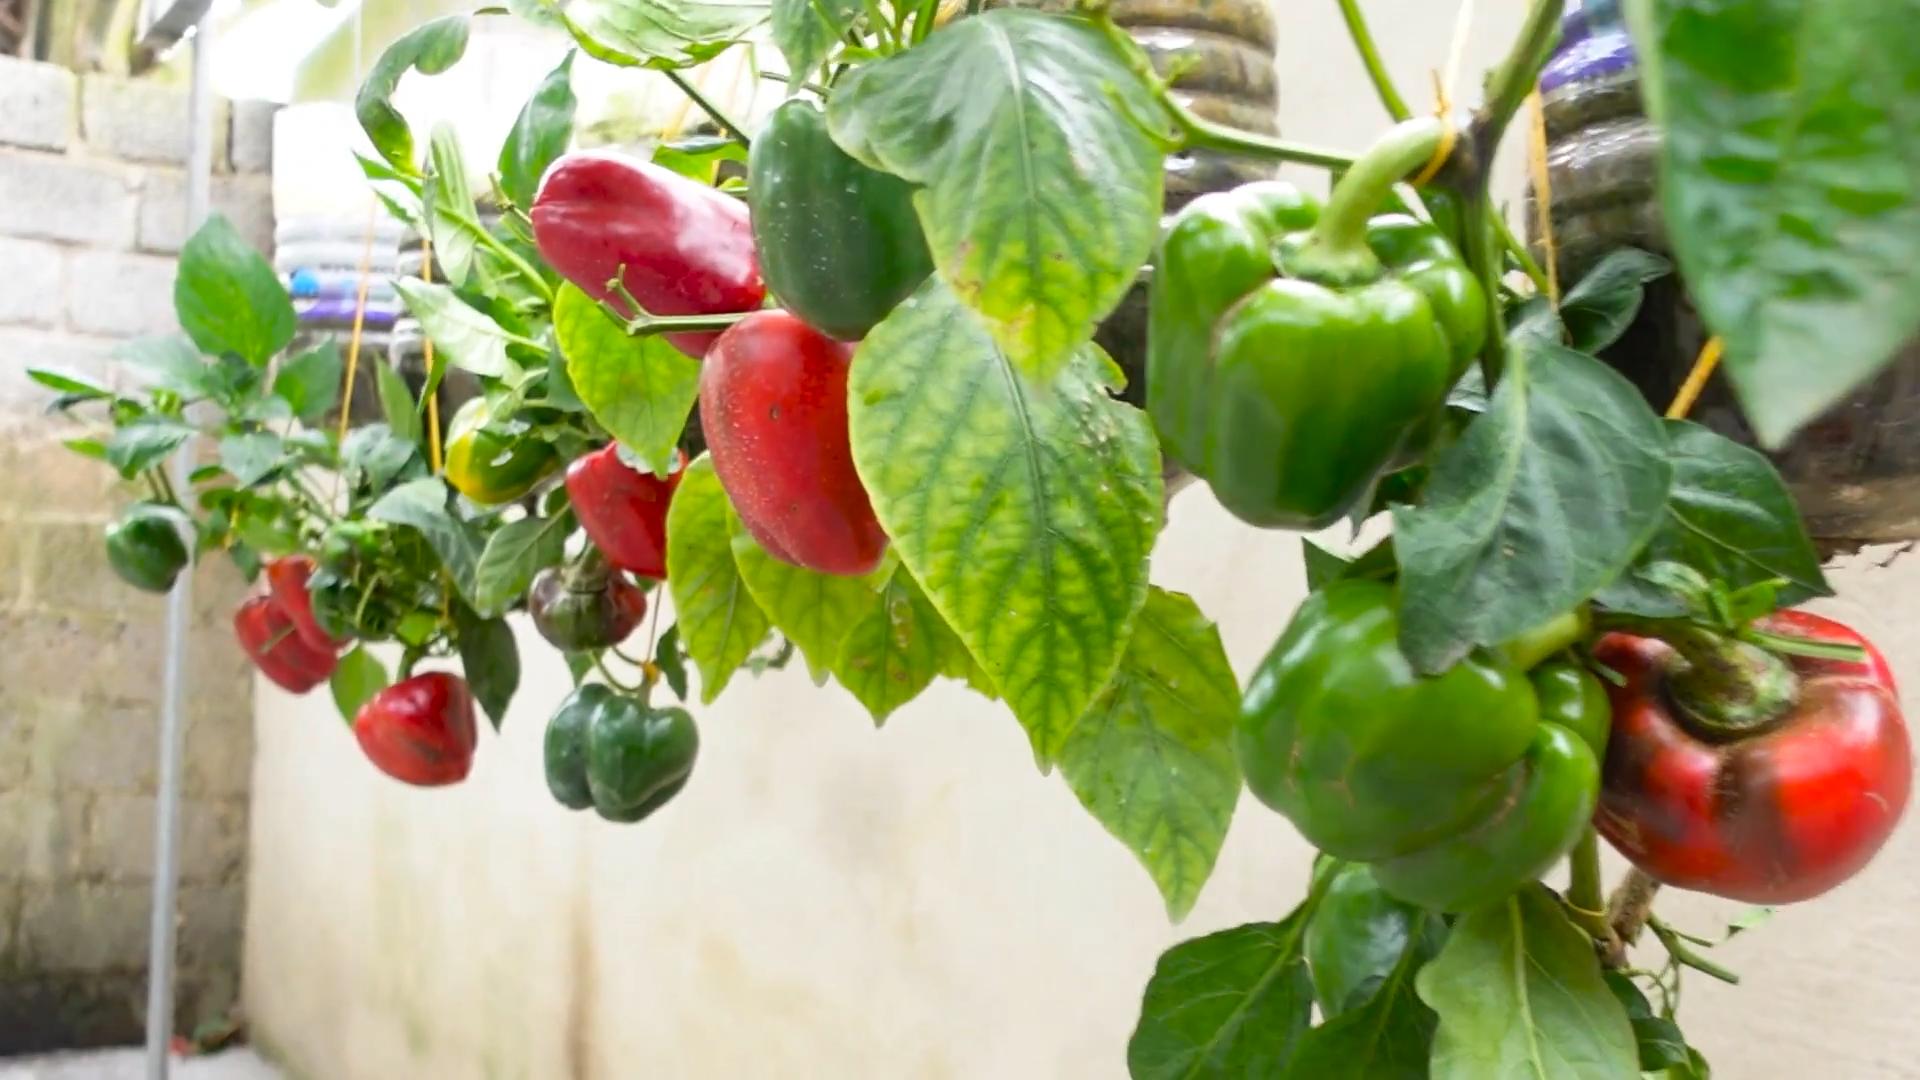
Grow bell peppers small space? Absolutely! Imagine biting into a crisp, juicy bell pepper, bursting with flavor, that you nurtured from a tiny seed, even if you only have a balcony or a sunny windowsill. For centuries, humans have cultivated gardens in limited spaces, from the hanging gardens of Babylon to the intricate courtyard gardens of ancient Rome. This tradition continues today, fueled by a desire for fresh, healthy food and a connection to nature, regardless of square footage.
But let’s be honest, sometimes gardening feels overwhelming, especially when space is at a premium. That’s where clever DIY tricks and hacks come in! I’m here to share some of my favorite, tried-and-true methods to help you successfully grow bell peppers small space, even if you think you don’t have enough room.
This article is packed with practical tips and easy-to-follow instructions that will empower you to transform even the tiniest area into a thriving bell pepper haven. Forget expensive equipment or complicated techniques. I’ll show you how to maximize your yield, choose the right varieties, and troubleshoot common problems, all while saving money and enjoying the satisfaction of growing your own delicious peppers. So, grab your gardening gloves, and let’s get started!
Growing Bell Peppers in Small Spaces: A DIY Guide
Hey there, fellow gardening enthusiasts! So, you’re itching to grow some vibrant, crunchy bell peppers but are short on space? Don’t worry, I’ve got you covered! I’ve been growing bell peppers in containers for years, and I’m here to share all my secrets for a bountiful harvest, even if you only have a balcony, patio, or small yard. Let’s dive in!
Choosing the Right Bell Pepper Variety
First things first, not all bell pepper varieties are created equal when it comes to container gardening. Some grow much larger than others and require more space. Here are a few of my favorite compact bell pepper varieties that thrive in containers:
* ‘Mini Bell’: As the name suggests, these produce smaller, bite-sized peppers that are perfect for snacking. They’re super productive and don’t need a huge container.
* ‘Patio Bell’: This variety is specifically bred for container gardening. It’s compact, early-maturing, and produces a good yield of standard-sized bell peppers.
* ‘Lunchbox’: Similar to ‘Mini Bell’, ‘Lunchbox’ peppers are small and sweet, making them ideal for kids’ lunches or a quick snack. They come in a variety of colors, adding a splash of vibrancy to your garden.
* ‘Sweet Palermo’: While technically not a bell pepper, these elongated, sweet peppers are just as versatile and delicious. They’re also relatively compact and do well in containers.
Gathering Your Supplies
Okay, now that we’ve picked our pepper variety, let’s gather the necessary supplies. Here’s what you’ll need:
* Containers: Choose containers that are at least 12 inches in diameter and 12 inches deep. Larger is always better, as it gives the roots more room to grow. I personally prefer using 5-gallon buckets or large resin pots. Make sure your containers have drainage holes!
* Potting Mix: Don’t use garden soil in your containers! It’s too heavy and compacts easily, which can suffocate the roots. Instead, opt for a high-quality potting mix that’s lightweight and well-draining. I like to use a mix of peat moss, perlite, and vermiculite.
* Bell Pepper Seedlings or Seeds: You can either start your bell peppers from seed indoors or purchase seedlings from a local nursery. Starting from seed gives you more control over the variety, but buying seedlings is quicker and easier.
* Fertilizer: Bell peppers are heavy feeders, so you’ll need to fertilize them regularly. Use a balanced fertilizer (e.g., 10-10-10) or a fertilizer specifically formulated for vegetables. I also like to supplement with compost tea every few weeks.
* Watering Can or Hose: You’ll need a way to water your plants regularly. A watering can is fine for a few containers, but a hose with a gentle spray nozzle is more convenient if you have a larger garden.
* Stakes or Cages (Optional): As your bell pepper plants grow, they may need some support to prevent them from toppling over, especially when they’re loaded with fruit. Stakes or cages can provide this support.
* Gardening Gloves: Protect your hands from dirt and potential irritants.
* Trowel or Small Shovel: For transplanting seedlings or adding potting mix.
Planting Your Bell Peppers
Alright, let’s get our hands dirty! Here’s how to plant your bell peppers in containers:
1. Prepare the Containers: Fill your containers with potting mix, leaving about an inch or two of space at the top.
2. Planting Seedlings: If you’re using seedlings, gently remove them from their nursery pots. Loosen the roots slightly with your fingers. Dig a hole in the potting mix that’s large enough to accommodate the root ball. Place the seedling in the hole and backfill with potting mix, gently firming the soil around the base of the plant. Make sure the top of the root ball is level with the surrounding soil.
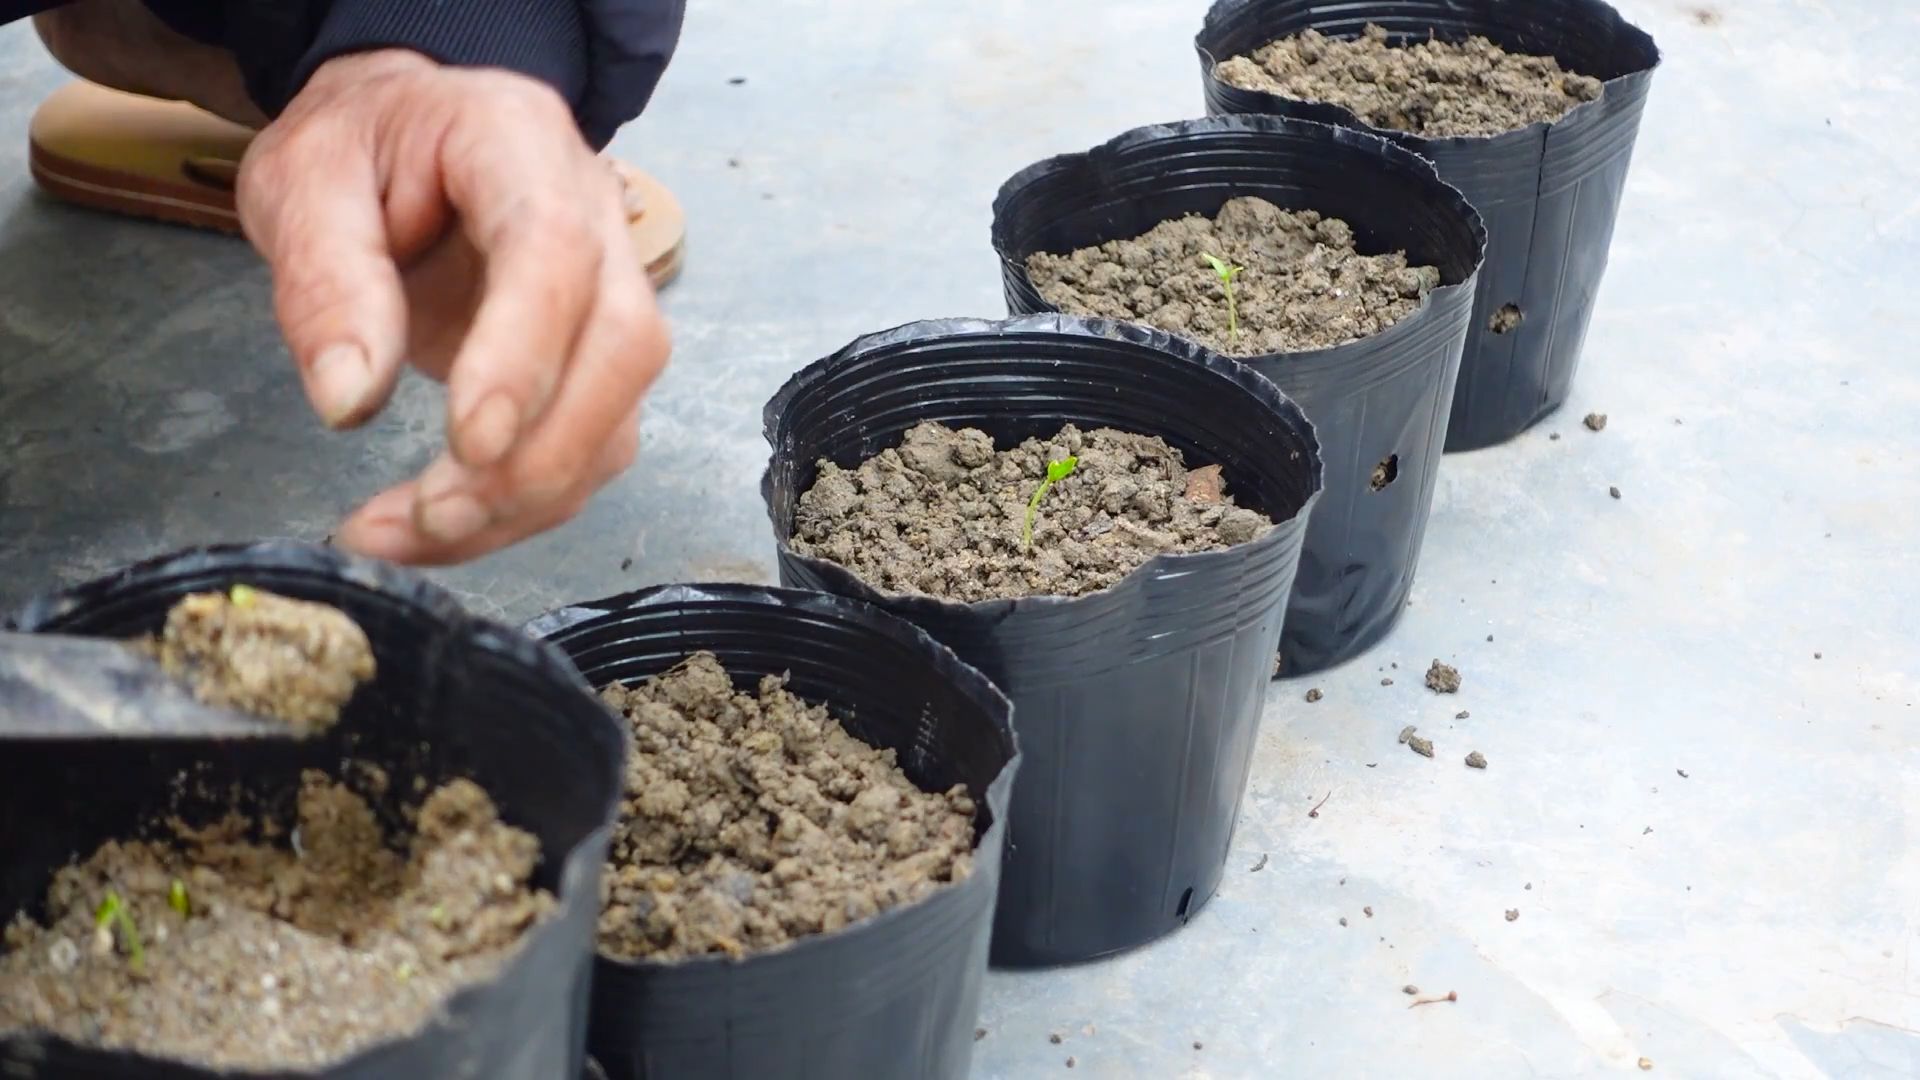
3. Planting Seeds: If you’re starting from seed, sow the seeds about 1/4 inch deep in the potting mix. Water gently and keep the soil consistently moist until the seeds germinate. Once the seedlings have developed a few sets of true leaves, thin them out to one plant per container.
4. Water Thoroughly: After planting, water your bell pepper plants thoroughly until the water drains out of the bottom of the container.
5. Add Support (Optional): If you’re using stakes or cages, install them now to avoid damaging the roots later.
Caring for Your Bell Peppers
Now that your bell peppers are planted, it’s time to provide them with the care they need to thrive.
1. Sunlight: Bell peppers need at least 6-8 hours of sunlight per day. Place your containers in a sunny location where they’ll receive plenty of direct sunlight. If you don’t have a sunny spot, you can supplement with grow lights.
2. Watering: Water your bell pepper plants regularly, especially during hot, dry weather. Check the soil moisture by sticking your finger into the soil. If the top inch of soil feels dry, it’s time to water. Avoid overwatering, as this can lead to root rot. Water deeply and thoroughly, allowing the water to drain out of the bottom of the container.
3. Fertilizing: Fertilize your bell pepper plants every 2-3 weeks with a balanced fertilizer or a fertilizer specifically formulated for vegetables. Follow the instructions on the fertilizer label. I also like to supplement with compost tea every few weeks to provide additional nutrients.
4. Pruning: Pruning isn’t strictly necessary for bell peppers, but it can help to improve air circulation and encourage bushier growth. Remove any suckers (small shoots that grow from the base of the plant) and any yellowing or diseased leaves.
5. Pest and Disease Control: Keep an eye out for pests and diseases. Common pests that affect bell peppers include aphids, whiteflies, and spider mites. You can control these pests with insecticidal soap or neem oil. Common diseases include blossom end rot and fungal diseases. Blossom end rot is caused by a calcium deficiency and can be prevented by adding calcium to the soil. Fungal diseases can be prevented by providing good air circulation and avoiding overhead watering.
6. Pollination: Bell peppers are self-pollinating, but they may need some help, especially if you’re growing them indoors or in a sheltered location. You can hand-pollinate your bell peppers by gently shaking the plants or using a small paintbrush to transfer pollen from one flower to another.
Harvesting Your Bell Peppers
The moment we’ve all been waiting for! Harvesting your delicious, homegrown bell peppers.
1. Timing: Bell peppers are typically ready to harvest 60-80 days after transplanting, depending on the variety. The peppers should be firm, glossy, and fully colored.
2. Harvesting Technique: Use a sharp knife or pruning shears to cut the peppers from the plant. Cut the stem about an inch above the pepper.
3. Enjoy! Once harvested, you can enjoy your bell peppers fresh, cooked, or preserved. They’re delicious in salads, stir-fries, soups, and stews. You can also roast, grill, or stuff them.
Troubleshooting
Even with the best care, you might encounter some problems along the way. Here are a few common issues and how to address them:
* Blossom End Rot: This is a common problem that causes the bottom of the pepper to rot. It’s caused by a calcium deficiency. To prevent blossom end rot, add calcium to the soil before planting and water regularly. You can also use a calcium-rich fertilizer.
* Yellowing Leaves: Yellowing leaves can be caused by a variety of factors, including nutrient deficiencies, overwatering, and pests. Check the soil moisture and fertilize your plants if necessary. Inspect the leaves for pests and treat accordingly.
* Lack of Fruit: If your bell pepper plants aren’t producing fruit, it could be due to a lack of sunlight, poor pollination, or nutrient deficiencies. Make sure your plants are getting enough sunlight and hand-pollinate them if necessary. Fertilize your plants with a balanced fertilizer.
* Pest Infestations: Keep a close eye on your plants for pests. Treat infestations promptly with insecticidal soap or neem oil.
Extra Tips for Success
Here are a few extra tips to help you grow the best bell peppers possible in your small space:
* Choose the Right Container Size: As I mentioned earlier, larger containers are always better. A 5-gallon bucket is a good starting point, but if you have the space, go for a larger container.
* Use High-Quality Potting Mix: Don’t skimp on the potting mix! A high-quality potting mix will provide your
Conclusion
So, there you have it! Growing bell peppers in a small space isn’t just a pipe dream; it’s an achievable reality with a little ingenuity and the right approach. We’ve explored the key strategies, from selecting compact varieties to optimizing your container setup and mastering essential care techniques. But why should you bother with this DIY endeavor?
Simply put, cultivating your own bell peppers offers a unique blend of satisfaction, cost-effectiveness, and unparalleled freshness. Imagine stepping onto your balcony or patio and harvesting vibrant, crisp bell peppers, knowing exactly where they came from and how they were grown. The taste difference between a store-bought pepper and one nurtured with your own hands is remarkable. Plus, you’ll be reducing your carbon footprint by minimizing transportation and packaging waste.
This isn’t just about saving money or having access to fresh produce; it’s about connecting with nature, learning new skills, and enjoying the fruits (or vegetables!) of your labor. The vibrant colors of the ripening peppers will add beauty to your small space, creating a mini-oasis of green.
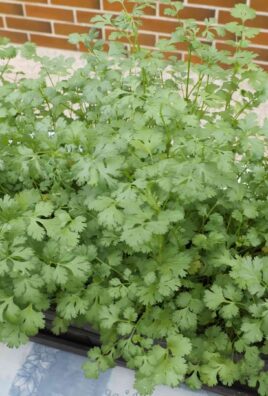
But the beauty of this DIY project lies in its adaptability. Feel free to experiment with different bell pepper varieties. Try growing miniature bell peppers like ‘Baby Bell’ or ‘Mini Belle’ for even more compact options. You could also explore different container materials – terracotta pots, fabric grow bags, or even repurposed buckets can all work well. Consider companion planting basil or marigolds alongside your bell peppers to deter pests and attract beneficial insects.
Don’t be afraid to tweak the watering schedule based on your local climate and the specific needs of your plants. Some gardeners find that adding a layer of mulch to the soil helps retain moisture and suppress weeds. Others swear by foliar feeding with diluted seaweed extract to boost growth and fruit production. The possibilities are endless!
Ultimately, the best way to learn is by doing. So, we wholeheartedly encourage you to give this DIY trick a try. Start small, be patient, and don’t be discouraged by the occasional setback. Gardening is a journey, and every mistake is an opportunity to learn and improve.
We’re confident that you’ll be amazed by what you can achieve, even in the smallest of spaces. And once you’ve harvested your first batch of homegrown bell peppers, we’d love to hear about your experience! Share your tips, tricks, and photos in the comments below. Let’s create a community of small-space bell pepper growers and inspire others to embrace the joy of urban gardening. Remember, even a tiny balcony can become a thriving garden with a little bit of effort and the right knowledge. So, go ahead, get your hands dirty, and experience the magic of growing your own delicious, fresh bell peppers! This is truly the best way to **grow bell peppers small space**.
Frequently Asked Questions (FAQ)
What is the best type of bell pepper to grow in a small space?
The best bell pepper varieties for small spaces are compact or dwarf varieties. These are specifically bred to stay smaller and produce well in containers. Some excellent choices include:
* **’Baby Bell’ or ‘Mini Belle’:** These are miniature bell peppers that are perfect for small pots and balconies. They produce an abundance of small, sweet peppers.
* **’Patio Bell’:** As the name suggests, this variety is specifically designed for patio containers. It’s a compact plant that yields good-sized peppers.
* **’Lunchbox’:** Another small pepper variety that comes in a mix of colors. Great for snacking and adding color to your garden.
* **’Gourmet Orange’:** A slightly larger plant, but still manageable in a container. Produces sweet, orange bell peppers.
When choosing a variety, consider the size of your container and the amount of sunlight your space receives. Read the seed packet or plant label for specific information on plant size and growing requirements.
How much sunlight do bell peppers need?
Bell peppers are sun-loving plants and require at least 6-8 hours of direct sunlight per day to thrive. If you don’t have a spot that receives this much sunlight, you can supplement with grow lights. Place the grow lights about 6-12 inches above the plants and keep them on for 12-14 hours per day. Insufficient sunlight can lead to leggy growth, poor fruit production, and bland-tasting peppers.
What size container is needed for bell peppers?
A minimum of 5-gallon container is recommended for each bell pepper plant. Larger containers, such as 10-gallon or even larger, are even better as they provide more room for the roots to grow and allow the plant to access more nutrients and water. Make sure the container has drainage holes to prevent waterlogging.
What type of soil should I use for growing bell peppers in containers?
Use a high-quality potting mix that is well-draining and rich in organic matter. Avoid using garden soil, as it can become compacted in containers and doesn’t drain well. A good potting mix will contain ingredients like peat moss, perlite, vermiculite, and compost. You can also add slow-release fertilizer to the potting mix to provide a steady supply of nutrients to the plants.
How often should I water bell peppers in containers?
Water bell peppers regularly, especially during hot and dry weather. The soil should be kept consistently moist, but not waterlogged. Check the soil moisture by sticking your finger about an inch into the soil. If it feels dry, it’s time to water. Water deeply, until water drains out of the drainage holes. Avoid overhead watering, as this can promote fungal diseases.
How often should I fertilize bell peppers?
Bell peppers are heavy feeders and benefit from regular fertilization. Start fertilizing about two weeks after transplanting the seedlings into containers. Use a balanced fertilizer (e.g., 10-10-10) diluted to half strength. Fertilize every 2-3 weeks throughout the growing season. You can also use a fertilizer specifically formulated for tomatoes and peppers.
How do I prevent pests and diseases on my bell pepper plants?
Regularly inspect your plants for pests and diseases. Common pests that affect bell peppers include aphids, spider mites, and whiteflies. You can control these pests by spraying the plants with insecticidal soap or neem oil. Fungal diseases, such as powdery mildew and blossom end rot, can also affect bell peppers. Prevent these diseases by providing good air circulation, avoiding overhead watering, and ensuring proper calcium levels in the soil.
Why are my bell pepper flowers falling off?
Bell pepper flowers can fall off due to several reasons, including:
* **Temperature fluctuations:** Extreme temperatures (too hot or too cold) can cause flower drop.
* **Insufficient pollination:** Bell peppers are self-pollinating, but sometimes they need a little help. Gently shake the plants or use a small paintbrush to transfer pollen from one flower to another.
* **Lack of nutrients:** Insufficient phosphorus or potassium can lead to flower drop.
* **Water stress:** Both overwatering and underwatering can cause flower drop.
How long does it take for bell peppers to mature?
Bell peppers typically take 60-90 days to mature after transplanting. The exact time depends on the variety and growing conditions. You can harvest bell peppers when they are fully colored and firm to the touch.
Can I grow bell peppers indoors?
Yes, you can grow bell peppers indoors, but you’ll need to provide them with adequate light and warmth. Place the plants near a sunny window or use grow lights. You’ll also need to pollinate the flowers manually.
What is blossom end rot and how do I prevent it?
Blossom end rot is a condition that causes the bottom of the bell pepper to turn black and leathery. It’s caused by a calcium deficiency in the fruit, which is often due to inconsistent watering or poor calcium uptake. To prevent blossom end rot, ensure consistent watering, add calcium to the soil (e.g., bone meal or crushed eggshells), and avoid over-fertilizing with nitrogen.
Can I save seeds from my homegrown bell peppers?
Yes, you can save seeds from your homegrown bell peppers, but keep in mind that the resulting plants may not be true to type, especially if you grew hybrid varieties. To save seeds, allow the peppers to fully ripen on the plant, then remove the seeds and dry them thoroughly before storing them in a cool, dark place.
Leave a Comment