

Grow Artichokes at Home? Absolutely! Imagine stepping into your backyard and harvesting your very own spiky treasures, ready to be steamed, grilled, or dipped in delicious aioli. It sounds like a dream, right? Well, it doesn’t have to be! This DIY guide is your passport to cultivating these gourmet delights right in your own garden.
Artichokes, with their architectural beauty and delectable hearts, have a rich history. Originating in the Mediterranean, they were prized by the ancient Greeks and Romans for their culinary and medicinal properties. For centuries, they’ve been a symbol of abundance and sophistication, gracing the tables of royalty and inspiring artists alike.
But why should you bother to grow artichokes at home? Let’s be honest, those artichokes at the grocery store can be pricey! Plus, there’s nothing quite like the satisfaction of nurturing a plant from seedling to harvest. More importantly, growing your own allows you to control the quality and freshness, ensuring you’re enjoying the most flavorful and nutritious artichokes possible. In this article, I’ll share simple, effective DIY tricks and hacks that will empower you to successfully cultivate these unique plants, even if you’re a beginner gardener. Get ready to impress your friends and family with your homegrown artichoke bounty!
Growing Artichokes: A DIY Guide to Bountiful Blooms (and Delicious Hearts!)
Hey there, fellow garden enthusiasts! I’m so excited to share my experience with growing artichokes at home. These architectural beauties aren’t just stunning in the garden; they also produce those delectable hearts we all crave. While they might seem intimidating, trust me, with a little patience and the right know-how, you can absolutely cultivate your own artichoke patch. Let’s dive in!
Choosing Your Artichoke Variety
Before we get our hands dirty, let’s talk varieties. Different artichokes thrive in different climates, so picking the right one is crucial.
* Green Globe: This is the classic, most widely available variety. It’s reliable and produces large, flavorful artichokes. It’s a great choice for beginners.
* Violetta: If you’re looking for something a little different, Violetta artichokes are stunning with their purple hues. They tend to be smaller than Green Globes but have a unique, slightly sweeter flavor.
* Imperial Star: This variety is known for its early maturity, making it a good option for gardeners in cooler climates with shorter growing seasons.
* Big Heart: As the name suggests, this variety boasts exceptionally large hearts, perfect for those who love to indulge.
Consider your local climate and personal preferences when making your selection. I personally started with Green Globe because it’s so readily available and forgiving.
Getting Started: From Seed or Transplant?
You have two main options for starting your artichoke journey: seeds or transplants.
* Seeds: Starting from seed is more economical, but it requires more patience and effort. Artichokes started from seed may not produce in their first year.
* Transplants: Buying transplants gives you a head start and increases your chances of harvesting artichokes in the first year. This is the route I recommend for beginners.
I opted for transplants my first time around because I was eager to see results quickly. If you choose transplants, make sure they look healthy and vibrant, with no signs of pests or disease.
Preparing Your Artichoke Paradise
Artichokes are hungry plants, so soil preparation is key. They need well-draining soil that’s rich in organic matter.
* Sunlight: Artichokes need at least 6-8 hours of direct sunlight per day. Choose a location in your garden that receives plenty of sunshine.
* Soil: Amend your soil with plenty of compost or well-rotted manure. Artichokes prefer a slightly acidic to neutral soil pH (around 6.0-7.0). You can test your soil pH with a simple soil testing kit.
* Drainage: Ensure your soil drains well. Artichokes don’t like to sit in soggy soil, which can lead to root rot. If your soil is heavy clay, consider adding sand or perlite to improve drainage.
* Space: Artichokes can grow quite large, so give them plenty of space. I recommend spacing plants at least 4 feet apart.
I spent a good amount of time amending my soil before planting, and it definitely paid off. My artichokes thrived!
Planting Your Artichokes: A Step-by-Step Guide
Alright, let’s get those artichokes in the ground!
1. Dig the Hole: Dig a hole that’s twice as wide and as deep as the root ball of your transplant.
2. Amend the Hole: Mix some compost or well-rotted manure into the bottom of the hole. This will provide extra nutrients for your artichoke.
3. Gently Remove the Transplant: Carefully remove the transplant from its container, being careful not to damage the roots. Gently loosen the roots if they are tightly bound.
4. Place the Transplant: Place the transplant in the hole, ensuring that the top of the root ball is level with the surrounding soil.
5. Backfill the Hole: Backfill the hole with soil, gently firming it around the base of the plant.
6. Water Thoroughly: Water the newly planted artichoke thoroughly to help settle the soil and establish the roots.
7. Mulch: Apply a layer of mulch around the base of the plant to help retain moisture, suppress weeds, and regulate soil temperature. I like to use straw or wood chips.
Caring for Your Artichokes: The Nitty-Gritty
Once your artichokes are planted, it’s time to provide them with the care they need to flourish.
* Watering: Artichokes need consistent moisture, especially during dry periods. Water deeply and regularly, aiming to keep the soil consistently moist but not waterlogged. I usually water mine every few days, depending on the weather.
* Fertilizing: Artichokes are heavy feeders, so regular fertilization is essential. I like to use a balanced organic fertilizer every few weeks during the growing season. You can also side-dress with compost or well-rotted manure.
* Weeding: Keep the area around your artichokes free of weeds. Weeds compete with your artichokes for nutrients and water.
* Pest Control: Keep an eye out for pests such as aphids, snails, and slugs. You can control these pests with organic methods such as hand-picking, introducing beneficial insects, or using insecticidal soap. I’ve found that a strong blast of water from the hose can often dislodge aphids.
* Disease Prevention: Artichokes can be susceptible to diseases such as powdery mildew and root rot. To prevent these diseases, ensure good air circulation around your plants and avoid overwatering.
* Pruning: After harvesting the main artichoke bud, you can prune the plant to encourage the growth of side shoots, which will produce smaller artichokes. Cut back the main stem to just above a healthy leaf node.
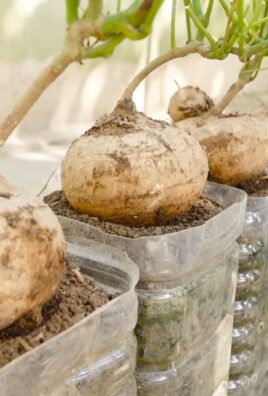
* Overwintering: In colder climates, artichokes need protection during the winter. Cut back the foliage to a few inches above the ground and mulch heavily with straw or leaves. You can also cover the plants with a frost blanket during periods of extreme cold. In very cold climates, you may need to dig up the plants and store them in a cool, dark place over the winter.
Harvesting Your Artichokes: The Moment of Truth
The anticipation is killing me! Harvesting artichokes is the most rewarding part of the process.
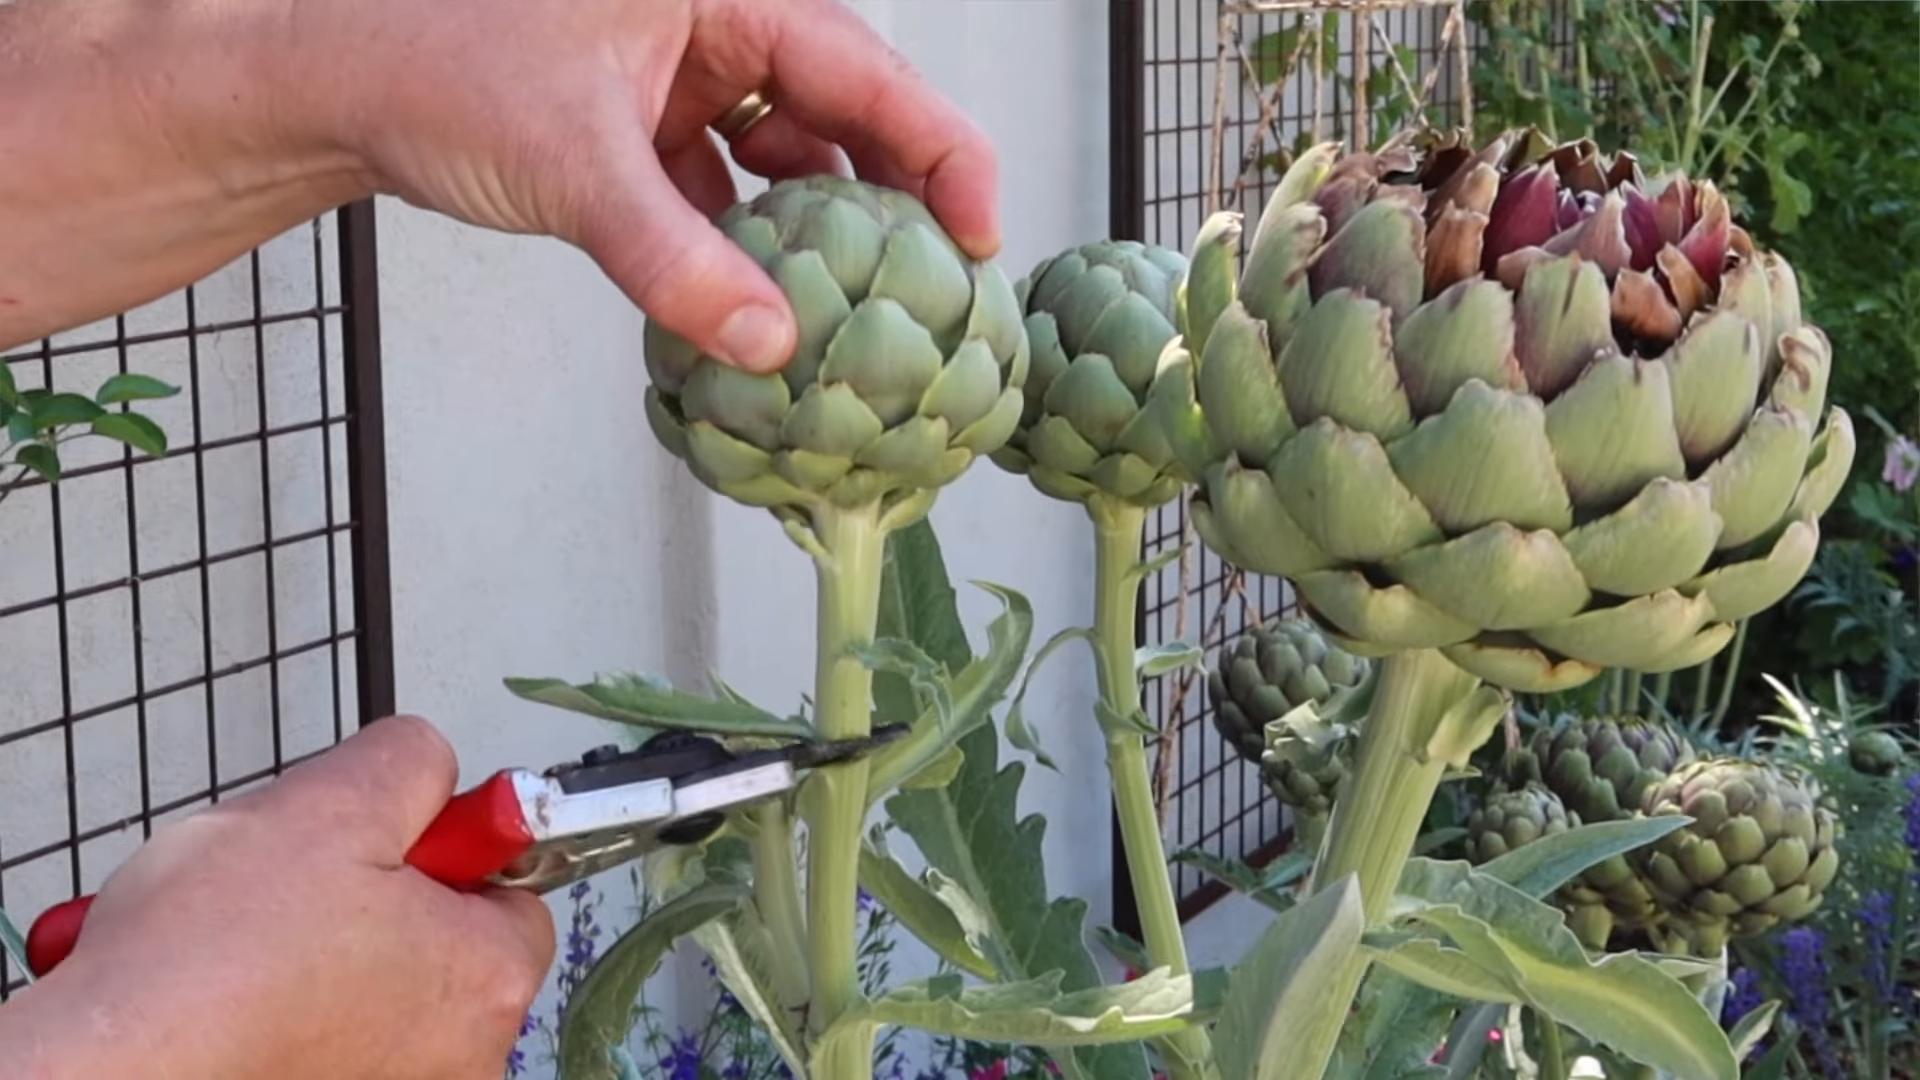
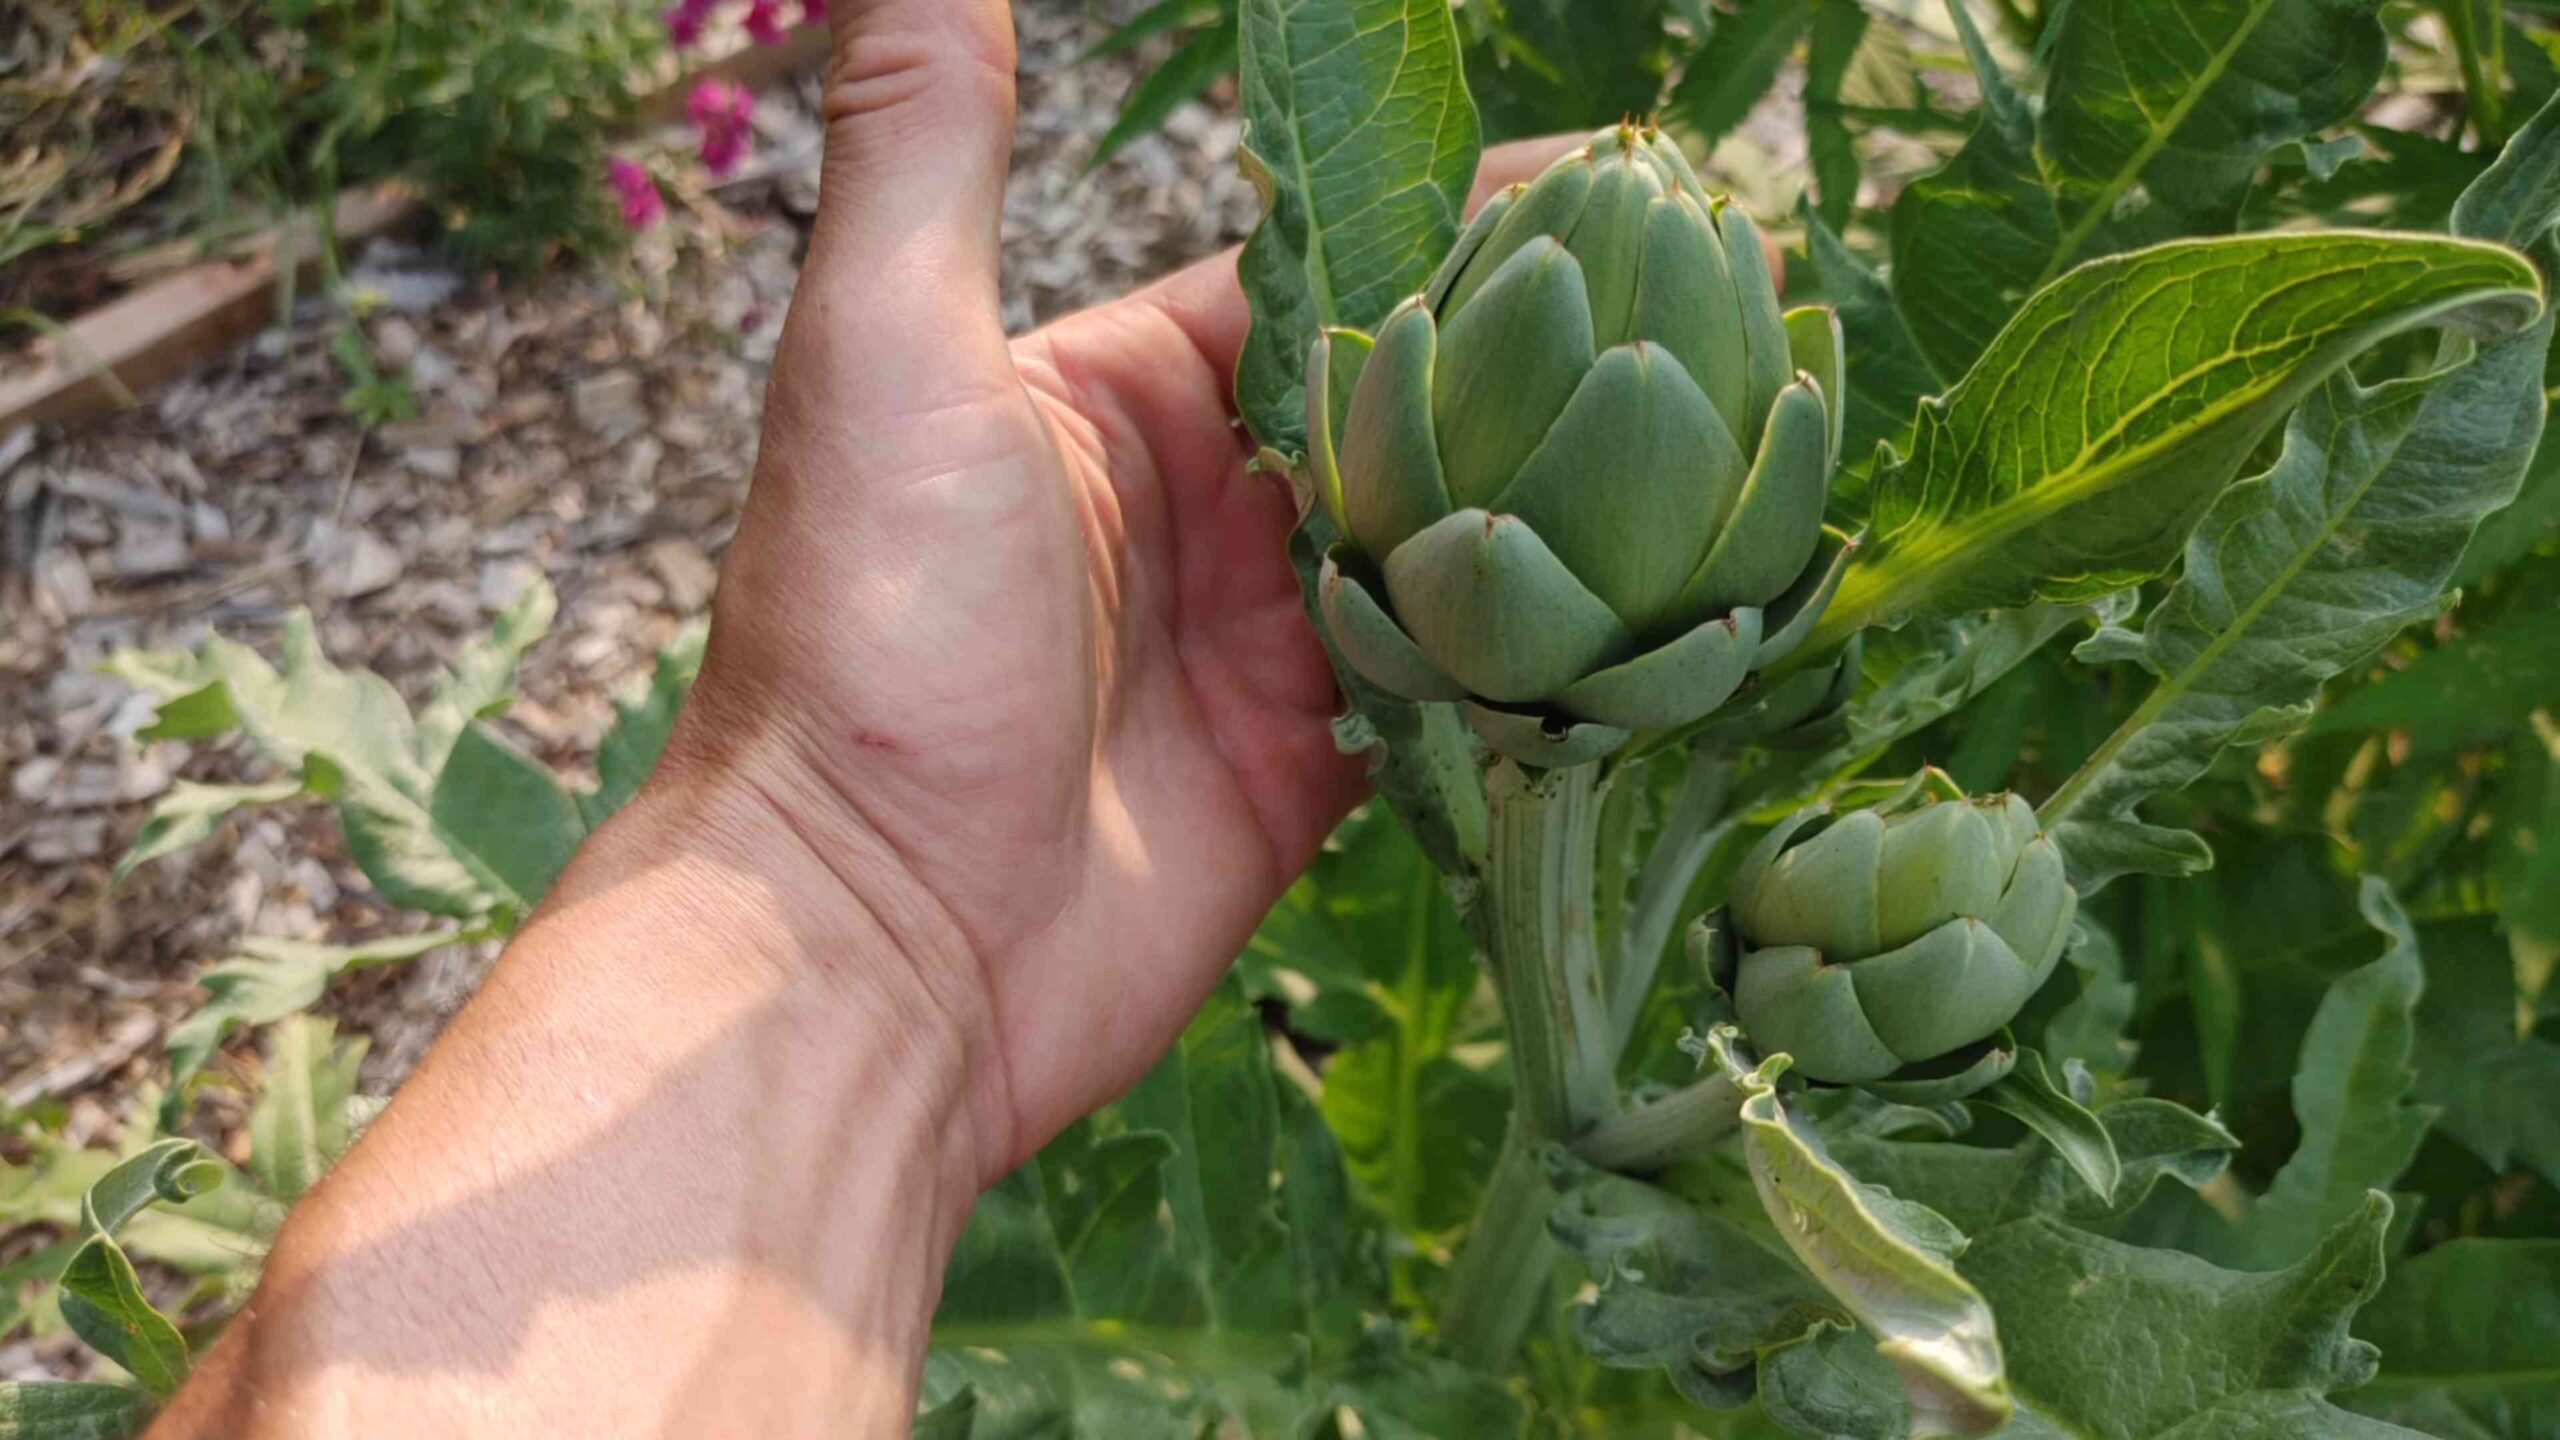
* Timing: Harvest artichokes when the buds are still tight and firm, before the scales begin to open. The size of the artichoke will vary depending on the variety, but generally, you should harvest when the bud is about 3-4 inches in diameter.
* Technique: Use a sharp knife to cut the artichoke stem about 2-3 inches below the bud.
* Storage: Artichokes can be stored in the refrigerator for up to a week. To store them, wrap them loosely in plastic wrap and place them in the crisper drawer.
I remember the first artichoke I harvested from my garden. It was such a proud moment! And the taste? Absolutely divine.
Troubleshooting: Common Artichoke Problems
Even with the best care, you might encounter some challenges along the way. Here are a few common problems and how to address them:
* Aphids: These tiny pests can suck the sap from your artichoke leaves, causing them to become distorted and yellowed. Control aphids with a strong blast of water from the hose, insecticidal soap, or by introducing beneficial insects such as ladybugs.
* Snails and Slugs: These slimy creatures can munch on your artichoke leaves, leaving behind unsightly holes. Control snails and slugs by hand-picking them, using beer traps, or applying diatomaceous earth around the base of the plants.
* Powdery Mildew: This fungal disease can cause a white, powdery coating on your artichoke leaves. Prevent powdery mildew by ensuring good air circulation around your plants and avoiding overhead watering. If powdery mildew does occur, treat it with a fungicide.
* Root Rot: This fungal disease can cause the roots of your artichoke to rot, leading to wilting and death. Prevent root rot by ensuring good drainage and avoiding overwatering. If root rot does occur, there’s unfortunately not much you can do to save the plant.
Enjoying Your Harvest: Culinary Delights
Now for the best part: enjoying the fruits (or rather, vegetables) of your labor! Artichokes are incredibly versatile and can be prepared in countless ways.
* Steaming: Steaming is a classic way to cook artichokes. Simply steam them until the leaves are tender and the heart is easily pierced with a fork. Serve with melted butter or your favorite dipping sauce.
* Grilling: Grilling artichokes gives them a smoky flavor that’s absolutely delicious. Cut the artichokes in half, brush them with olive oil, and grill them until tender.
* Roasting: Roasting artichokes brings out their natural sweetness. Toss them with olive oil, garlic, and herbs, and roast them until tender and slightly caramelized.
*
Conclusion
So, there you have it! Growing artichokes at home, while it might seem daunting at first, is a remarkably rewarding experience. It’s not just about adding a unique and delicious vegetable to your garden; it’s about connecting with the natural world, nurturing something from seed (or transplant) to harvest, and enjoying the unparalleled flavor of homegrown produce. Forget those bland, often fibrous artichokes you find at the grocery store. The taste of a freshly harvested, homegrown artichoke, steamed or grilled to perfection, is simply incomparable.
This DIY approach to artichoke cultivation empowers you to control every aspect of the growing process, from soil composition to pest management. You’ll know exactly what’s going into your food, ensuring a healthy and sustainable harvest for you and your family. Plus, think of the bragging rights! Imagine serving a stunning artichoke dish to your friends and family, proudly announcing that you grew them yourself.
But the benefits extend beyond just the culinary. Artichoke plants are also incredibly beautiful, adding a touch of Mediterranean elegance to any garden. Their large, silvery-green foliage and striking thistle-like flowers make them a focal point, attracting pollinators and adding visual interest throughout the growing season. They are truly ornamental edibles.
Don’t be afraid to experiment with different varieties of artichokes to find the ones that thrive best in your specific climate and soil conditions. ‘Green Globe’ is a classic choice, known for its large, meaty hearts, while ‘Violetta’ offers a beautiful purple hue and a slightly sweeter flavor. You can even try growing ‘Romanesco’, an Italian heirloom variety prized for its tender leaves and delicate taste.
Consider companion planting to further enhance your artichoke garden. Planting herbs like rosemary, thyme, and sage around your artichokes can help deter pests and attract beneficial insects. Marigolds are another excellent choice, known for their pest-repelling properties.
And remember, growing artichokes at home is a journey, not a destination. There will be challenges along the way, but with a little patience, persistence, and the knowledge you’ve gained from this guide, you’ll be well on your way to enjoying a bountiful harvest of these delicious and nutritious vegetables.
We strongly encourage you to give this DIY trick a try. Start small, perhaps with just a few plants, and gradually expand your artichoke garden as you gain experience. The satisfaction of harvesting your own homegrown artichokes is truly unmatched.
Finally, we’d love to hear about your experiences! Share your tips, tricks, and photos of your artichoke gardens in the comments below. Let’s create a community of artichoke enthusiasts and learn from each other. Happy growing!
Frequently Asked Questions (FAQ)
Q: What is the best time of year to plant artichokes?
A: The ideal time to plant artichokes depends on your climate. In regions with mild winters (zones 7-10), you can plant artichokes in the fall for a spring harvest. In colder climates (zones 6 and below), it’s best to start artichokes indoors in late winter or early spring and transplant them outdoors after the last frost. Starting them indoors gives them a head start and allows them to establish themselves before the heat of summer.
Q: How much space do artichoke plants need?
A: Artichoke plants can grow quite large, reaching up to 3-4 feet in height and width. Therefore, it’s essential to provide them with ample space to thrive. Plant artichokes at least 4 feet apart to allow for proper air circulation and sunlight penetration. This spacing will also make it easier to harvest the artichokes when they’re ready.
Q: What kind of soil do artichokes prefer?
A: Artichokes thrive in well-drained, fertile soil that is rich in organic matter. They prefer a slightly acidic to neutral soil pH (around 6.0-7.0). Before planting, amend your soil with compost, aged manure, or other organic materials to improve its drainage, fertility, and water-holding capacity. A soil test can help you determine the pH and nutrient levels of your soil and make necessary adjustments.
Q: How often should I water artichoke plants?
A: Artichokes need consistent moisture, especially during the growing season. Water deeply and regularly, ensuring that the soil remains consistently moist but not waterlogged. Avoid overhead watering, as this can increase the risk of fungal diseases. Drip irrigation or soaker hoses are excellent options for delivering water directly to the roots. During periods of drought, you may need to water more frequently.
Q: How do I fertilize artichoke plants?
A: Artichokes are heavy feeders and benefit from regular fertilization. Apply a balanced fertilizer (e.g., 10-10-10) in early spring, just as the plants begin to grow. You can also side-dress with compost or aged manure throughout the growing season to provide a steady supply of nutrients. Avoid over-fertilizing, as this can lead to excessive foliage growth at the expense of flower production.
Q: How do I protect artichoke plants from pests and diseases?
A: Artichokes can be susceptible to various pests and diseases, including aphids, snails, slugs, and powdery mildew. Regularly inspect your plants for signs of infestation or disease. Handpick pests whenever possible, and use organic pest control methods, such as insecticidal soap or neem oil, to control infestations. Ensure good air circulation around your plants to prevent fungal diseases. Remove any infected leaves or stems promptly to prevent the spread of disease.
Q: When are artichokes ready to harvest?
A: Artichokes are typically ready to harvest when the buds are plump and firm, and the outer bracts (leaves) begin to slightly open. The size of the artichoke will vary depending on the variety, but generally, you should harvest them when they reach about 3-4 inches in diameter. Use a sharp knife to cut the artichoke stem about 2-3 inches below the base of the bud.
Q: How do I store harvested artichokes?
A: Freshly harvested artichokes can be stored in the refrigerator for up to a week. To keep them fresh, wrap them loosely in a plastic bag or damp paper towel. Avoid washing them before storing, as this can promote spoilage.
Q: Can I grow artichokes in containers?
A: Yes, you can grow artichokes in containers, but you’ll need to choose a large container (at least 20 gallons) to accommodate their extensive root system. Use a well-draining potting mix and provide regular watering and fertilization. Container-grown artichokes may require more frequent watering than those grown in the ground.
Q: Are artichokes perennial or annual plants?
A: Artichokes are technically perennial plants, meaning they can live for several years. However, in colder climates, they are often grown as annuals because they may not survive the winter. In milder climates, you can protect your artichoke plants from frost by mulching heavily around the base of the plants.


Leave a Comment