

Grout Cleaning with Toothbrush: Are you tired of staring at dingy, discolored grout lines, wishing they could magically disappear? I know I have! It’s one of those household chores that always seems to linger on the to-do list, dreaded and avoided. But what if I told you the secret to sparkling grout was already sitting in your bathroom drawer?
Believe it or not, the humble toothbrush is a surprisingly effective weapon in the battle against grimy grout. While modern cleaning solutions abound, the concept of using small, targeted tools for cleaning intricate areas has roots in traditional cleaning practices. Think of the meticulous care our grandmothers took in maintaining their homes, often relying on simple tools and elbow grease. This DIY grout cleaning trick is a modern take on that time-honored approach.
Why is grout cleaning with a toothbrush so essential? Because dirty grout doesn’t just look bad; it can also harbor mold and mildew, impacting your home’s air quality and potentially your health. Plus, keeping your grout clean extends the life of your tiles and prevents costly repairs down the road. This simple, inexpensive hack allows you to target those hard-to-reach areas with precision, ensuring a thorough clean without harsh chemicals or expensive equipment. So, ditch the frustration and grab your toothbrush – let’s get that grout sparkling!
DIY Grout Cleaning with a Toothbrush: A Sparkling Solution!
Okay, let’s face it, grimy grout is the bane of every homeowner’s existence. It’s that unsightly reminder of all the spills, splashes, and general wear and tear that our floors and walls endure. But fear not! You don’t need harsh chemicals or expensive professional cleaning services to restore your grout to its former glory. I’m going to show you how to tackle that dirty grout with a simple, effective, and surprisingly satisfying method: using a toothbrush!
This method is perfect for small areas, detailed cleaning, or just regular maintenance to keep that grout looking fresh. Plus, it’s a great way to repurpose those old toothbrushes you’ve been meaning to throw away. Let’s get started!
What You’ll Need:
* An old toothbrush (or several, depending on the size of the area you’re cleaning)
* Baking soda
* White vinegar
* Spray bottle
* Warm water
* Small bowl or container
* Clean cloths or paper towels
* Optional: Rubber gloves (to protect your hands)
* Optional: Grout sealant (for after cleaning)
Choosing Your Cleaning Solution:
Before we dive into the cleaning process, let’s talk about the cleaning solution. I’m going to give you a few options, each with its own pros and cons. Choose the one that best suits your needs and the severity of your grout grime.
* Baking Soda Paste: This is a gentle, natural abrasive that’s great for light to moderate staining. It’s also safe for most types of tile.
* Vinegar and Baking Soda: This dynamic duo creates a fizzing action that helps to lift dirt and grime. However, be cautious when using it on natural stone tiles, as the acidity of vinegar can damage them over time. Always test in an inconspicuous area first!
* Commercial Grout Cleaner: If you’re dealing with stubborn stains or heavily soiled grout, you might need to resort to a commercial grout cleaner. Be sure to choose one that’s specifically designed for your type of tile and always follow the manufacturer’s instructions carefully.
Step-by-Step Grout Cleaning Guide:
Alright, now for the fun part! Follow these steps to get your grout sparkling clean.
1. Prepare Your Workspace: Clear the area you’ll be cleaning. Remove any rugs, furniture, or other obstacles that might get in your way. This will give you plenty of room to maneuver and prevent any accidental spills or messes.
2. Mix Your Cleaning Solution:
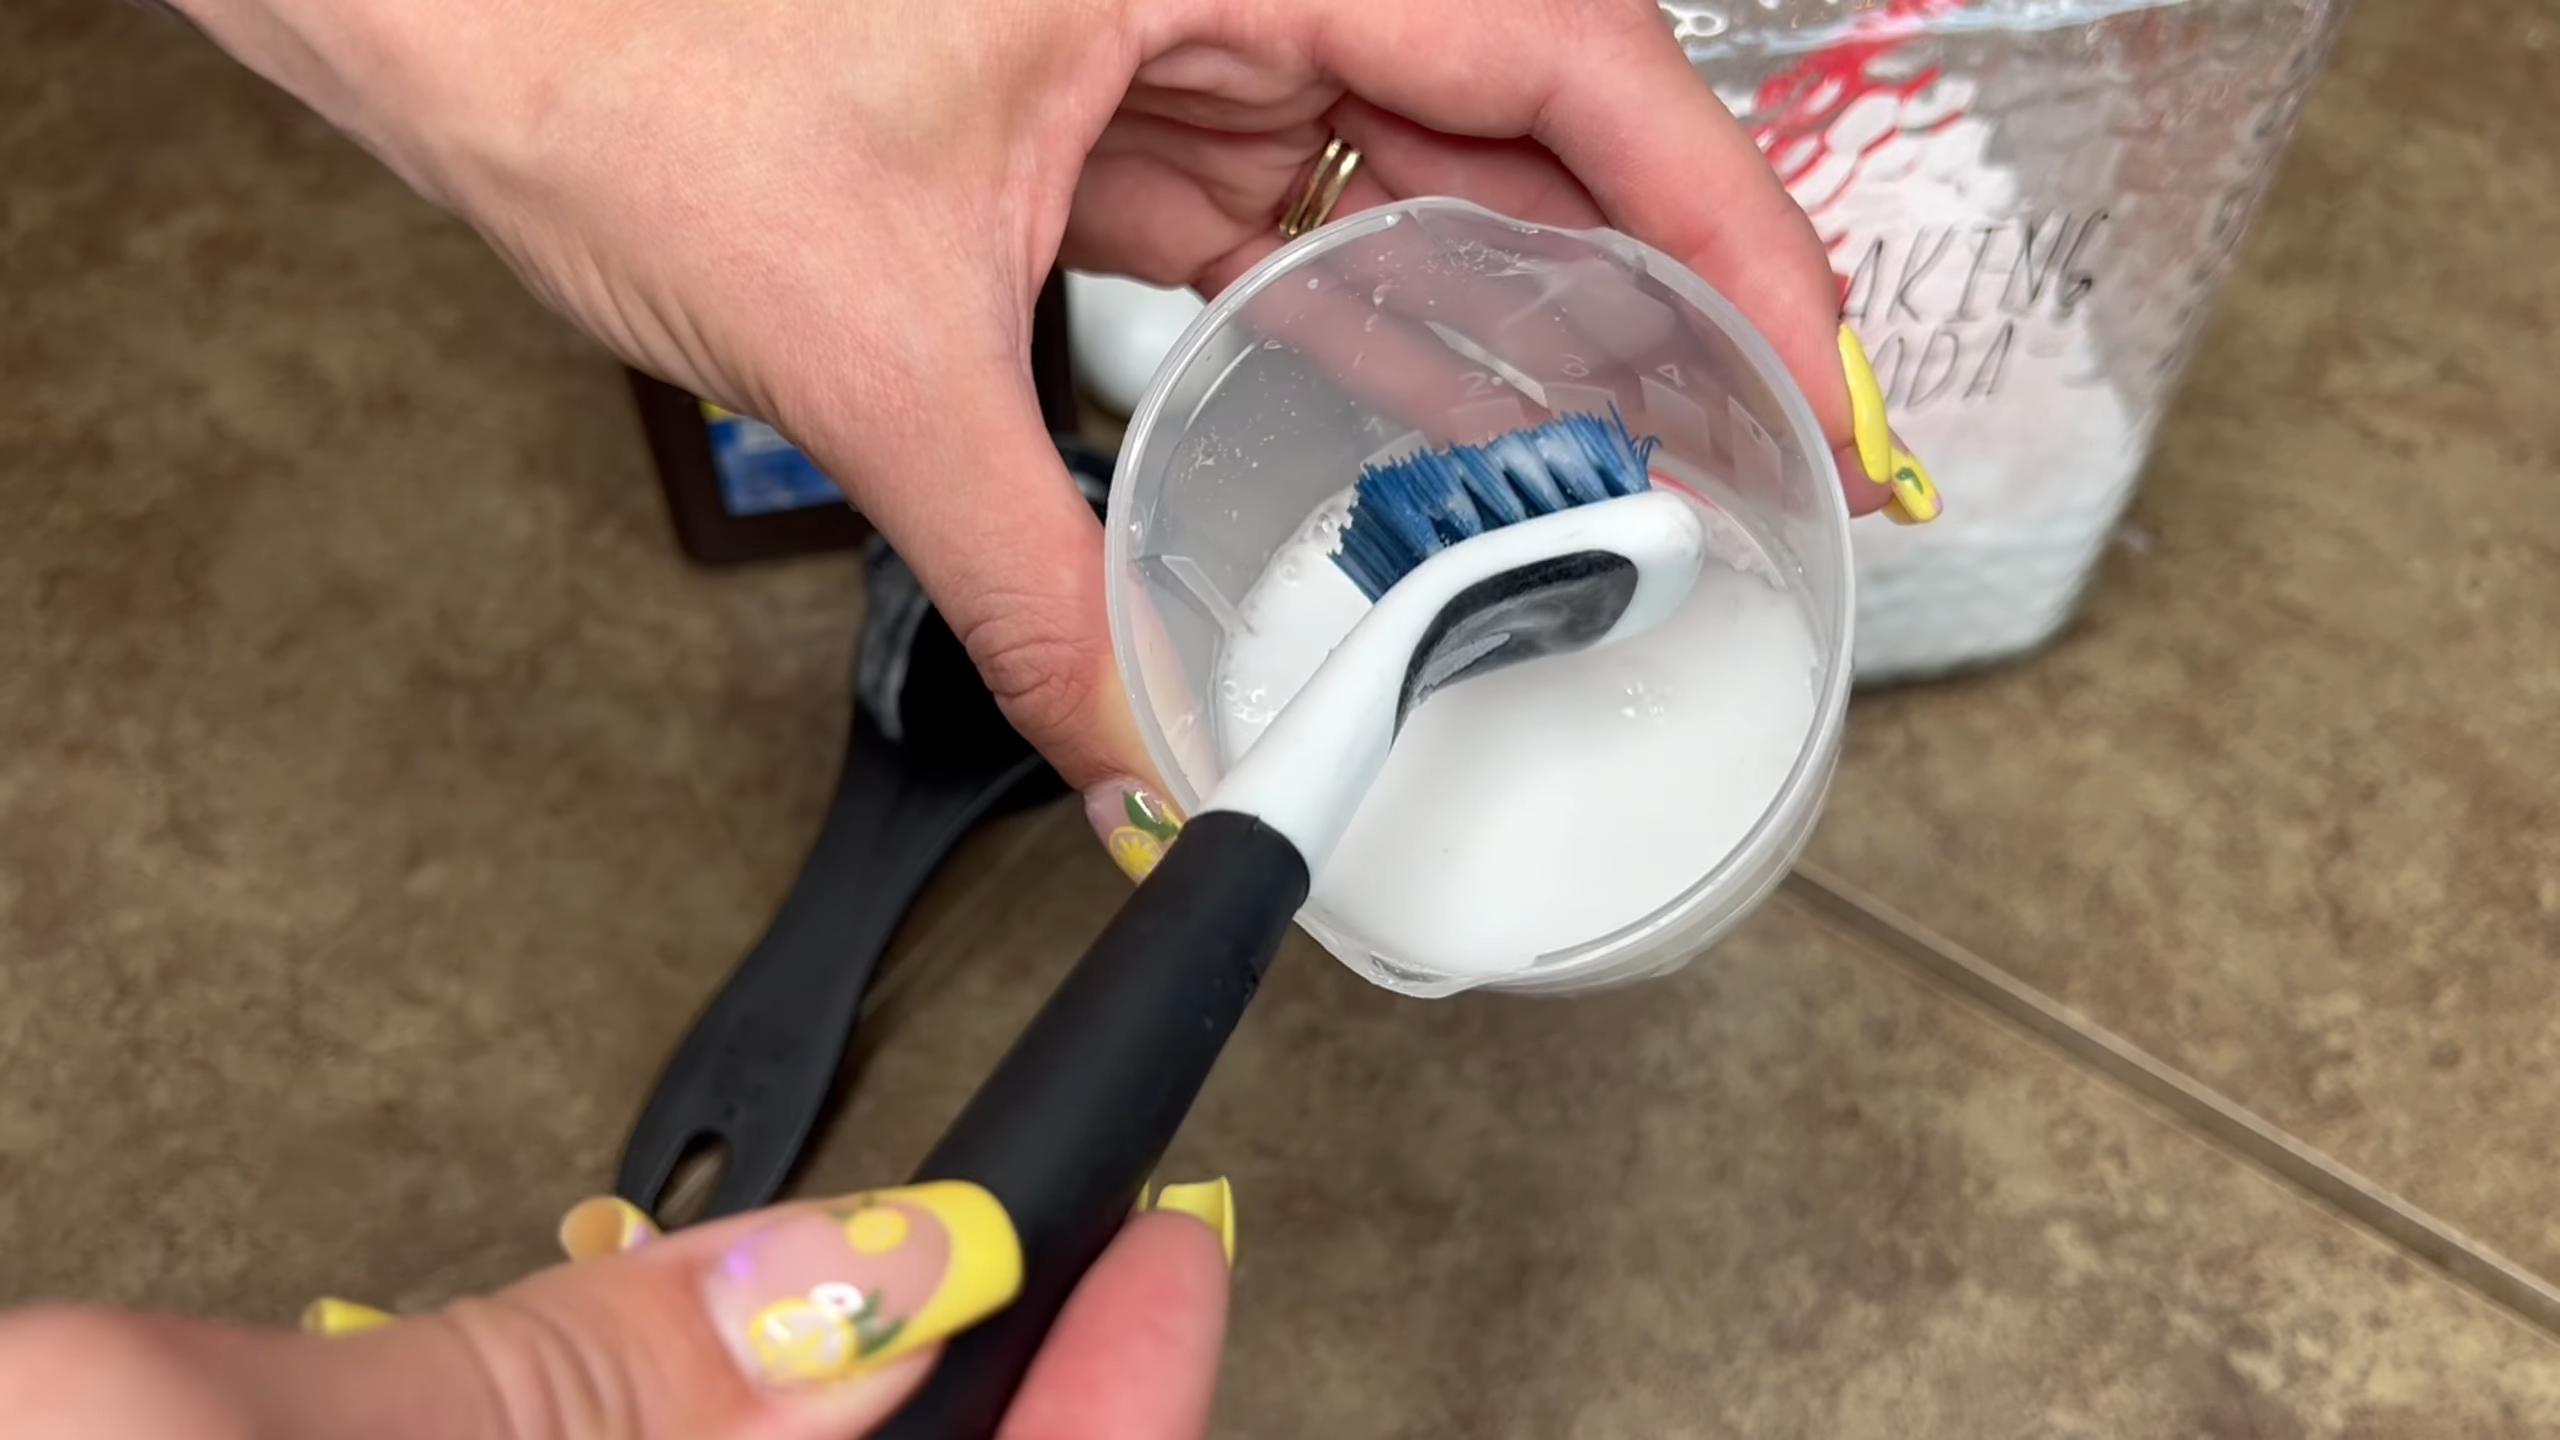
* For Baking Soda Paste: In a small bowl, mix baking soda with a little warm water until you form a thick paste. The consistency should be similar to toothpaste.
* For Vinegar and Baking Soda: Pour some baking soda directly onto the grout lines. Then, fill a spray bottle with white vinegar.
* For Commercial Grout Cleaner: Follow the manufacturer’s instructions for preparing the solution.
3. Apply the Cleaning Solution:
* For Baking Soda Paste: Using your finger or a small spatula, apply the baking soda paste generously to the grout lines. Make sure to cover the entire area you want to clean.
* For Vinegar and Baking Soda: Spray the vinegar onto the baking soda-covered grout lines. You’ll see it start to fizz immediately. Let it fizz for a few minutes to help loosen the dirt and grime.
* For Commercial Grout Cleaner: Apply the cleaner to the grout lines according to the manufacturer’s instructions.
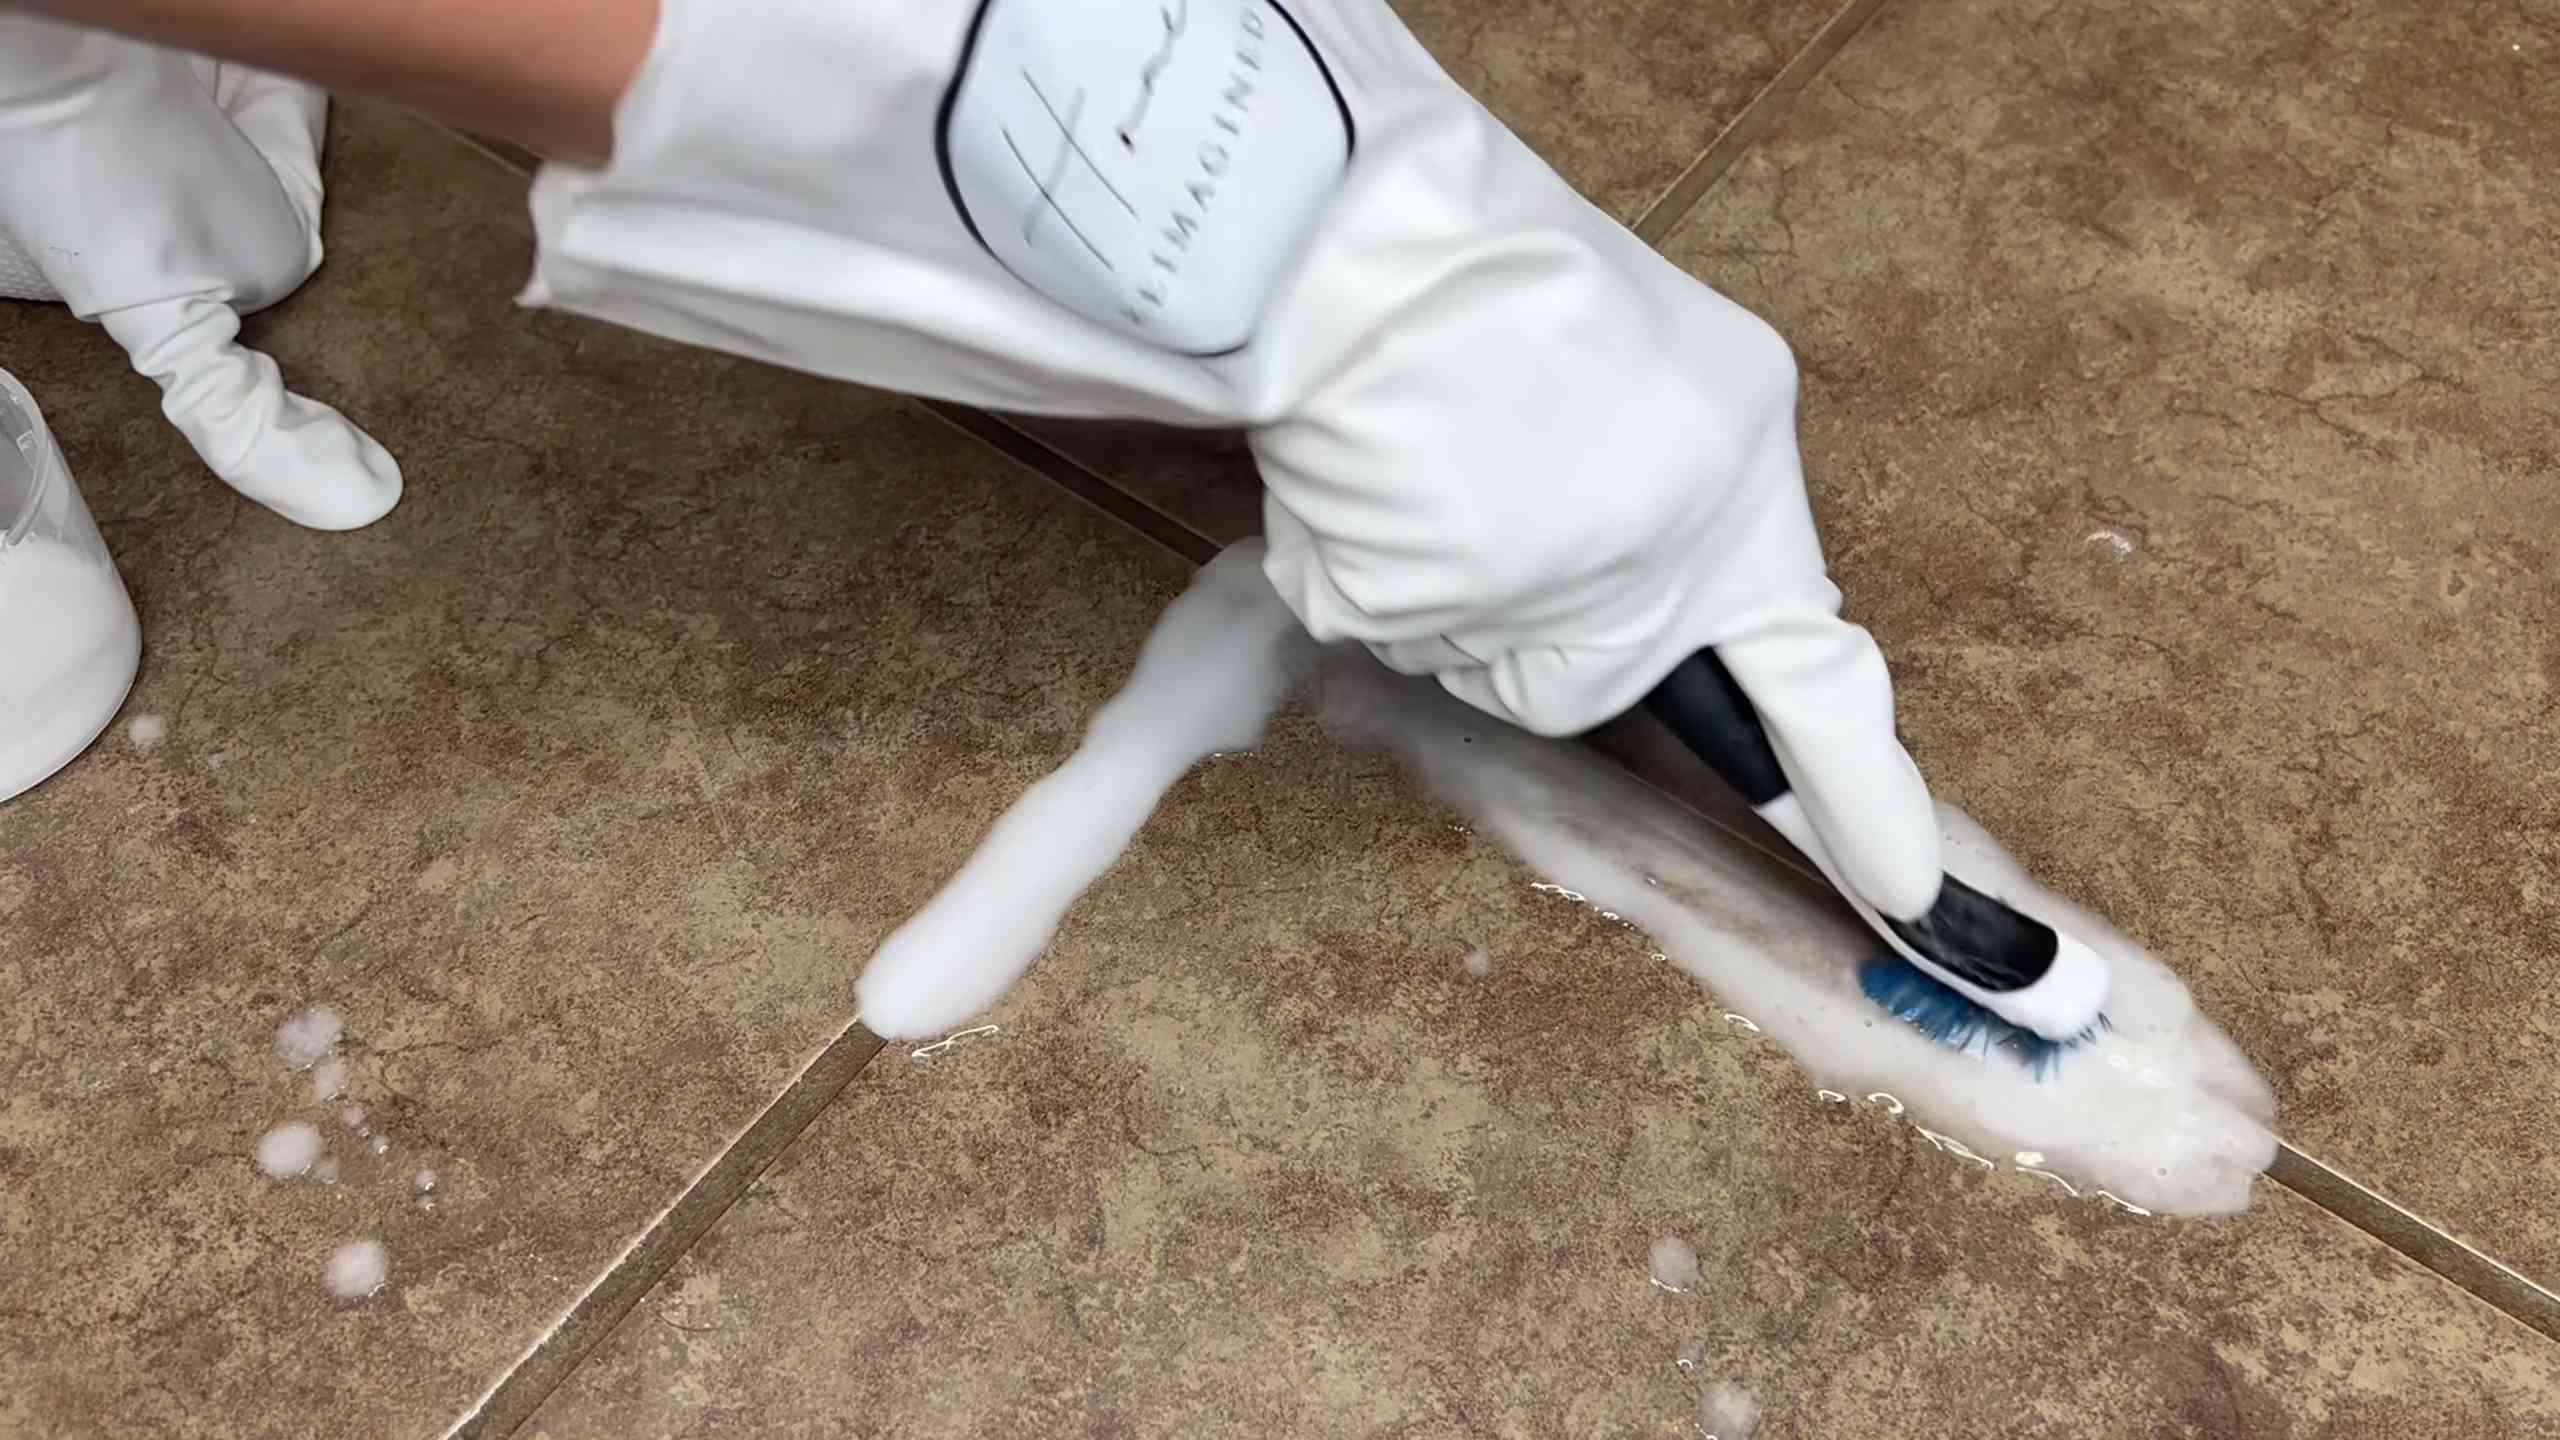
4. Scrub, Scrub, Scrub! This is where the toothbrush comes in. Using firm, circular motions, scrub the grout lines with the toothbrush. Pay close attention to any areas with stubborn stains or discoloration. Don’t be afraid to put some elbow grease into it! The toothbrush bristles are perfect for getting into those narrow grout lines and dislodging the dirt.
5. Rinse Thoroughly: Once you’ve scrubbed the grout lines, it’s time to rinse away the cleaning solution and the loosened dirt. Use a clean, damp cloth or sponge to wipe down the area. You might need to rinse several times to remove all traces of the cleaning solution. For larger areas, you can use a bucket of clean water and a mop.
6. Dry the Area: After rinsing, dry the area thoroughly with a clean cloth or paper towels. This will help to prevent water spots and mildew growth.
7. Inspect and Repeat (If Necessary): Take a good look at your grout. If you’re happy with the results, great! If not, repeat steps 3-6 until you achieve the desired level of cleanliness. For really stubborn stains, you might need to let the cleaning solution sit on the grout lines for a longer period of time before scrubbing.
Dealing with Stubborn Stains:
Sometimes, you’ll encounter grout stains that just won’t budge with the basic cleaning methods. Don’t despair! Here are a few tips for tackling those tough stains:
* Hydrogen Peroxide: For light-colored grout, hydrogen peroxide can be a great stain remover. Apply it directly to the stain, let it sit for 10-15 minutes, and then scrub with a toothbrush. Rinse thoroughly.
* Baking Soda and Hydrogen Peroxide Paste: For a more powerful stain-fighting combination, mix baking soda with hydrogen peroxide to form a paste. Apply the paste to the stain, let it sit for 30 minutes, and then scrub with a toothbrush. Rinse thoroughly.
* Commercial Grout Stain Remover: If all else fails, you might need to resort to a commercial grout stain remover. Be sure to choose one that’s specifically designed for your type of tile and always follow the manufacturer’s instructions carefully.
Preventing Future Grout Stains:
Once you’ve got your grout looking sparkling clean, you’ll want to keep it that way! Here are a few tips for preventing future grout stains:
* Seal Your Grout: Applying a grout sealant will create a protective barrier that helps to repel water, dirt, and stains. Seal your grout every 6-12 months, or as needed.
* Wipe Up Spills Immediately: The sooner you wipe up spills, the less likely they are to stain your grout.
* Regular Cleaning: Make it a habit to clean your grout regularly, even if it doesn’t look dirty. A quick scrub with a toothbrush and some mild soap and water can go a long way in preventing stains from setting in.
* Ventilate Your Bathroom: Proper ventilation in your bathroom will help to prevent mildew growth, which can stain your grout. Run the exhaust fan during and after showers.
Sealing Your Grout (Optional but Recommended)
Sealing your grout is a crucial step in protecting your hard work and keeping your grout looking clean for longer. Grout is porous, meaning it easily absorbs liquids and stains. A sealant creates a barrier that prevents these substances from penetrating the grout.
1. Choose Your Sealant: There are two main types of grout sealants: penetrating sealants and membrane-forming sealants. Penetrating sealants soak into the grout and create a water-repellent barrier from within. Membrane-forming sealants create a protective layer on top of the grout. I prefer penetrating sealants because they don’t change the appearance of the grout and are less likely to peel or crack.
2. Clean Your Grout (Again!): Even if you just cleaned your grout, it’s important to give it another quick cleaning before applying the sealant. This will remove any lingering dirt or residue that could prevent the sealant from bonding properly. Just use a damp cloth and mild soap.
3. Dry Thoroughly: The grout needs to be completely dry before you apply the sealant. This could take several hours, or even overnight. Use a fan to speed up the drying process.
4. Apply the Sealant: Follow the manufacturer’s instructions for applying the sealant. Most sealants come in a bottle with a small applicator brush or a spray nozzle. Apply the sealant evenly to the grout lines, making sure to cover the entire surface.
5. Wipe Away Excess Sealant: After applying the sealant, use a clean, dry cloth to wipe away any excess sealant from the tile surface. If you leave the excess sealant on the tile, it can create a hazy or sticky residue.
6. Allow to Cure: Allow the sealant to cure according to the manufacturer’s instructions. This could take anywhere from 24 to 72 hours. During this time, avoid getting the grout wet.
Choosing the Right Toothbrush
While any old toothbrush will work in a pinch, choosing the right toothbrush can make the cleaning process even more effective and comfortable.
* Bristle Stiffness: I recommend using a toothbrush with medium-stiff bristles. Soft bristles might not be strong enough to dislodge stubborn dirt and grime, while hard bristles could damage the grout or tile.
* Handle Shape: Choose a
Conclusion
So, there you have it! This simple, yet incredibly effective, DIY grout cleaning with a toothbrush method is a game-changer for anyone battling dingy, stained grout. Forget spending a fortune on harsh chemicals or specialized cleaning tools. This approach is not only budget-friendly but also environmentally conscious, utilizing items you likely already have in your home.
Why is this a must-try? Because it works! The combination of a gentle abrasive (baking soda, for example) and the targeted scrubbing power of a toothbrush allows you to penetrate deep into the grout lines, lifting away dirt, grime, and mildew that other methods often miss. The toothbrush’s small head is perfect for navigating tight spaces and corners, ensuring a thorough clean without damaging your tiles.
But the beauty of this DIY grout cleaning trick lies in its adaptability. Feel free to experiment with different cleaning solutions. For a more powerful clean, try a paste of baking soda and hydrogen peroxide. For stubborn stains, a diluted bleach solution (always with proper ventilation and safety precautions!) can work wonders. You can also add a few drops of your favorite essential oil, like tea tree or eucalyptus, for an added boost of antibacterial power and a refreshing scent.
Consider using different types of toothbrushes as well. An old electric toothbrush head can provide extra scrubbing power, while a toothbrush with stiffer bristles might be better suited for heavily soiled grout. Remember to test any new solution or brush on an inconspicuous area first to ensure it doesn’t damage your tiles.
We understand that cleaning grout can feel like a daunting task, but this method breaks it down into manageable steps. It’s a process you can easily incorporate into your regular cleaning routine to maintain sparkling grout and a fresh, clean bathroom or kitchen.
Don’t let dirty grout detract from the beauty of your tiled surfaces any longer. Embrace this simple, effective, and affordable DIY grout cleaning solution. We are confident that you’ll be amazed by the results.
Now, we want to hear from you! Give this DIY grout cleaning with a toothbrush method a try and share your experience in the comments below. What cleaning solution did you use? Did you discover any helpful variations? Your tips and feedback will help other readers achieve the same sparkling results. Let’s create a community of clean grout enthusiasts!
Frequently Asked Questions (FAQs)
What kind of toothbrush should I use for grout cleaning?
An old toothbrush is ideal! You don’t want to use a toothbrush you’re still using for your teeth. Any type of toothbrush will work, but consider the bristle stiffness. Softer bristles are gentler on delicate tiles, while stiffer bristles can provide more scrubbing power for heavily soiled grout. An old electric toothbrush head can also be very effective.
What cleaning solutions can I use with the toothbrush?
There are many options! Some popular and effective choices include:
* **Baking Soda Paste:** Mix baking soda with water to form a thick paste. This is a gentle abrasive that’s great for removing everyday dirt and grime.
* **Baking Soda and Hydrogen Peroxide Paste:** This combination creates a more powerful cleaning action. The hydrogen peroxide helps to lift stains and disinfect.
* **Vinegar and Water Solution:** Mix equal parts white vinegar and water. Vinegar is a natural disinfectant and can help dissolve mineral deposits. Be cautious using vinegar on natural stone tiles, as it can etch the surface.
* **Dish Soap and Water:** A simple solution of dish soap and warm water can be effective for light cleaning.
* **Diluted Bleach Solution:** For stubborn stains and mildew, a diluted bleach solution (1 part bleach to 10 parts water) can be used. Always wear gloves and eye protection and ensure proper ventilation when using bleach.
* **Commercial Grout Cleaners:** If you prefer a commercial grout cleaner, choose one that is specifically designed for your type of tile and grout.
How often should I clean my grout?
The frequency of grout cleaning depends on the location and usage of the tiled area. In high-traffic areas like bathrooms and kitchens, cleaning grout every 1-2 weeks is recommended to prevent buildup. In less frequently used areas, cleaning every month or two may be sufficient. Regular cleaning will make the job easier and prevent stains from becoming permanent.
How do I prevent grout from getting dirty in the first place?
Prevention is key! Here are some tips to keep your grout clean:
* **Seal Your Grout:** Applying a grout sealer after cleaning will help protect it from stains and moisture. Reapply sealer every 6-12 months, or as recommended by the product manufacturer.
* **Wipe Up Spills Immediately:** Don’t let spills sit on your grout. Wipe them up as soon as possible to prevent staining.
* **Ventilate Your Bathroom:** Proper ventilation in your bathroom will help prevent mildew growth. Use the exhaust fan during and after showers.
* **Use a Squeegee:** After showering, use a squeegee to remove excess water from the tiles and grout.
* **Regularly Sweep or Vacuum:** Remove loose dirt and debris from the tiled area to prevent it from being ground into the grout.
Can I use this method on all types of tile?
While this method is generally safe for most types of tile, it’s always a good idea to test any new cleaning solution on an inconspicuous area first. Avoid using abrasive cleaners or harsh chemicals on delicate tiles like natural stone, as they can damage the surface. Vinegar can also etch some natural stone.
What if the grout is severely stained?
If your grout is severely stained, you may need to repeat the cleaning process several times. You can also try using a more powerful cleaning solution, such as a baking soda and hydrogen peroxide paste or a diluted bleach solution (with proper safety precautions). For extremely stubborn stains, you may need to consider professional grout cleaning or grout restoration.
How do I protect my hands while cleaning grout?
Always wear gloves when cleaning grout, especially when using harsh chemicals like bleach. Gloves will protect your skin from irritation and prevent the absorption of chemicals.
How do I get rid of mildew in grout?
Mildew thrives in damp environments. To get rid of mildew in grout, use a solution of bleach and water (1 part bleach to 10 parts water). Apply the solution to the affected area, let it sit for 10-15 minutes, then scrub with a toothbrush and rinse thoroughly. Ensure proper ventilation when using bleach. You can also use commercial mildew removers specifically designed for grout.
What if the toothbrush doesn’t reach all the grout lines?
For very narrow grout lines, you can try using a grout brush with a smaller head or a detail brush. You can also use a toothpick or other small tool to reach into tight spaces.
Is there a more eco-friendly way to clean grout?
Yes! Baking soda and vinegar are both natural and effective cleaning agents. You can also use a steam cleaner to clean grout without any chemicals. Steam cleaners use hot steam to loosen dirt and grime, making it easy to wipe away.


Leave a Comment