

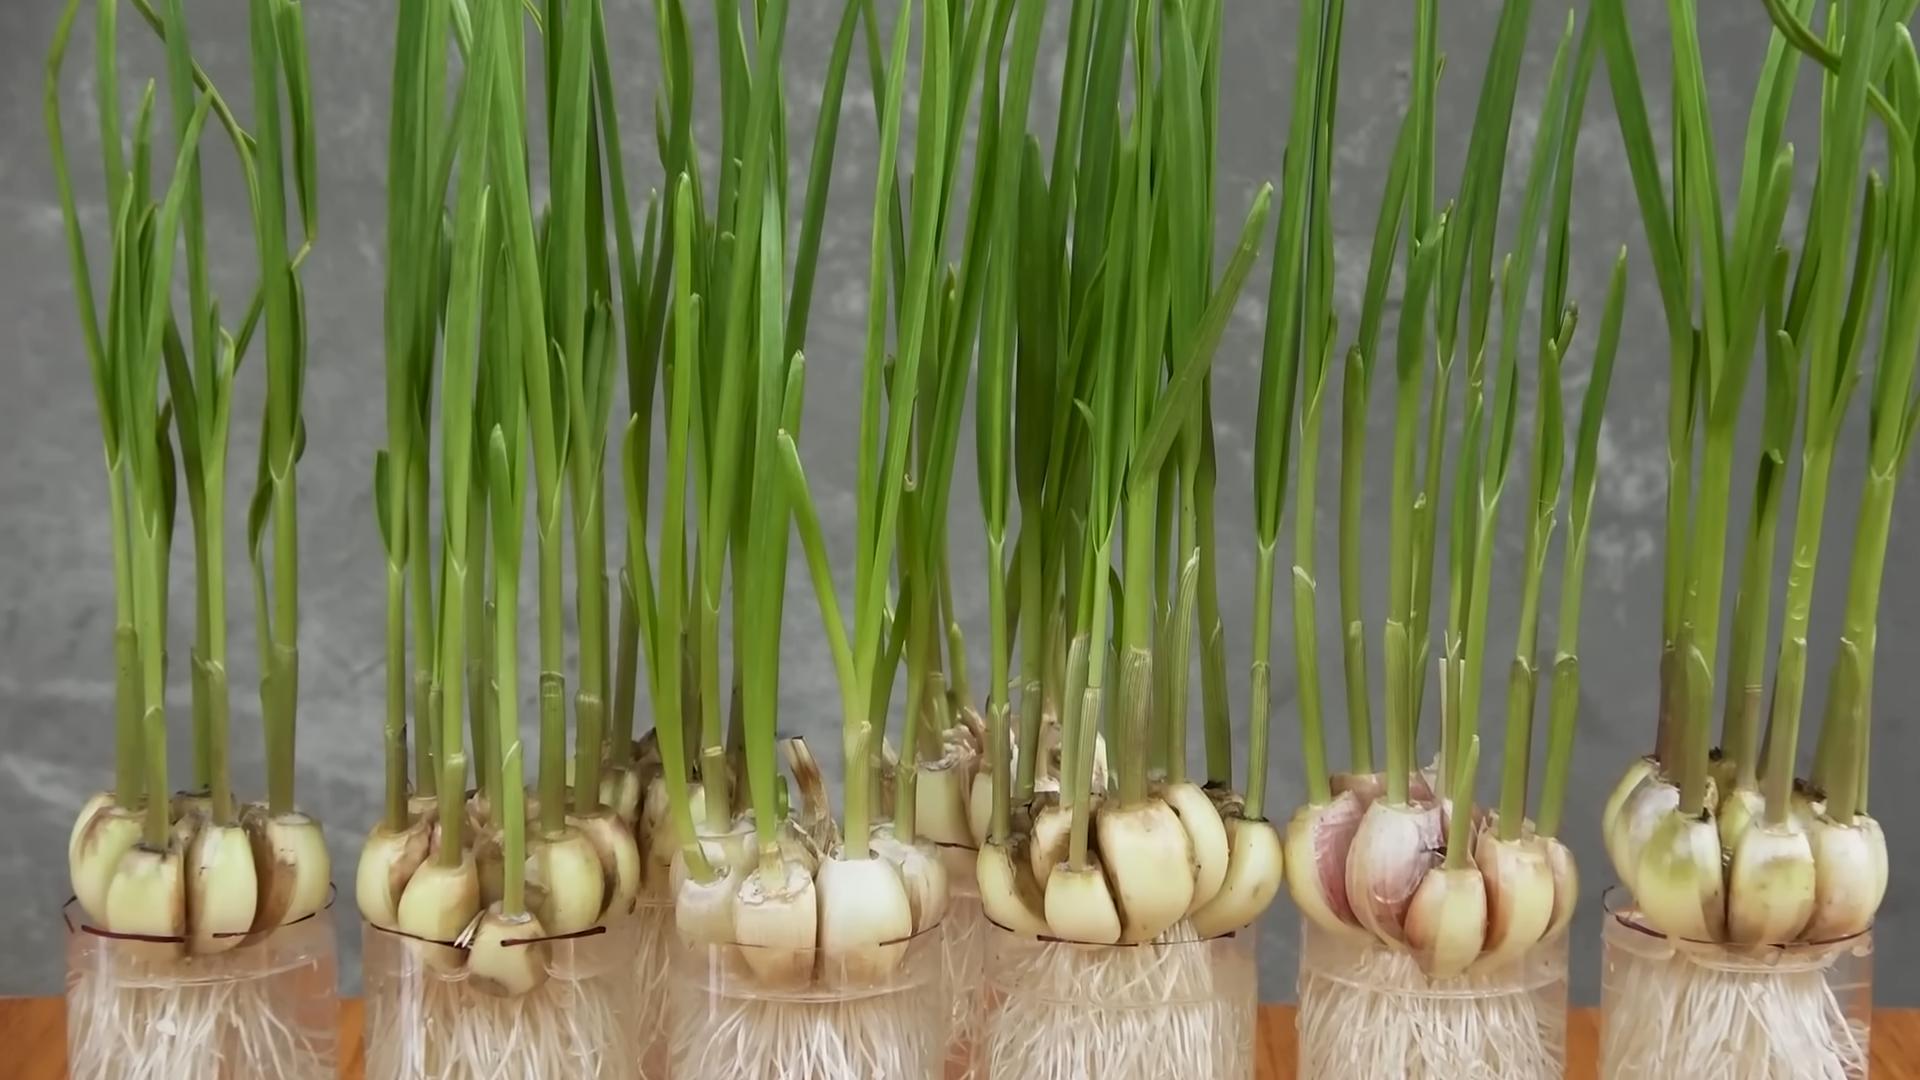
Garlic in Plastic Bottles: Sounds a little crazy, right? But trust me, this simple DIY trick could revolutionize your home gardening game! For centuries, garlic has been a staple in cuisines and traditional medicine across the globe, from the ancient Egyptians who revered it to the Romans who believed it gave them strength. Now, we’re taking this powerhouse ingredient and giving it a modern, space-saving twist.
Are you dreaming of fresh, homegrown garlic but lack the sprawling garden space? Or maybe you’re tired of battling weeds and pests in your traditional garden bed? That’s where this ingenious hack comes in. Growing garlic in plastic bottles is not only incredibly easy and cost-effective, but it also allows you to maximize your yield, even in the smallest of apartments or balconies. I’m going to show you how to repurpose those empty plastic bottles into mini garlic farms, providing you with a continuous supply of fresh, flavorful garlic right at your fingertips. Get ready to ditch the store-bought stuff and embrace the joy of homegrown goodness!
Growing Garlic in Plastic Bottles: A DIY Guide
Hey there, fellow gardening enthusiasts! Ever thought about growing garlic in plastic bottles? It’s a fantastic way to recycle, save space, and enjoy fresh, homegrown garlic. I’ve been doing this for a while now, and I’m excited to share my experience and guide you through the process. It’s easier than you might think!
Materials You’ll Need
Before we dive in, let’s gather everything we need. This will make the whole process smoother and more enjoyable.
* Plastic Bottles: I prefer using 2-liter soda bottles or larger water bottles. The bigger, the better, as it gives the garlic more room to grow. Make sure they are clean and dry.
* Garlic Cloves: Choose organic garlic from a local farmer’s market or garden center. Avoid supermarket garlic, as it may have been treated to prevent sprouting. Look for plump, healthy cloves.
* Potting Soil: A good quality potting mix is crucial. It should be well-draining and rich in nutrients. I like to use a mix specifically formulated for vegetables.
* Perlite or Vermiculite (Optional): Adding perlite or vermiculite improves drainage and aeration.
* Water: For watering the garlic.
* Scissors or a Utility Knife: For cutting the plastic bottles.
* Drill or Nail (Optional): For creating drainage holes.
* Gloves (Optional): To keep your hands clean.
* Measuring Cup or Scoop: For portioning the soil.
* Labels and a Marker (Optional): To label your bottles with the garlic variety and planting date.
Preparing the Plastic Bottles
This is a crucial step to ensure proper drainage and support for your garlic plants.
1. Clean the Bottles: Thoroughly wash the plastic bottles with soap and water to remove any residue. Rinse them well and let them dry completely.
2. Cut the Bottles: There are a couple of ways to do this, depending on the size of your bottle and your preference.
* Option 1 (Horizontal Cut): Cut the bottle horizontally about two-thirds of the way up from the bottom. This creates a larger planting area. You can discard the top part or use it as a mini-greenhouse cover later on.
* Option 2 (Vertical Cut): Cut the bottle vertically down one side, stopping a few inches from the bottom. This creates a flap that you can open and close for easy access to the soil and roots. Secure the flap with tape or clips.
3. Create Drainage Holes: This is essential to prevent waterlogging, which can rot the garlic. If your bottle doesn’t have drainage holes, use a drill or a nail to create several holes in the bottom. I usually make about 5-6 holes, spaced evenly.
4. (Optional) Add a Gravel Layer: For extra drainage, you can add a layer of gravel or small stones to the bottom of the bottle before adding the soil. This helps prevent the soil from clogging the drainage holes.
Planting the Garlic Cloves
Now for the fun part – planting the garlic!
1. Fill the Bottle with Soil: Fill the prepared plastic bottle with potting soil, leaving about an inch or two of space at the top. Gently tap the bottle to settle the soil.
2. Prepare the Garlic Cloves: Separate the garlic bulb into individual cloves. Leave the papery skin on, as it protects the clove. Choose the largest, healthiest cloves for planting.
3. Plant the Cloves: Make small holes in the soil, about 2-3 inches deep and 4-6 inches apart. Place the garlic cloves in the holes, pointy side up. This is important because the green shoots will emerge from the pointy end.
4. Cover the Cloves: Gently cover the cloves with soil, pressing down lightly.
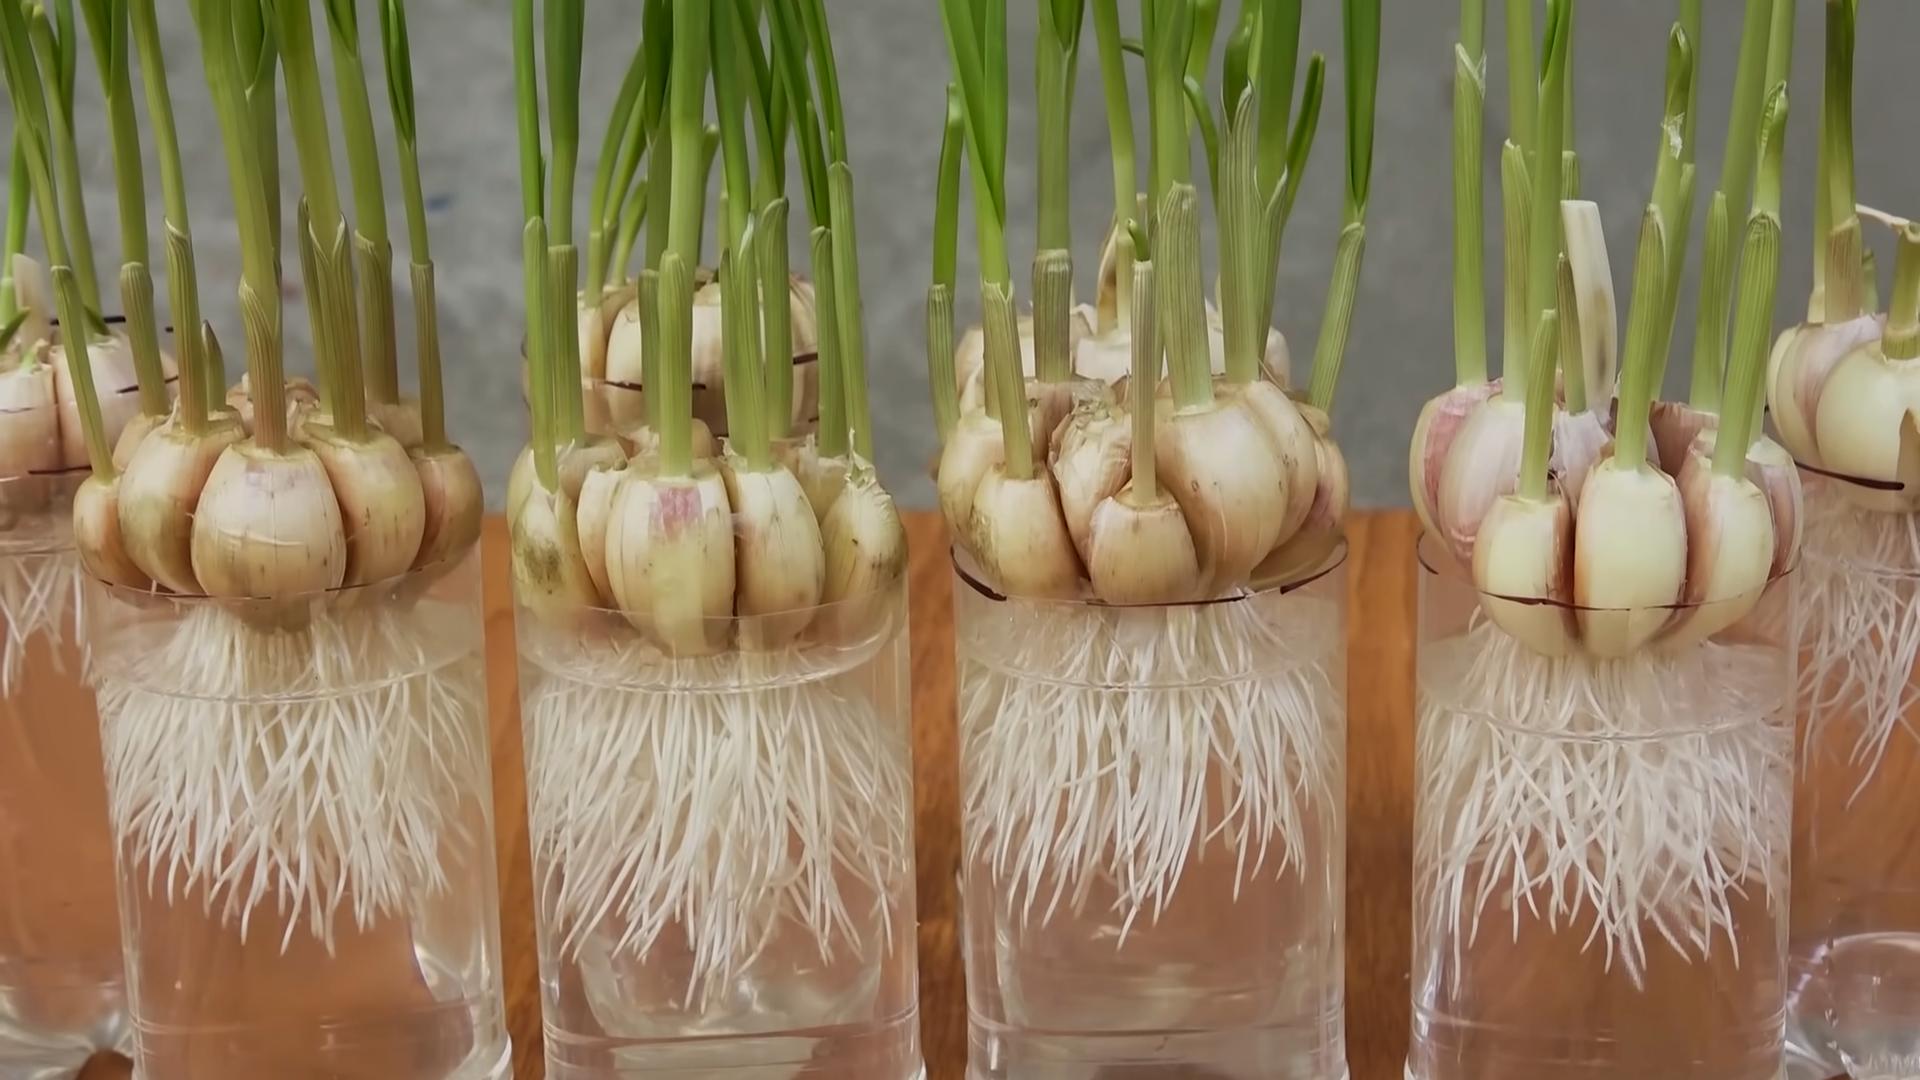
5. Water Thoroughly: Water the soil thoroughly until water drains out of the drainage holes. This helps settle the soil and encourages root growth.
Caring for Your Garlic Plants
Proper care is essential for healthy garlic growth.
1. Location: Place the plastic bottles in a sunny location that receives at least 6 hours of sunlight per day. Garlic loves sunshine!
2. Watering: Water regularly, especially during dry periods. The soil should be consistently moist but not waterlogged. Check the soil moisture by sticking your finger into the soil. If it feels dry an inch or two down, it’s time to water.
3. Fertilizing: Garlic is a heavy feeder, so fertilize every few weeks with a balanced liquid fertilizer. Follow the instructions on the fertilizer package. I like to use an organic fertilizer for the best results.
4. Mulching (Optional): Add a layer of mulch, such as straw or wood chips, around the base of the plants. This helps retain moisture, suppress weeds, and regulate soil temperature.
5. Weeding: Keep the area around the garlic plants free of weeds. Weeds compete with the garlic for nutrients and water.
6. Pest and Disease Control: Keep an eye out for pests and diseases. Common garlic pests include aphids and onion thrips. Diseases include white rot and downy mildew. Treat any problems promptly with appropriate organic pesticides or fungicides.
7. Rotating the Bottles: If you’re growing multiple bottles of garlic, rotate them occasionally to ensure even sunlight exposure.
Harvesting Your Garlic
The most rewarding part!
1. Timing: Garlic is typically ready to harvest in late spring or early summer, about 8-9 months after planting. Look for signs of maturity, such as yellowing and browning of the lower leaves.
2. Harvesting: Gently loosen the soil around the garlic bulb with a trowel or fork. Carefully lift the bulb out of the soil, being careful not to damage it.
3. Curing: Cure the garlic bulbs in a well-ventilated, dry place for 2-3 weeks. This allows the outer layers to dry and harden, which improves storage life. Hang the bulbs upside down in bunches or spread them out on a screen.
4. Storing: Store the cured garlic bulbs in a cool, dry, and dark place. Braiding the garlic is a traditional way to store it, but you can also store it in mesh bags or baskets. Properly stored garlic can last for several months.
Troubleshooting
Sometimes things don’t go exactly as planned. Here are some common issues and how to address them.
* Yellowing Leaves: This could be a sign of overwatering, underwatering, nutrient deficiency, or disease. Check the soil moisture and adjust watering accordingly. Fertilize with a balanced fertilizer. Inspect the plants for signs of disease and treat as needed.
* Slow Growth: This could be due to insufficient sunlight, poor soil, or competition from weeds. Make sure the plants are getting at least 6 hours of sunlight per day. Amend the soil with compost or other organic matter. Remove any weeds that are competing with the garlic.
* Rotting Bulbs: This is usually caused by overwatering or poor drainage. Make sure the soil is well-draining and avoid overwatering. If the bulbs are already rotting, remove them immediately to prevent the spread of disease.
* Pests: Inspect the plants regularly for pests. Treat any infestations promptly with appropriate organic pesticides.
Tips and Tricks for Success
Here are a few extra tips to help you grow the best garlic possible.
* Choose the Right Variety: Different garlic varieties are suited to different climates. Choose a variety that is well-suited to your local climate.
* Plant in the Fall: Garlic is typically planted in the fall, about 4-6 weeks before the first frost. This allows the cloves to develop roots before winter.
* Use Organic Practices: Avoid using synthetic pesticides and fertilizers. Organic practices are better for the environment and produce healthier garlic.
* Experiment: Don’t be afraid to experiment with different techniques and varieties. Gardening is all about learning and having fun!
* Reuse and Recycle: Continue to reuse your plastic bottles for future plantings. This is a great way to reduce waste and save money.
* Label Everything: Always label your bottles with the garlic variety and planting date. This will help you keep track of your plants and learn from your experiences.
Growing garlic in plastic bottles is a rewarding and sustainable way to enjoy fresh, homegrown garlic. With a little bit of effort and attention, you can harvest a bountiful crop of delicious garlic. Happy gardening!
Conclusion
So, there you have it! Transforming ordinary plastic bottles into miniature garlic greenhouses is not just a quirky gardening experiment; it’s a surprisingly effective and rewarding way to cultivate fresh, flavorful garlic right at your fingertips. We’ve walked you through the simple steps, highlighting the benefits of this resourceful method, and hopefully, dispelled any doubts you might have had.
Why is this DIY trick a must-try? Because it offers a multitude of advantages. First and foremost, it’s incredibly space-saving. Whether you have a sprawling garden or a tiny balcony, these bottle gardens can be easily accommodated. Secondly, it’s a fantastic way to recycle and repurpose plastic bottles, contributing to a more sustainable lifestyle. Thirdly, it provides a controlled environment for your garlic, protecting it from harsh weather conditions and pests, potentially leading to a more bountiful harvest. Finally, and perhaps most importantly, it’s incredibly satisfying to nurture your own food from start to finish, knowing exactly what went into it.
But the fun doesn’t stop there! Feel free to experiment with different varieties of garlic to see which thrives best in your bottle gardens. Consider adding companion plants like chamomile or marigolds to deter pests and attract beneficial insects. You could even try painting the bottles to add a touch of personality to your miniature garlic farm. For those in colder climates, consider wrapping the bottles in bubble wrap during the winter months to provide extra insulation. Another variation is to use different sizes of plastic bottles, depending on the space you have available and the size of the garlic cloves you’re planting. You can even create a tiered system by stacking the bottles on top of each other, maximizing vertical space. Remember to adjust your watering schedule based on the weather conditions and the moisture level of the soil.
This method is particularly beneficial for those who struggle with traditional gardening due to limited space, poor soil conditions, or physical limitations. The raised nature of the bottle gardens makes them easier to access and manage, reducing the need for bending and kneeling. Plus, the controlled environment allows you to tailor the growing conditions to the specific needs of your garlic, ensuring optimal growth and flavor.
The key to success with this DIY garlic growing method lies in consistent care and attention. Regularly check the moisture level of the soil, water as needed, and monitor for any signs of pests or diseases. With a little bit of effort, you’ll be rewarded with a steady supply of fresh, flavorful garlic that you can use in all your favorite dishes.
We wholeheartedly encourage you to give this DIY garlic in plastic bottles trick a try. It’s a fun, educational, and rewarding experience that will connect you with nature and provide you with a sustainable source of fresh garlic. Don’t be afraid to get creative and experiment with different variations to find what works best for you.
And most importantly, we want to hear about your experience! Share your photos, tips, and tricks with us in the comments section below. Let us know what varieties of garlic you’re growing, what challenges you’ve faced, and what successes you’ve achieved. Together, we can create a community of bottle garden enthusiasts and inspire others to embrace this resourceful and rewarding gardening method. Let’s all grow some amazing garlic together!
Frequently Asked Questions (FAQ)
What type of plastic bottles are best for growing garlic?
Ideally, you should use food-grade plastic bottles, such as those that previously contained water, juice, or soda. Avoid using bottles that held harsh chemicals or cleaning products, as these could contaminate the soil and affect the garlic’s growth. Clear or translucent bottles are preferable, as they allow sunlight to reach the soil. Make sure to thoroughly clean the bottles before using them to remove any residue. The size of the bottle will depend on the size of the garlic cloves you’re planting, but generally, bottles that are at least 2 liters in size are recommended.
What kind of soil should I use for growing garlic in plastic bottles?
A well-draining potting mix is essential for growing garlic in plastic bottles. Avoid using garden soil, as it can be too heavy and compact, leading to poor drainage and root rot. A good potting mix should contain a blend of peat moss, perlite, and vermiculite. You can also add compost or other organic matter to enrich the soil and provide essential nutrients for the garlic. Make sure the soil is loose and airy to allow for proper root development.
How often should I water my garlic plants in plastic bottles?
Watering frequency will depend on the weather conditions and the moisture level of the soil. Generally, you should water your garlic plants when the top inch of soil feels dry to the touch. Avoid overwatering, as this can lead to root rot. When watering, make sure to thoroughly saturate the soil until water drains out of the drainage holes. During hot and dry weather, you may need to water more frequently. During cooler and wetter weather, you may need to water less frequently.
How much sunlight do garlic plants need in plastic bottles?
Garlic plants need at least 6 hours of direct sunlight per day to thrive. Place your bottle gardens in a sunny location where they will receive ample sunlight. If you don’t have a sunny spot, you can supplement with artificial grow lights. Rotate the bottles regularly to ensure that all sides of the plants receive equal sunlight.
How do I protect my garlic plants from pests and diseases in plastic bottles?
Regularly inspect your garlic plants for any signs of pests or diseases. Common pests that can affect garlic include aphids, thrips, and onion maggots. Common diseases include white rot, downy mildew, and rust. If you detect any pests or diseases, take action immediately to prevent them from spreading. You can use organic pest control methods, such as insecticidal soap or neem oil, to control pests. You can also use fungicides to control diseases. Proper ventilation and drainage can also help prevent pests and diseases. Companion planting with herbs like chamomile or marigolds can also help deter pests.
When is the best time to plant garlic in plastic bottles?
The best time to plant garlic in plastic bottles is in the fall, about 4-6 weeks before the first frost. This allows the garlic cloves to establish roots before winter. In warmer climates, you can plant garlic in late fall or early winter. Make sure to choose a variety of garlic that is suitable for your climate.
How do I harvest garlic grown in plastic bottles?
Garlic is typically ready to harvest in the summer, when the leaves start to turn yellow and brown. Gently dig up the garlic bulbs from the plastic bottles, being careful not to damage them. Cure the garlic bulbs by hanging them in a cool, dry, and well-ventilated place for 2-3 weeks. Once the bulbs are cured, you can store them in a cool, dry place for several months.
Can I reuse the plastic bottles for growing garlic again?
Yes, you can reuse the plastic bottles for growing garlic again. However, it’s important to thoroughly clean and disinfect the bottles before reusing them to prevent the spread of diseases. Wash the bottles with soap and water, and then rinse them with a solution of bleach and water (1 part bleach to 9 parts water). Allow the bottles to air dry completely before reusing them.
What are some other uses for plastic bottle gardening?
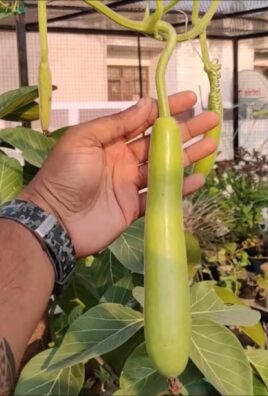
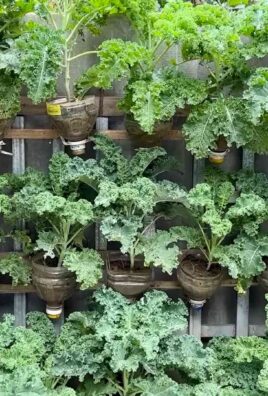
Plastic bottles can be used to grow a wide variety of plants, including herbs, vegetables, and flowers. They are a great option for small spaces and can be used to create vertical gardens. Some popular plants to grow in plastic bottles include lettuce, spinach, tomatoes, peppers, and strawberries. The possibilities are endless!
Leave a Comment