

Fern Care Indoor can seem daunting, I know! You see those lush, vibrant ferns gracing the pages of magazines and think, “How do they do it?” Well, I’m here to tell you that achieving that indoor jungle vibe is totally within your reach. For centuries, ferns have been cherished for their delicate beauty and air-purifying qualities, adorning homes from Victorian parlors to modern apartments. Their association with tranquility and nature makes them a popular choice for bringing the outdoors in.
But let’s be honest, ferns can be a bit finicky. They demand a specific environment, and without the right knowledge, they can quickly turn brown and crispy, leaving you feeling defeated. That’s where these DIY tricks and hacks come in! I’m going to share my tried-and-true secrets for providing the perfect Fern Care Indoor environment, from humidity boosters to watering techniques. Forget expensive gadgets and complicated routines; these are simple, affordable solutions that anyone can implement.
Ready to transform your home into a fern-filled paradise? Let’s dive in and unlock the secrets to thriving indoor ferns!
DIY Revitalization: Bringing Your Fern Back to Life
Okay, let’s face it. We’ve all been there. Our beautiful, lush fern starts looking a little… sad. Drooping fronds, browning tips, a general air of “I’m not happy.” Don’t despair! Before you resign yourself to buying a new one, let’s try a little DIY fern revitalization. I’m going to walk you through everything I’ve learned about bringing these finicky plants back from the brink.
Assessing the Damage: What’s Wrong with My Fern?
Before we dive into the rescue mission, it’s important to figure out *why* your fern is struggling. Here are some common culprits:
* Dry Air: Ferns are humidity-loving creatures. Dry indoor air, especially during winter, is their nemesis.
* Improper Watering: Overwatering *and* underwatering can both cause problems. It’s a delicate balance!
* Poor Soil: Ferns need well-draining, slightly acidic soil. Heavy, compacted soil can suffocate the roots.
* Too Much Sunlight: While ferns need light, direct sunlight can scorch their delicate fronds.
* Nutrient Deficiency: Like all plants, ferns need nutrients to thrive.
* Pests: Spider mites, mealybugs, and scale can all attack ferns.
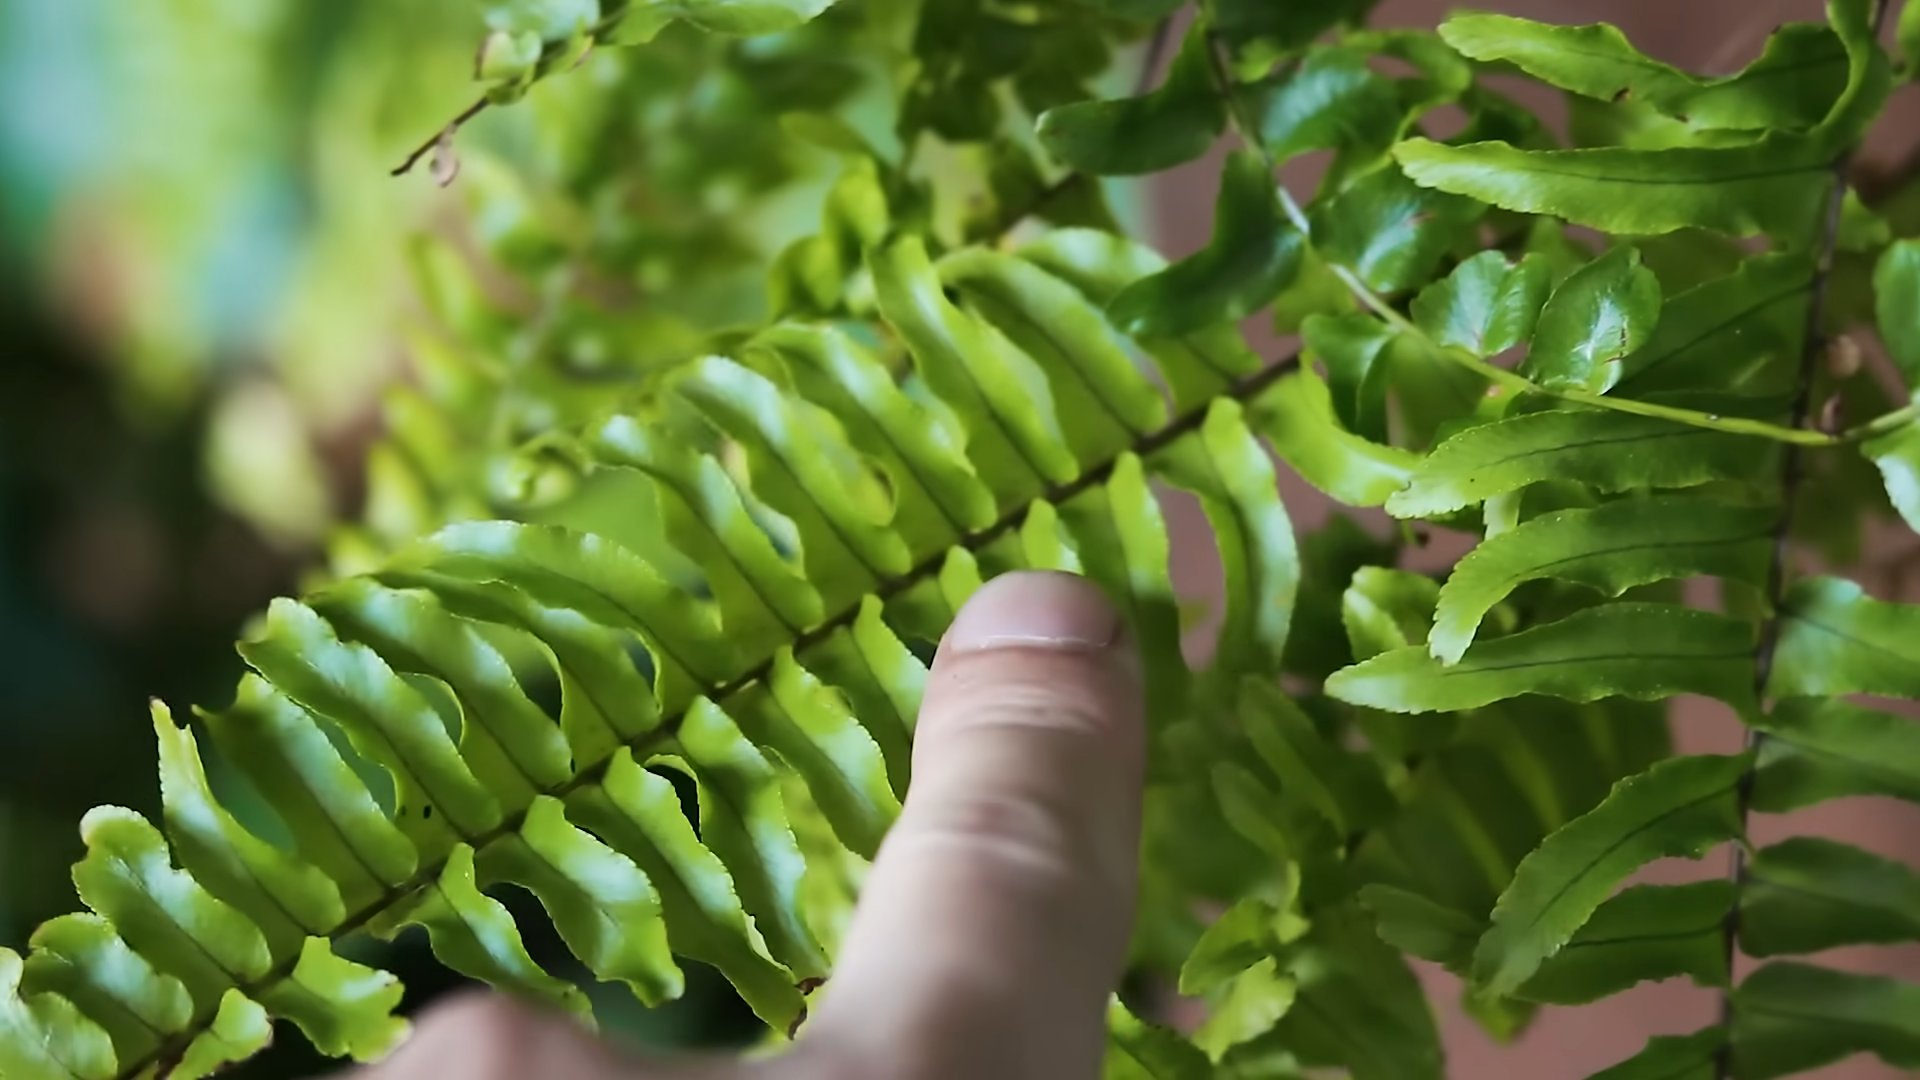
Look closely at your fern. Are the fronds turning brown and crispy? That’s likely a humidity or watering issue. Are they yellowing? That could be overwatering or a nutrient deficiency. Check the undersides of the fronds for tiny pests. Once you have a better idea of the problem, you can tailor your revitalization efforts.
Phase 1: The Humidity Boost
Ferns crave humidity. If your air is dry, this is the first thing you need to address. Here are a few ways to increase humidity around your fern:
* Misting: This is the easiest and quickest solution. Mist your fern several times a day with distilled or filtered water.
* Pebble Tray: Fill a shallow tray with pebbles and add water. Place your fern pot on top of the pebbles, making sure the bottom of the pot isn’t sitting directly in the water. As the water evaporates, it will increase the humidity around the plant.
* Humidifier: A humidifier is the most effective way to increase humidity, especially during dry winter months.
* Grouping Plants: Grouping your plants together creates a microclimate with higher humidity.
* Bathroom Time: If you have a well-lit bathroom, consider moving your fern in there for a few hours each day, especially after showers.
Phase 2: Watering Wisdom
Watering is crucial for fern health. Here’s how to get it right:
* Water Thoroughly: When you water, water deeply until water drains out of the bottom of the pot.
* Let the Soil Dry Slightly: Don’t let the fern sit in soggy soil. Allow the top inch or two of soil to dry out before watering again.
* Use Room Temperature Water: Cold water can shock the roots.
* Check the Drainage: Make sure your pot has drainage holes. If not, repot your fern into a pot with drainage.
* Watering Frequency: This will vary depending on the type of fern, the humidity, and the temperature. Check the soil regularly and water when needed. As a general rule, water more frequently during the growing season (spring and summer) and less frequently during the dormant season (fall and winter).
Phase 3: Soil Salvation
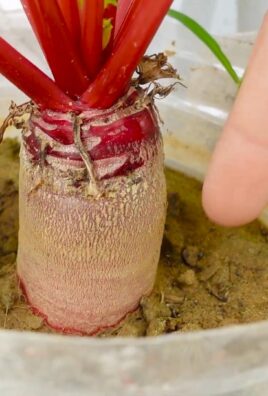
If your fern’s soil is compacted or doesn’t drain well, it’s time for a repot.
* Choosing the Right Pot: Select a pot that is only slightly larger than the current pot. Too much extra space can lead to overwatering. Make sure the pot has drainage holes.
* Selecting the Right Soil: Use a well-draining potting mix specifically formulated for ferns or acid-loving plants. You can also create your own mix by combining equal parts peat moss, perlite, and potting soil.
* Repotting Process:
1. Gently remove the fern from its current pot. You may need to loosen the soil around the edges of the pot.
2. Inspect the roots. If you see any brown or mushy roots, trim them off with clean scissors or pruning shears.
3. Place a layer of fresh potting mix in the bottom of the new pot.
4. Position the fern in the center of the pot and fill in around the roots with more potting mix.
5. Gently press down on the soil to remove any air pockets.
6. Water thoroughly.
7. Place the fern in a bright, indirect light location.
Phase 4: Light and Location
Ferns need bright, indirect light. Avoid direct sunlight, which can scorch the fronds.
* Ideal Locations: East-facing windows are often a good choice. North-facing windows can also work, but you may need to supplement with artificial light.
* Signs of Too Much Light: Brown, crispy fronds are a sign that your fern is getting too much light.
* Signs of Too Little Light: Pale, leggy growth can indicate that your fern isn’t getting enough light.
* Rotating Your Fern: Rotate your fern regularly to ensure that all sides receive equal light.
Phase 5: Feeding Your Fern
Ferns need nutrients to thrive, but they are also sensitive to over-fertilization.
* Fertilizer Type: Use a balanced liquid fertilizer diluted to half strength. Look for a fertilizer with a higher nitrogen content.
* Fertilizing Frequency: Fertilize your fern every 2-4 weeks during the growing season (spring and summer). Do not fertilize during the dormant season (fall and winter).
* Flushing the Soil: Every few months, flush the soil with water to remove any accumulated salts from the fertilizer.
Phase 6: Pest Patrol
Keep an eye out for pests, such as spider mites, mealybugs, and scale.
* Spider Mites: These tiny pests suck the sap from the fronds, causing them to turn yellow and stippled. You may also see fine webbing. To get rid of spider mites, mist your fern regularly and wipe the fronds with a damp cloth. You can also use insecticidal soap.
* Mealybugs: These white, cottony pests suck the sap from the fronds and stems. To get rid of mealybugs, dab them with a cotton swab dipped in rubbing alcohol. You can also use insecticidal soap.
* Scale: These small, brown, shell-like pests attach themselves to the fronds and stems. To get rid of scale, scrape them off with your fingernail or a cotton swab dipped in rubbing alcohol. You can also use insecticidal soap.
* Neem Oil: Neem oil is a natural insecticide that can be used to control a variety of pests.
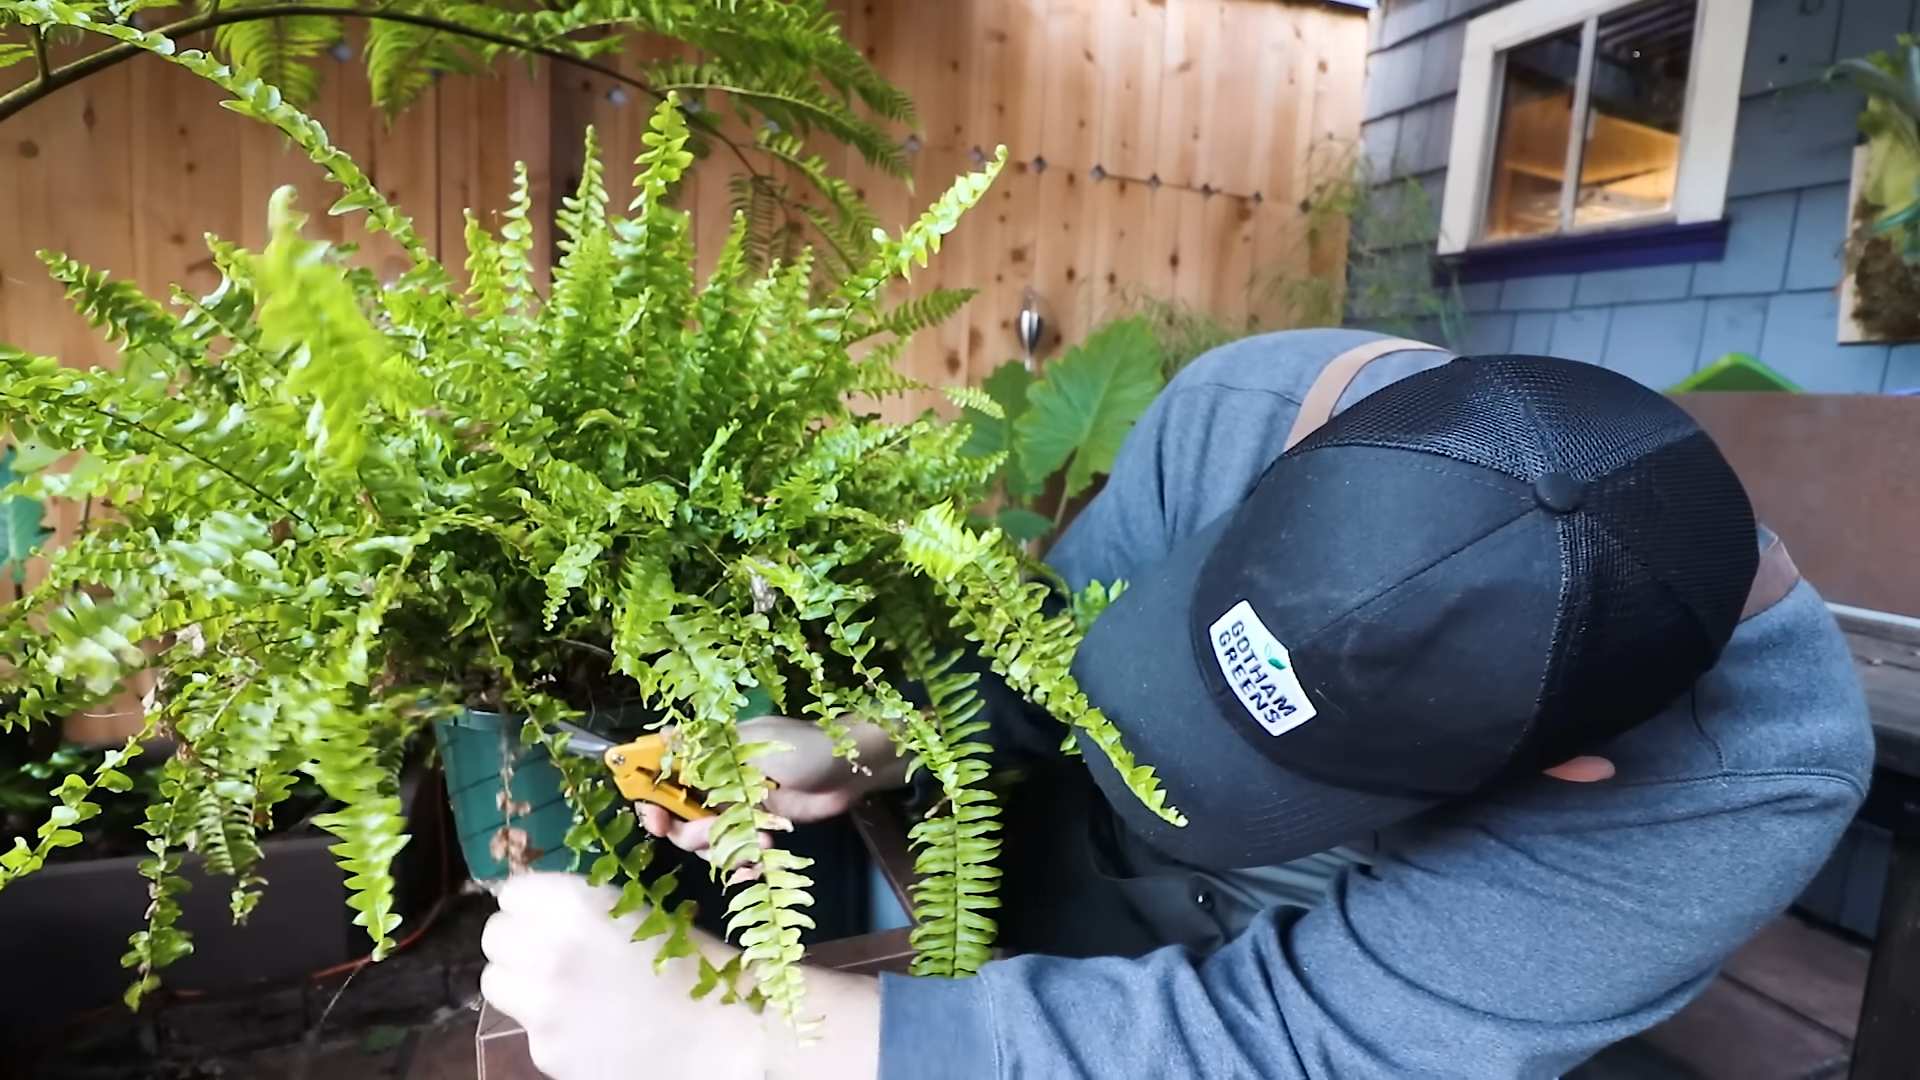
Phase 7: Pruning and Grooming
Regular pruning and grooming will help keep your fern looking its best.
* Removing Dead Fronds: Trim off any dead or brown fronds with clean scissors or pruning shears.
* Shaping Your Fern: You can also prune your fern to shape it.
* Cleaning the Fronds: Dust can accumulate on the fronds, blocking sunlight and hindering photosynthesis. Wipe the fronds with a damp cloth regularly to keep them clean.
Extra Tips and Tricks
* Distilled or Filtered Water: Ferns are sensitive to the chemicals in tap water. Use distilled or filtered water whenever possible.
* Avoid Drafts: Keep your fern away from drafts, which can dry out the fronds.
* Be Patient: It may take several weeks or even months to see a significant improvement in your fern’s health. Don’t give up!
* Research Your Specific Fern: Different types of ferns have slightly different needs. Research your specific type of fern to learn more about its care requirements. Boston ferns, for example, are different than maidenhair ferns.
Troubleshooting Common Problems
* Brown, Crispy Fronds: This is usually a sign of dry air or underwatering. Increase humidity and water more frequently.
* Yellowing Fronds: This could be a sign of overwatering, nutrient deficiency, or too much light. Adjust your watering schedule, fertilize your fern, and move it to a location with less light.
* Drooping Fronds: This could be a sign of underwatering, overwatering, or root rot. Check the soil moisture and adjust your watering schedule accordingly. If you suspect root rot, repot your fern into fresh soil.
* Leggy Growth: This is a sign that your fern isn’t getting enough light. Move it to a brighter location.
By following these steps, you can give your fern
Conclusion
So, there you have it! Mastering fern care indoors doesn’t have to be a daunting task. By implementing this simple yet effective DIY humidity trick, you’re not just providing your fern with the moisture it craves, you’re also creating a thriving microclimate that mimics its natural habitat. This, in turn, leads to healthier, happier, and more vibrant ferns that will transform your living space into a lush, green oasis.
This DIY approach is a must-try for several reasons. First and foremost, it’s incredibly cost-effective. Forget about expensive humidifiers or complicated watering systems. With just a few readily available materials, you can create a sustainable and efficient humidity solution that will keep your fern flourishing. Secondly, it’s incredibly easy to implement. The steps are straightforward and require minimal effort, making it accessible to even the most novice plant parent. Finally, it’s a targeted approach. Unlike general humidifiers that can affect the entire room, this DIY trick focuses specifically on providing humidity to your fern, ensuring that it receives the precise level of moisture it needs.
Looking to personalize your fern care even further? Consider these variations:
* Pebble Tray Alternatives: Instead of pebbles, you can use LECA (lightweight expanded clay aggregate) balls. These are excellent at retaining moisture and releasing it slowly, providing a consistent level of humidity.
* Terrarium Enhancement: If you’re feeling ambitious, consider creating a mini-terrarium around your fern. This will not only boost humidity but also create a visually stunning display. Just ensure adequate ventilation to prevent fungal growth.
* Water Source Options: While distilled water is ideal, you can also use filtered water or rainwater. Just avoid using tap water, as it often contains chemicals that can be harmful to ferns.
* Grouping Plants: Grouping your ferns with other humidity-loving plants can also create a more humid environment. Plants naturally transpire, releasing moisture into the air, which benefits their neighbors.
We are confident that this DIY humidity trick will make a significant difference in the health and vitality of your indoor ferns. It’s a simple, affordable, and effective way to provide them with the moisture they need to thrive.
Don’t just take our word for it – try it out for yourself! We encourage you to experiment with different variations and find what works best for your specific fern and environment. And most importantly, we want to hear about your experience! Share your results, tips, and photos in the comments below. Let’s create a community of fern enthusiasts who are dedicated to providing the best possible care for these beautiful plants. Your insights could help others achieve fern care success!
Frequently Asked Questions (FAQ)
Why is humidity so important for ferns indoors?
Ferns, in their natural habitat, thrive in moist, humid environments like rainforests. Indoors, the air is often much drier, especially during winter months when heating systems are in use. This lack of humidity can lead to several problems for ferns, including:
* Brown, crispy fronds: Dry air causes the fronds to lose moisture, resulting in unsightly browning and crisping, particularly at the tips and edges.
* Stunted growth: Insufficient humidity can inhibit the fern’s ability to absorb nutrients and grow properly, leading to slow or stunted growth.
* Increased susceptibility to pests: Dry conditions can weaken the fern, making it more vulnerable to pests like spider mites, which thrive in dry environments.
* Overall decline in health: Prolonged exposure to dry air can weaken the fern’s immune system, making it more susceptible to diseases and ultimately leading to its decline.
Therefore, maintaining adequate humidity is crucial for the health and well-being of indoor ferns.
How often should I refill the water in the pebble tray?
The frequency of refilling the water in the pebble tray depends on several factors, including the ambient temperature, humidity levels in your home, and the size of the tray. As a general rule, you should check the water level in the tray every 2-3 days. If the water has completely evaporated, refill it immediately. During warmer months or in drier climates, you may need to refill the tray more frequently. The goal is to ensure that there is always water in the tray, but the bottom of the pot should not be submerged in water, as this can lead to root rot.
What type of water should I use for the pebble tray?
Ideally, you should use distilled water for the pebble tray. Distilled water is free of minerals and chemicals that can accumulate in the soil and harm your fern over time. If distilled water is not readily available, you can use filtered water or rainwater. Avoid using tap water, as it often contains chlorine, fluoride, and other chemicals that can be detrimental to ferns. If you must use tap water, let it sit out for 24 hours to allow the chlorine to evaporate before adding it to the pebble tray.
Can I use a humidifier instead of the pebble tray?
Yes, a humidifier is an excellent alternative to the pebble tray for increasing humidity around your fern. In fact, a humidifier can provide a more consistent and widespread level of humidity than a pebble tray. If you choose to use a humidifier, make sure to place it near your fern, but not directly in front of it, as excessive airflow can also dry out the fronds. Monitor the humidity levels in the room using a hygrometer to ensure that they are within the ideal range for ferns (60-80%).
What are the signs that my fern is not getting enough humidity?
There are several telltale signs that your fern is not getting enough humidity:
* Brown, crispy fronds: This is the most common and obvious sign of low humidity. The fronds will start to turn brown and crispy, particularly at the tips and edges.
* Yellowing fronds: While yellowing can also be caused by other factors, such as overwatering or nutrient deficiencies, it can also be a sign of low humidity.
* Stunted growth: If your fern is not growing as quickly as it should be, it may be due to insufficient humidity.
* Drooping fronds: Dry air can cause the fronds to droop and lose their vibrancy.
* Increased susceptibility to pests: As mentioned earlier, dry conditions can make your fern more vulnerable to pests like spider mites.
If you notice any of these signs, it’s important to take steps to increase the humidity around your fern immediately.
How do I prevent mold or algae growth in the pebble tray?
Mold and algae can sometimes grow in pebble trays due to the constant moisture. To prevent this, clean the pebble tray regularly with a mild soap and water solution. You can also add a small amount of hydrogen peroxide to the water in the tray, which will help to inhibit the growth of mold and algae. Make sure to rinse the pebbles thoroughly before placing them back in the tray. Additionally, ensure that the tray is located in a well-ventilated area to prevent excessive moisture buildup.
Is this DIY trick suitable for all types of ferns?
While this DIY humidity trick is beneficial for most types of ferns, some ferns are more tolerant of dry air than others. Ferns that are particularly sensitive to low humidity include maidenhair ferns, Boston ferns, and bird’s nest ferns. These ferns will benefit the most from this DIY trick. However, even ferns that are more tolerant of dry air will appreciate the extra humidity. It’s always best to research the specific needs of your particular type of fern to ensure that you are providing it with the optimal growing conditions.

Leave a Comment