

Easy cleaning hacks for busy families – that’s what we all crave, right? Let’s face it, between work, school, kids’ activities, and trying to maintain some semblance of a social life, cleaning often falls to the bottom of the to-do list. But what if I told you that keeping a tidy home doesn’t have to be a monumental chore?
For centuries, cultures around the world have developed clever cleaning methods passed down through generations. Think of the ancient Romans using olive oil for polishing or the Egyptians employing natron (a naturally occurring salt) for laundry. These weren’t just random acts; they were ingenious solutions born out of necessity and a desire for a clean and healthy living space.
Today, we have access to countless cleaning products, but sometimes the simplest, most cost-effective solutions are the best. That’s where these easy cleaning hacks for busy families come in. I’m going to share some tried-and-true tips and tricks that will save you time, money, and energy. Imagine spending less time scrubbing and more time enjoying quality moments with your loved ones. Sounds good, doesn’t it? So, let’s dive in and discover how to transform your cleaning routine from a daunting task into a manageable and even enjoyable experience!
Easy Cleaning Hacks for Busy Families: Reclaim Your Time!
Hey everyone! As a busy parent myself, I totally get the struggle of keeping a clean house with limited time. Between work, school, kids’ activities, and everything else, cleaning often falls to the bottom of the to-do list. But don’t worry, I’ve got you covered! I’m going to share some of my favorite easy cleaning hacks that will help you maintain a tidy home without spending hours scrubbing. These are tried and tested, and I promise they’ll make a difference!
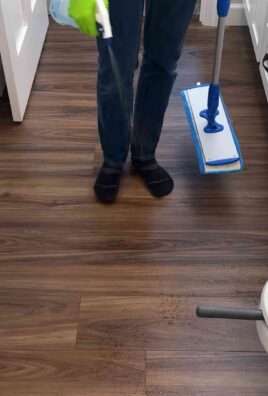
Hack #1: The 15-Minute Tidy Blitz
This is my go-to method when I’m short on time but need to make a visible impact. The key is to focus on the high-traffic areas and prioritize tasks that make the biggest difference.
- Goal: Quick, focused cleaning to improve the overall appearance of your home.
- Frequency: Daily or as needed.
- Focus Areas: Living room, kitchen, entryway, bathrooms (surface clean).
Step-by-Step Instructions:
- Gather Your Supplies: Grab a cleaning caddy with essentials like all-purpose cleaner, microfiber cloths, a duster, and a small trash bag. Having everything in one place saves time!
- Living Room Rescue:
- Fluff and arrange pillows and blankets on the sofa.
- Straighten up any magazines, books, or remote controls.
- Quickly dust coffee tables and other surfaces.
- Empty any visible trash.
- Kitchen Cleanup:
- Wipe down countertops and the stovetop.
- Load or unload the dishwasher (even a partial load helps!).
- Sweep or quickly mop the floor to remove crumbs and spills.
- Wipe down the sink.
- Entryway Refresh:
- Organize shoes and coats.
- Wipe down any surfaces that collect dust or dirt.
- Sweep or vacuum the floor.
- Bathroom Blitz:
- Wipe down the sink and countertop.
- Clean the toilet bowl with a toilet brush and cleaner.
- Quickly wipe down the shower door or curtain.
- Replace towels if needed.
- Take Out the Trash: Empty all trash cans and replace liners.
Hack #2: The “Clean As You Go” Philosophy
This is all about incorporating small cleaning tasks into your daily routine. It prevents messes from piling up and makes cleaning less overwhelming in the long run.
- Goal: Prevent messes from accumulating by cleaning up small spills and messes immediately.
- Frequency: Throughout the day.
- Focus Areas: All areas, but especially the kitchen and bathrooms.
Step-by-Step Instructions:
- Kitchen Clean-Up After Meals:
- Wash dishes immediately after eating or load them into the dishwasher.
- Wipe down the table and countertops after each meal.
- Sweep up any crumbs or spills on the floor.
- Bathroom Maintenance:
- Wipe down the sink and mirror after brushing your teeth.
- Squeegee the shower walls after each shower to prevent water spots and mildew.
- Hang up towels properly to allow them to dry.
- Spill Control: Clean up spills immediately to prevent stains and sticky messes. Keep cleaning supplies readily available in high-traffic areas.
- One-Minute Room Reset: Before leaving a room, take a minute to straighten up any items that are out of place. This could include putting away toys, folding blankets, or returning items to their designated spots.
Hack #3: The Power of Vinegar and Baking Soda
These two ingredients are my secret weapons for tackling tough cleaning jobs without harsh chemicals. They’re inexpensive, effective, and eco-friendly!
- Goal: Use natural cleaning solutions to tackle tough stains and odors.
- Frequency: As needed.
- Focus Areas: Kitchen, bathrooms, laundry room.
Step-by-Step Instructions:
- Vinegar for Hard Water Stains:
- Showerhead Cleaning: Fill a plastic bag with white vinegar and secure it around your showerhead with a rubber band. Let it soak for a few hours or overnight to dissolve mineral deposits. Remove the bag and rinse thoroughly.
- Faucet Cleaning: Soak a cloth in white vinegar and wrap it around faucets to remove hard water stains. Let it sit for about 30 minutes, then scrub and rinse.
- Baking Soda for Odor Removal and Scrubbing:
- Odor Absorber: Place an open box of baking soda in your refrigerator, freezer, or other areas with unpleasant odors. Replace it every few months.
- Scrubbing Paste: Mix baking soda with a small amount of water to create a paste. Use this paste to scrub sinks, tubs, and other surfaces to remove stains and grime.
- Vinegar and Baking Soda Combination for Clogged Drains:
- Pour 1/2 cup of baking soda down the drain, followed by 1 cup of white vinegar.
- Let it fizz for about 30 minutes.
- Flush the drain with hot water.
Hack #4: The Laundry Basket System
This hack is all about keeping laundry under control and preventing it from taking over your home.
- Goal: Manage laundry efficiently to prevent piles of clothes from accumulating.
- Frequency: Daily or every other day.
- Focus Areas: Bedrooms, bathrooms, laundry room.
Step-by-Step Instructions:
- Designate Laundry Baskets: Assign a laundry basket to each family member or room. This helps keep dirty clothes contained and prevents them from being scattered around the house.
- Sort Laundry Regularly: Sort laundry into different categories (whites, colors, delicates) as you put it in the baskets. This saves time on laundry day.
- Establish a Laundry Schedule: Set aside specific days or times for doing laundry. This helps you stay on top of the task and prevents it from becoming overwhelming.
- Fold and Put Away Laundry Immediately: As soon as the laundry is dry, fold it and put it away. Don’t let it sit in baskets or on furniture.
- Enlist Help: Get family members involved in the laundry process. Assign them tasks such as sorting, folding, or putting away their own clothes.
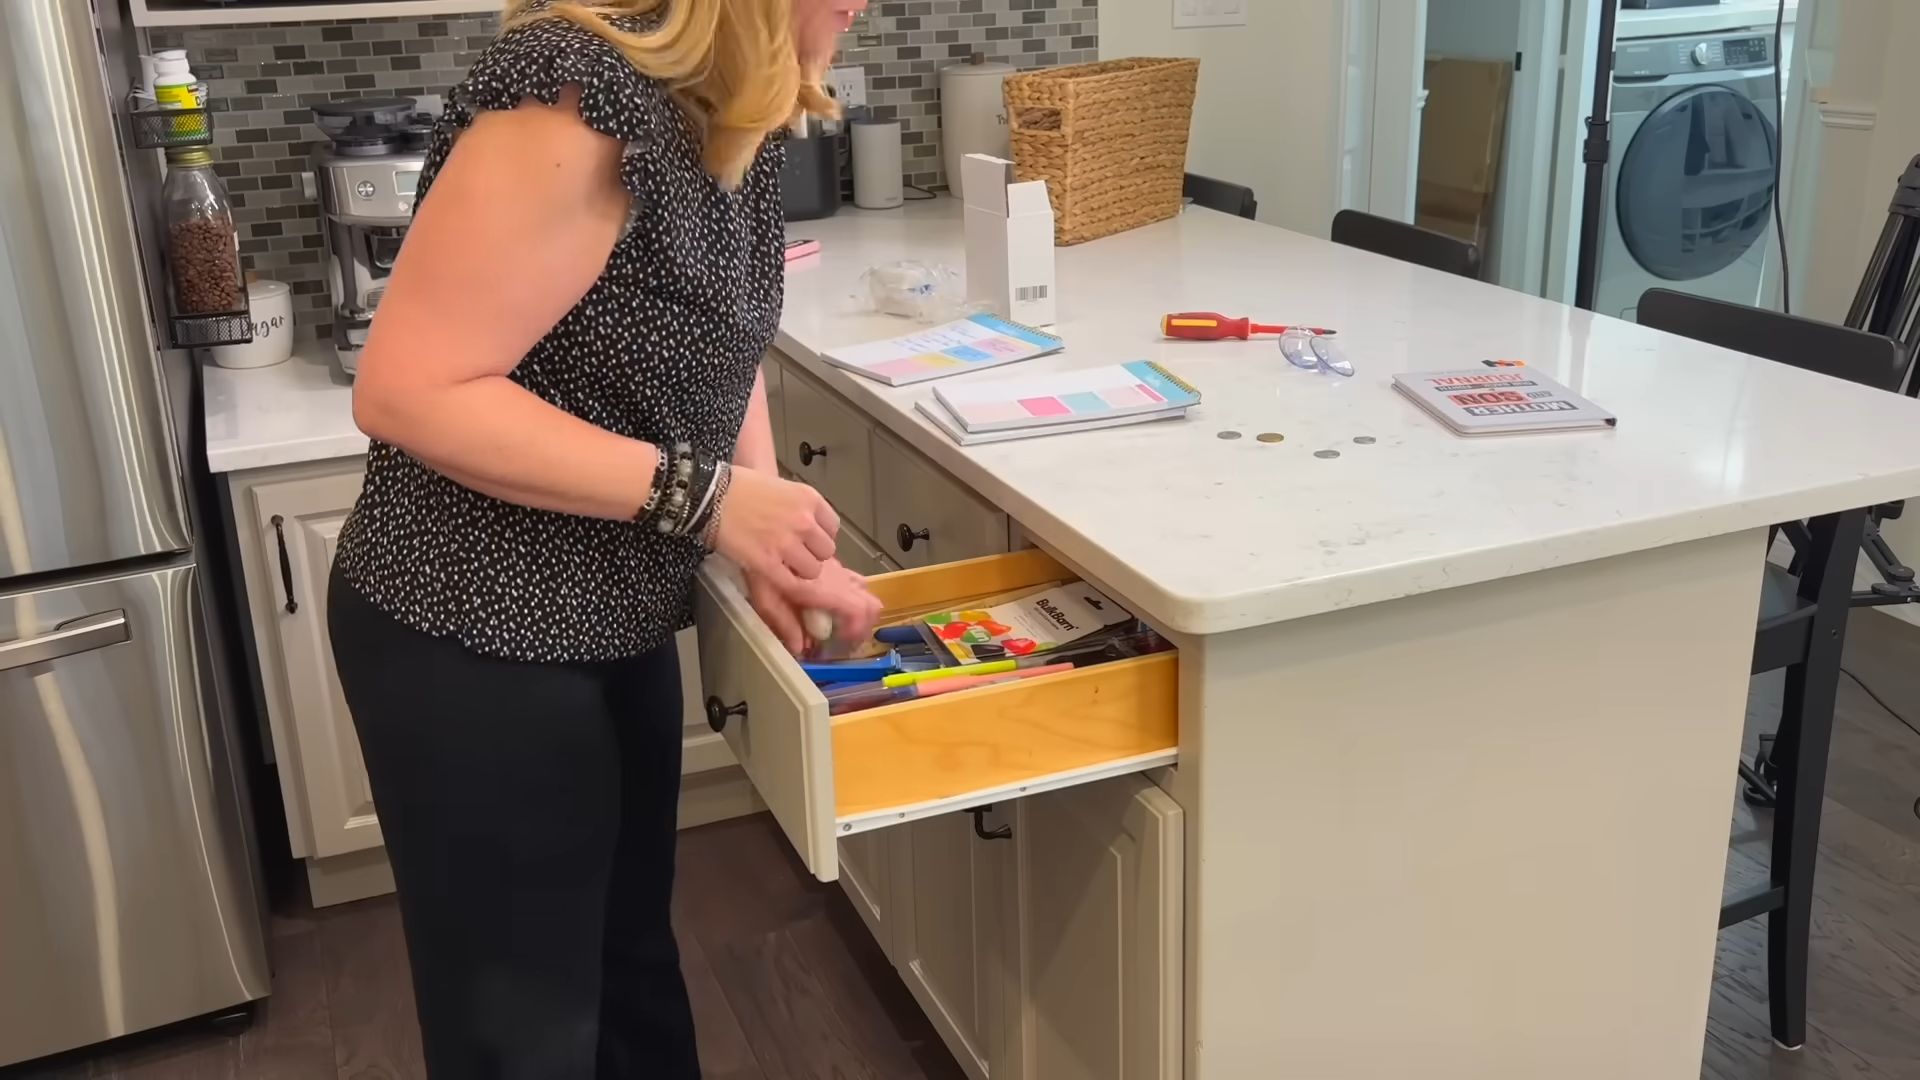
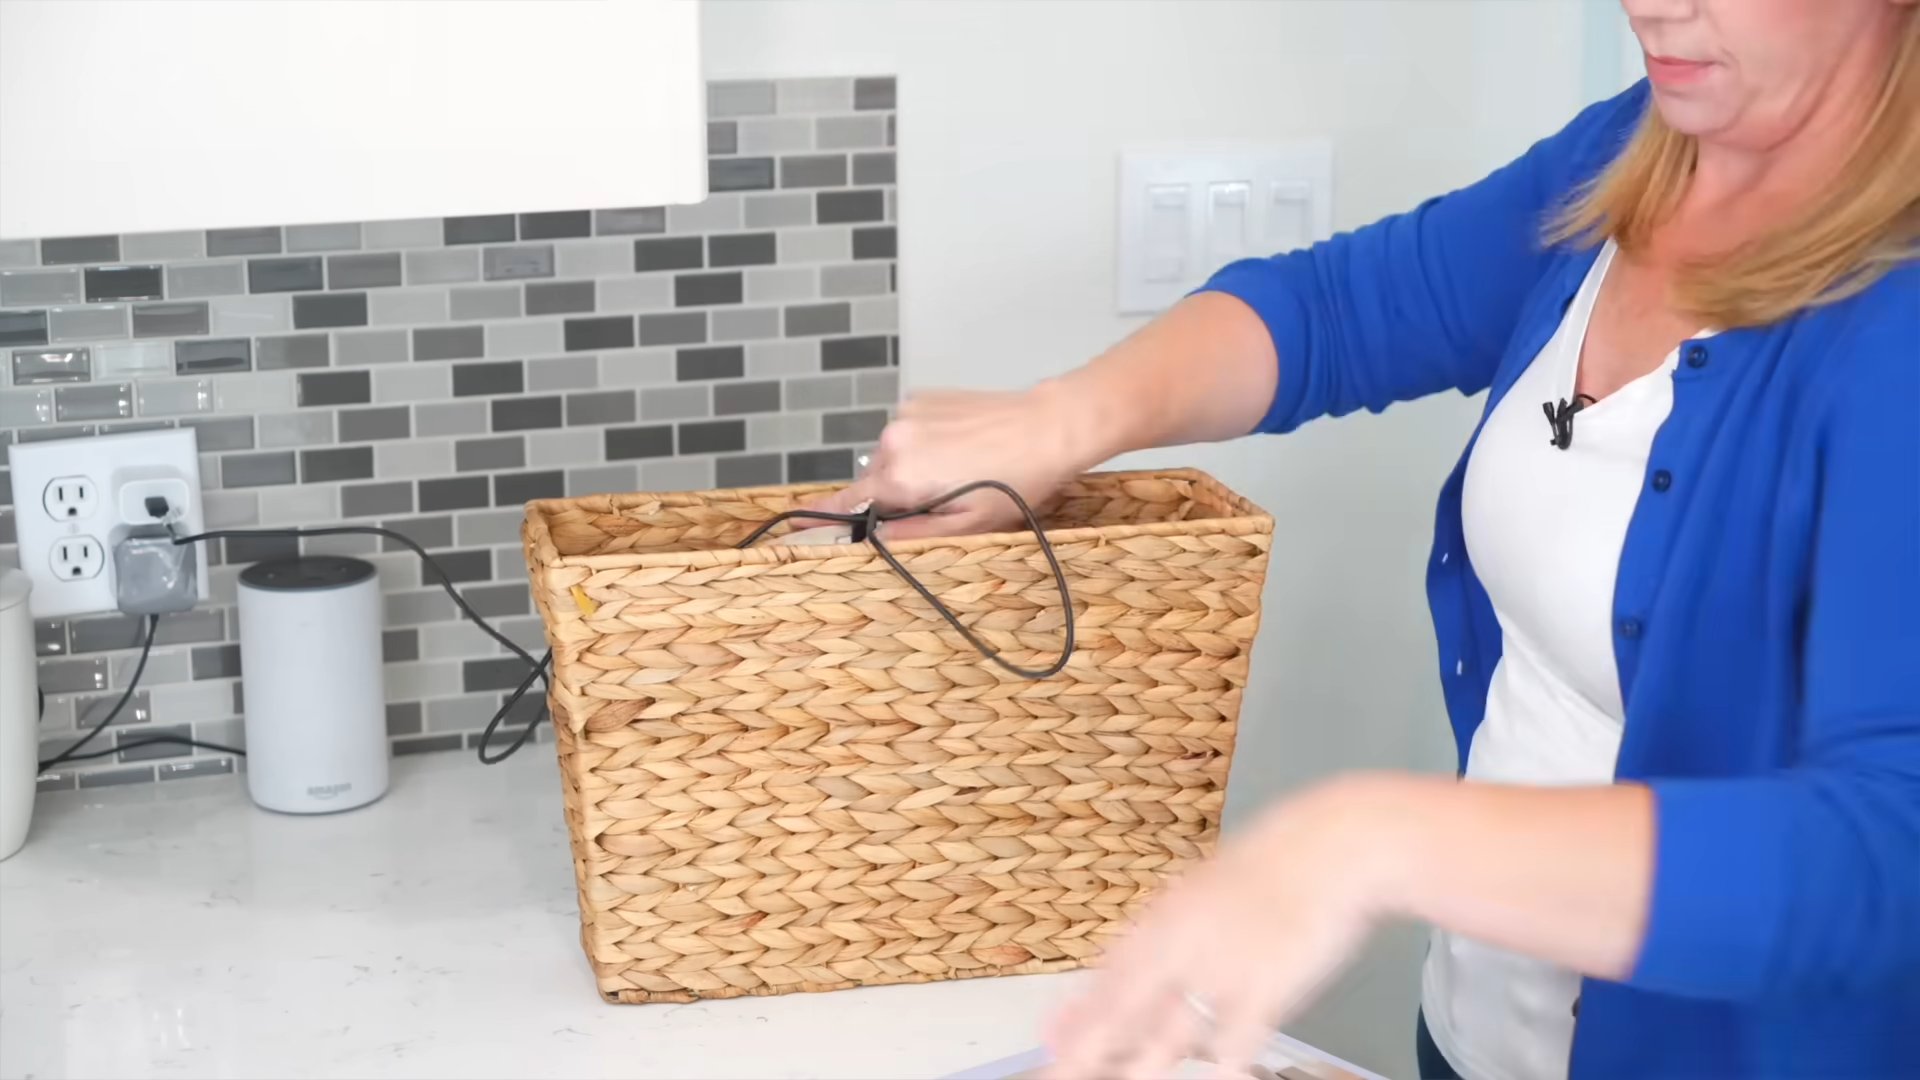
Hack #5: The Decluttering Dash
Clutter can make a house feel dirtier than it actually is. This hack focuses on quick and easy decluttering to create a more organized and spacious environment.
- Goal: Reduce clutter to make cleaning easier and create a more organized home.
- Frequency: Weekly or monthly.
- Focus Areas: All areas of the home.
Step-by-Step Instructions:
- The 20-Minute Declutter: Set a timer for 20 minutes and focus on decluttering one specific area, such as a countertop, drawer, or shelf.
- The One-In, One-Out Rule: For every new item you bring into your home, get rid of one similar item. This helps prevent clutter from accumulating.
- The Donation Box: Keep a donation box in a convenient location and regularly add items that you no longer need or use. When the box is full, donate it to a local charity.
- The “Touch It Once” Rule: When you pick up an item, make a decision about what to do with it immediately. Don’t put it down to deal with later.
- The Visual Clutter Sweep: Take a walk through your home and identify areas that are visually cluttered. Focus on decluttering these areas to create a more calming and organized environment.
Conclusion
In the whirlwind of busy family life, finding shortcuts that actually work can feel like striking gold. This DIY cleaning trick isn’t just another fleeting fad; it’s a game-changer that simplifies your routine and delivers sparkling results with minimal effort. We’ve all been there – staring down a mountain of chores, feeling overwhelmed and wishing for a magic wand. While we can’t promise magic, we can offer a practical, cost-effective solution that tackles common cleaning challenges head-on.
The beauty of this method lies in its simplicity and adaptability. You’re not chained to expensive, chemical-laden products that often leave behind harsh odors and potential irritants. Instead, you’re harnessing the power of readily available ingredients to create a cleaning solution that’s both effective and gentle. Think of the time you’ll save not running to the store for specialized cleaners, and the peace of mind knowing you’re using something safe around your children and pets.
But the benefits extend beyond convenience and cost savings. This DIY approach empowers you to take control of your cleaning process. You can customize the scent, adjust the strength, and tailor the solution to your specific needs. For instance, if you’re dealing with stubborn grease, a little extra vinegar can work wonders. If you prefer a more floral aroma, a few drops of essential oil can transform your cleaning experience into a mini aromatherapy session.
Consider these variations to further personalize your cleaning routine:
* For a deeper clean on bathroom tiles: Add a tablespoon of baking soda to the mixture for extra scrubbing power.
* To freshen up carpets: Sprinkle baking soda directly onto the carpet, let it sit for 15-20 minutes, and then vacuum.
* For a natural air freshener: Simmer a pot of water with citrus peels and spices like cinnamon and cloves.
The possibilities are endless! The key is to experiment and find what works best for your home and your preferences.
Ultimately, this DIY cleaning trick is more than just a recipe; it’s a philosophy. It’s about embracing a simpler, more sustainable way of life, one that prioritizes efficiency, affordability, and well-being. It’s about reclaiming your time and energy so you can focus on what truly matters – spending quality moments with your loved ones.
We wholeheartedly encourage you to give this DIY cleaning trick a try. We’re confident that you’ll be amazed by the results. And once you’ve experienced the magic for yourself, we’d love to hear about it! Share your tips, variations, and success stories in the comments below. Let’s build a community of busy families who are conquering the cleaning chaos, one simple hack at a time. Let’s make easy cleaning hacks a part of our daily lives.
Frequently Asked Questions (FAQ)
What exactly is the DIY cleaning trick you’re referring to?
This article focuses on using a mixture of common household ingredients like vinegar, baking soda, water, and essential oils to create effective and versatile cleaning solutions. These solutions can be used on a variety of surfaces, from countertops and floors to bathrooms and kitchens. The specific recipes and ratios can be found in the main article (not included here, as per instructions), but the core principle is to leverage the natural cleaning power of these ingredients to create a safe and affordable alternative to commercial cleaners.
Is vinegar safe to use on all surfaces?
While vinegar is a fantastic cleaning agent, it’s important to exercise caution on certain surfaces. Avoid using vinegar on natural stone surfaces like marble, granite, and limestone, as the acidity can etch and damage them. It’s also best to avoid using vinegar on waxed wood floors, as it can dull the finish. Always test the solution in an inconspicuous area first to ensure it doesn’t cause any discoloration or damage. For sensitive surfaces, consider diluting the vinegar further or using a milder alternative like baking soda paste.
Can I use any type of essential oil in my DIY cleaning solutions?
While most essential oils are safe to use in cleaning solutions, some are more effective than others. Popular choices include lemon, tea tree, lavender, eucalyptus, and peppermint, all of which possess antibacterial and antifungal properties. However, it’s crucial to use pure, therapeutic-grade essential oils to ensure their potency and effectiveness. Avoid using fragrance oils or synthetic scents, as they don’t offer the same cleaning benefits and may contain harmful chemicals. Also, be mindful of potential allergies or sensitivities to certain essential oils, especially if you have young children or pets.
How long will my DIY cleaning solution last?
The shelf life of your DIY cleaning solution depends on the ingredients you use. Solutions containing water are best used within a week or two, as they can be susceptible to bacterial growth. To extend the shelf life, consider adding a natural preservative like grapefruit seed extract or vitamin E oil. Solutions made with vinegar or alcohol tend to last longer, as these ingredients have antibacterial properties. Always store your cleaning solutions in airtight containers in a cool, dark place to prevent degradation. If you notice any changes in color, odor, or consistency, it’s best to discard the solution and make a fresh batch.
What if I don’t have all the ingredients listed in the recipe?
The beauty of DIY cleaning is its flexibility. If you’re missing an ingredient, don’t be afraid to experiment with substitutions. For example, if you don’t have vinegar, you can use lemon juice as a substitute. If you don’t have essential oils, you can simply omit them or use dried herbs like lavender or rosemary to infuse your cleaning solution with a natural fragrance. The key is to understand the purpose of each ingredient and find a suitable alternative that offers similar benefits.
Is this DIY cleaning trick effective for removing tough stains?
While this DIY cleaning trick is effective for general cleaning and maintenance, it may require some extra effort to tackle tough stains. For stubborn stains like grease, coffee, or wine, consider pre-treating the area with a baking soda paste or a mixture of hydrogen peroxide and dish soap. Let the solution sit for a few minutes before scrubbing gently with a soft cloth or sponge. For set-in stains, you may need to repeat the process or try a more specialized stain remover. Remember to always test the solution in an inconspicuous area first to avoid damaging the surface.
How can I make my DIY cleaning routine more sustainable?
There are several ways to make your DIY cleaning routine more sustainable. Start by using reusable spray bottles and containers instead of disposable ones. Opt for eco-friendly ingredients like organic vinegar, baking soda, and essential oils. Consider using microfiber cloths instead of paper towels, as they are more absorbent and can be washed and reused multiple times. You can also compost your food scraps and use them to make your own natural fertilizer for your garden. By making small changes to your cleaning habits, you can significantly reduce your environmental impact and create a healthier home for your family. Embracing easy cleaning hacks that are also eco-friendly is a win-win.
Leave a Comment