

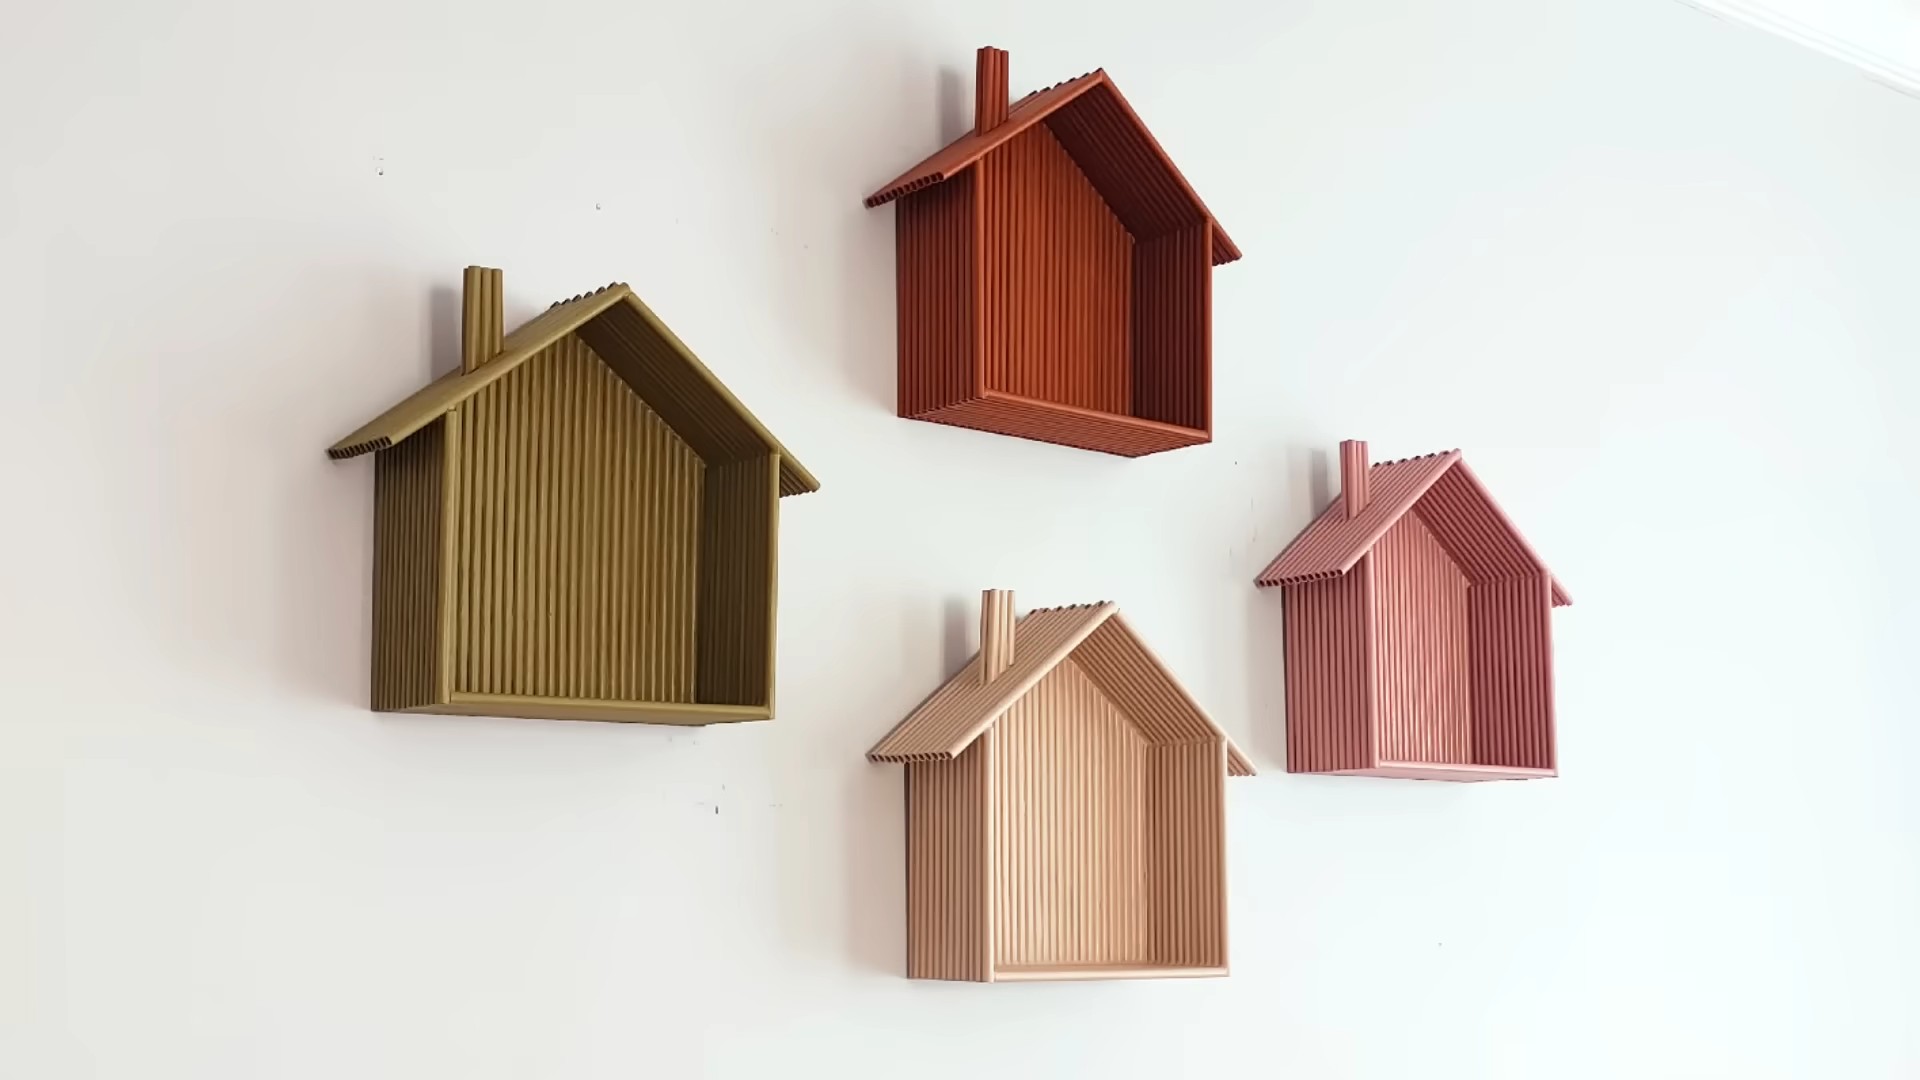
DIY Wall Box Shelf: Transform your living space with a touch of creativity and functionality! Have you ever looked at a blank wall and thought, “This needs something… but what?” I know I have! That’s where the magic of a DIY wall box shelf comes in. It’s not just about adding storage; it’s about adding personality and a unique flair to your home.
Wall shelves, in various forms, have been around for centuries. From simple wooden planks in ancient dwellings to ornate, carved shelves in Victorian homes, they’ve always served as a practical and decorative element. Today, the DIY approach allows us to personalize this timeless piece to perfectly match our individual styles and needs.
In today’s world, where space is often a premium, maximizing vertical storage is essential. A DIY wall box shelf is the perfect solution! It’s a fantastic way to display your favorite books, plants, or decorative items without taking up valuable floor space. Plus, building it yourself gives you the satisfaction of creating something beautiful and functional with your own hands. This project is not only budget-friendly but also allows you to customize the size, color, and design to perfectly complement your existing decor. Let’s dive in and create a stunning focal point for your home!
DIY Floating Wall Box Shelves: A Weekend Project for Stylish Storage
Okay, let’s get real. We all need more storage, right? And let’s be honest, those generic shelves from big box stores? They’re just…blah. So, I decided to tackle a project that would not only give me extra space but also add a touch of modern flair to my living room: DIY floating wall box shelves! These are surprisingly easy to make, customizable to your exact needs, and seriously elevate any room. Plus, the satisfaction of saying “I made that!” is priceless.
Materials You’ll Need:
Before we dive in, let’s gather our supplies. This is crucial for a smooth and enjoyable building experience. Trust me, nothing’s worse than realizing you’re missing a key component halfway through!
* **Lumber:** This is the heart of our project. I used pine because it’s affordable and easy to work with, but you can choose any wood you like – oak, maple, even reclaimed wood for a rustic look! You’ll need enough to create the sides, top, bottom, and back of your boxes. The amount will depend on the size and number of shelves you want. I recommend planning out your dimensions beforehand (more on that later!).
* **Wood Glue:** A good quality wood glue is essential for strong, lasting joints. Don’t skimp on this!
* **Screws:** I used 1 1/4″ wood screws. Make sure they’re long enough to securely hold the wood together but not so long that they poke through.
* **Wood Filler:** For filling in any screw holes or imperfections. This will give your shelves a clean, professional finish.
* **Sandpaper:** Various grits, from coarse (80-grit) to fine (220-grit), for smoothing out the wood.
* **Primer:** To prepare the wood for painting or staining.
* **Paint or Stain:** Choose your favorite color or stain to match your decor.
* **Polyurethane (Optional):** For added protection and durability, especially if you’re using the shelves in a high-traffic area or bathroom.
* **French Cleat Hanger:** This is the secret to making the shelves “float”! You can buy these online or at most hardware stores. Make sure they’re rated to hold the weight you plan to put on the shelves.
* **Level:** Absolutely essential for ensuring your shelves are straight!
* **Stud Finder:** To locate the studs in your wall for secure mounting.
* **Drill:** With various drill bits for pilot holes and driving screws.
* **Measuring Tape:** For accurate measurements.
* **Pencil:** For marking your cuts and screw locations.
* **Clamps:** To hold the wood pieces together while the glue dries.
* **Safety Glasses:** Protect your eyes!
* **Hearing Protection:** Especially if you’re using power tools.
* **Miter Saw (Recommended):** For making precise cuts. A hand saw will work, but it will take longer and require more effort.
* **Sander (Optional):** To speed up the sanding process.
Planning and Cutting Your Wood:
This is where the magic begins! Careful planning is key to avoiding costly mistakes.
1. **Determine Your Shelf Dimensions:** Think about what you want to store on your shelves and where you want to hang them. Consider the height, width, and depth. I wanted a variety of sizes, so I made some smaller shelves for displaying decorative items and a larger one for books. I went with depths of 6″, 8″, and 10″ and widths ranging from 12″ to 24″.
2. **Create a Cut List:** Once you have your dimensions, create a detailed cut list. This will tell you exactly how many pieces of wood you need and what size each piece should be. For each shelf, you’ll need:
* Two side pieces
* One top piece
* One bottom piece
* One back piece
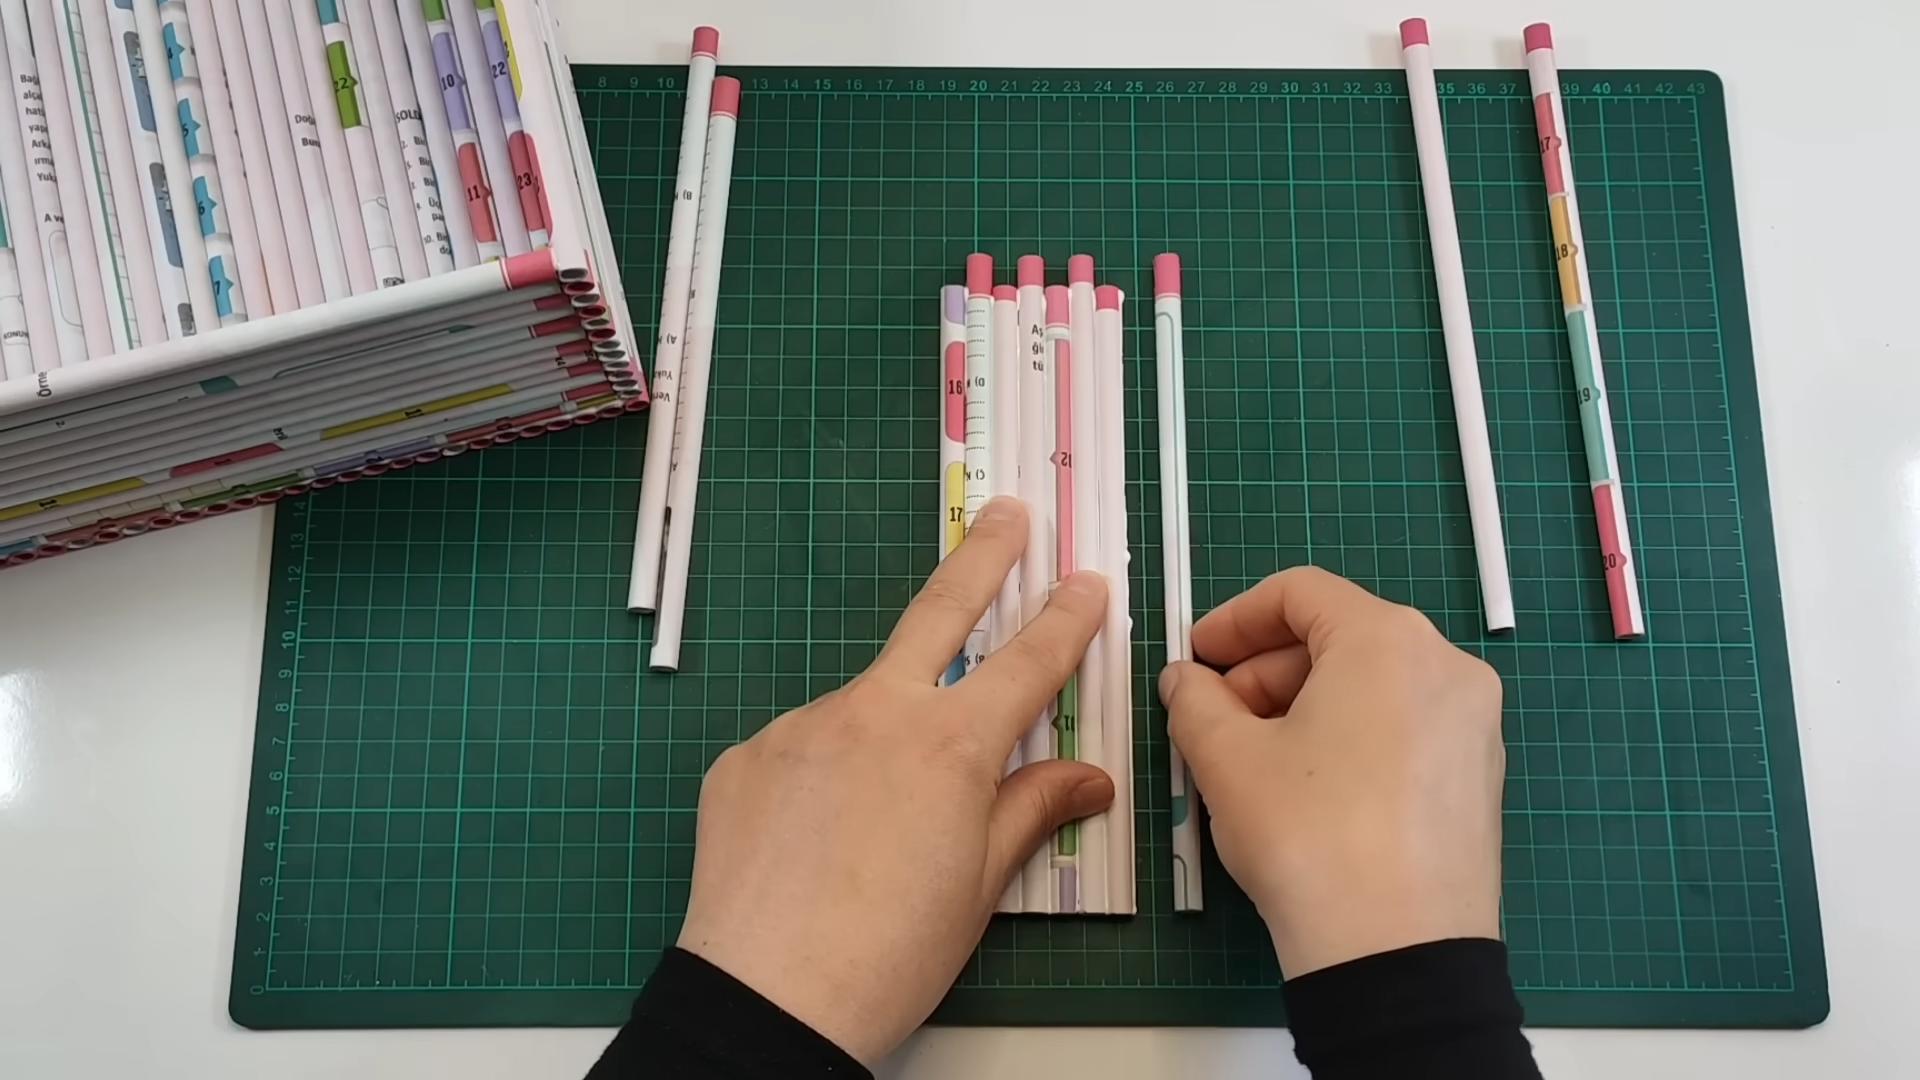
3. **Cut Your Wood:** Using your miter saw (or hand saw), carefully cut the wood according to your cut list. Double-check your measurements before each cut to avoid errors. Remember the old adage: “Measure twice, cut once!”
4. **Sand the Edges:** After cutting, lightly sand the edges of each piece of wood to remove any splinters or rough spots. This will make the assembly process easier and give your shelves a smoother finish.
Assembling the Boxes:
Now for the fun part – putting it all together!
1. **Apply Wood Glue:** Apply a generous bead of wood glue to the edges of the side pieces where they will connect to the top and bottom pieces.
2. **Clamp the Pieces Together:** Use clamps to hold the side, top, and bottom pieces together, forming a box. Make sure the corners are square. You can use a carpenter’s square to check this.
3. **Pre-Drill Screw Holes:** Before driving in the screws, pre-drill pilot holes. This will prevent the wood from splitting. Drill the holes at an angle for added strength.
4. **Drive in the Screws:** Drive the screws into the pre-drilled holes, securing the sides to the top and bottom.
5. **Attach the Back Piece:** Apply wood glue to the edges of the back piece and clamp it to the back of the box. Pre-drill pilot holes and drive in screws to secure it in place. The back piece adds significant strength and stability to the shelf.
6. **Let the Glue Dry:** Allow the glue to dry completely according to the manufacturer’s instructions. This is crucial for a strong, lasting bond. I usually wait at least 24 hours.
Finishing Touches:
This is where you can really personalize your shelves and make them your own!
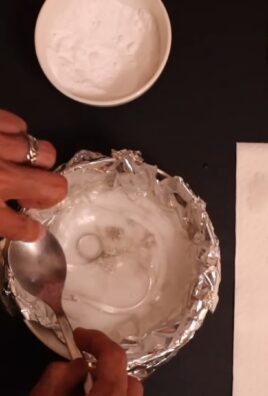
1. **Fill Screw Holes:** Once the glue is dry, use wood filler to fill in any screw holes or imperfections. Let the wood filler dry completely.
2. **Sand the Shelves:** Sand the entire surface of the shelves, starting with a coarse grit sandpaper (80-grit) to remove any excess wood filler and smooth out any rough spots. Then, gradually move to finer grits (120-grit, 180-grit, and finally 220-grit) to achieve a smooth, even finish.
3. **Prime the Shelves:** Apply a coat of primer to the shelves. This will help the paint or stain adhere better and provide a more uniform finish. Let the primer dry completely.
4. **Paint or Stain the Shelves:** Now for the fun part! Choose your favorite color or stain and apply it to the shelves. I opted for a clean, modern white paint, but you can choose any color that complements your decor. Apply multiple thin coats for a smooth, even finish, allowing each coat to dry completely before applying the next.
5. **Apply Polyurethane (Optional):** If you want added protection and durability, apply a coat of polyurethane to the shelves. This will protect them from scratches, moisture, and wear and tear. Let the polyurethane dry completely.
Mounting the Shelves:
This is where the “floating” magic happens!
1. **Attach the French Cleat:** French cleats come in two pieces: one that attaches to the wall and one that attaches to the shelf. Attach one half of the French cleat to the back of the shelf, making sure it’s centered and level. Use screws that are appropriate for the thickness of your wood.
2. **Locate Wall Studs:** Use a stud finder to locate the studs in your wall. This is crucial for securely mounting the shelves.
3. **Attach the Other Half of the French Cleat to the Wall:** Attach the other half of the French cleat to the wall, making sure it’s level and aligned with the studs. Use screws that are long enough to penetrate the studs. If you can’t align the cleat perfectly with the studs, use drywall anchors for added support.
4. **Hang the Shelves:** Carefully lift the shelf and slide it onto the French cleat on the wall. Make sure it’s securely attached.
5. **Double-Check Level:** Use a level to double-check that the shelf is perfectly level. If not, you may need to adjust the position of the French cleat on the wall.
Tips and Tricks:
* Plan Your Layout: Before you start building, sketch out your desired shelf arrangement on paper or use a design app. This will help you visualize the final result and ensure that the shelves fit your space perfectly.
* Use a Template: If you’re making multiple shelves of the same size, create a template to ensure consistency. This will save you time and effort.
* Don’t Be Afraid to Experiment: Get creative with your shelf designs! You can add decorative trim, paint them different colors, or even incorporate lighting.
* Safety First: Always wear safety glasses and hearing protection when using power tools.
* Take Your Time: This is a project that’s best done slowly and carefully
Conclusion
So, there you have it! Transforming ordinary wall boxes into stylish and functional shelves is not just a clever DIY project; it’s a game-changer for home organization and decor. We’ve walked you through the simple steps, highlighting how accessible and budget-friendly this project truly is. Forget expensive store-bought shelving units – with a little creativity and minimal effort, you can create custom storage solutions that perfectly match your aesthetic and spatial needs.
The beauty of this DIY wall box shelf project lies in its versatility. Feel free to experiment with different box sizes, arrangements, and finishes. Consider painting the boxes in vibrant colors to add a pop of personality to a neutral room, or stain them with a rich wood tone for a more rustic and sophisticated look. You could even line the inside of the boxes with decorative paper or fabric for an extra touch of flair.
Beyond aesthetics, think about functionality. Group smaller boxes together to create a display for your favorite collectibles, or use larger boxes to store books, plants, or even kitchen essentials. In a bathroom, these shelves can hold toiletries and towels, while in a home office, they can organize files and stationery. The possibilities are truly endless.
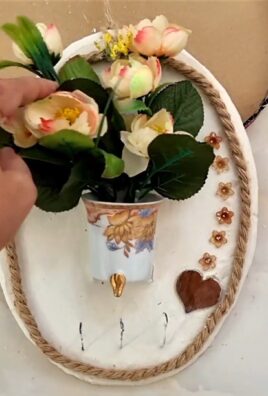
But the real magic happens when you personalize your DIY wall box shelf to reflect your unique style. Add hooks to the bottom of a box to create a key rack, or attach a small mirror to the back of another to create a mini vanity. The only limit is your imagination!
We understand that embarking on a DIY project can sometimes feel daunting, but trust us, this one is incredibly rewarding. Not only will you end up with a beautiful and functional piece of furniture, but you’ll also experience the satisfaction of creating something with your own hands.
We wholeheartedly encourage you to give this DIY wall box shelf project a try. Gather your materials, unleash your creativity, and transform those plain wall boxes into stunning storage solutions. And most importantly, don’t forget to share your creations with us! We’d love to see how you’ve personalized your shelves and incorporated them into your home decor. Tag us on social media or leave a comment below – we can’t wait to be inspired by your ingenuity! Let’s start a community of DIY enthusiasts, sharing tips, tricks, and inspiration for creating beautiful and functional spaces.
Frequently Asked Questions (FAQ)
What kind of wall boxes are best for this project?
The best wall boxes to use for this project are typically sturdy cardboard boxes, like those used for shipping or moving. Look for boxes that are in good condition, without any major dents or tears. The size of the boxes will depend on what you plan to store on the shelves, so consider that when making your selection. You can also use wooden boxes for a more rustic or durable look, but these will require more tools and effort to prepare.
How do I prepare the wall boxes before decorating them?
Before you start decorating, it’s important to prepare the wall boxes properly. First, clean the boxes thoroughly to remove any dust or dirt. If the boxes have any labels or markings, try to remove them as cleanly as possible. You can use a mild adhesive remover if necessary. Next, reinforce the corners and edges of the boxes with packing tape or duct tape to make them more durable. If you’re using cardboard boxes, you might also want to consider adding a layer of cardboard to the bottom of the box for extra support, especially if you plan to store heavy items.
What are some good ways to decorate the wall boxes?
There are countless ways to decorate your wall boxes! Painting is a popular option, and you can use acrylic paint, spray paint, or even chalk paint to achieve different looks. Consider using stencils or masking tape to create patterns or designs. Another option is to cover the boxes with decorative paper or fabric. You can use wallpaper, scrapbook paper, or even old maps or book pages for a unique look. Adhere the paper or fabric to the boxes using Mod Podge or another type of craft glue. You can also add embellishments like buttons, beads, ribbons, or twine to further personalize your shelves.
How do I attach the wall boxes to the wall?
The best way to attach the wall boxes to the wall will depend on the type of wall you have and the weight of the items you plan to store on the shelves. For drywall, you can use drywall anchors and screws. Make sure to choose anchors that are rated for the weight you’ll be supporting. For plaster walls, you may need to use plaster screws or toggle bolts. If you’re attaching the boxes to a stud, you can simply use screws. It’s always a good idea to use a level to ensure that the shelves are straight before you secure them to the wall. For lighter items, you might be able to use heavy-duty adhesive strips, but be sure to test them first to make sure they can hold the weight.
Can I arrange the wall boxes in different configurations?
Absolutely! One of the best things about this project is that you can arrange the wall boxes in any configuration you like. You can stack them vertically, arrange them horizontally, or create a more asymmetrical design. Consider the space you have available and the items you plan to store when deciding on the arrangement. You can also experiment with different layouts before you start attaching the boxes to the wall to see what looks best. Don’t be afraid to get creative and try something unique!
What if my wall boxes are different sizes?
Having wall boxes of different sizes can actually add visual interest to your DIY wall box shelf. You can use larger boxes for storing bigger items and smaller boxes for displaying smaller objects. Try arranging the boxes in a way that creates a balanced and visually appealing composition. You can also paint or decorate the boxes in different colors or patterns to further differentiate them.
How can I make my wall box shelves more durable?
To make your wall box shelves more durable, start by using sturdy boxes and reinforcing the corners and edges with tape. You can also add a layer of cardboard to the bottom of the boxes for extra support. If you’re using cardboard boxes, consider coating them with a layer of sealant or varnish to protect them from moisture and wear. For wooden boxes, make sure to use a good quality wood glue and screws to assemble them.
What are some alternative uses for DIY wall box shelves?
Beyond traditional shelving, DIY wall box shelves can be used in a variety of creative ways. They can be used as bedside tables, entryway organizers, spice racks in the kitchen, or even as planters for small succulents. You can also use them to create a gallery wall by displaying artwork or photographs inside the boxes. The possibilities are endless!
How do I clean and maintain my DIY wall box shelves?
To clean your DIY wall box shelves, simply wipe them down with a damp cloth. Avoid using harsh chemicals or abrasive cleaners, as these can damage the finish. For cardboard boxes, be careful not to get them too wet, as this can cause them to warp or disintegrate. If you’ve used decorative paper or fabric, you may need to spot clean any stains or spills. Regularly dust the shelves to keep them looking their best.

Leave a Comment