

DIY Sink Cleaner: Are you tired of that stubborn grime and lingering odors coming from your kitchen or bathroom sink? I know I am! It’s frustrating to deal with a slow-draining or smelly sink, especially when you’re trying to keep your home clean and fresh. But don’t reach for those harsh chemical cleaners just yet!
Did you know that for centuries, people have been using natural ingredients to keep their homes sparkling? From ancient Egyptians using natron (a naturally occurring salt mixture) to clean surfaces, to our grandmothers relying on vinegar and baking soda, the power of simple, homemade solutions is undeniable. These methods are not only effective but also gentler on the environment and our health.
That’s why I’m so excited to share some amazing DIY sink cleaner recipes and tricks with you. This article will guide you through creating your own powerful, yet eco-friendly, sink cleaners using ingredients you probably already have in your pantry. Say goodbye to expensive, chemical-laden products and hello to a sparkling clean and fresh-smelling sink, all while saving money and protecting the planet. Let’s get started and reclaim your drains!
DIY Sink Cleaner: Banishing Clogs and Odors Naturally!
Okay, let’s face it. We’ve all been there. You’re washing dishes, and suddenly the water starts pooling. Or worse, you’re greeted with a funky smell wafting up from the drain. Commercial drain cleaners are harsh and full of chemicals I’d rather not pour down my pipes (or breathe in!). So, I’m going to share my go-to DIY sink cleaner recipe and method that’s effective, eco-friendly, and uses ingredients you probably already have in your pantry.
The Power of Baking Soda and Vinegar (and More!)
This isn’t just about the classic baking soda and vinegar volcano. We’re going to supercharge that reaction with a few extra steps to really get things moving and clean deep down. Here’s what makes this method so effective:
* Baking Soda: A mild alkali that helps dissolve grease and grime. It also deodorizes!
* Vinegar: An acid that reacts with baking soda to create fizzing action, loosening debris.
* Boiling Water: Helps to melt away grease and flush out the loosened gunk.
* Dish Soap (Optional): Adds extra cleaning power, especially for greasy clogs.
* Salt (Optional): Acts as a mild abrasive to scrub away stubborn buildup.
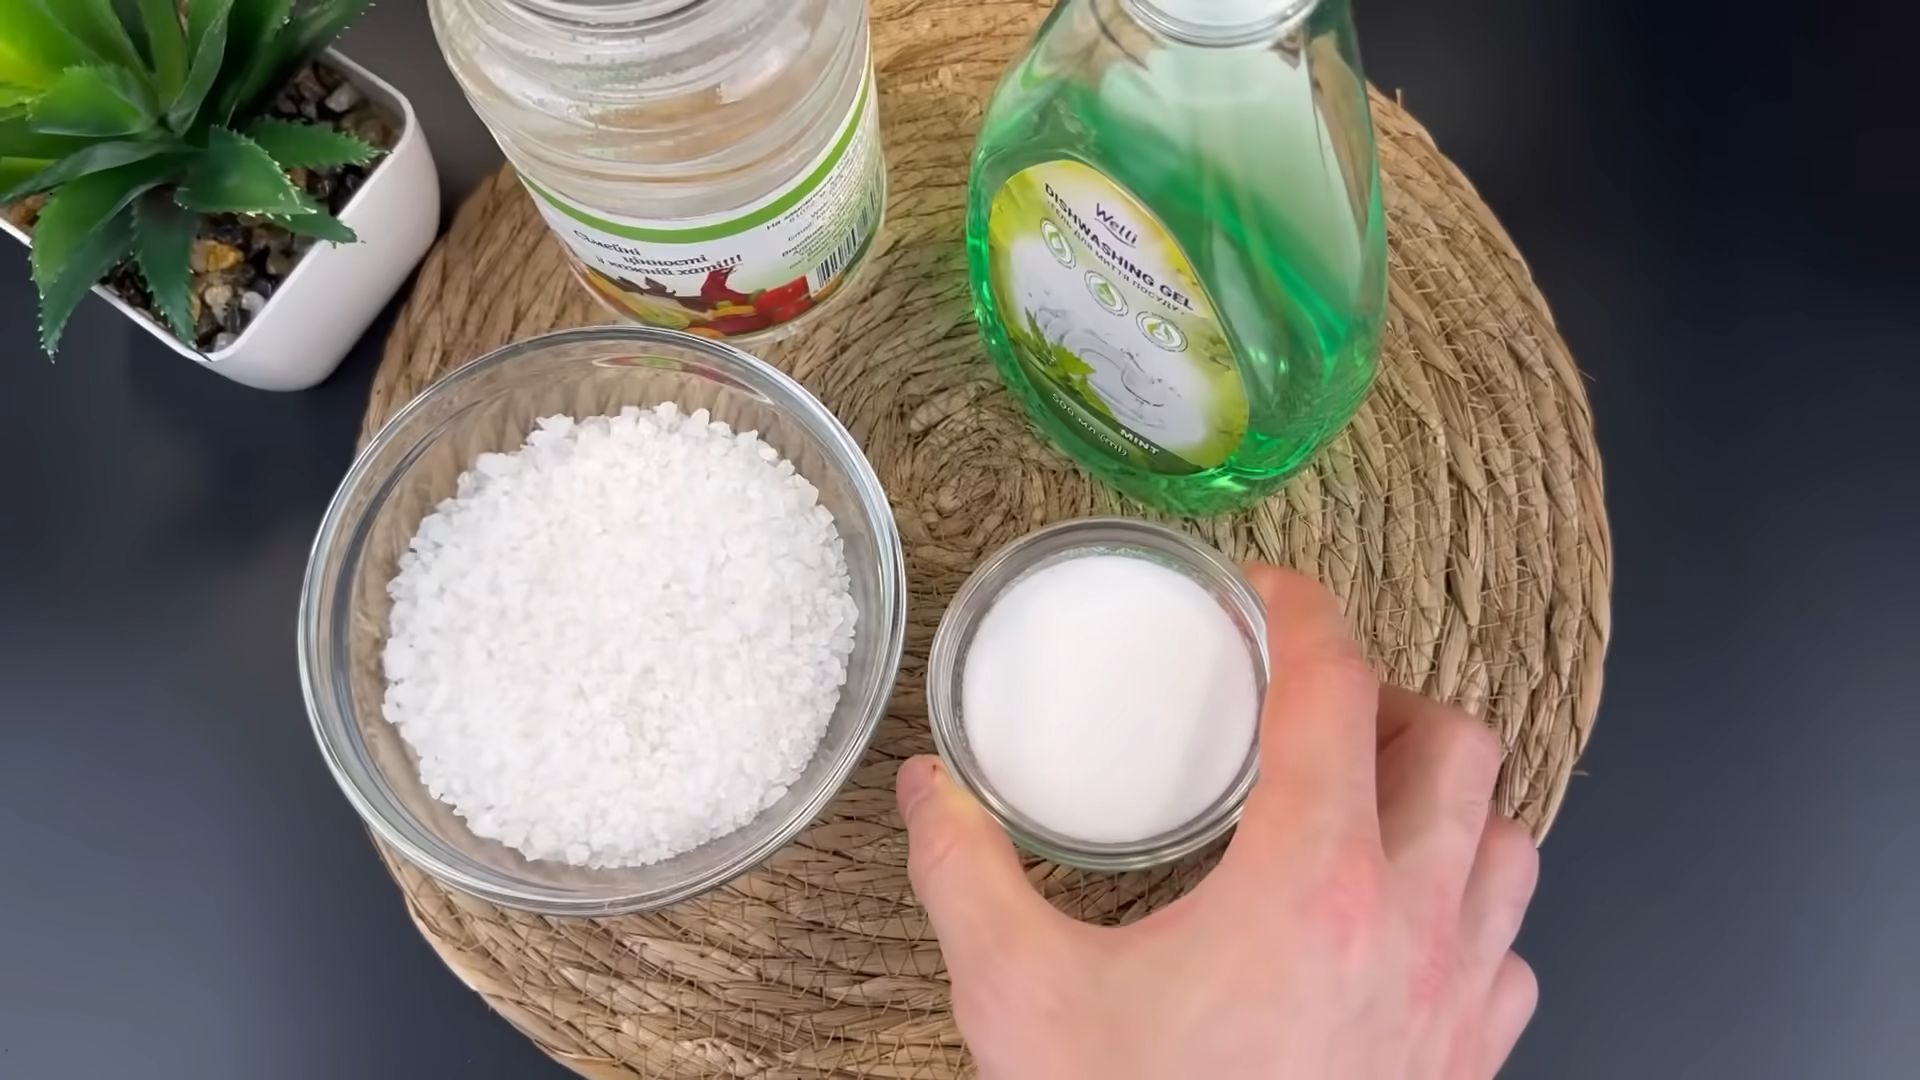
What You’ll Need
Before we dive in, gather your supplies. It’ll make the whole process smoother.
* 1 cup Baking Soda
* 1-2 cups White Vinegar
* Kettle or Pot for Boiling Water
* Dish Soap (optional, but recommended for greasy clogs)
* 1/2 cup Salt (optional, for extra scrubbing power)
* Rubber Gloves (to protect your hands)
* Spatula or Spoon (for scooping baking soda)
* Measuring Cups
* Old Rag or Paper Towels
* Plunger (just in case!)
Step-by-Step Instructions: Unclogging and Freshening Your Sink
Alright, let’s get that sink sparkling! Follow these steps carefully for the best results.
1. Clear the Area: Remove any dishes, sponges, or other items from the sink and surrounding countertop. You want a clear workspace.
2. Remove Standing Water: If your sink is already full of water, try to bail out as much as possible. A small cup or even a turkey baster can be helpful for this. The less standing water, the more concentrated our cleaning solution will be.
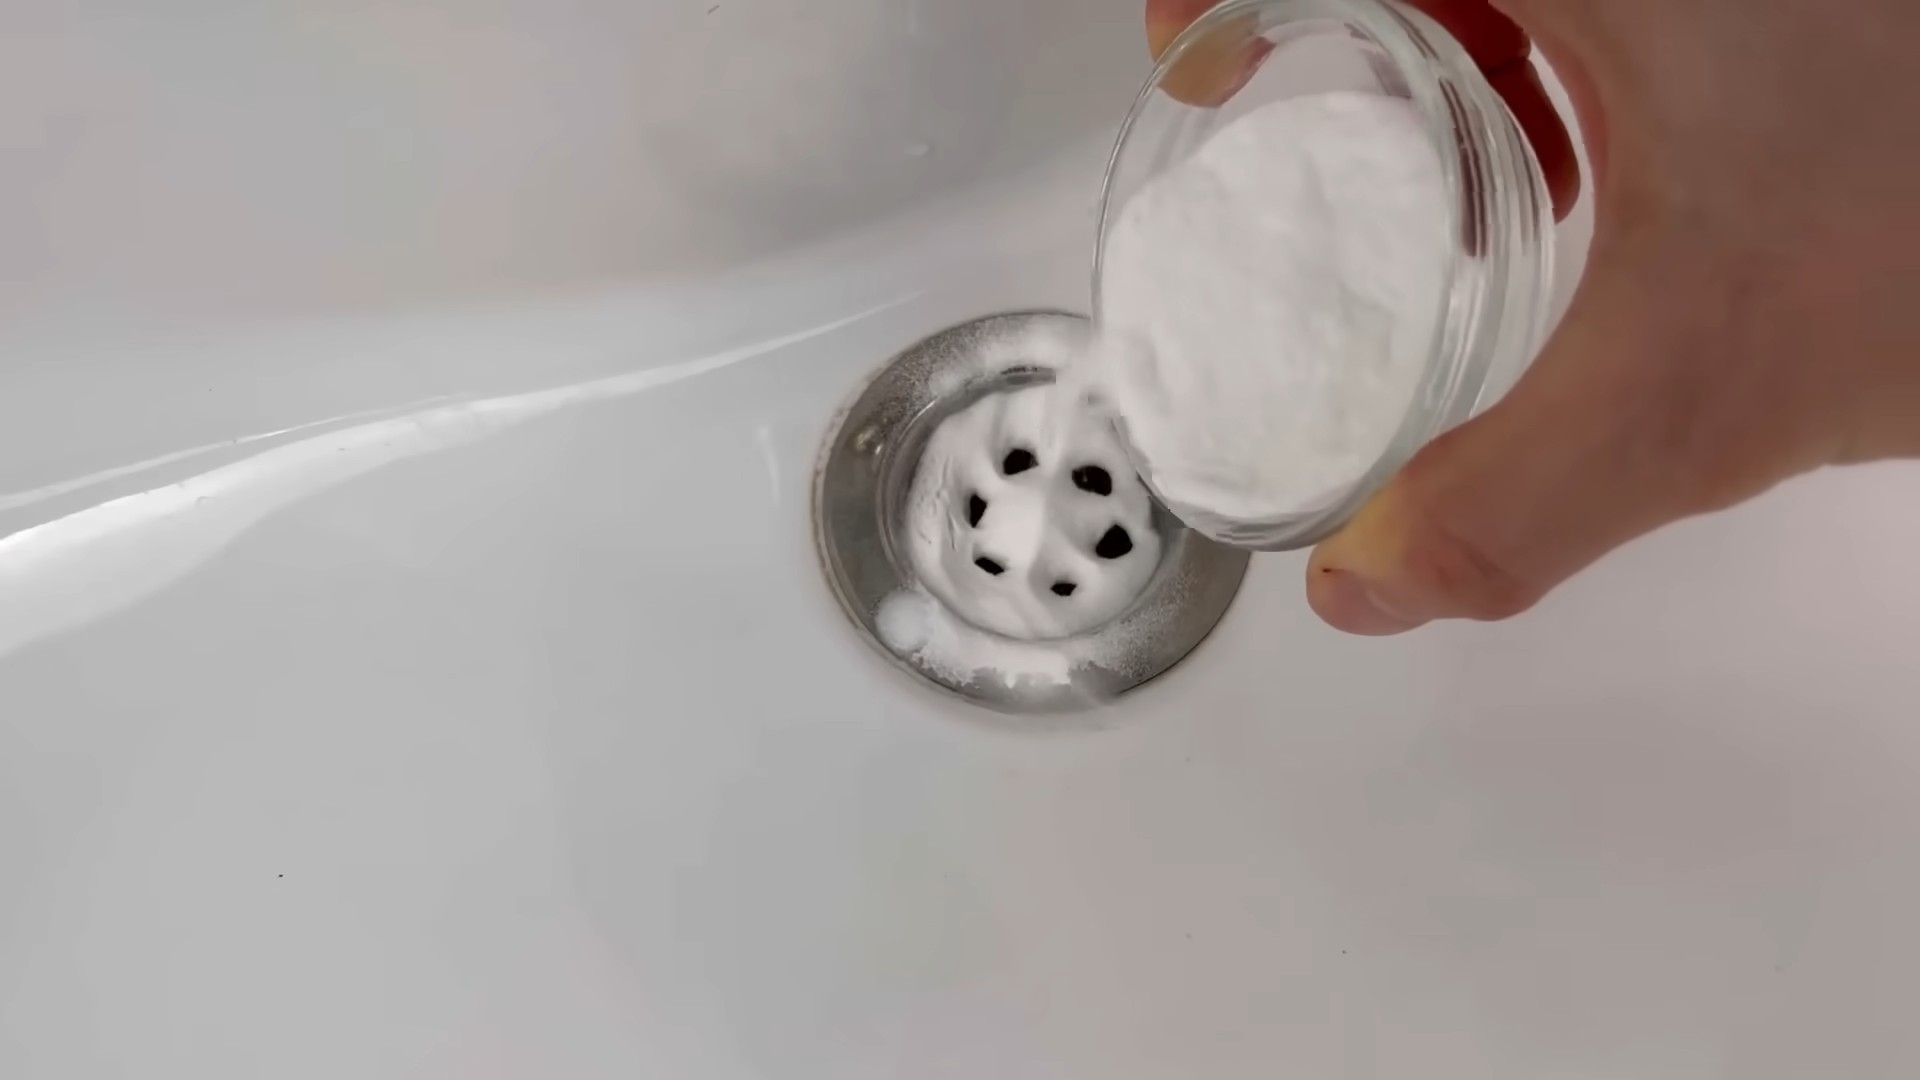
3. Pour in the Baking Soda: Using your measuring cup, carefully pour 1 cup of baking soda down the drain. Try to get as much of it directly into the drain opening as possible. A spatula or spoon can help guide it.
4. Add the Salt (Optional): If you’re using salt for extra scrubbing, pour about 1/2 cup of salt down the drain after the baking soda.
5. The Vinegar Volcano: Now for the fun part! Slowly pour 1 cup of white vinegar down the drain. You should immediately see and hear the fizzing reaction as the vinegar reacts with the baking soda (and salt, if you used it).
6. Let it Fizz: Let the mixture fizz and bubble for at least 30 minutes. This is crucial! The fizzing action is what’s breaking down the gunk and grime in your drain. For really stubborn clogs, you can let it sit for an hour or even overnight. Just be sure to cover the drain with a stopper or old rag to contain the fumes and keep the mixture working its magic.
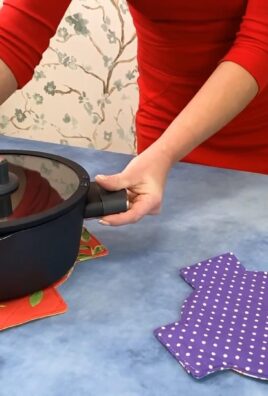
7. Boil the Water: While the baking soda and vinegar are doing their thing, boil a kettle or pot of water. You’ll need a good amount of boiling water to flush out the drain.
8. Flush with Boiling Water: After the waiting period, carefully pour the entire pot of boiling water down the drain. The hot water will help melt away any remaining grease and flush out the loosened debris. Be careful not to splash yourself with the boiling water!
9. Check the Drain: Turn on the faucet and see if the water drains freely. If it does, congratulations! You’ve successfully unclogged your sink. If the water is still draining slowly, or not at all, proceed to the next step.
10. Dish Soap Boost (Optional): If the clog persists, add a squirt of dish soap down the drain. The dish soap will help break down any remaining grease. Let it sit for a few minutes.
11. Repeat the Process: Repeat steps 3-9. Sometimes, a second round of baking soda, vinegar, and boiling water is needed to completely clear a stubborn clog.
12. Plunge if Necessary: If you’ve repeated the baking soda and vinegar treatment a couple of times and the drain is still clogged, it’s time to break out the plunger. Make sure there’s enough water in the sink to cover the cup of the plunger. Create a tight seal around the drain opening and plunge vigorously for several minutes.
13. Final Flush: After plunging, flush the drain with more hot water. Hopefully, this will dislodge the remaining clog.
14. Prevention is Key: To prevent future clogs, avoid pouring grease, coffee grounds, or other food scraps down the drain. Use a drain strainer to catch hair and debris. And, repeat this cleaning process every few weeks to keep your drain clear and fresh.
Dealing with Stubborn Odors
Sometimes, even after unclogging the drain, a lingering odor might persist. Here’s how to tackle that:
1. Lemon Power: Cut a lemon into wedges and toss them down the garbage disposal (if you have one). Run the disposal with cold water for about 30 seconds. The lemon will help freshen the disposal and the drain.
2. Vinegar Ice Cubes: Freeze vinegar in ice cube trays. Once frozen, drop a few vinegar ice cubes down the drain and run cold water. As the ice melts, it will help clean and deodorize the drain.
3. Baking Soda Paste: Make a paste of baking soda and water. Apply the paste around the drain opening and let it sit for a few minutes. Then, scrub with a brush and rinse with water.
4. Check the P-Trap: The P-trap is the curved pipe under your sink. It’s designed to trap water and prevent sewer gases from entering your home. Sometimes, debris can accumulate in the P-trap and cause odors. To clean it, place a bucket under the P-trap, loosen the slip nuts that connect the P-trap to the drain pipes, and carefully remove the P-trap. Clean out any debris and reassemble the P-trap. Important: Make sure to tighten the slip nuts securely to prevent leaks.
Tips and Tricks for Success
* Hot Water is Your Friend: Always use hot or boiling water to flush the drain. Cold water won’t be as effective at melting grease.
* Don’t Mix Chemicals: Never mix this DIY cleaner with commercial drain cleaners. The combination can create dangerous fumes.
* Be Patient: Sometimes, it takes a few tries to completely clear a stubborn clog. Don’t give up!
* Prevention is Better Than Cure: The best way to deal with clogs is to prevent them in the first place. Be mindful of what you’re putting down the drain.
* Safety First: Always wear rubber gloves when working with cleaning solutions. And, be careful when pouring boiling water.
When to Call a Plumber
While this DIY method is effective for many clogs, there are times when you’ll need to call a professional plumber. If you’ve tried all of these steps and the drain is still clogged, or if you suspect a more serious plumbing problem, it’s best to consult a plumber. They have the tools and expertise to diagnose and fix complex plumbing issues.
I hope this guide helps you keep your sink clean, fresh, and clog-free! Happy cleaning!
Conclusion
So, there you have it! A simple, effective, and budget-friendly way to tackle those stubborn sink clogs and keep your drains flowing freely. This DIY sink cleaner isn’t just about saving money; it’s about taking control of your home maintenance with natural ingredients you likely already have in your pantry. Forget harsh chemicals and expensive plumbing calls – this method is a game-changer for anyone looking for a greener, more sustainable approach to household cleaning.
Why is this DIY trick a must-try? Because it works! The combination of baking soda and vinegar creates a powerful fizzing action that loosens debris and breaks down grease buildup. Followed by a flush of boiling water, it effectively clears your drains, leaving them fresh and odor-free. Plus, you’re avoiding the harsh chemicals found in commercial drain cleaners, which can be harmful to your pipes and the environment. It’s a win-win!
Looking to customize your DIY sink cleaner? Here are a few suggestions and variations to try:
* **Lemon Power:** Add a few drops of lemon essential oil to the baking soda before pouring it down the drain. The lemon oil will not only add a pleasant scent but also has natural antibacterial properties.
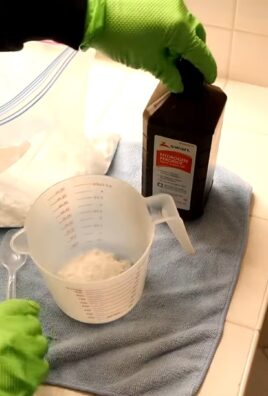
* **Borax Boost:** For particularly stubborn clogs, try adding a tablespoon of borax to the baking soda. Borax is a natural mineral that can help to break down grease and grime.
* **Eucalyptus Freshness:** Eucalyptus essential oil can also be used instead of lemon. It provides a refreshing scent and has antiseptic qualities.
* Preventative Maintenance: Use this DIY sink cleaner method once a month as a preventative measure to keep your drains clear and avoid future clogs.
* The Hot Water Alternative: If you’re concerned about using boiling water (especially with older pipes), use very hot tap water instead. It may take a little longer, but it will still be effective.
We are confident that this DIY sink cleaner will become your go-to solution for maintaining clear and fresh-smelling drains. It’s easy, affordable, and environmentally friendly.
Now, it’s your turn! We encourage you to try this DIY sink cleaner method and see the amazing results for yourself. Don’t just take our word for it – experience the difference! And most importantly, share your experience with us! Let us know in the comments below how this DIY sink cleaner worked for you, any variations you tried, and any tips you have to share. Your feedback will help others discover the power of this simple yet effective cleaning solution. Together, we can create a community of DIY enthusiasts who are passionate about natural and sustainable home maintenance. We can’t wait to hear your success stories!
Frequently Asked Questions (FAQ)
What kind of vinegar should I use?
White vinegar is the best choice for this DIY sink cleaner. It’s readily available, inexpensive, and has a high acidity level, making it effective at breaking down grease and grime. While other types of vinegar, like apple cider vinegar, might work to some extent, they are not as potent as white vinegar.
How much baking soda and vinegar should I use?
The recommended ratio is about 1/2 cup of baking soda followed by 1 cup of vinegar. This creates a sufficient amount of fizzing action to loosen the clog. You can adjust the amounts slightly depending on the size of your sink and the severity of the clog, but maintaining this ratio is generally effective.
Is boiling water safe for my pipes?
This is a common concern. Boiling water is generally safe for metal pipes (copper, steel, or cast iron). However, if you have PVC pipes, boiling water can potentially soften or warp them over time. If you’re unsure about your pipe material, it’s best to use very hot tap water instead of boiling water. The hot tap water will still help to flush away the loosened debris, although it may take a bit longer. Always err on the side of caution to avoid damaging your plumbing.
How long should I let the baking soda and vinegar mixture sit in the drain?
Allow the baking soda and vinegar mixture to fizz and sit in the drain for at least 30 minutes. For more stubborn clogs, you can let it sit for up to an hour or even overnight. The longer it sits, the more time it has to break down the clog. After the waiting period, flush the drain with boiling water (or very hot tap water) to clear away the loosened debris.
What if the first attempt doesn’t completely clear the clog?
Sometimes, a single application isn’t enough to completely clear a stubborn clog. If this happens, repeat the process. You may need to repeat the baking soda and vinegar treatment two or three times to fully clear the drain. If the clog persists after multiple attempts, it might be a sign of a more serious plumbing issue that requires professional attention.
Can I use this DIY sink cleaner on all types of sinks?
Yes, this DIY sink cleaner is generally safe for use on most types of sinks, including stainless steel, porcelain, and ceramic. However, it’s always a good idea to test a small, inconspicuous area first, especially if you have a delicate or antique sink. Avoid using abrasive scrub brushes or harsh chemicals in conjunction with this method, as they could potentially damage the sink’s surface.
Will this DIY sink cleaner remove bad odors from my drain?
Yes, this DIY sink cleaner can help to remove bad odors from your drain. The baking soda acts as a natural deodorizer, while the vinegar helps to break down odor-causing bacteria and buildup. Adding a few drops of lemon or eucalyptus essential oil can further enhance the deodorizing effect and leave your drain smelling fresh and clean.
How often should I use this DIY sink cleaner?
For preventative maintenance, it’s recommended to use this DIY sink cleaner once a month. This will help to keep your drains clear and prevent clogs from forming in the first place. If you notice your drain is draining slowly or emitting a foul odor, you can use it more frequently as needed.
Is this DIY sink cleaner safe for septic systems?
Yes, this DIY sink cleaner is generally considered safe for septic systems. The ingredients – baking soda and vinegar – are natural and biodegradable, and they won’t harm the beneficial bacteria in your septic tank. However, it’s important to use the recommended amounts and avoid pouring large quantities of these ingredients down the drain at once.
When should I call a plumber instead of trying this DIY method?
If you’ve tried this DIY sink cleaner multiple times and the clog persists, or if you suspect a more serious plumbing issue (such as a broken pipe or a clog deep within the plumbing system), it’s best to call a professional plumber. Attempting to fix a complex plumbing problem yourself could potentially cause further damage and lead to more costly repairs.

Leave a Comment