

DIY Scented Sachets: More than just a pretty pouch, these little bundles of fragrance are a delightful way to infuse your home with natural aromas! Have you ever walked into a room and been instantly transported by a beautiful scent? That’s the magic of a well-crafted sachet, and I’m here to show you how to create your own personalized versions.
The history of scented sachets stretches back centuries, with evidence suggesting their use in ancient Egypt and Rome. They weren’t just for pleasant smells; they were also believed to ward off illness and evil spirits! While we might not be battling evil spirits today, the need for natural, chemical-free ways to freshen our homes is definitely still relevant.
In today’s world, we’re constantly bombarded with artificial fragrances. These can be harsh, irritating, and even harmful to our health. That’s where the beauty of DIY scented sachets comes in. They offer a natural, customizable alternative. Imagine opening your linen closet to the calming scent of lavender, or tucking a citrusy sachet into your gym bag to combat odors. I’ll guide you through the simple steps to create these fragrant wonders, using ingredients you likely already have at home. Let’s ditch the artificial and embrace the natural power of scent!
DIY Scented Sachets: A Beginner’s Guide to Aromatic Bliss
Hey there, fellow DIY enthusiasts! Today, I’m super excited to share a simple yet incredibly rewarding project: making your own scented sachets. These little bags of fragrant goodness are perfect for freshening up drawers, closets, cars, or even just adding a pleasant aroma to any room. Plus, they make fantastic, personalized gifts! Let’s dive in and create some aromatic bliss.
What You’ll Need
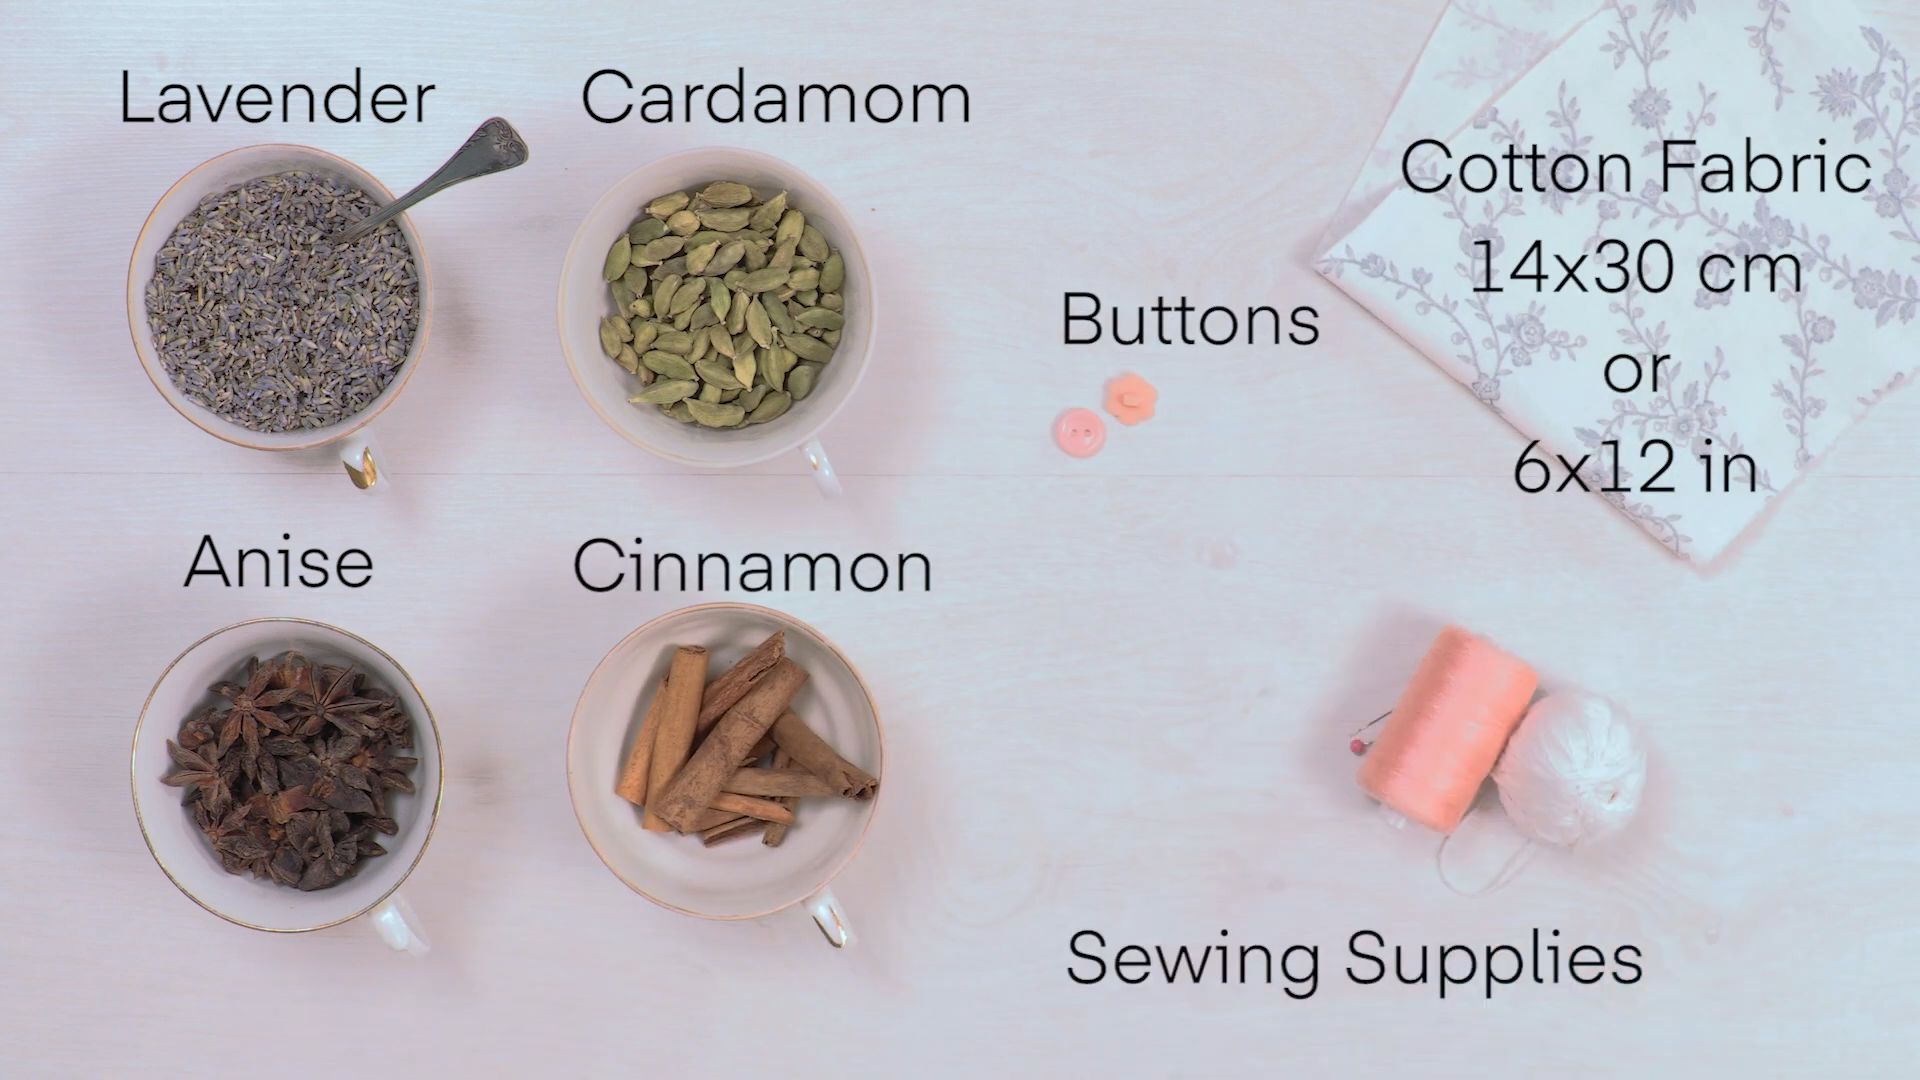
Before we get started, let’s gather all the necessary materials. Don’t worry, most of these are easily accessible and you might even have some lying around already!
* Fabric: Choose a breathable fabric like cotton, linen, muslin, or even burlap. Scraps work perfectly!
* Dried Herbs and Flowers: This is where you get to be creative! Lavender, rose petals, chamomile, rosemary, mint, and lemon balm are all excellent choices. You can use a single scent or create a custom blend.
* Essential Oils (Optional): For an extra boost of fragrance, add a few drops of your favorite essential oils. Lavender, sandalwood, cedarwood, and citrus oils are popular options.
* Rice or Other Filler (Optional): If you want to add bulk to your sachets without using too many herbs, rice, dried beans, or even unscented potpourri work well.
* Sewing Machine or Needle and Thread: For creating the sachets. A sewing machine will speed things up, but hand-sewing is perfectly fine too.
* Scissors: For cutting the fabric.
* Measuring Tape or Ruler: To ensure your sachets are the right size.
* Pins: To hold the fabric in place while sewing.
* Funnel (Optional): Makes filling the sachets easier.
* Ribbon, Twine, or Lace (Optional): For decorating and tying the sachets closed.
* Small Bowls: For mixing your herbs and essential oils.
* Iron and Ironing Board: For pressing the fabric.
Choosing Your Scents: A Fragrant Adventure
The best part about making scented sachets is the freedom to customize the fragrance. Here’s a little guide to help you choose the perfect scents:
* Lavender: Known for its calming and relaxing properties. Great for bedrooms and linen closets.
* Rose: A classic floral scent that’s romantic and uplifting. Perfect for drawers and closets.
* Chamomile: Gentle and soothing, ideal for nurseries and relaxation areas.
* Rosemary: Invigorating and stimulating, good for workspaces and cars.
* Mint: Refreshing and energizing, perfect for bathrooms and kitchens.
* Lemon Balm: Uplifting and cheerful, great for any room that needs a little sunshine.
* Cedarwood: Warm and woody, adds a grounding and comforting aroma.
* Sandalwood: Earthy and exotic, creates a sense of tranquility.
* Citrus Oils (Lemon, Orange, Grapefruit): Bright and zesty, perfect for freshening up any space.
Feel free to experiment and create your own unique blends! I personally love combining lavender and chamomile for a relaxing scent, or rosemary and lemon for an energizing boost.
Making the Sachets: Step-by-Step Instructions
Alright, let’s get down to the nitty-gritty and start making our scented sachets!
1. Preparing the Fabric
1. Wash and Iron: Start by washing and ironing your fabric. This will remove any wrinkles and ensure a clean surface to work with.
2. Cut the Fabric: Decide on the size of your sachets. I usually go for squares or rectangles around 4×4 inches or 5×6 inches, but you can adjust this to your preference. Cut two pieces of fabric for each sachet. Remember to add about half an inch seam allowance on all sides. For example, if you want a 4×4 inch sachet, cut two 4.5×4.5 inch squares.
3. Pin the Fabric: Place the two pieces of fabric together with the right sides (the pretty sides) facing each other. Pin around the edges to hold them in place.
2. Sewing the Sachets
1. Sew Three Sides: Using a sewing machine or needle and thread, sew around three sides of the fabric, leaving one side open. Use a straight stitch and a seam allowance of about half an inch. If you’re hand-sewing, a backstitch will create a strong and durable seam.
2. Clip the Corners: Clip the corners of the sewn fabric to reduce bulk when you turn it right side out. Be careful not to cut into the seam!
3. Turn Right Side Out: Carefully turn the sachet right side out, pushing out the corners with a blunt object like a chopstick or knitting needle.
4. Iron the Seams: Iron the seams flat to create a neat and professional finish. Fold in the raw edges of the open side by about half an inch and iron them in place. This will make it easier to sew the opening closed later.
3. Creating the Scented Filling
1. Combine Dried Herbs and Flowers: In a small bowl, combine your chosen dried herbs and flowers. Use a ratio that appeals to your nose. For example, you could use equal parts lavender, rose petals, and chamomile, or adjust the proportions to create a more dominant scent.
2. Add Essential Oils (Optional): If you’re using essential oils, add a few drops to the herb mixture. Start with a small amount (2-3 drops per sachet) and add more if needed. Mix well to distribute the oil evenly.
3. Add Filler (Optional): If you’re using rice or another filler, add it to the herb mixture and mix well. This will help to bulk up the sachets and make them last longer.
4. Filling the Sachets
1. Fill the Sachet: Using a funnel or spoon, carefully fill the sachet with the scented mixture. Don’t overfill it, as you’ll need to be able to sew the opening closed. Leave about half an inch of space at the top.
2. Sew the Opening Closed: Once the sachet is filled, sew the opening closed using a straight stitch on your sewing machine or a blind stitch if you’re hand-sewing. Make sure the seam is secure to prevent the filling from spilling out.
5. Decorating the Sachets (Optional)
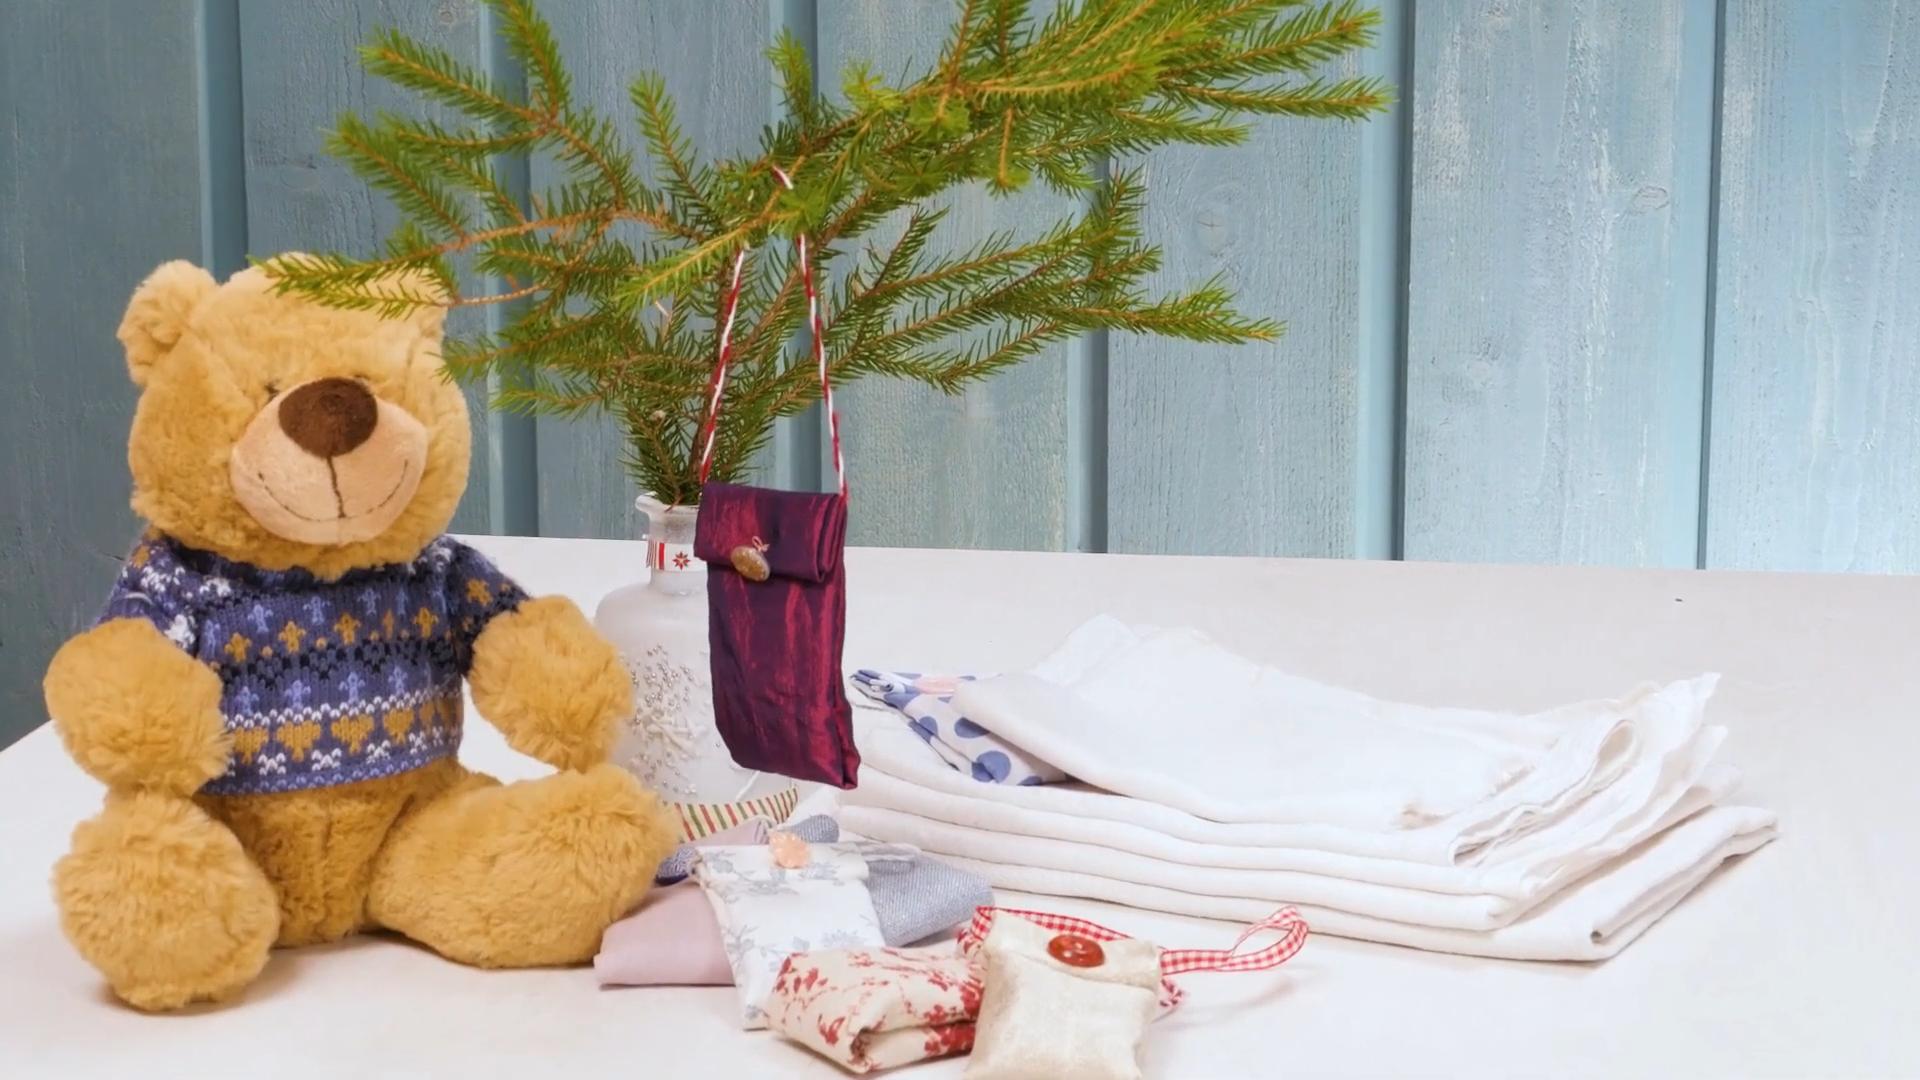
1. Add Ribbon, Twine, or Lace: Now comes the fun part – decorating! Tie a ribbon, twine, or lace around the sachet to add a touch of elegance. You can also add beads, buttons, or other embellishments.
2. Add a Label: If you’re giving the sachets as gifts, consider adding a small label with the scent name or a personalized message.
Tips and Tricks for Scented Sachet Success
* Use High-Quality Ingredients: The quality of your dried herbs and essential oils will directly impact the fragrance of your sachets. Opt for organic and sustainably sourced ingredients whenever possible.
* Dry Your Own Herbs: If you have a garden, consider drying your own herbs and flowers. This is a great way to save money and ensure the freshness of your ingredients.
* Store Sachets Properly: To prolong the life of your sachets, store them in an airtight container when not in use. This will prevent the fragrance from dissipating too quickly.
* Refresh the Scent: Over time, the fragrance of your sachets may fade. To refresh the scent, simply add a few more drops of essential oil to the outside of the fabric or gently massage the sachet to release the oils from the herbs.
* Experiment with Different Fabrics: Different fabrics will affect the diffusion of the scent. Experiment with different materials to find what works best for you.
* Consider the Location: Think about where you’ll be using the sachets when choosing your scents. Calming scents like lavender are great for bedrooms, while energizing scents like citrus are perfect for bathrooms.
* Safety First: If you have allergies or sensitivities, be sure to choose herbs and essential oils that are safe for you. Keep sachets out of reach of children and pets.
Troubleshooting
* Sachet Not Fragrant Enough: Add more essential oil or use a higher concentration of fragrant herbs. Make sure your dried herbs are relatively fresh.
* Sachet Smells Too Strong: Reduce the amount of essential oil or use a milder blend of herbs.
* Filling Leaking Out: Ensure your seams are securely sewn. Consider using a tighter weave fabric.
* Fabric Too Thin: Use a double layer of fabric or a thicker material like canvas.
Beyond the Basics: Advanced Sachet Ideas
Once you’ve mastered the basic scented sachet, you
Conclusion
So, there you have it! Crafting your own DIY scented sachets is more than just a fun afternoon project; it’s a gateway to a more fragrant and personalized living space. Forget those generic, mass-produced air fresheners filled with questionable chemicals. With just a few simple ingredients and a dash of creativity, you can create delightful, all-natural sachets that infuse your drawers, closets, and even your car with your favorite aromas.
Why is this DIY trick a must-try? Because it empowers you to control the scent, the ingredients, and the overall aesthetic. You’re not limited to what’s available on store shelves. You can tailor the fragrance to your mood, the season, or even the specific room you’re scenting. Imagine opening your linen closet and being greeted by the calming scent of lavender, or slipping into bed surrounded by the warm, comforting aroma of vanilla and cinnamon. This level of personalization is simply unmatched.
Furthermore, making your own scented sachets is incredibly cost-effective. The materials are readily available and often inexpensive, especially if you already have dried herbs or essential oils on hand. Compared to constantly buying disposable air fresheners, this DIY approach is a budget-friendly and eco-conscious alternative. You’re reducing waste and creating something beautiful and functional at the same time.
But the benefits don’t stop there. The process of creating these sachets can be incredibly therapeutic. It’s a chance to slow down, engage your senses, and express your creativity. Whether you’re carefully selecting your fabric, blending your essential oils, or meticulously sewing the sachets together, you’ll find yourself immersed in a mindful and rewarding activity.
Ready to take your DIY scented sachets to the next level? Consider these variations:
* Seasonal Scents: Experiment with different scent combinations to match the seasons. Think pumpkin spice for fall, peppermint for winter, citrus for spring, and coconut for summer.
* Herbal Power: Incorporate dried herbs like rosemary, thyme, or mint for added fragrance and potential aromatherapy benefits.
* Decorative Touches: Embellish your sachets with embroidery, beads, or ribbons to create unique and personalized gifts.
* Sachet Shapes: Don’t limit yourself to squares or rectangles. Try making heart-shaped sachets for Valentine’s Day or star-shaped sachets for the holidays.
* Rice Alternative: If you don’t have rice, you can use other absorbent materials like dried beans, oatmeal, or even Epsom salts. Just be sure to adjust the amount of essential oil accordingly.
We wholeheartedly encourage you to try this DIY project and experience the joy of creating your own custom fragrances. It’s a simple, satisfying, and sustainable way to elevate your living space and indulge your senses.
Don’t be afraid to experiment with different scents and materials to find what works best for you. The possibilities are endless! And most importantly, we want to hear about your experience. Share your creations, your scent combinations, and your tips and tricks in the comments below. Let’s inspire each other to create a more fragrant and beautiful world, one DIY scented sachet at a time!
Frequently Asked Questions (FAQ)
What exactly are scented sachets used for?
Scented sachets are small, porous bags filled with fragrant materials like dried herbs, flowers, spices, or essential oil-infused rice. They are primarily used to freshen and deodorize enclosed spaces such as drawers, closets, cars, luggage, and even small rooms. They offer a natural and subtle alternative to chemical-laden air fresheners. Beyond their practical use, they can also add a touch of personal style and aromatherapy benefits to your surroundings.
How long do scented sachets typically last?
The lifespan of a scented sachet depends on several factors, including the type of fragrance used, the quality of the ingredients, and the environment in which it’s placed. Generally, sachets made with essential oils will last for a shorter period (around 1-3 months) compared to those made with dried herbs and spices (which can last for 3-6 months or even longer). To prolong the life of your sachet, avoid placing it in direct sunlight or humid environments. You can also “refresh” the scent by gently squeezing or shaking the sachet to release more fragrance. Adding a few more drops of essential oil to the rice or absorbent material inside can also revive the scent.
What are the best essential oils to use for scented sachets?
The best essential oils for scented sachets are those that you personally enjoy and that offer the desired aromatherapy benefits. Some popular choices include:
* Lavender: Known for its calming and relaxing properties, perfect for bedrooms and linen closets.
* Lemon: A refreshing and uplifting scent, ideal for kitchens and bathrooms.
* Peppermint: Invigorating and energizing, great for workspaces and cars.
* Eucalyptus: Cleansing and decongestant, helpful for stuffy noses and allergies.
* Rose: A romantic and luxurious scent, suitable for drawers and lingerie chests.
* Cedarwood: A grounding and woody scent, often used for closets and storage spaces.
* Vanilla: A warm and comforting scent, perfect for creating a cozy atmosphere.
Experiment with different combinations to create your own signature blends. Remember to use high-quality, pure essential oils for the best results.
Can I use dried flowers instead of essential oils?
Absolutely! Dried flowers like lavender, rose petals, chamomile, and calendula are excellent choices for scented sachets. They offer a natural and delicate fragrance that can be both beautiful and therapeutic. You can use a single type of flower or create a blend of different flowers for a more complex scent. To enhance the fragrance, you can also add a few drops of essential oil that complements the floral scent.
What type of fabric is best for making sachets?
The best fabric for making sachets is a breathable and natural material like cotton, linen, muslin, or burlap. These fabrics allow the fragrance to permeate through the sachet while still containing the filling. Avoid using synthetic fabrics like polyester or nylon, as they may not allow the scent to escape effectively. You can also use lace or sheer fabrics for a more decorative look, but be mindful that these fabrics may be more delicate and prone to tearing.
How do I prevent the rice or herbs from leaking out of the sachet?
To prevent leakage, ensure that your sachet is securely sewn or tied. Use a tight stitch when sewing the seams, and consider double-stitching for added reinforcement. If you’re using a drawstring closure, make sure the drawstring is pulled tightly and securely knotted. You can also use a small amount of fabric glue to seal the seams or edges of the sachet. For very fine materials like powdered herbs, consider using a double layer of fabric or lining the sachet with a thin piece of muslin.
Are scented sachets safe for people with allergies or sensitivities?
While scented sachets are generally considered safe, it’s important to be mindful of potential allergies or sensitivities. If you have known allergies to certain herbs, flowers, or essential oils, avoid using them in your sachets. When introducing a new scent, start with a small amount and monitor for any adverse reactions. If you experience any symptoms like sneezing, coughing, skin irritation, or headaches, discontinue use immediately. It’s also a good idea to keep scented sachets out of reach of children and pets to prevent accidental ingestion.
Can I use scented sachets in my car?
Yes, scented sachets can be a great way to freshen up your car. However, be mindful of the temperature and sunlight exposure, as these factors can affect the longevity and intensity of the scent. Avoid placing the sachet directly on the dashboard or in direct sunlight, as this can cause the essential oils to evaporate quickly. Instead, try hanging the sachet from the rearview mirror or placing it under the seat. Choose scents that are uplifting and energizing, such as lemon, peppermint, or grapefruit, to help you stay alert while driving.
How do I clean or refresh a scented sachet?
Scented sachets are not typically washable, as washing them can damage the filling and diminish the fragrance. To refresh a sachet, gently squeeze or shake it to release more scent. You can also add a few more drops of essential oil to the rice or absorbent material inside. If the sachet becomes soiled or dusty, you can try spot-cleaning it with a damp cloth and mild soap. Be sure to let it air dry completely before using it again. When the sachet has completely lost its scent, you can simply discard it and make a new one.


Leave a Comment