

DIY Reed Diffuser: Transform your home into a fragrant oasis with this simple and rewarding project! Have you ever walked into a space and been instantly captivated by its inviting aroma? That’s the magic of a well-placed diffuser, and I’m here to show you how to create your very own, customized scent experience.
The concept of diffusing scents dates back centuries, with ancient civilizations using aromatic oils and herbs for medicinal and spiritual purposes. From the elaborate incense burners of ancient Egypt to the potpourri bowls of Victorian England, the desire to fill our homes with pleasing fragrances is deeply rooted in human history. Today, we can easily tap into this tradition with a modern twist: the DIY reed diffuser.
Why should you embark on this fragrant adventure? Well, store-bought diffusers can be expensive and often contain synthetic fragrances that might not be the best for your health or the environment. With this DIY reed diffuser project, you have complete control over the ingredients, allowing you to choose natural essential oils that suit your preferences and needs. Plus, it’s a fun and creative way to personalize your living space and add a touch of handmade charm. I’ll guide you through each step, ensuring you create a beautiful and effective diffuser that will leave your home smelling divine!
DIY Reed Diffuser: Freshen Your Home Naturally!
Hey there, fragrance fanatics! Are you tired of those store-bought air fresheners packed with chemicals? Do you want a more natural and customizable way to keep your home smelling amazing? Well, you’ve come to the right place! I’m going to walk you through how to create your very own reed diffuser. It’s surprisingly easy, cost-effective, and you get to choose the exact scent that fills your space. Let’s get started!
What You’ll Need: The Supply List
Before we dive in, let’s gather all the necessary materials. This will make the process smooth and enjoyable. Trust me, having everything ready beforehand is a lifesaver!
* **A Glass Container:** This is where your fragrant mixture will live. I recommend using a small bottle with a narrow opening. Think small vases, recycled glass bottles (wine, juice, etc.), or even mason jars. Just make sure it’s clean and dry! The narrower the opening, the slower the fragrance will evaporate.
* **Diffuser Base Oil:** This is the carrier oil that will help the fragrance travel up the reeds. You have a few options here:
* **Fractionated Coconut Oil:** This is my personal favorite! It’s odorless, colorless, and has a very light viscosity, making it perfect for reed diffusers. It also doesn’t go rancid easily.
* **Dipropylene Glycol (DPG):** This is a common choice in commercial reed diffusers. It’s a solvent that helps to dissolve and disperse fragrance oils. You can find it online or at some craft stores.
* **Safflower Oil or Sweet Almond Oil:** These are natural options, but they can have a slight scent of their own, which might interfere with your chosen fragrance. They also might be a bit thicker, so the fragrance might not travel as efficiently.
* **Fragrance Oil or Essential Oils:** This is where you get to personalize your diffuser! Choose your favorite scents or create your own blend.
* **Fragrance Oils:** These are synthetic fragrances that are specifically designed for use in candles, soaps, and diffusers. They come in a wide variety of scents, from floral and fruity to spicy and woody.
* **Essential Oils:** These are natural oils extracted from plants. They offer aromatherapy benefits in addition to fragrance. Some popular choices for diffusers include lavender, eucalyptus, lemon, and peppermint.
* **Diffuser Reeds:** These are the porous sticks that will draw the fragrant oil up and release the scent into the air. You can find them online or at craft stores. Rattan reeds are the most common and work very well. Make sure they are long enough for your container. Usually, 10-12 inches is a good length.
* **Optional: Alcohol (Vodka or Rubbing Alcohol):** A small amount of alcohol can help to thin the oil and improve the scent throw.
* **Measuring Spoons or Cups:** For accurate measurements.
* **A Small Funnel:** To help pour the mixture into the bottle without spilling.
* **Gloves (Optional):** To protect your hands from the oils.
Step-by-Step Instructions: Creating Your Reed Diffuser
Alright, now for the fun part! Let’s put everything together and create your amazing reed diffuser.
1. **Prepare Your Container:** Make sure your glass container is clean and completely dry. Any water residue can affect the fragrance and longevity of your diffuser. I usually wash mine with soap and water, then dry it thoroughly with a clean towel.
2. **Mix Your Oils:** This is where you get to play perfumer! The ideal ratio of fragrance oil/essential oil to base oil is typically between 15% and 30%. I usually start with 20% and adjust from there based on how strong I want the scent to be.
* **Example:** If you’re using a 4-ounce (120 ml) bottle, you’ll need:
* 24 ml (approximately 5 teaspoons) of fragrance oil or essential oil blend
* 96 ml (approximately 19 teaspoons) of base oil (fractionated coconut oil, DPG, etc.)
* **If using alcohol (optional):** Add about 1 teaspoon (5 ml) of vodka or rubbing alcohol to the mixture. This will help to thin the oil and improve the scent throw.
* **Blending Essential Oils:** If you’re using essential oils, consider blending different scents to create a unique aroma. Here are a few ideas:
* **Relaxing Blend:** Lavender, chamomile, and sweet orange
* **Energizing Blend:** Peppermint, lemon, and rosemary
* **Clean & Fresh Blend:** Eucalyptus, tea tree, and lemongrass
* **Important Note:** Always research the safety of essential oils before using them, especially if you have pets or allergies. Some essential oils can be toxic to animals.
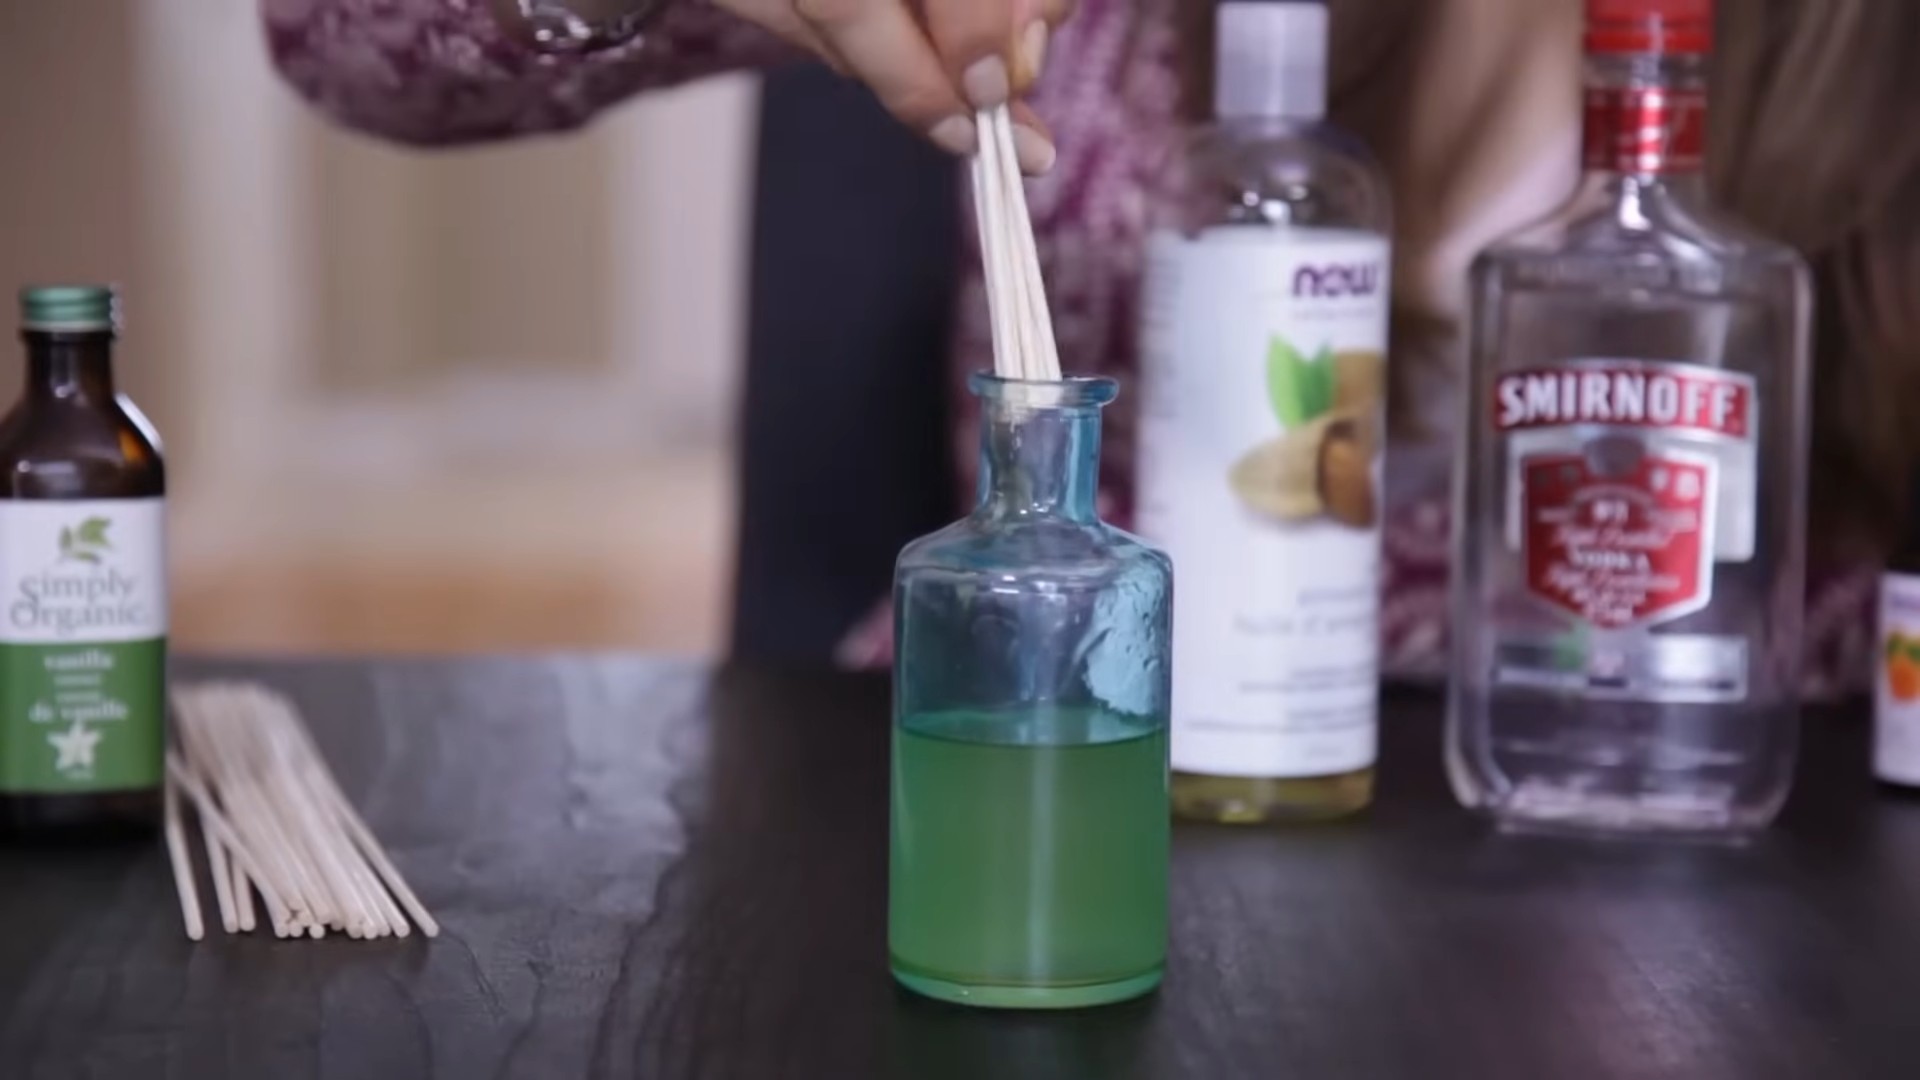
3. **Combine the Oils:** In a separate container (a small bowl or measuring cup works well), carefully pour the fragrance oil/essential oil and the base oil. If you’re using alcohol, add it now. Gently stir the mixture with a spoon or small whisk until everything is thoroughly combined. Avoid shaking the mixture, as this can create bubbles.
4. **Pour the Mixture into the Container:** Using a small funnel, carefully pour the oil mixture into your prepared glass container. Be careful not to overfill it; leave about an inch of space at the top.
5. **Insert the Reeds:** Now it’s time to add the reeds! Place the reeds into the bottle, making sure they are submerged in the oil. I usually start with 5-7 reeds, but you can add more or less depending on the size of your bottle and how strong you want the scent to be.
6. **Wait and Flip:** Allow the reeds to soak up the oil for a few hours (or even overnight). This will allow the oil to travel up the reeds and saturate them. After a few hours, flip the reeds so that the saturated ends are now facing up. This will help to release the fragrance into the air.
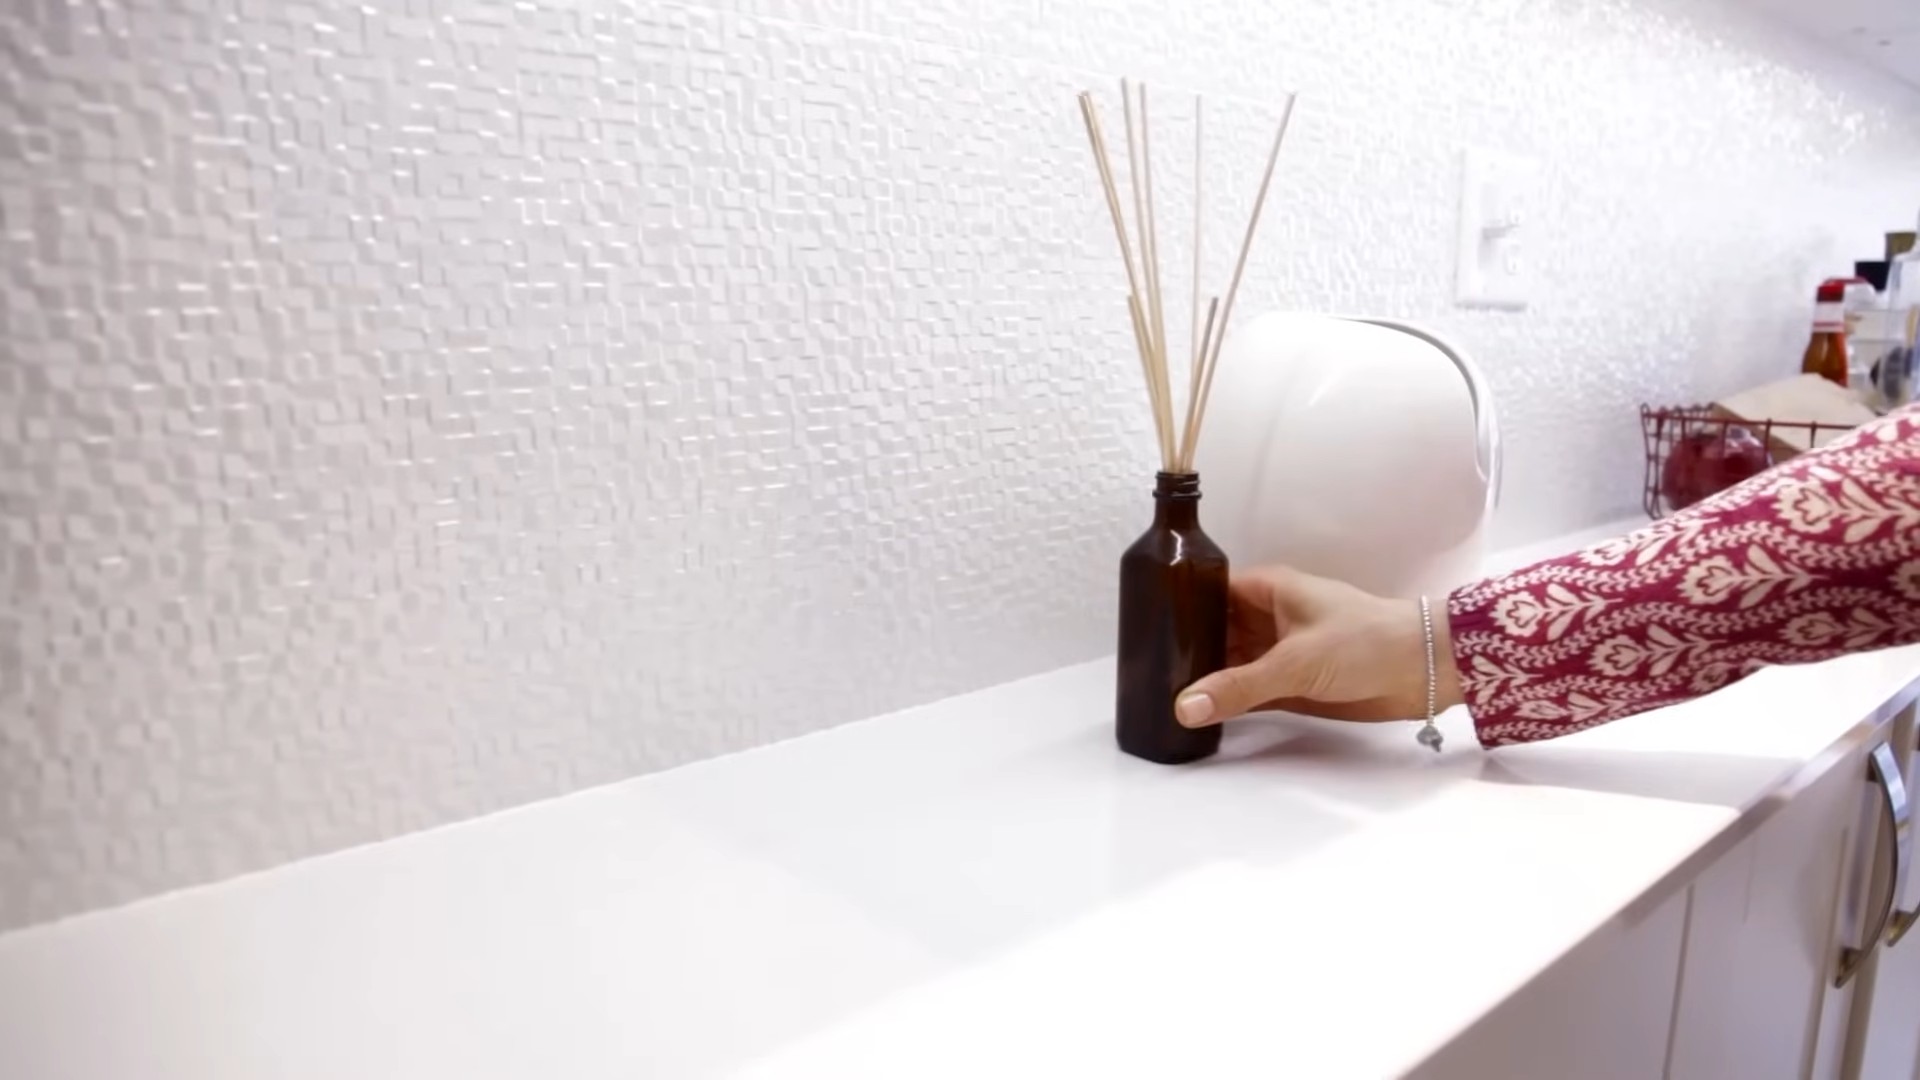
7. **Placement is Key:** Place your reed diffuser in a well-ventilated area where the fragrance can circulate. Avoid placing it in direct sunlight or near heat sources, as this can cause the oil to evaporate more quickly. Good spots include bathrooms, living rooms, bedrooms, and offices.
8. **Maintenance:** To keep your reed diffuser working effectively, flip the reeds every week or two. This will help to refresh the scent. You may also need to replace the reeds every few months, as they can become clogged with oil over time. When the oil level gets low, you can refill the bottle with more of your fragrance mixture.
Troubleshooting: Common Issues and Solutions
Sometimes, things don’t go exactly as planned. Here are a few common issues you might encounter and how to fix them:
* **Not Enough Scent:**
* **Solution:** Add more reeds. The more reeds you use, the stronger the scent will be.
* **Solution:** Increase the concentration of fragrance oil/essential oil in your mixture.
* **Solution:** Make sure the reeds are fully saturated with oil. Flip them more frequently.
* **Solution:** Check the placement of your diffuser. Is it in a well-ventilated area?
* **Solution:** The reeds might be clogged. Replace them with new reeds.
* **Scent is Too Strong:**
* **Solution:** Remove some reeds.
* **Solution:** Reduce the concentration of fragrance oil/essential oil in your mixture.
* **Solution:** Move the diffuser to a larger room.
* **Oil is Evaporating Too Quickly:**
* **Solution:** Make sure the diffuser is not in direct sunlight or near a heat source.
* **Solution:** Use a bottle with a narrower opening.
* **Solution:** Reduce the amount of alcohol in your mixture (if you’re using it).
* **Oil is Cloudy or Discolored:**
* **Solution:** This can happen if the oil is exposed to sunlight or air. It doesn’t necessarily mean the diffuser is ruined, but it might affect the scent. Try replacing the oil with a fresh batch.
* **Solution:** Ensure your container was completely clean and dry before adding the oil mixture.
Experimenting and Customizing: Make it Your Own!
The best part about making your own reed diffuser is that you can completely customize it to your liking! Here are a few ideas to get you started:
* **Create a Signature Scent:** Experiment with different fragrance oil and essential oil blends to create a unique aroma that reflects your personality and style. Keep a journal of your recipes so you can recreate your favorites!
* **Match the Scent to the Season:** Use different scents for different times of the year. For example, you could use warm and spicy scents like cinnamon and clove in the fall and winter, and fresh and floral scents like lavender and rose in the spring and summer.
* **Decorate Your Bottle:** Add a personal touch to your diffuser by decorating
Conclusion
So, there you have it! Creating your own DIY reed diffuser is not only incredibly simple and cost-effective, but it also allows you to completely customize the fragrance experience in your home. Forget those generic, mass-produced air fresheners filled with questionable chemicals. With just a few readily available ingredients and a little bit of your time, you can craft a beautiful and naturally scented ambiance that perfectly reflects your personal style and preferences.
Why is this a must-try? Because it empowers you to control the ingredients, ensuring a healthier and more sustainable way to scent your living space. You know exactly what’s going into your diffuser, avoiding potentially harmful synthetic fragrances and additives. Plus, the satisfaction of creating something beautiful and functional with your own hands is truly rewarding.
Beyond the basic recipe, the possibilities are endless. Experiment with different essential oil blends to create unique and captivating aromas. Try a blend of lavender and chamomile for a calming bedroom scent, or a zesty combination of lemon and grapefruit for an energizing kitchen fragrance. You can even tailor the scent to the seasons – think warm cinnamon and clove for autumn, or fresh pine and cedar for winter.
Consider using different types of carrier oils to influence the diffusion rate and scent throw. Fractionated coconut oil is a popular choice for its light texture and neutral scent, but you could also experiment with safflower oil or sweet almond oil. Just be sure to choose an oil that is thin and easily absorbed by the reeds.
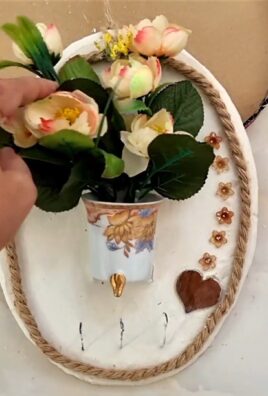
Another fun variation is to decorate your diffuser bottle to match your home décor. Use paint, ribbon, or even dried flowers to create a personalized and eye-catching piece. This makes your DIY reed diffuser not just a source of fragrance, but also a stylish addition to your living space.
We wholeheartedly encourage you to give this DIY reed diffuser project a try. It’s a fun, easy, and rewarding way to elevate your home’s atmosphere. And most importantly, we want to hear about your experience! Share your favorite essential oil blends, any variations you’ve tried, and any tips or tricks you’ve discovered along the way. Let’s create a community of DIY fragrance enthusiasts and inspire each other to create beautifully scented homes. Don’t hesitate to share your creations on social media using #DIYReedDiffuser – we can’t wait to see what you come up with! Embrace the power of natural fragrance and transform your home into a haven of delightful aromas.
Frequently Asked Questions (FAQ)
What exactly is a reed diffuser and how does it work?
A reed diffuser is a simple yet effective way to continuously scent a room without the need for heat or electricity. It consists of a bottle or container filled with a fragrant oil blend and a set of reeds (usually rattan) that are inserted into the oil. The reeds act as wicks, drawing the oil up through capillary action and releasing the fragrance into the air as it evaporates. The more reeds you use, the stronger the scent throw will be. It’s a passive diffusion method, meaning it relies on natural processes to disperse the fragrance, making it a safe and eco-friendly alternative to candles or plug-in air fresheners.
What type of reeds should I use for my DIY reed diffuser?
Rattan reeds are the most commonly used and recommended type for reed diffusers. They have a porous structure that allows the oil to travel up the reed effectively. Avoid using bamboo skewers or other types of wood, as they may not absorb the oil properly and can become moldy. You can find rattan reeds online or at craft stores. The length of the reeds should be appropriate for the size of your bottle; typically, reeds that are 10-12 inches long work well for most standard diffuser bottles.
What is the best carrier oil to use for a DIY reed diffuser?
The best carrier oil for a DIY reed diffuser is one that is thin, odorless, and easily absorbed by the reeds. Fractionated coconut oil is a popular choice because it meets all of these criteria. It’s also readily available and relatively inexpensive. Other suitable options include safflower oil, sweet almond oil, and dipropylene glycol (DPG). Avoid using thick or heavy oils like olive oil or vegetable oil, as they will not wick properly and can clog the reeds. Mineral oil is also not recommended due to its potential health concerns.
How much essential oil should I add to my DIY reed diffuser?
A general guideline is to use a 15-25% concentration of essential oils in your carrier oil. This means that for every 100ml of carrier oil, you would add 15-25ml of essential oils. However, the ideal amount will depend on the strength of the essential oils you are using and your personal preference. Start with a lower concentration and gradually add more essential oils until you achieve your desired scent strength. Remember that some essential oils are stronger than others, so it’s always best to err on the side of caution.
How often should I flip the reeds in my DIY reed diffuser?
Flipping the reeds helps to refresh the scent and maintain a consistent fragrance throw. It’s generally recommended to flip the reeds every 1-2 weeks, or whenever you notice the scent fading. When flipping the reeds, be careful not to spill any oil. You may want to do this over a sink or on a protected surface.
How long will my DIY reed diffuser last?
The lifespan of your DIY reed diffuser will depend on several factors, including the size of the bottle, the type of carrier oil used, the concentration of essential oils, and the ambient temperature and humidity. On average, a 100ml diffuser should last for 2-4 months. You’ll know it’s time to refill when the oil level is low or the scent has completely faded.
Can I reuse the reeds in my DIY reed diffuser?
It’s generally not recommended to reuse the reeds, as they can become clogged with oil and dust over time, which can reduce their effectiveness. However, if you want to try reusing them, you can soak them in rubbing alcohol for a few hours to remove any buildup. Be sure to let them dry completely before using them again. It’s always best to replace the reeds when you refill your diffuser for optimal performance.
What essential oil blends are good for a DIY reed diffuser?
The possibilities are endless when it comes to essential oil blends! Here are a few ideas to get you started:
* **Relaxing:** Lavender, chamomile, cedarwood
* **Energizing:** Lemon, grapefruit, peppermint
* **Uplifting:** Orange, bergamot, ylang-ylang
* **Focus:** Rosemary, lemon, basil
* **Romantic:** Rose, jasmine, sandalwood
* **Autumnal:** Cinnamon, clove, orange
* **Winter:** Pine, cedarwood, frankincense
Experiment with different combinations to find your favorite scents. You can also find many essential oil blend recipes online.
Is it safe to use essential oils around pets and children?
While essential oils are generally safe when used properly, it’s important to exercise caution when using them around pets and children. Some essential oils can be toxic to pets, so it’s best to research which oils are safe to use before diffusing them in your home. Keep reed diffusers out of reach of children and pets to prevent them from ingesting the oil. If you are pregnant or have any underlying health conditions, consult with your doctor before using essential oils.
How do I clean up spilled diffuser oil?
Diffuser oil can be difficult to clean up, as it’s oily and can stain surfaces. The best way to clean up a spill is to blot it up immediately with a clean cloth or paper towel. Avoid rubbing the spill, as this can spread it further. You can then use a mixture of dish soap and warm water to clean the affected area. For stubborn stains, you may need to use a solvent like rubbing alcohol or mineral spirits. Always test any cleaning product on an inconspicuous area first to ensure it doesn’t damage the surface.

Leave a Comment