

DIY Natural Drain Cleaner: Are you tired of slow-draining sinks and tubs? Do you cringe at the thought of pouring harsh chemicals down your pipes? I know I do! For generations, resourceful homeowners have sought natural solutions to everyday problems, and clogged drains are no exception. From ancient civilizations using natural enzymes to break down waste to modern-day eco-conscious individuals, the quest for a safe and effective drain cleaner has been ongoing.
But why resort to harsh chemicals when you can harness the power of simple, readily available ingredients? Many commercial drain cleaners contain corrosive substances that can damage your pipes and harm the environment. Plus, they often come with a hefty price tag! That’s where this DIY natural drain cleaner comes in. I’m going to show you a simple, cost-effective, and environmentally friendly way to clear those stubborn clogs and keep your drains flowing freely. Get ready to say goodbye to plumbing woes and hello to a cleaner, greener home!
DIY Natural Drain Cleaner: Banishing Clogs the Eco-Friendly Way
Tired of harsh chemicals eating away at your pipes and polluting the environment? Me too! That’s why I’ve perfected this super effective, all-natural drain cleaner that uses ingredients you probably already have in your pantry. It’s safe, affordable, and works wonders on most common clogs. Let’s get started!
What Causes Drain Clogs Anyway?
Before we dive into the DIY, let’s quickly understand what we’re fighting. Most drain clogs are a delightful (not!) cocktail of:
* Hair: The notorious culprit, especially in bathroom sinks and showers.
* Grease: Solidifies as it cools, sticking to pipe walls and trapping other debris.
* Soap Scum: A sticky residue that builds up over time.
* Food Scraps: Even with a garbage disposal, some bits inevitably slip through.
* Mineral Buildup: Hard water can leave mineral deposits that narrow the pipe diameter.
The Power Trio: Baking Soda, Vinegar, and Boiling Water
This is the core of our natural drain cleaner. Baking soda acts as a mild abrasive and deodorizer, vinegar creates a fizzing action that helps break down the clog, and boiling water flushes everything away.
Materials You’ll Need:
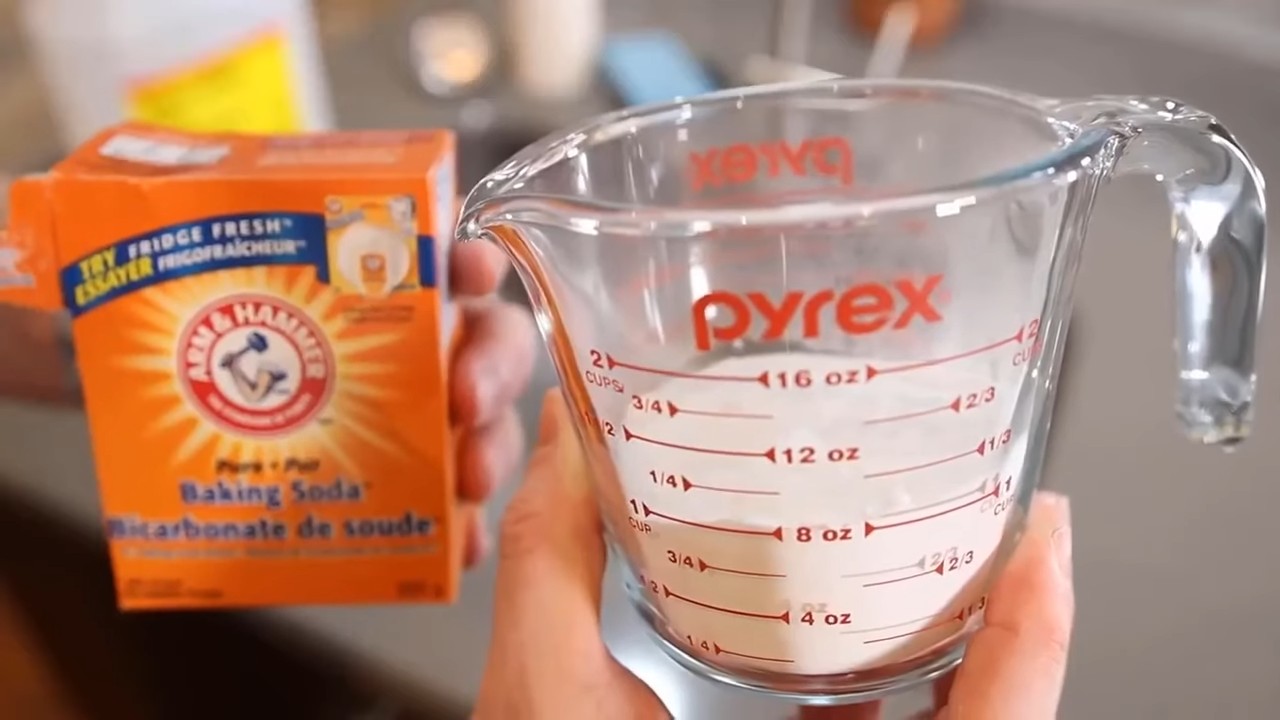
* 1 cup baking soda
* 2 cups white vinegar
* Pot of boiling water (at least 6-8 cups)
* Measuring cup
* Kettle or pot for boiling water
* Optional: Rubber gloves (to protect your hands)
* Optional: Funnel (to help pour baking soda into the drain)
Step-by-Step Instructions: The Baking Soda & Vinegar Method
This method is my go-to for most clogs. It’s simple, effective, and I usually see results within an hour.
1. Clear the Area: Remove any standing water from the sink or tub. If there’s a lot of water, you might need to use a cup or small container to scoop it out.
2. Pour in the Baking Soda: Carefully pour 1 cup of baking soda down the drain. A funnel can be helpful here to avoid making a mess. Try to get as much of the baking soda into the drain as possible.
3. Add the Vinegar: Next, slowly pour 2 cups of white vinegar down the drain. You’ll immediately notice a fizzing reaction – that’s exactly what we want!
4. Let it Fizz: Let the baking soda and vinegar mixture fizz and bubble for at least 30 minutes. For tougher clogs, I sometimes let it sit for an hour or even overnight. The longer it sits, the more time it has to break down the clog.
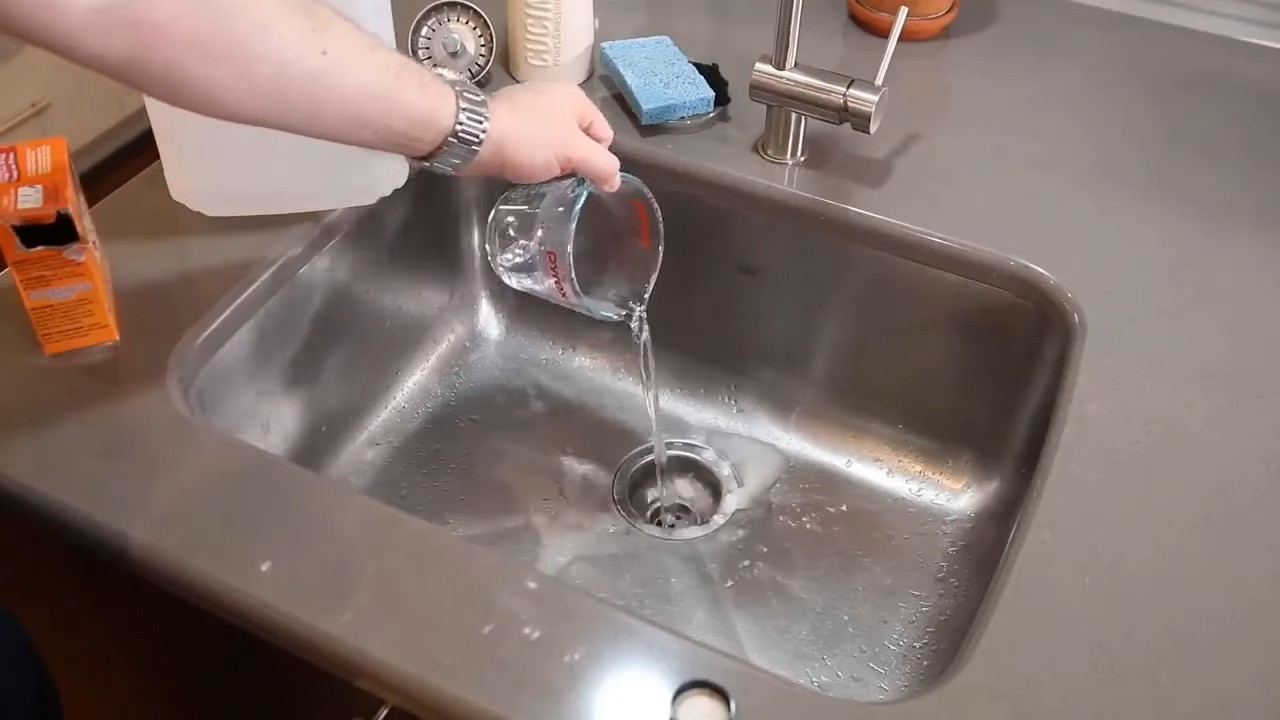
5. Flush with Boiling Water: After the waiting period, carefully pour a pot of boiling water down the drain. The hot water will help flush away the loosened debris. Be careful when handling boiling water to avoid burns.
6. Repeat if Necessary: If the drain is still slow or clogged, repeat the entire process. Sometimes it takes a couple of tries to completely clear a stubborn clog.
Dealing with Stubborn Clogs: Adding Salt to the Mix
If the baking soda and vinegar method isn’t quite doing the trick, we can add salt to the equation. Salt acts as an abrasive and helps to further break down the clog.
Materials You’ll Need:
* 1/2 cup baking soda
* 1/4 cup salt (table salt or sea salt works fine)
* 2 cups white vinegar
* Pot of boiling water (at least 6-8 cups)
* Measuring cup
* Kettle or pot for boiling water
* Optional: Rubber gloves
* Optional: Funnel
Step-by-Step Instructions: The Baking Soda, Salt, & Vinegar Method
This method is a bit more aggressive than the first, so use it when you need a little extra oomph.
1. Clear the Area: Just like before, remove any standing water from the sink or tub.
2. Mix Baking Soda and Salt: In a small bowl, combine 1/2 cup of baking soda and 1/4 cup of salt.
3. Pour the Mixture Down the Drain: Carefully pour the baking soda and salt mixture down the drain. Again, a funnel can be helpful.
4. Add the Vinegar: Slowly pour 2 cups of white vinegar down the drain. Expect the same fizzing reaction as before.
5. Let it Sit: Let the mixture sit for at least 30 minutes, or longer for tougher clogs.
6. Flush with Boiling Water: After the waiting period, carefully pour a pot of boiling water down the drain.
7. Repeat if Necessary: If the drain is still slow, repeat the process.
Preventing Future Clogs: A Few Simple Habits
Prevention is always better than cure! Here are a few things I do to keep my drains clear and clog-free:
* Use Drain Screens: These inexpensive screens catch hair and other debris before they enter the drain. I have them in all my bathroom sinks and showers.
* Avoid Pouring Grease Down the Drain: This is a big one! Always dispose of grease in a container and throw it away.
* Flush with Hot Water Regularly: Once a week, I flush my drains with hot water to help prevent buildup.
* Baking Soda Maintenance: Every couple of weeks, I pour a cup of baking soda down each drain followed by hot water. This helps to keep things fresh and prevent clogs from forming.
* Be Mindful of What Goes Down the Drain: Avoid flushing anything other than toilet paper down the toilet. Even “flushable” wipes can cause problems.
When to Call a Professional
While these DIY methods are effective for most common clogs, there are times when you need to call a professional plumber.
* If the Clog is Severe: If you’ve tried these methods multiple times and the drain is still completely blocked, it’s time to call a plumber.
* If You Suspect a Deeper Problem: If you suspect a problem with your plumbing system, such as a broken pipe, it’s best to leave it to the professionals.
* If You’re Not Comfortable Working with Plumbing: If you’re not comfortable working with plumbing, don’t hesitate to call a plumber. It’s better to be safe than sorry.
Safety First!
* Always wear rubber gloves to protect your hands from the baking soda, vinegar, and hot water.
* Be careful when handling boiling water to avoid burns.
* Never mix baking soda and vinegar in a closed container, as the pressure can cause it to explode.
* If you’re using a chemical drain cleaner, follow the manufacturer’s instructions carefully. And honestly, try to avoid them if you can!
Troubleshooting Tips
* No Fizzing Action? If you don’t see any fizzing when you add the vinegar, it could be that the baking soda is old or that the drain is already full of water. Try adding a little more baking soda and vinegar.
* Still Clogged After Multiple Attempts? If you’ve tried these methods multiple times and the drain is still clogged, it’s possible that the clog is too far down the drain or too stubborn to be removed with these methods. In this case, you may need to call a plumber.
* Smelly Drain? If your drain has a bad odor, try adding a few drops of essential oil (such as lemon or tea tree oil) to the baking soda and vinegar mixture. This will help to freshen up the drain.
Alternative Natural Drain Cleaning Methods
While the baking soda and vinegar method is my favorite, here are a few other natural drain cleaning methods you can try:
* Enzymatic Drain Cleaners: These cleaners use enzymes to break down organic matter in the drain. They’re a good option for preventing clogs and keeping your drains fresh.
* Plunger: A good old-fashioned plunger can sometimes dislodge a clog. Make sure there’s enough water in the sink or tub to cover the cup of the plunger.
* Wet/Dry Vacuum: A wet/dry vacuum can sometimes be used to suck out a clog. Make sure the vacuum is set to the “wet” setting.
Why I Love This DIY Method
I’ve been using this DIY drain cleaner for years, and I’m always amazed at how well it works. It’s not only effective, but it’s also safe for my family and the environment. Plus, it saves me money on expensive chemical drain cleaners. I hope you find it as helpful as I do!
Conclusion
So, there you have it! Ditching those harsh chemicals and embracing this DIY natural drain cleaner is more than just a trend; it’s a smart, sustainable, and effective way to keep your drains flowing freely. We’ve walked you through a simple process that utilizes ingredients you likely already have in your pantry – baking soda, vinegar, and boiling water. This powerful trio works synergistically to break down grease, hair, and other common culprits behind slow or clogged drains.
But why is this DIY approach a must-try? Beyond the obvious cost savings compared to commercial drain cleaners, you’re also making a conscious choice to protect your health and the environment. Commercial drain cleaners often contain corrosive chemicals that can damage your pipes, irritate your skin and lungs, and even contaminate our waterways. This natural alternative offers a safer, gentler, yet equally potent solution.
Furthermore, this method is incredibly versatile. While the baking soda and vinegar combination is a powerhouse, you can adapt it to suit your specific needs. For a more stubborn clog, consider adding a cup of salt to the initial baking soda application. The salt acts as an abrasive, helping to dislodge tougher debris. Another variation involves using lemon juice instead of vinegar for a more pleasant scent. While vinegar’s odor dissipates quickly, lemon juice leaves behind a fresh, citrusy aroma. You can also add a few drops of your favorite essential oil, like tea tree or eucalyptus, for their antibacterial and deodorizing properties. Just be sure to use essential oils sparingly, as some can be harmful to aquatic life in large quantities.
For preventative maintenance, incorporate this DIY drain cleaner into your routine once a month. This will help prevent clogs from forming in the first place, saving you time and effort in the long run. Think of it as a regular spa day for your drains!
We are confident that once you experience the effectiveness and simplicity of this DIY natural drain cleaner, you’ll never go back to those harsh chemical alternatives. It’s a win-win for your wallet, your health, and the planet.
Now, it’s your turn! We encourage you to give this DIY trick a try and see the amazing results for yourself. Don’t forget to share your experience with us in the comments below. We’d love to hear your tips, variations, and success stories. Let’s build a community of eco-conscious homeowners who are committed to keeping their drains clean and their planet green! What are you waiting for? Go unclog those drains the natural way!
Frequently Asked Questions (FAQ)
What exactly makes this DIY natural drain cleaner work?
The magic lies in the chemical reaction between baking soda (a base) and vinegar (an acid). When combined, they create carbon dioxide gas. This fizzing action helps to loosen and break down the gunk that’s clogging your drain. The boiling water then flushes everything away. It’s a simple yet effective process that targets common drain-clogging culprits like grease, hair, soap scum, and food particles.
Is this DIY drain cleaner safe for all types of pipes?
Generally, yes, this DIY natural drain cleaner is safe for most types of pipes, including PVC, copper, and older metal pipes. Unlike harsh chemical drain cleaners, it won’t corrode or damage your plumbing. However, if you have very old or fragile pipes, it’s always a good idea to test a small amount in an inconspicuous area first. Also, be cautious when using boiling water with PVC pipes, as extremely high temperatures can potentially soften or warp them over time. If you’re concerned, use very hot tap water instead of boiling water.
How often should I use this DIY drain cleaner?
For preventative maintenance, we recommend using this DIY natural drain cleaner once a month. This will help prevent clogs from forming and keep your drains flowing smoothly. If you have a particularly slow or clogged drain, you can use it more frequently, such as once a week, until the problem is resolved.
What if the clog is really stubborn and the first attempt doesn’t work?
Don’t give up! For stubborn clogs, you can repeat the process multiple times. After the initial treatment, wait at least 30 minutes before flushing with boiling water. If the drain is still slow, repeat the entire process. You can also try using a plunger after the baking soda and vinegar mixture has had time to work. The plunging action can help to dislodge the remaining debris. As mentioned earlier, adding a cup of salt to the initial baking soda application can also help to break down tougher clogs. If you’ve tried these methods and the clog persists, it might be time to call a professional plumber.
Can I use this DIY drain cleaner in my toilet?
While you can technically use this DIY drain cleaner in your toilet, it’s generally not as effective as it is in sinks and showers. Toilets often have larger and more complex clogs that require more specialized tools or solutions. If you do try it, be sure to use a smaller amount of baking soda and vinegar to avoid overflowing the toilet bowl. If the clog doesn’t clear after a few attempts, it’s best to use a toilet plunger or call a plumber.
What are some other natural ways to prevent drain clogs?
Prevention is key! Here are a few tips to help prevent drain clogs from forming in the first place:
* Use drain screens or strainers in your sinks and showers to catch hair, food particles, and other debris.
* Avoid pouring grease down the drain. Instead, let it cool and solidify, then dispose of it in the trash.
* Flush your drains with hot water after each use to help prevent grease and soap scum from building up.
* Regularly clean your sink stoppers and drain covers to remove any accumulated debris.
* Avoid flushing non-flushable items down the toilet, such as feminine hygiene products, diapers, and wipes.
Can I use different types of vinegar, like apple cider vinegar?
While white vinegar is the most commonly used and recommended type for this DIY drain cleaner, you can technically use other types of vinegar, such as apple cider vinegar. However, white vinegar is typically more acidic and therefore more effective at breaking down clogs. Apple cider vinegar may also leave behind a slight residue due to its higher sugar content. If you do use apple cider vinegar, be sure to use a slightly larger amount to compensate for its lower acidity.
Is there a specific ratio of baking soda to vinegar that I should use?
The recommended ratio is typically 1/2 cup of baking soda followed by 1 cup of vinegar. However, you can adjust the ratio slightly depending on the severity of the clog. For a more stubborn clog, you can try using equal parts baking soda and vinegar. Just be aware that this will create a more vigorous fizzing reaction, so be prepared for some bubbling!
What if I don’t have baking soda or vinegar? Are there any other natural alternatives?
While baking soda and vinegar are the most effective and readily available natural ingredients for drain cleaning, there are a few other alternatives you can try. Boiling water alone can sometimes dislodge minor clogs. You can also try using a mixture of salt and boiling water. The salt acts as an abrasive, helping to scrub away debris. Another option is to use a drain snake or auger to physically remove the clog. These tools are available at most hardware stores and can be very effective for removing hair and other stubborn debris.


Leave a Comment