

DIY Key Holder: Tired of that frantic morning scramble, desperately searching for your keys? We’ve all been there! That feeling of impending doom as you pat down pockets, rummage through bags, and retrace your steps, only to find them hiding in the most obvious (and frustrating!) place. Well, fret no more! This article is your ultimate guide to creating a stylish and functional DIY key holder that will banish those key-searching blues forever.
Key holders, in their simplest form, have been around for centuries. Think of the medieval chatelaines, ornate belt hooks used to carry keys and other household necessities. While our modern needs might be a little different, the core principle remains the same: keeping essential items organized and within easy reach.
In today’s fast-paced world, time is precious. Wasting even a few minutes searching for keys can throw off your entire day. A DIY key holder isn’t just a decorative piece; it’s a practical solution that saves you time, reduces stress, and adds a touch of personality to your entryway. Plus, it’s a fantastic way to express your creativity and upcycle materials you might already have lying around. So, let’s dive in and discover some amazing DIY key holder ideas that you can create yourself!
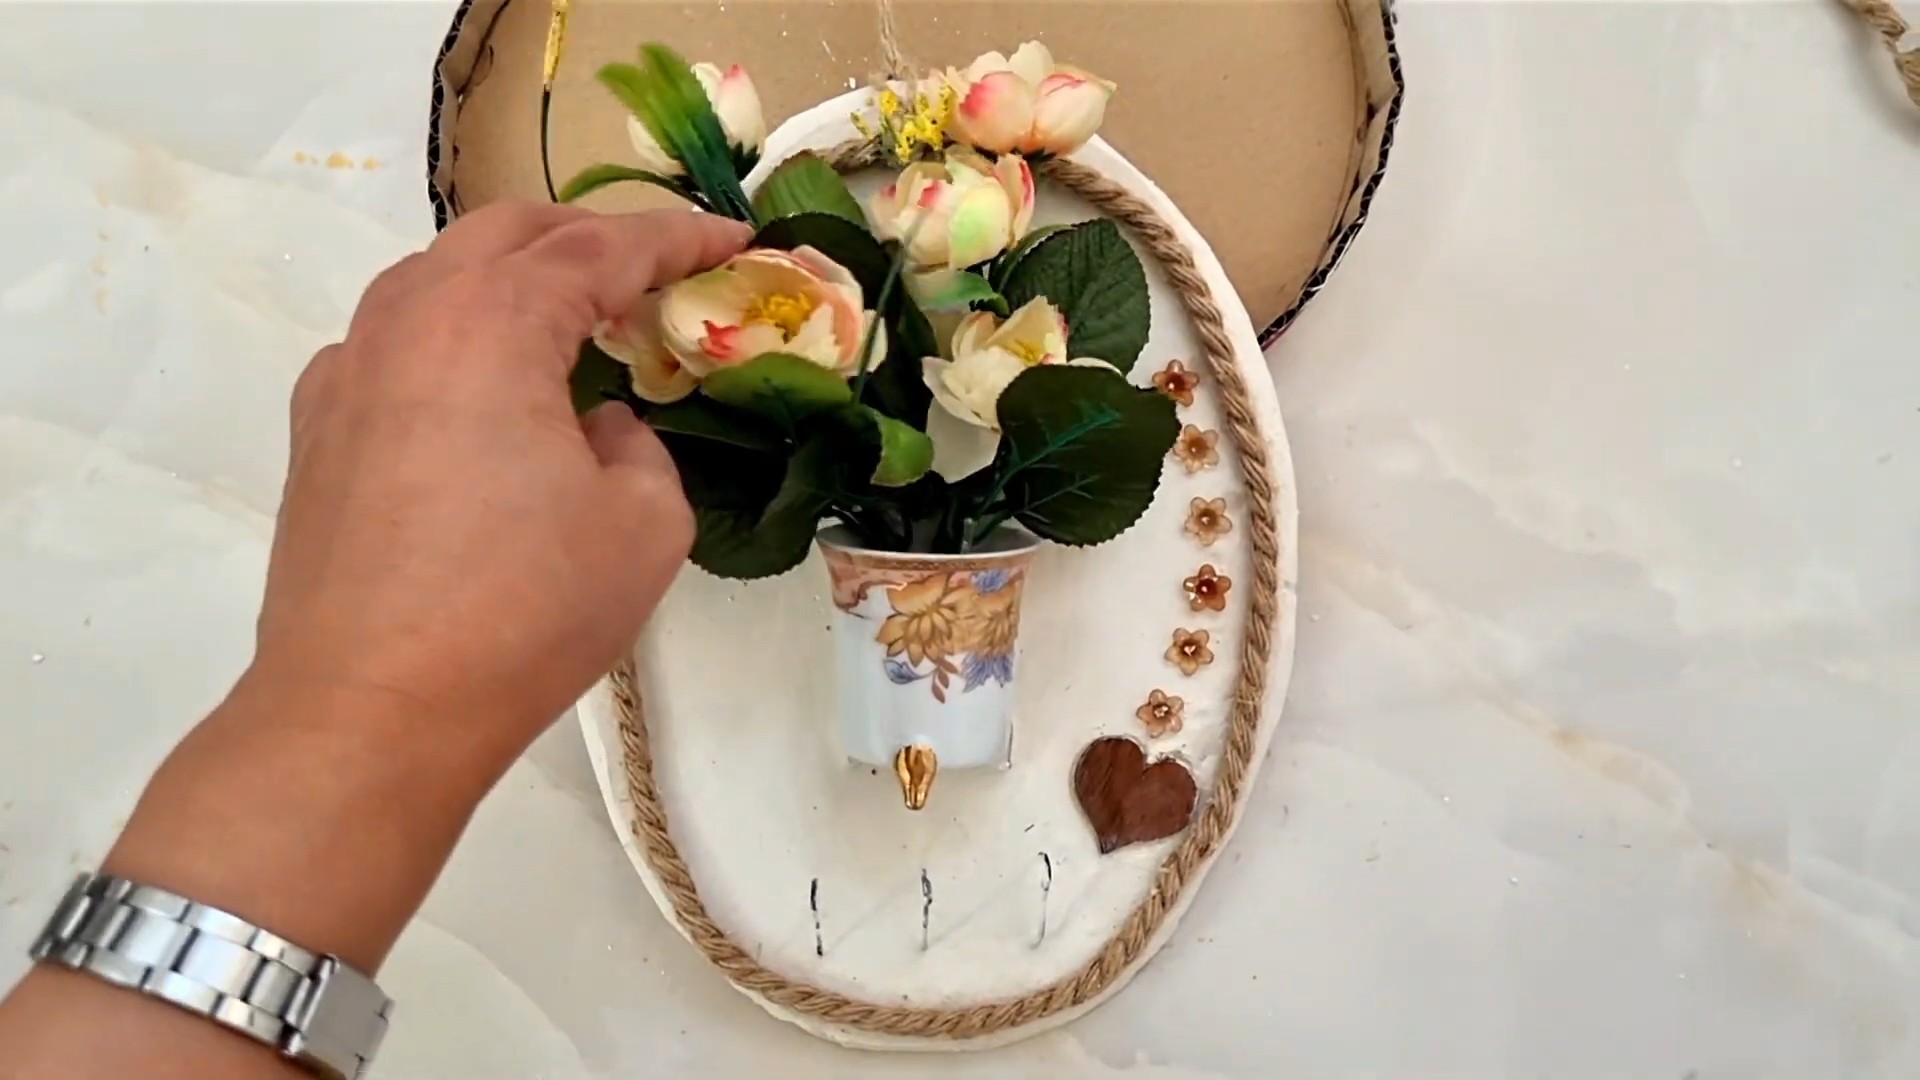
DIY Rustic Key Holder: Never Lose Your Keys Again!
Okay, friends, let’s be honest. How many times have you frantically searched for your keys just as you’re about to walk out the door? I know I’ve been there way too many times! That’s why I decided to tackle this super simple, yet incredibly useful, DIY project: a rustic key holder. Not only will it keep your keys organized, but it’ll also add a touch of charm to your entryway. Plus, it’s a great way to use up some scrap wood!
Materials You’ll Need
Before we dive in, let’s gather our supplies. Don’t worry, you probably already have a lot of this stuff lying around!
* A piece of wood (approximately 6-12 inches long, 4-6 inches wide, and at least 3/4 inch thick). I used a piece of reclaimed pallet wood for that rustic look, but any solid wood will do.
* Key hooks (the number depends on how many keys you want to hang). You can find these at any hardware store in various styles. I personally love the antique brass ones!
* Sandpaper (various grits, from coarse to fine – around 80, 120, and 220 grit).
* Wood stain (optional, but highly recommended for that rustic feel). Choose a color you love! I used a dark walnut stain.
* Polyurethane or varnish (to protect the wood and stain).
* Screws (appropriate length for your key hooks and wood thickness).
* Wood glue (optional, for extra security).
* Picture hanging hardware (D-rings or sawtooth hangers).
* Drill with drill bits.
* Screwdriver.
* Measuring tape or ruler.
* Pencil.
* Clamps (optional, but helpful).
* Rags or cloths for staining and applying polyurethane.
* Safety glasses.
* Gloves (for staining and applying polyurethane).
Preparing the Wood
This is where we get our hands a little dirty!
1. Cut the Wood to Size: If your piece of wood isn’t already the size you want, now’s the time to cut it. I used a handsaw because I like the slightly rough edge it gives, but a power saw will make the job much faster and cleaner. Remember to measure twice, cut once!
2. Sand the Wood: This is a crucial step for a smooth finish. Start with the coarse sandpaper (80 grit) to remove any rough edges or imperfections. Then, move on to the medium grit (120 grit) and finally the fine grit (220 grit) for a super smooth surface. Sand with the grain of the wood to avoid scratches. Don’t forget to sand the edges and corners!
3. Clean the Wood: After sanding, wipe down the wood with a damp cloth to remove all the sanding dust. This will ensure that the stain adheres properly. Let the wood dry completely before moving on to the next step.
Staining and Sealing (Optional but Recommended)
This step really brings out the beauty of the wood and adds that rustic charm we’re going for.
1. Apply the Stain: Before you start, make sure you’re working in a well-ventilated area and wearing gloves. Stir the stain thoroughly. Using a clean rag or brush, apply the stain evenly to the wood, following the grain. Let the stain sit for the recommended time on the can (usually a few minutes). The longer you leave it on, the darker the color will be.
2. Wipe Off Excess Stain: After the stain has sat for the desired time, use a clean rag to wipe off any excess stain. This will prevent the stain from becoming sticky or blotchy.
3. Let the Stain Dry Completely: This is important! Follow the drying time recommended on the stain can. Usually, it takes at least 24 hours for the stain to dry completely.
4. Apply Polyurethane or Varnish: Once the stain is completely dry, it’s time to protect it with a coat of polyurethane or varnish. This will also give the key holder a nice sheen. Again, work in a well-ventilated area and wear gloves. Apply a thin, even coat of polyurethane with a brush or rag.
5. Let the Polyurethane Dry: Follow the drying time recommended on the polyurethane can. Usually, it takes at least 24 hours for each coat to dry.
6. Sand Lightly Between Coats (Optional): For an even smoother finish, you can lightly sand the polyurethane with fine-grit sandpaper (220 grit or higher) between coats. Be sure to wipe away any sanding dust before applying the next coat.
7. Apply Additional Coats (Optional): For extra protection, you can apply a second or even third coat of polyurethane. Just remember to let each coat dry completely before applying the next.
Attaching the Key Hooks
Now for the fun part – adding the hooks!
1. Mark the Hook Placement: Use a measuring tape or ruler and a pencil to mark where you want to attach the key hooks. Make sure to space them evenly. I usually leave about 1-2 inches between each hook.
2. Pre-Drill Holes (Recommended): This step is especially important if you’re using hardwood. Pre-drilling holes will prevent the wood from splitting when you screw in the hooks. Use a drill bit that is slightly smaller than the diameter of the screws that come with your key hooks.
3. Attach the Key Hooks: Using a screwdriver, carefully screw the key hooks into the pre-drilled holes. Make sure the hooks are securely attached. If you want extra security, you can add a dab of wood glue to the back of the hooks before screwing them in.
Adding Hanging Hardware
Almost there! Now we just need to add a way to hang our masterpiece.
1. Decide on Hanging Hardware: You can use D-rings or sawtooth hangers. D-rings are more secure, but sawtooth hangers are easier to install.
2. Mark the Placement: Measure and mark where you want to attach the hanging hardware on the back of the key holder. Make sure the hardware is centered.
3. Attach the Hanging Hardware: Follow the instructions that come with your chosen hanging hardware to attach it to the back of the key holder. If you’re using D-rings, you’ll need to screw them in. If you’re using sawtooth hangers, you can usually just hammer them in.
Final Touches and Hanging Your Key Holder
You did it! Just a few more steps and you’ll be enjoying your new key holder.
1. Inspect Your Work: Take a good look at your key holder and make sure everything is secure and looks the way you want it to.
2. Find the Perfect Spot: Choose a spot near your entryway to hang your key holder. Make sure the wall is strong enough to support the weight of the key holder and your keys.
3. Hang Your Key Holder: Use a nail or screw to hang your key holder on the wall. Make sure it’s level!
4. Hang Your Keys: Finally, hang your keys on the hooks and admire your handiwork!
Tips and Tricks for a Perfect Key Holder
* Distress the Wood: For an even more rustic look, you can distress the wood before staining it. You can use a hammer, nails, or even a chain to create dents and scratches.
* Use Different Types of Wood: Experiment with different types of wood to create a unique look. Reclaimed wood, pallet wood, and even driftwood can all be used to make a beautiful key holder.
* Add a Personal Touch: Get creative and add a personal touch to your key holder. You can paint it, stencil it, or even add some decorative hardware.
* Seal the Back: Consider sealing the back of the key holder with polyurethane to prevent moisture from damaging the wall.
* Consider the Weight: If you plan on hanging a lot of keys, make sure your key holder is strong enough to support the weight. You may need to use thicker wood or stronger hanging hardware.
* Safety First: Always wear safety glasses when sanding or drilling. And be sure to work in a well-ventilated area when staining or applying polyurethane.
I hope you enjoyed this DIY project! It’s a simple and rewarding way to add some organization and style to your home. Now go forth and never lose your keys again! Happy crafting!

Conclusion
So, there you have it! Transforming a simple piece of wood into a stylish and functional DIY key holder is not only incredibly rewarding but also a fantastic way to personalize your entryway. Forget those generic, mass-produced key racks – this project allows you to create something truly unique that reflects your individual style and complements your home décor.
Why is this DIY key holder a must-try? Because it’s more than just a place to hang your keys. It’s a statement piece, a conversation starter, and a testament to your creativity. It’s a practical solution to a common problem – the dreaded lost keys – presented in an aesthetically pleasing way. Plus, the satisfaction of creating something with your own hands is unparalleled.
But the beauty of this project lies in its adaptability. Feel free to experiment with different types of wood. Reclaimed wood adds a rustic charm, while a sleek piece of hardwood offers a more modern aesthetic. Consider painting or staining the wood to match your existing décor. Get creative with the hooks! Use vintage knobs, decorative pulls, or even repurposed hardware for a truly unique look.
Variations to Explore:
* **Add a Shelf:** Extend the top of the key holder to create a small shelf for mail, sunglasses, or other small items.
* **Incorporate a Chalkboard:** Paint a section of the key holder with chalkboard paint for leaving messages or reminders.
* **Personalize with Stencils:** Use stencils to add patterns, quotes, or monograms to the wood.
* **Go Magnetic:** Embed magnets into the wood and use magnetic keychains for a minimalist look.
* **Try Different Hook Styles:** Explore various hook styles, from classic metal hooks to whimsical ceramic knobs.
This DIY key holder project is perfect for beginners and seasoned crafters alike. It’s a quick, easy, and affordable way to add a touch of personality to your home. We encourage you to give it a try and unleash your inner artist.
Don’t be afraid to experiment, get creative, and make it your own. We’re confident that you’ll love the results. And most importantly, we want to hear about your experience! Share your creations with us on social media using #DIYKeyHolder and let us see your unique take on this project. We can’t wait to see what you come up with! Let’s ditch the key chaos and embrace a stylish and organized entryway, one DIY key holder at a time.
Frequently Asked Questions
Here are some frequently asked questions to help you successfully create your own DIY key holder:
**Q: What type of wood is best for a DIY key holder?**
A: The best type of wood depends on your desired aesthetic and budget. Softwoods like pine are affordable and easy to work with, making them a great choice for beginners. Hardwoods like oak, maple, or walnut offer a more durable and elegant finish. Reclaimed wood adds a rustic and unique touch. Consider the grain pattern and color of the wood to complement your home décor. Ultimately, the choice is yours! Just ensure the wood is properly sanded and sealed before adding hooks.
**Q: What kind of hooks should I use for my key holder?**
A: The options for hooks are endless! Consider the weight of your keys and the overall style of your key holder. Metal hooks are durable and come in a variety of finishes, from classic brass to modern black. Decorative knobs or pulls can add a touch of personality. Repurposed hardware, like vintage drawer pulls or cabinet knobs, can create a unique and eclectic look. Make sure the hooks are securely attached to the wood using screws or strong adhesive.
**Q: How do I attach the hooks to the wood?**
A: The best method for attaching hooks depends on the type of hook and the thickness of the wood. For most hooks, screws are the most secure option. Pre-drill pilot holes to prevent the wood from splitting. If using adhesive, choose a strong, multi-purpose adhesive that is suitable for wood and metal. Follow the manufacturer’s instructions carefully. For heavier items, screws are always recommended over adhesive.
**Q: What tools do I need for this project?**
A: The basic tools you’ll need include:
* A piece of wood (your desired size and type)
* Hooks
* Screws or adhesive
* A drill (if using screws)
* A screwdriver
* Sandpaper
* A measuring tape or ruler
* A pencil
* Optional: Paint, stain, varnish, stencils
**Q: How do I finish the wood for my key holder?**
A: Finishing the wood protects it from moisture and wear and tear, and enhances its appearance. Start by sanding the wood smooth with fine-grit sandpaper. Then, you can choose to paint, stain, or varnish the wood. Paint offers a wide range of colors and finishes. Stain enhances the natural grain of the wood. Varnish provides a protective layer and adds a glossy sheen. Follow the manufacturer’s instructions for the chosen finish. Allow the finish to dry completely before attaching the hooks.
**Q: Can I make a key holder without using power tools?**
A: Yes, absolutely! While a drill can make the process easier, you can still create a key holder without power tools. Use a hand drill or awl to create pilot holes for the screws. Alternatively, you can use a strong adhesive to attach the hooks. Just make sure the adhesive is suitable for wood and metal and follow the manufacturer’s instructions carefully.
**Q: How do I hang the key holder on the wall?**
A: There are several ways to hang your key holder on the wall. You can use picture hanging hardware, such as D-rings or sawtooth hangers, attached to the back of the key holder. Alternatively, you can drill holes directly through the key holder and mount it to the wall using screws and anchors. Make sure to use appropriate anchors for your wall type (drywall, plaster, etc.). Use a level to ensure the key holder is straight before securing it to the wall.
**Q: How can I personalize my DIY key holder?**
A: Personalization is key! Consider adding stencils, paint designs, or quotes to the wood. Use decorative knobs or pulls for the hooks. Incorporate elements that reflect your personal style and interests. You can also add a small shelf for mail or other items. The possibilities are endless!
**Q: What if I don’t have any woodworking experience?**
A: This project is perfect for beginners! Start with a simple design and use easy-to-work-with materials like pine. Watch online tutorials or ask for help from a more experienced friend or family member. Don’t be afraid to make mistakes – that’s how you learn! The most important thing is to have fun and enjoy the process.
**Q: Where can I find inspiration for my DIY key holder?**
A: Pinterest, Instagram, and home décor blogs are great sources of inspiration. Search for “DIY key holder” or “key rack ideas” to find a wealth of creative designs. Pay attention to the materials, colors, and styles that appeal to you and adapt them to your own project.

Leave a Comment