

DIY Heat Stain Removal Wood: Has your beautiful wooden furniture fallen victim to unsightly white rings left by hot mugs or dishes? Don’t despair! Before you resign yourself to living with those blemishes or spending a fortune on professional refinishing, I’m here to tell you there’s hope! This article is your ultimate guide to simple, effective, and budget-friendly DIY heat stain removal wood techniques that will restore your furniture to its former glory.
For generations, wood has been a cherished material for crafting furniture, prized for its warmth, beauty, and durability. From antique heirlooms passed down through families to modern, minimalist designs, wood furniture adds character and elegance to our homes. Unfortunately, it’s also susceptible to heat damage, a common household mishap that can leave us feeling frustrated. But fear not, because I’m about to share some amazing secrets.
Why is DIY heat stain removal wood so important? Well, those heat stains aren’t just unsightly; they can also devalue your furniture. Plus, constantly covering them up with placemats or coasters can be a real hassle. Learning these simple DIY tricks will empower you to tackle those stains head-on, saving you money and preserving the beauty of your wooden pieces. I’ll walk you through various methods, using common household items, to gently and effectively lift those stubborn heat stains, revealing the natural beauty of your wood once more. Let’s get started and bring your furniture back to life!
DIY Heat Stain Removal from Wood: A Comprehensive Guide
Hey there, fellow DIY enthusiasts! Ever set a hot mug or pan down on your beautiful wooden furniture and cringed as a ghostly white ring appeared? Don’t panic! I’ve been there, and I’m here to tell you that you can often remove those pesky heat stains yourself without resorting to expensive professional help. This guide will walk you through several methods, from gentle to more assertive, to help you restore your wood’s natural beauty. Let’s get started!
Understanding Heat Stains
Before we dive in, it’s important to understand what’s actually happening when you get a heat stain. That white ring isn’t a burn, but rather moisture trapped *under* the finish. The heat causes the finish to cloud up, creating that unsightly mark. The goal of these methods is to draw that moisture back out.
Method 1: The Iron and Cloth Trick (Often the First Line of Defense)
This is usually my go-to method because it’s gentle and often effective for newer, less stubborn stains.
What You’ll Need:
* A clean, dry cotton cloth (an old t-shirt works great!)
* An iron (dry, no steam!)
* Water (optional, for dampening the cloth if needed)
Step-by-Step Instructions:
1. Prepare the Area: Make sure the surface of the wood is clean and dry. Wipe away any dust or debris with a soft cloth.
2. Position the Cloth: Place the clean, dry cotton cloth directly over the heat stain. Make sure the cloth completely covers the stain.
3. Ironing Time: Set your iron to a low or medium setting. Make sure the steam setting is OFF! You don’t want to add more moisture.
4. Gentle Ironing: Gently iron over the cloth in a circular motion. Don’t leave the iron in one spot for too long, as you could damage the finish. Keep the iron moving.
5. Check Progress: Lift the cloth periodically to check if the stain is fading. You should start to see some improvement after a few passes.
6. Repeat as Needed: Continue ironing in short bursts, checking the progress each time. If the cloth becomes too dry, you can *very lightly* dampen it with water. But be careful not to over-saturate it.
7. Patience is Key: This process might take several minutes, so be patient. If the stain doesn’t disappear completely, don’t force it. Move on to another method.
Method 2: The Hair Dryer Approach (Another Gentle Option)
Similar to the iron method, the hair dryer uses heat to draw out the trapped moisture. It’s a good alternative if you’re worried about the direct heat of an iron.
What You’ll Need:
* A hair dryer
* A clean, soft cloth
Step-by-Step Instructions:
1. Clean the Surface: As always, start with a clean and dry wooden surface.
2. Hair Dryer Setting: Set your hair dryer to a low or medium heat setting.
3. Apply Heat: Hold the hair dryer a few inches away from the heat stain and direct the heat onto the affected area.
4. Circular Motion: Move the hair dryer in a slow, circular motion. Don’t hold it in one spot for too long.
5. Wipe Away Moisture: As you apply heat, use the clean, soft cloth to gently wipe away any moisture that surfaces.
6. Check Progress: Periodically check to see if the stain is fading.
7. Repeat as Necessary: Continue the process until the stain disappears or you see no further improvement.
Method 3: Mayonnaise (Yes, Really!)
This might sound crazy, but mayonnaise contains oils that can help to rehydrate the finish and draw out the trapped moisture.
What You’ll Need:
* Mayonnaise (full-fat works best)
* A clean, soft cloth
* A spoon or spatula
Step-by-Step Instructions:
1. Apply Mayonnaise: Using a spoon or spatula, apply a generous amount of mayonnaise directly onto the heat stain.
2. Let it Sit: Let the mayonnaise sit on the stain for at least an hour, or even overnight for stubborn stains. The longer it sits, the better chance it has of working.
3. Wipe Away: After the waiting period, wipe away the mayonnaise with a clean, soft cloth.
4. Buff the Area: Use a clean, dry cloth to buff the area until it’s smooth and shiny.
5. Repeat if Needed: If the stain is still visible, repeat the process.
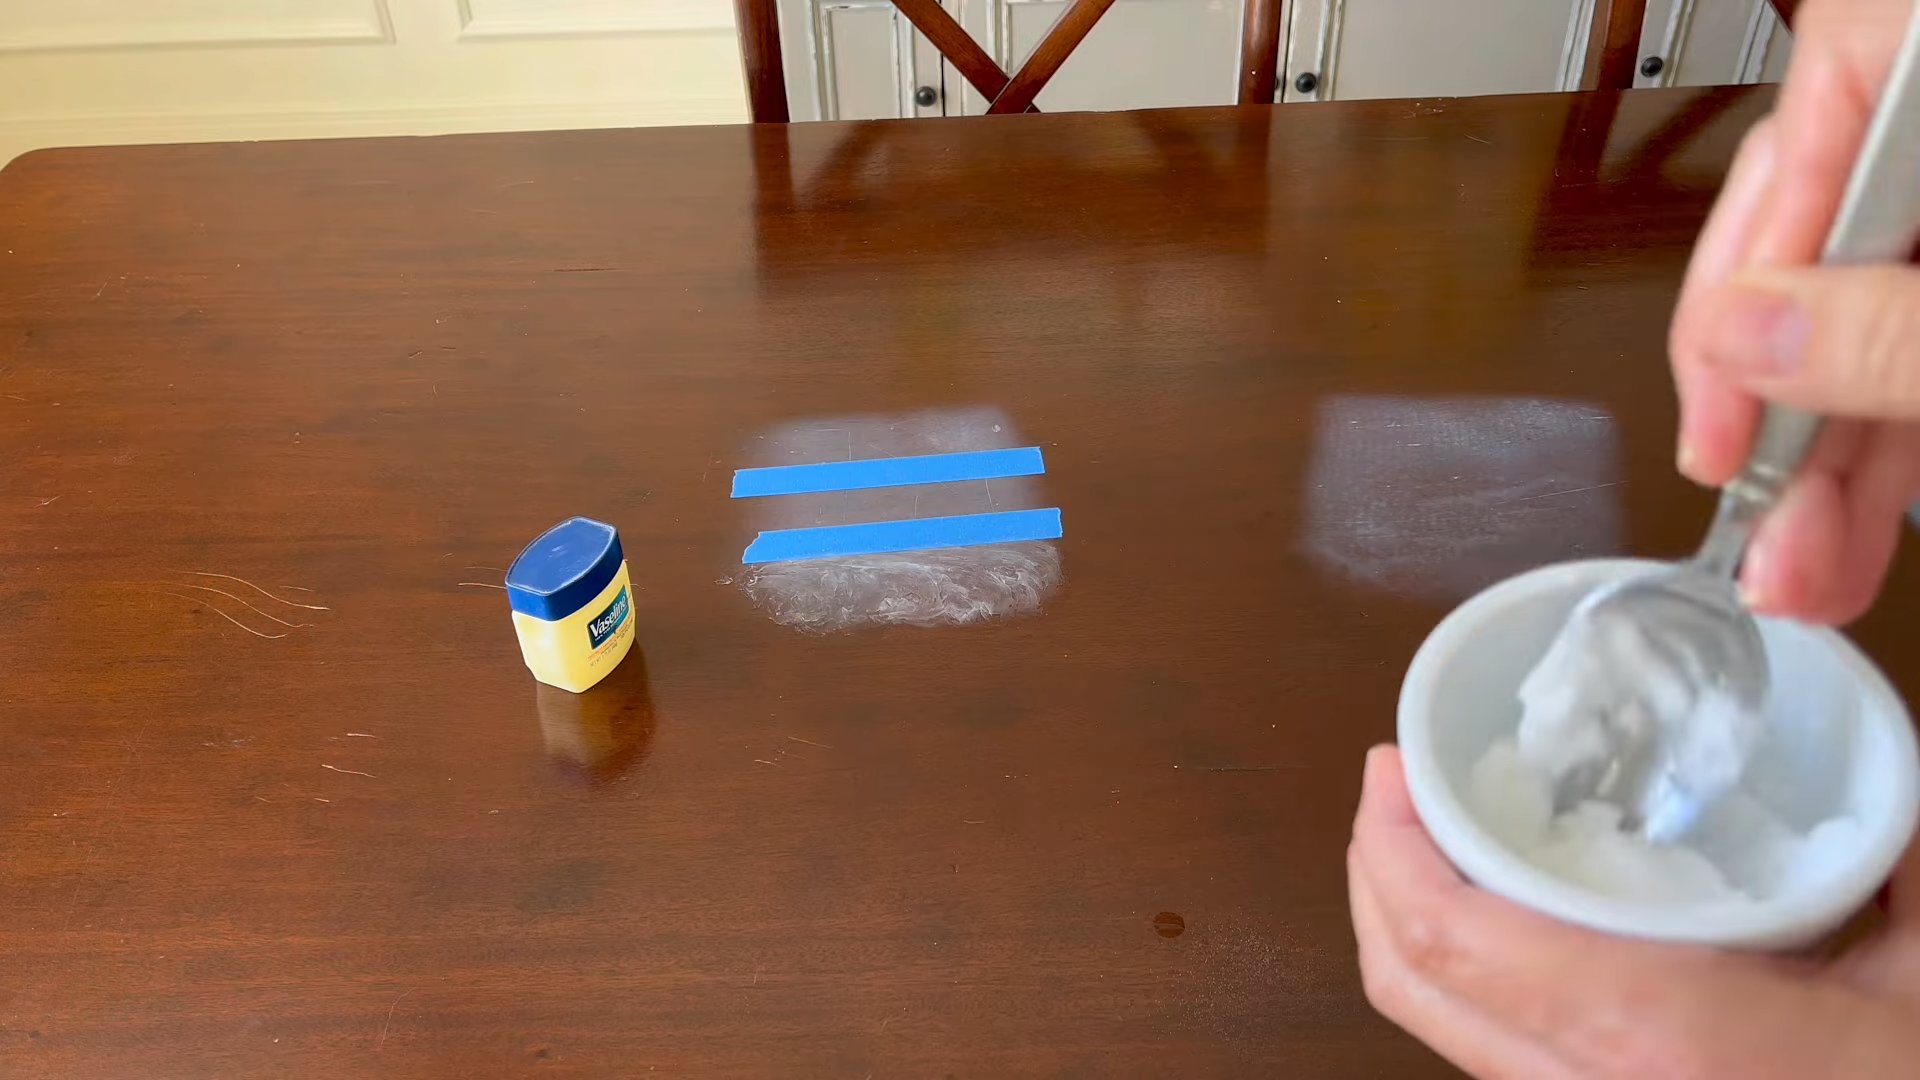
Method 4: Baking Soda Paste (For More Stubborn Stains)
Baking soda is a mild abrasive that can help to remove the stain without damaging the finish. However, use this method with caution, as it can scratch delicate surfaces.
What You’ll Need:
* Baking soda
* Water
* A clean, soft cloth
* A bowl
Step-by-Step Instructions:
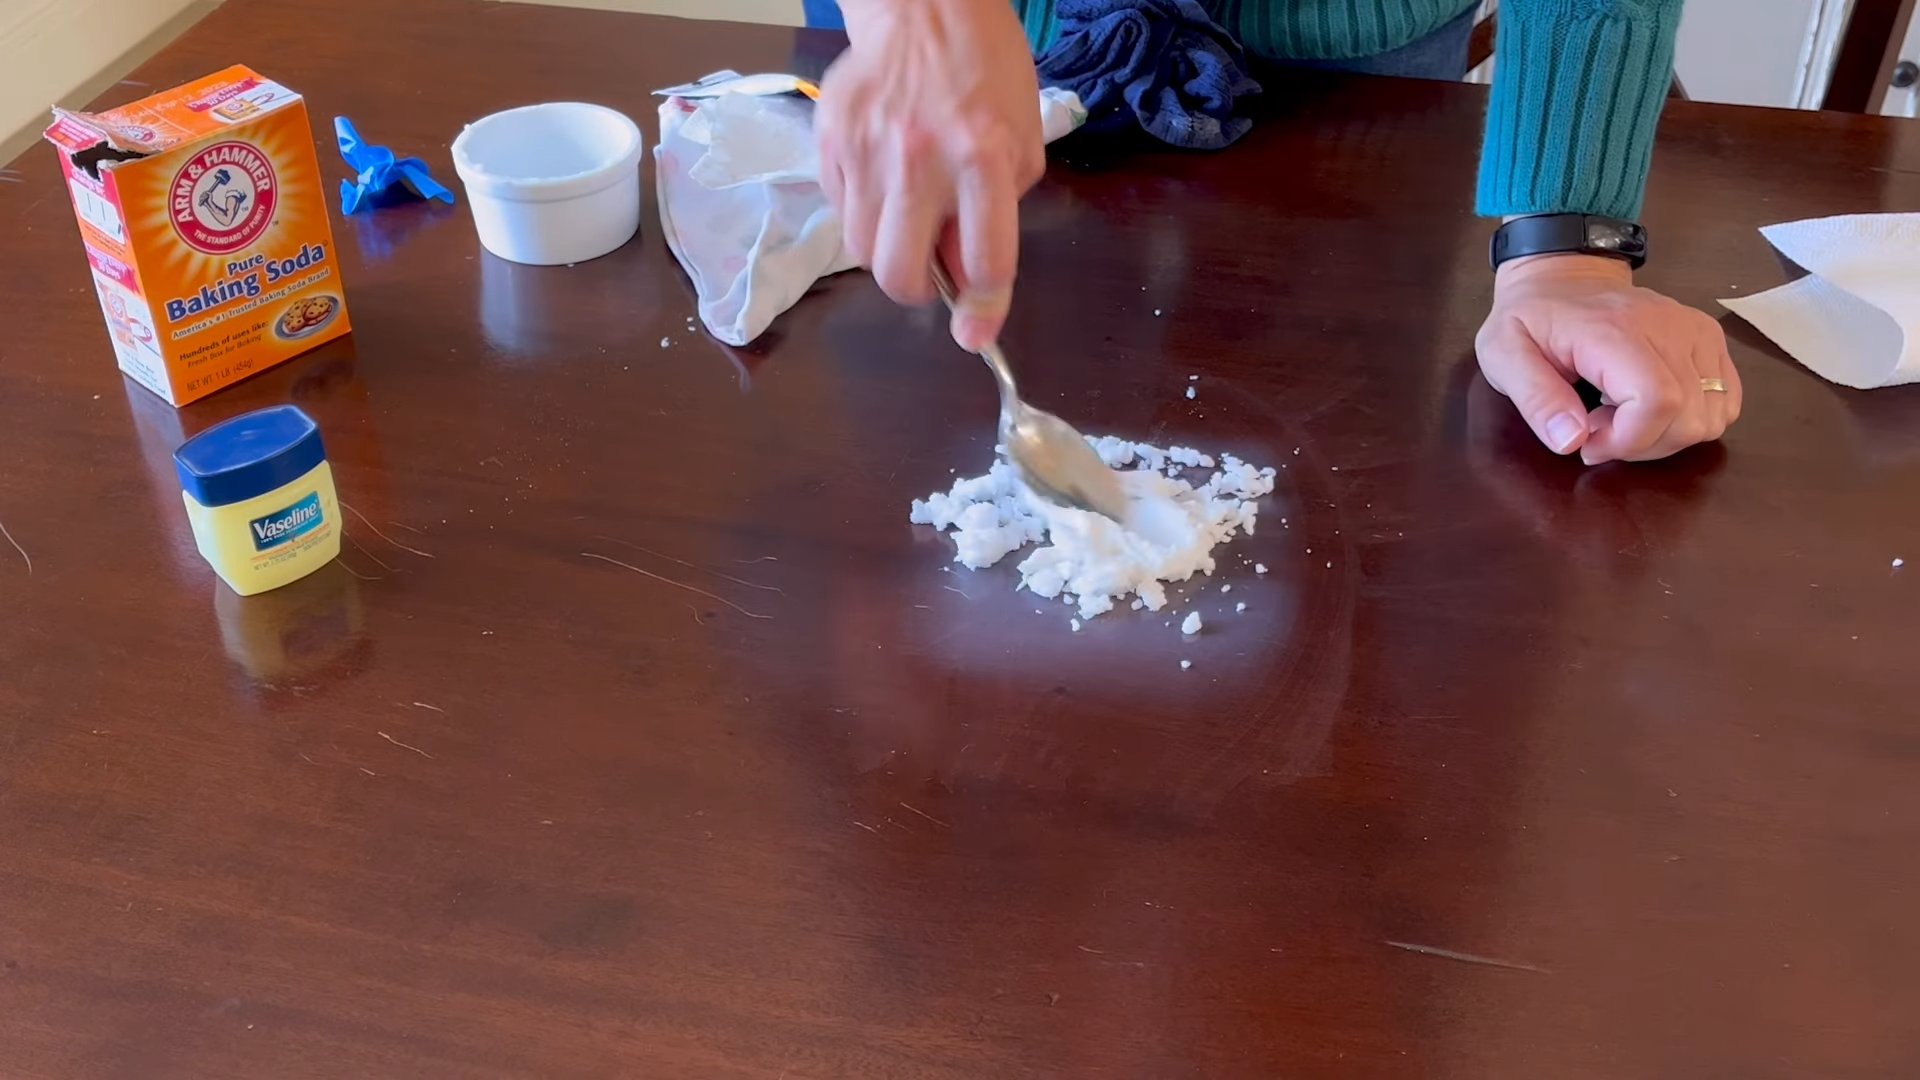
1. Make a Paste: In a bowl, mix baking soda with a small amount of water to create a thick paste.
2. Apply the Paste: Gently apply the baking soda paste to the heat stain.
3. Gentle Rubbing: Using a clean, soft cloth, gently rub the paste into the stain in a circular motion. Be very careful not to apply too much pressure, as you could scratch the finish.
4. Wipe Away: After a few minutes of rubbing, wipe away the paste with a damp cloth.
5. Dry and Buff: Dry the area with a clean, dry cloth and buff it until it’s smooth and shiny.
6. Inspect and Repeat: Check the progress. If the stain is still there, repeat the process, but be even more gentle this time.
Method 5: Toothpaste (Another Mild Abrasive Option)
Similar to baking soda, toothpaste can act as a mild abrasive to help remove the stain. Use a non-gel toothpaste for best results.
What You’ll Need:
* Non-gel toothpaste (white toothpaste is best)
* A clean, soft cloth
* Water
Step-by-Step Instructions:
1. Apply Toothpaste: Apply a small amount of non-gel toothpaste directly onto the heat stain.
2. Gentle Rubbing: Using a clean, soft cloth, gently rub the toothpaste into the stain in a circular motion. Again, be careful not to apply too much pressure.
3. Wipe Away: After a few minutes of rubbing, wipe away the toothpaste with a damp cloth.
4. Dry and Buff: Dry the area with a clean, dry cloth and buff it until it’s smooth and shiny.
5. Assess and Repeat: Check the progress and repeat if necessary.
Method 6: Steel Wool and Oil (For Deeper Stains – Use with Extreme Caution!)
This method is for more stubborn stains and should be used as a last resort. It can easily damage the finish if you’re not careful. I highly recommend testing this method in an inconspicuous area first.
What You’ll Need:
* 0000 steel wool (the finest grade)
* Mineral oil or furniture oil
* A clean, soft cloth
Step-by-Step Instructions:
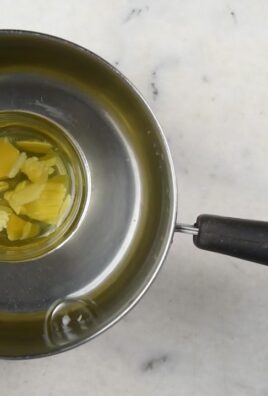
1. Apply Oil: Apply a small amount of mineral oil or furniture oil to the heat stain.
2. Gentle Rubbing: Very gently rub the area with the 0000 steel wool in the direction of the wood grain. Use extremely light pressure! You’re not trying to sand the finish off, just gently buff it.
3. Wipe Away: Wipe away the oil and any residue with a clean, soft cloth.
4. Inspect and Repeat (Sparingly): Check the progress. If the stain is still there, repeat the process, but be even more gentle. If you see any signs of damage to the finish, stop immediately!
Important Considerations and Tips:
* Test in an Inconspicuous Area: Before trying any of these methods, especially the more abrasive ones, test them in an inconspicuous area of the furniture to make sure they don’t damage the finish.
* Start Gentle: Always start with the gentlest method first and work your way up to the more aggressive ones.
* Patience is Key: Removing heat stains can take time and patience. Don’t get discouraged if the stain doesn’t disappear immediately.
* Don’t Overdo It: Be careful not to overwork the area, as you could
Conclusion
So, there you have it! Banishing those unsightly heat stains from your beloved wooden furniture doesn’t require expensive professional help or harsh chemicals. This simple, effective, and surprisingly affordable DIY heat stain removal wood trick is a game-changer for anyone who values the beauty and longevity of their wooden pieces.
Why is this a must-try? Because it works! We’ve all been there – a momentary lapse in judgment, a hot mug placed directly on a table, and suddenly, a glaring white ring mars the surface. Instead of resigning yourself to living with the imperfection or shelling out a fortune for refinishing, this method offers a practical and readily accessible solution. It leverages common household items, minimizing both cost and the potential for further damage.
Beyond its effectiveness, this DIY approach is also gentle on your furniture. Unlike harsh chemicals that can strip away the finish and compromise the wood’s integrity, the combination of heat and a soft cloth works to gently lift the stain without causing further harm. This is particularly important for antique or delicate pieces where preserving the original finish is paramount.
Looking for variations? Consider the type of cloth you use. A microfiber cloth is excellent for its gentle abrasiveness, but a clean cotton t-shirt can also work wonders. For particularly stubborn stains, you might try adding a tiny amount of white vinegar to the cloth, but always test this in an inconspicuous area first to ensure it doesn’t affect the finish. Another variation involves using a hairdryer instead of an iron. This can be especially useful for smaller, more intricate areas. Just be sure to keep the hairdryer moving and avoid overheating the wood.
Don’t be intimidated by the process. It’s far simpler than it sounds. The key is patience and gentle application. Start with low heat and gradually increase it as needed. Remember to keep the cloth moving and check your progress frequently. The goal is to gently lift the stain, not to scorch the wood.
We are confident that this DIY heat stain removal wood method will become your go-to solution for tackling those frustrating heat marks. It’s a testament to the power of simple solutions and a reminder that you don’t always need expensive products to achieve professional-quality results.
Now, it’s your turn! We wholeheartedly encourage you to try this DIY trick on your own heat-stained wooden furniture. We are eager to hear about your experiences. Did it work as well for you as it did for us? Did you discover any helpful variations or tips along the way? Share your stories, photos, and insights in the comments below. Your feedback will not only help other readers but also contribute to a community of DIY enthusiasts who are passionate about preserving the beauty of their wooden furniture. Let’s work together to keep our wooden pieces looking their best, one heat stain at a time!
Frequently Asked Questions (FAQ)
What causes heat stains on wood furniture?
Heat stains, often appearing as white rings or cloudy marks, are typically caused by moisture trapped beneath the finish of the wood. When a hot object, like a mug or plate, is placed directly on the wood, the heat can cause the moisture in the finish to evaporate and become trapped, creating that unsightly stain. The type of finish on the wood also plays a role; some finishes are more susceptible to heat damage than others.
Will this DIY method work on all types of wood and finishes?
While this DIY heat stain removal wood method is generally safe and effective, it’s essential to exercise caution and test it in an inconspicuous area first, especially on antique or delicate pieces. Different types of wood and finishes react differently to heat and moisture. For example, a heavily lacquered finish might be more resistant to heat stains than a waxed finish. If you’re unsure about the type of finish on your furniture, consult a professional before proceeding. This method is generally safe for most common wood finishes like polyurethane, varnish, and lacquer. However, it may not be as effective on oil-based finishes or unfinished wood.
What if the heat stain is very old or deep?
Older or deeper heat stains may require multiple applications of this DIY method. Be patient and persistent, repeating the process several times if necessary. You can also try increasing the heat slightly, but always be careful not to overheat the wood. If the stain persists after several attempts, it may be necessary to consult a professional furniture restorer. In some cases, a more aggressive approach, such as refinishing the affected area, may be required.
What kind of iron should I use?
A dry iron (without steam) is essential for this DIY method. Make sure the iron is clean and free of any residue that could transfer to the wood. A low to medium heat setting is recommended to start, gradually increasing the heat as needed. Avoid using a steam iron, as the moisture could exacerbate the problem.
What kind of cloth should I use?
A soft, clean cloth is crucial to protect the wood’s surface. Microfiber cloths are an excellent choice due to their gentle abrasiveness, but a clean cotton t-shirt or towel can also work well. Avoid using abrasive materials like steel wool or scouring pads, as they can scratch the finish.
How long should I apply the heat?
The duration of heat application will vary depending on the severity of the stain and the type of wood and finish. Start with short bursts of heat (5-10 seconds) and check your progress frequently. The goal is to gently lift the stain, not to scorch the wood. If the stain is stubborn, you can gradually increase the heat and the duration of application, but always be cautious.
Can I use a hairdryer instead of an iron?
Yes, a hairdryer can be used as an alternative to an iron. This can be particularly useful for smaller, more intricate areas. Use a low to medium heat setting and keep the hairdryer moving to avoid overheating the wood. The process may take longer with a hairdryer, but it can be a gentler option for delicate finishes.
How can I prevent heat stains in the future?
Prevention is always better than cure! To prevent heat stains on your wooden furniture, always use coasters, placemats, or trivets under hot objects. Avoid placing hot mugs, plates, or pots directly on the wood surface. You can also consider using a heat-resistant finish on your furniture, although this may alter the appearance of the wood. Regularly cleaning and polishing your furniture can also help protect the finish and prevent stains.
What if this DIY method doesn’t work?
If this DIY heat stain removal wood method doesn’t work, don’t despair! There are other options you can try. You can consult a professional furniture restorer or refinisher. They have specialized tools and techniques to remove stubborn stains and restore the beauty of your wooden furniture. In some cases, refinishing the affected area may be the only solution.
Is there a risk of damaging my furniture with this method?
While this DIY method is generally safe, there is always a risk of damaging your furniture if not done carefully. That’s why it’s crucial to test it in an inconspicuous area first and to follow the instructions carefully. Avoid overheating the wood or using abrasive materials. If you’re unsure about anything, consult a professional before proceeding. By taking these precautions, you can minimize the risk of damage and successfully remove heat stains from your wooden furniture.

Leave a Comment