

DIY Cabinet Cleaner: Are your kitchen cabinets looking a little worse for wear? Tired of greasy fingerprints, splatters, and general grime dulling their shine? You’re not alone! I know the struggle – keeping a kitchen sparkling clean can feel like a never-ending battle. But before you reach for those harsh, chemical-laden cleaners, let’s explore a gentler, more effective, and budget-friendly solution: a homemade DIY cabinet cleaner.
For generations, resourceful homemakers have relied on simple, natural ingredients to keep their homes clean. Think about it – before the advent of commercial cleaning products, people used vinegar, baking soda, and essential oils to tackle even the toughest messes. This tradition of natural cleaning is not only cost-effective but also kinder to our environment and our health.
Why is a DIY approach so important now? Well, many commercial cleaners contain harsh chemicals that can irritate your skin, damage your cabinets’ finish, and even contribute to indoor air pollution. Plus, let’s be honest, those store-bought cleaners can be expensive! With a few simple ingredients you probably already have in your pantry, you can create a powerful and safe DIY cabinet cleaner that will restore your cabinets’ beauty without breaking the bank or exposing your family to harmful toxins. I’m excited to share these easy and effective recipes with you, so let’s get started!
DIY Cabinet Cleaner: Revive Your Kitchen with Natural Ingredients
Hey there, fellow DIY enthusiasts! Are your kitchen cabinets looking a little worse for wear? Grime, grease, and fingerprints can build up over time, leaving them dull and lifeless. But don’t worry, you don’t need harsh chemicals or expensive cleaners to bring them back to their former glory. I’m going to show you how to create a powerful and effective cabinet cleaner using simple, natural ingredients you probably already have in your pantry. This method is not only budget-friendly but also much gentler on your cabinets and the environment. Let’s get started!
What You’ll Need
Before we dive into the cleaning process, let’s gather our supplies. Here’s a list of everything you’ll need to create your DIY cabinet cleaner:
* **White Vinegar:** This is our star ingredient! Vinegar is a natural degreaser and disinfectant.
* **Baking Soda:** A mild abrasive that helps to scrub away stubborn grime.
* **Dish Soap:** A small amount of dish soap will help to cut through grease and lift dirt. Choose a gentle, pH-neutral formula.
* **Warm Water:** This will help to dissolve the ingredients and create a cleaning solution.
* **Spray Bottle:** To easily apply the cleaner to your cabinets.
* **Microfiber Cloths:** These are perfect for wiping down cabinets without scratching the surface.
* **Soft-Bristled Brush (Optional):** For tackling tough spots or textured cabinets. An old toothbrush works great!
* **Bowl or Measuring Cup:** To mix the cleaning solution.
* **Gloves (Optional):** To protect your hands, especially if you have sensitive skin.
* **Clean Water:** For rinsing.
Choosing the Right Recipe for Your Cabinets
Not all cabinets are created equal! Before you start mixing, it’s important to consider the type of finish on your cabinets. Here are a few options, along with the best recipe for each:
* **Painted Cabinets:** These are generally more delicate and require a gentler approach.
* **Laminate Cabinets:** These are durable and can withstand a slightly stronger cleaner.
* **Wood Cabinets (Sealed):** These can handle a variety of cleaning solutions, but it’s always best to test in an inconspicuous area first.
* **Wood Cabinets (Unsealed):** Avoid using too much water on unsealed wood, as it can cause damage. A dry cleaning method is usually best.
Recipe 1: Gentle Cleaner for Painted Cabinets
This recipe is perfect for painted cabinets, as it’s gentle and won’t damage the finish.
* 1 cup warm water
* 1/4 cup white vinegar
* 1 tablespoon dish soap
Recipe 2: All-Purpose Cleaner for Laminate and Sealed Wood Cabinets
This recipe is a bit stronger and can tackle tougher grime.
* 1 cup warm water
* 1/2 cup white vinegar
* 1 tablespoon baking soda
* 1 teaspoon dish soap
Recipe 3: Heavy-Duty Cleaner for Stubborn Grease
If your cabinets are covered in stubborn grease, this recipe will help to cut through it.
* 1/2 cup warm water
* 1/2 cup white vinegar
* 2 tablespoons baking soda
* 1 tablespoon dish soap
Step-by-Step Instructions: Cleaning Your Cabinets
Now that you’ve chosen the right recipe, let’s get to the cleaning!
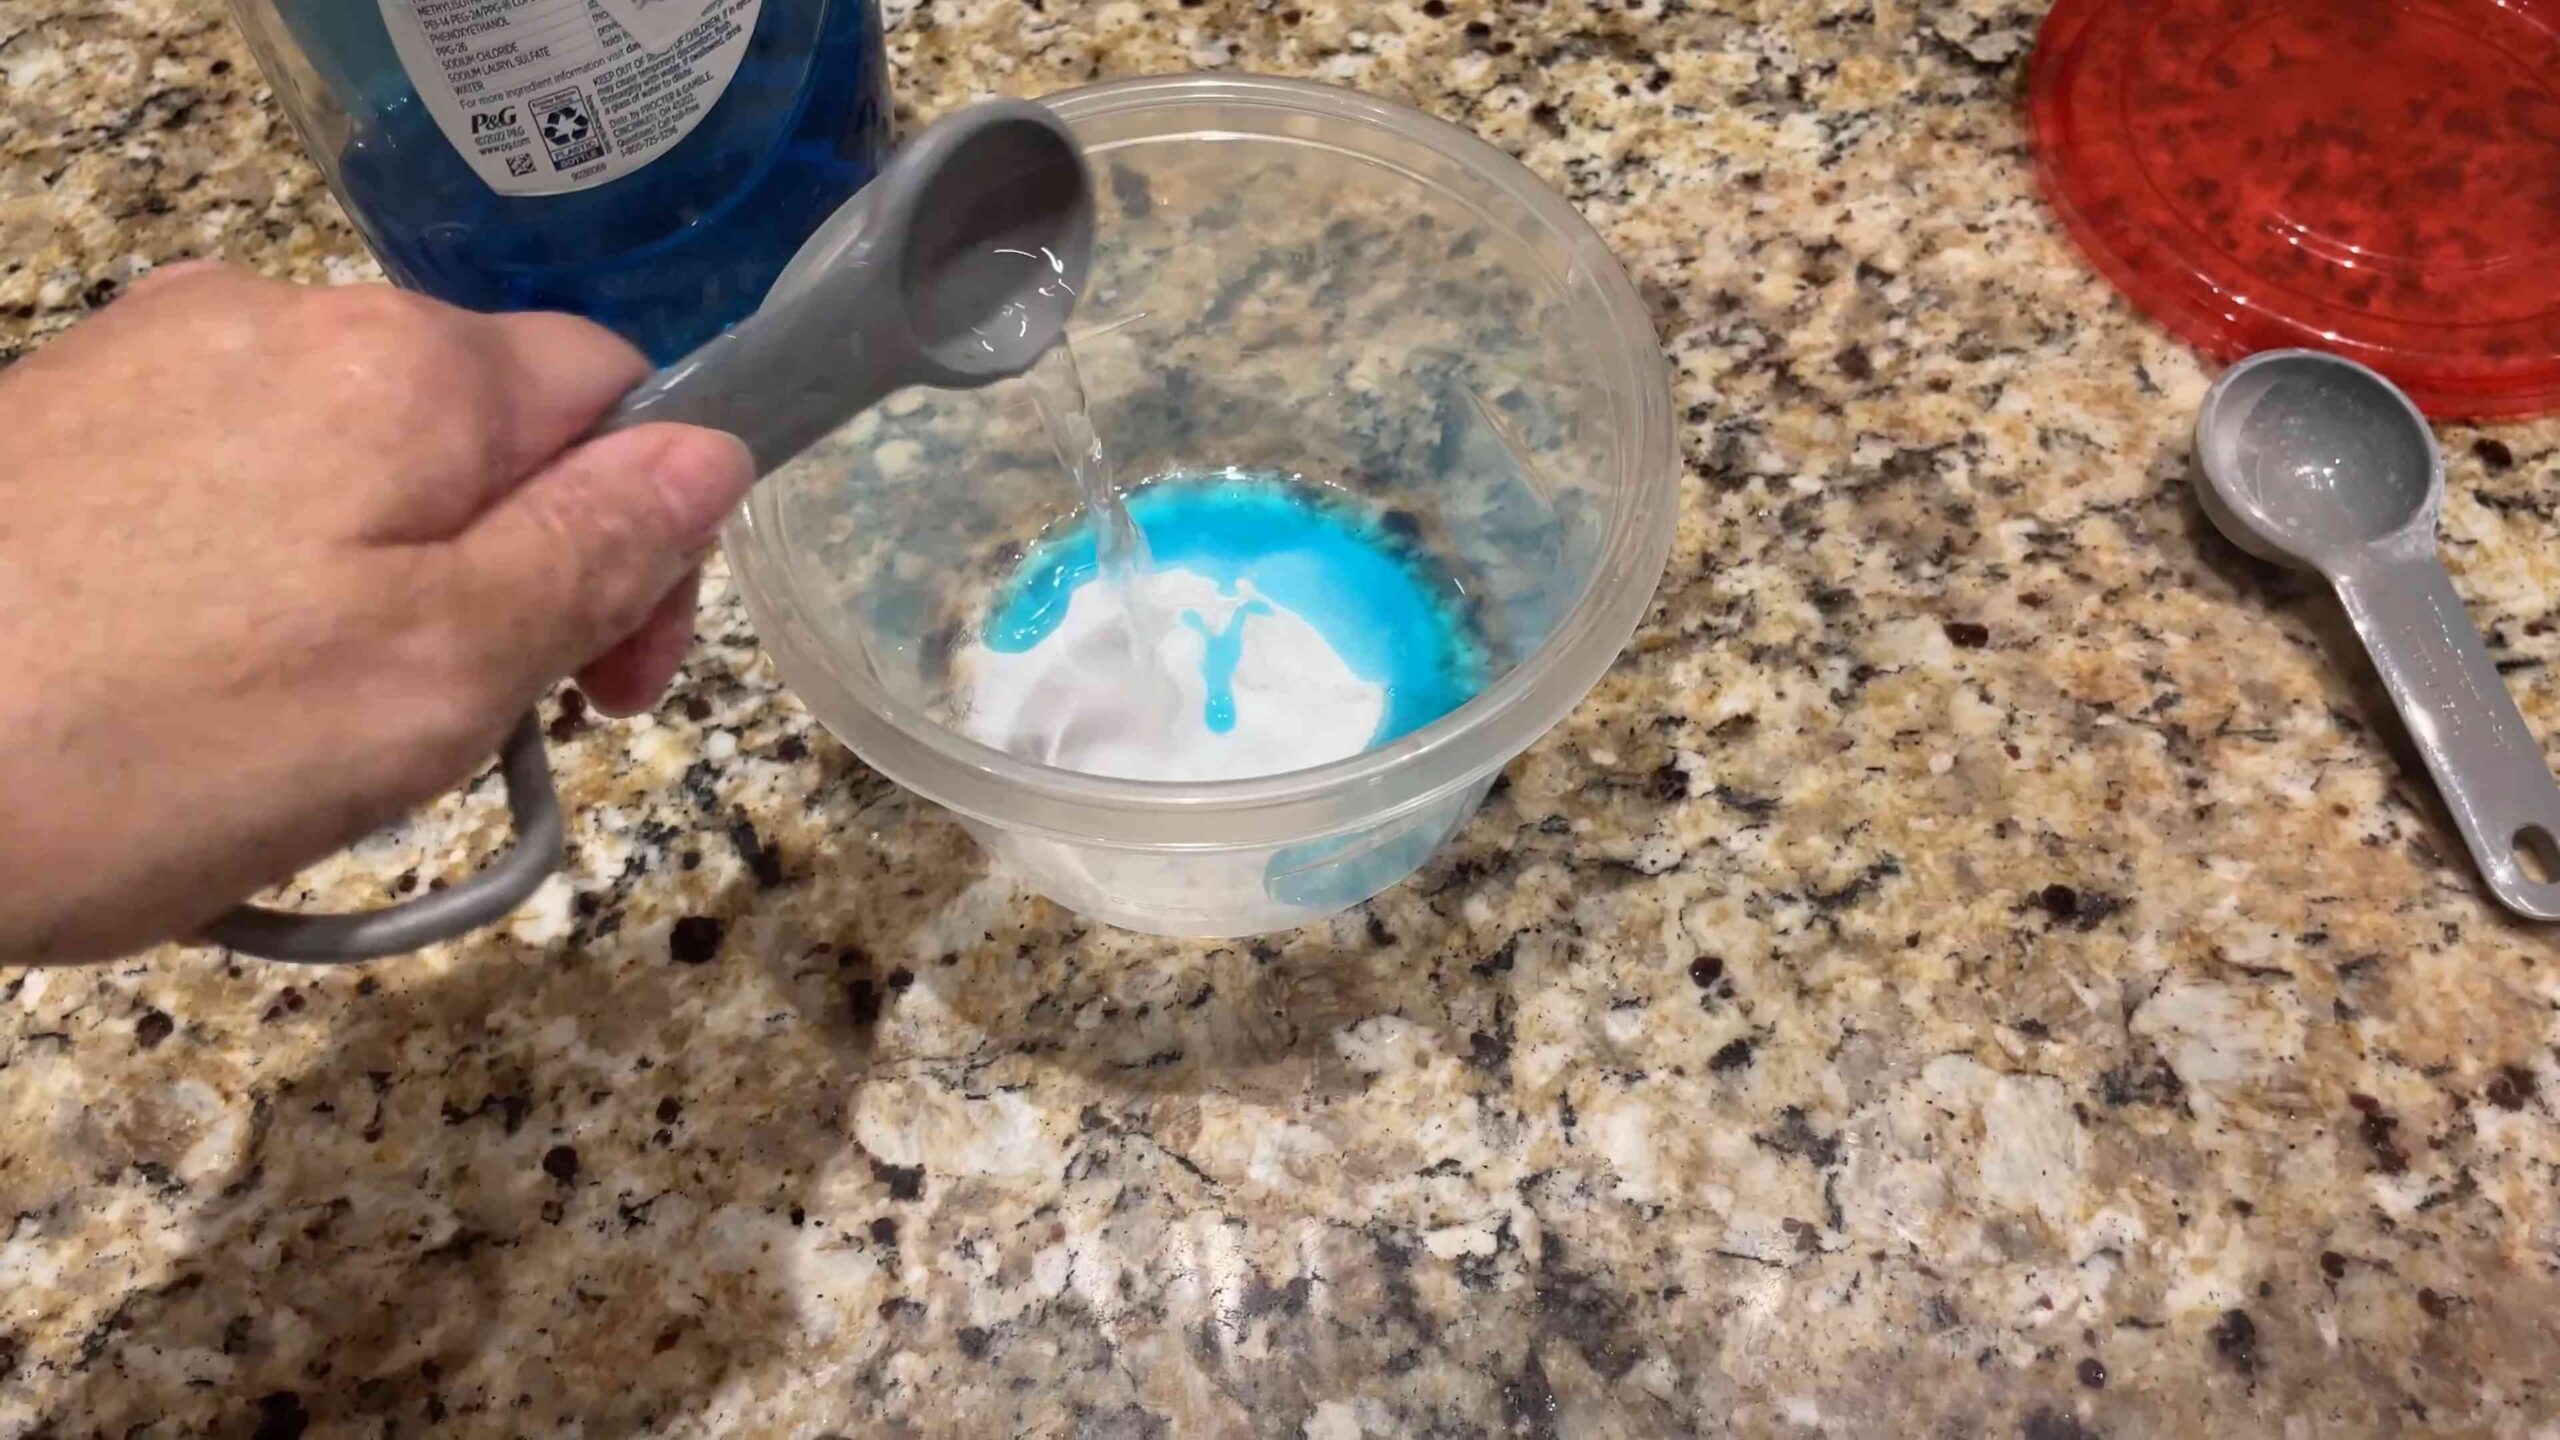
1. **Prepare Your Cleaning Solution:** In a bowl or measuring cup, combine the ingredients for your chosen recipe. Stir well until the baking soda is dissolved. Pour the mixture into a spray bottle.
2. **Test in an Inconspicuous Area:** Before you start cleaning your entire kitchen, test the solution in a small, hidden area of your cabinets (like inside a cabinet door or on the side of a cabinet). This will ensure that the cleaner doesn’t damage the finish. Let it sit for a few minutes, then wipe it away with a clean cloth. If there’s no discoloration or damage, you’re good to go!
3. **Prepare the Cabinets:** Remove any items from your countertops that might get in the way. Cover the countertops below the cabinets with towels to protect them from drips.
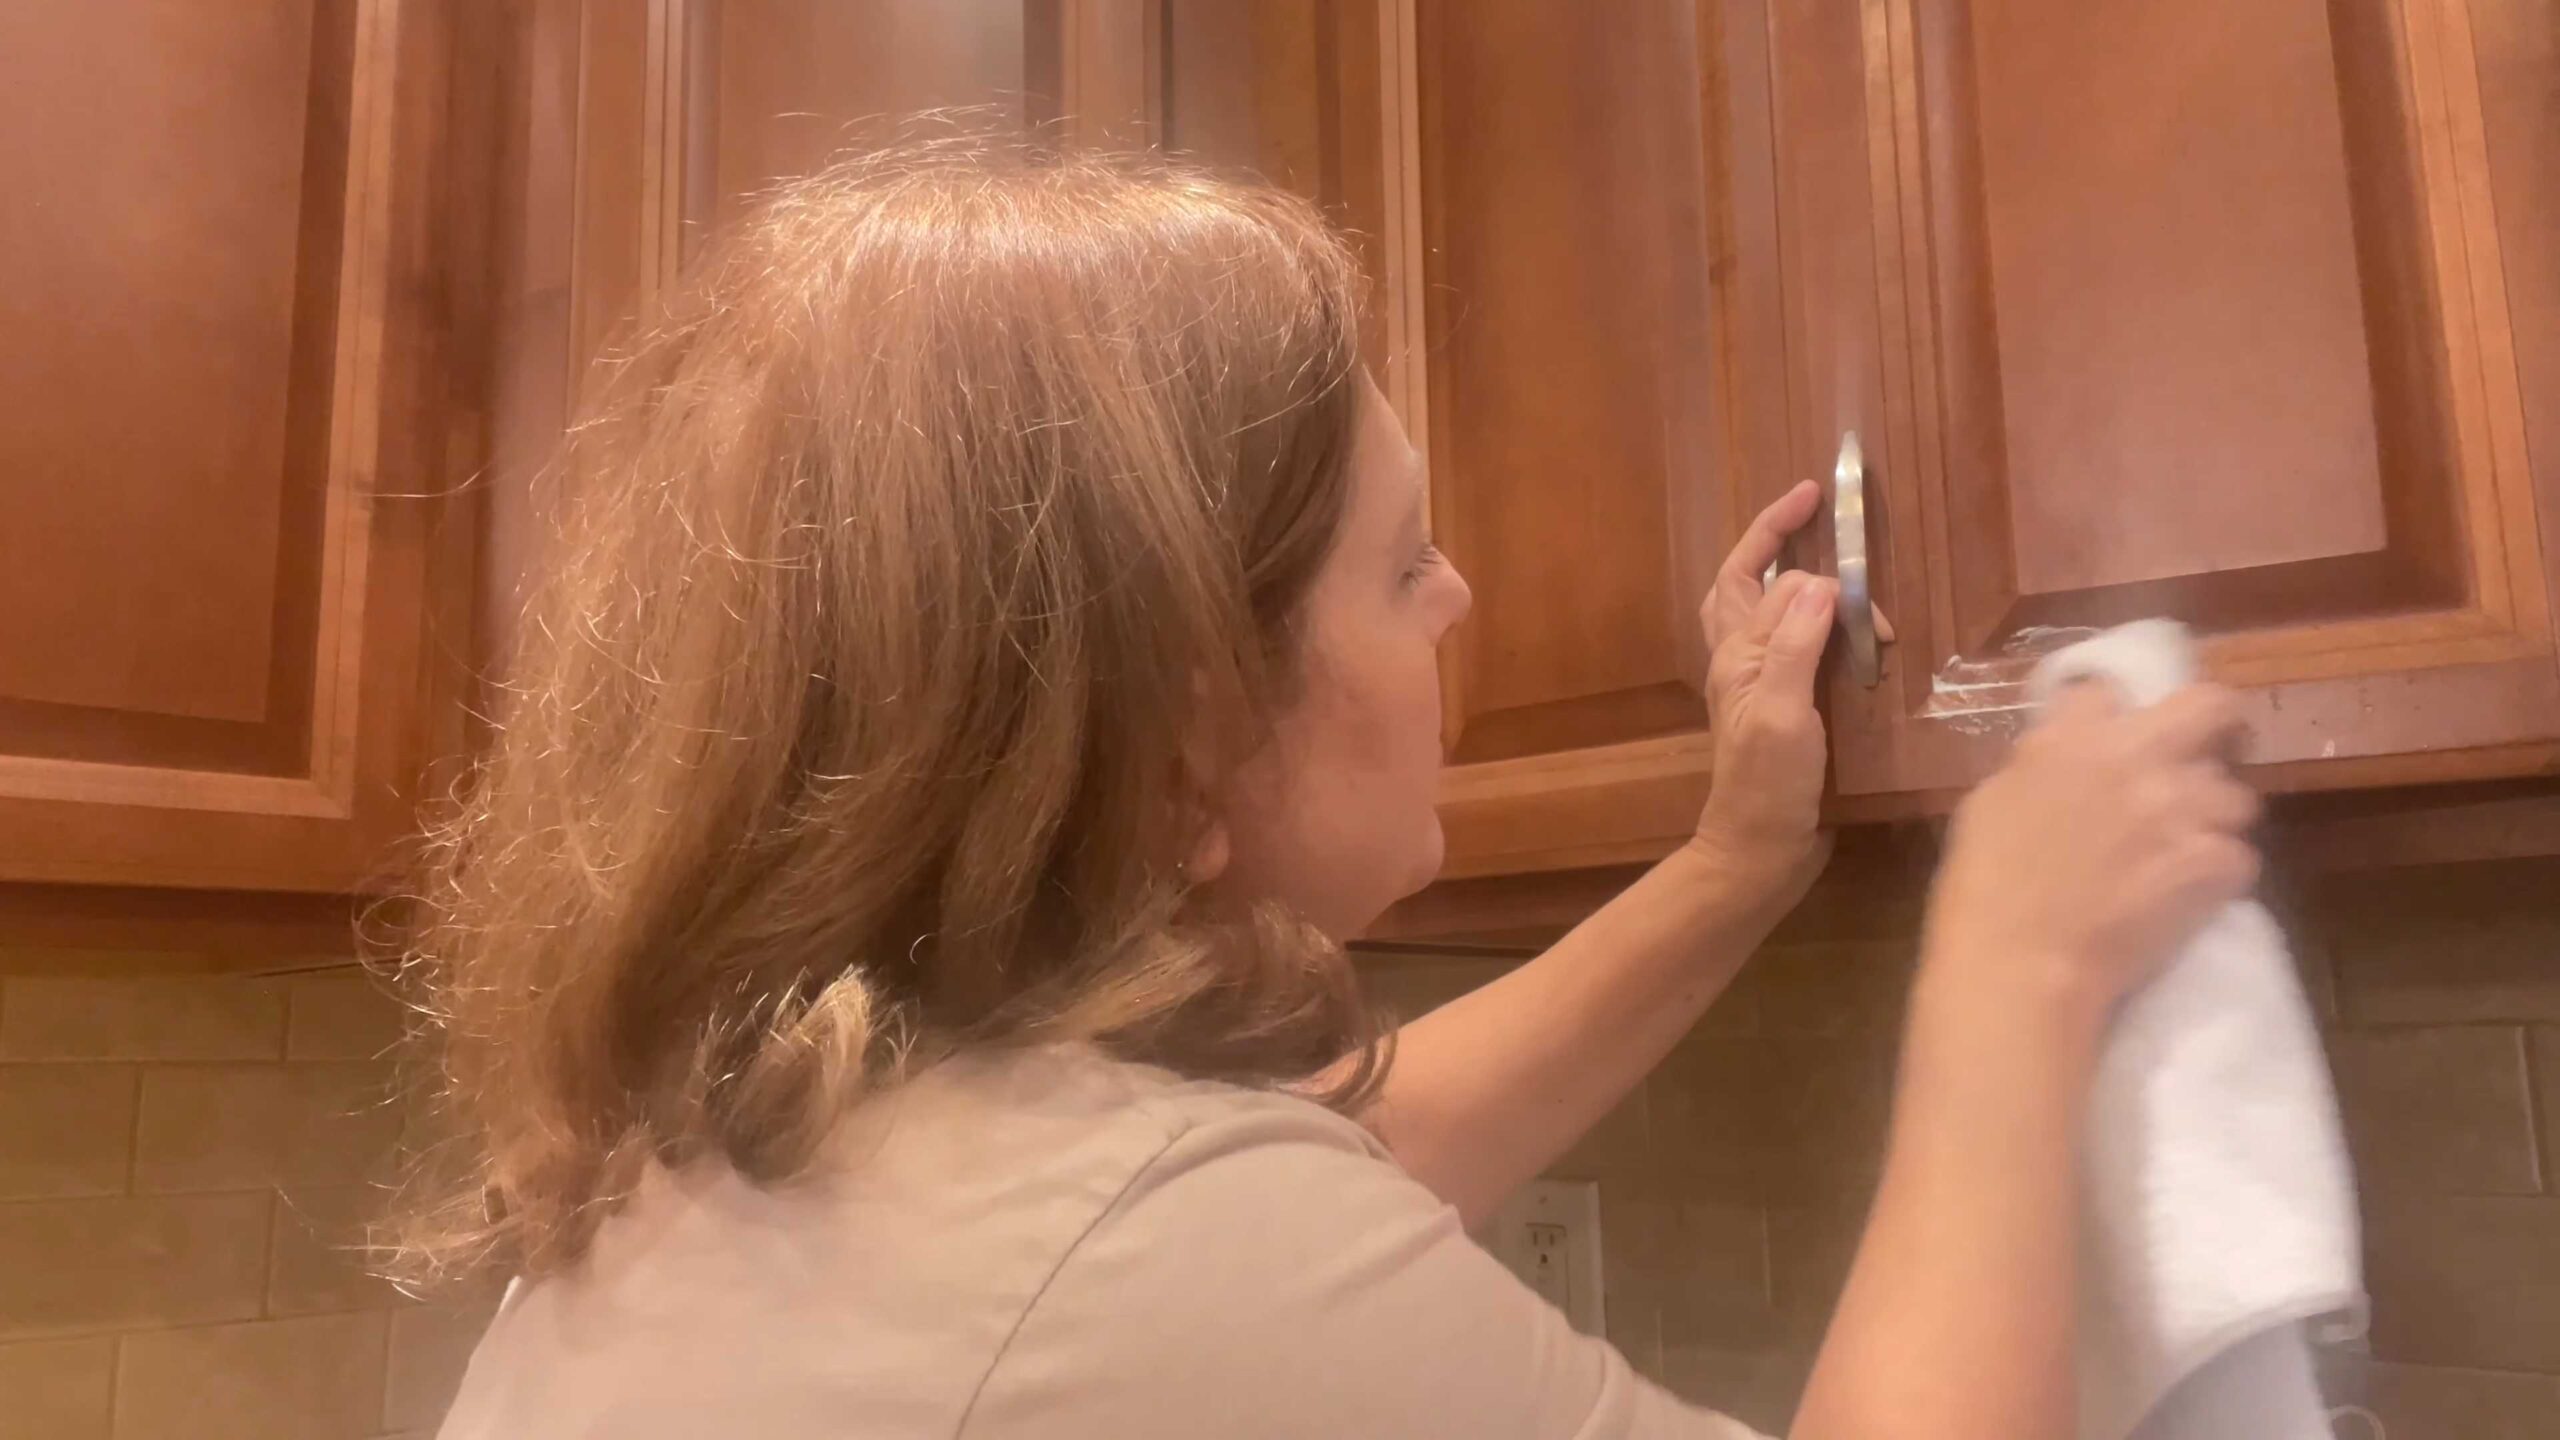
4. **Spray the Cabinets:** Lightly spray the cleaning solution onto a small section of your cabinets. Don’t saturate the wood, especially if you have unsealed cabinets.
5. **Let it Sit:** Allow the cleaner to sit on the surface for a few minutes to loosen the grime. For heavily soiled areas, you can let it sit for up to 5 minutes.
6. **Wipe Clean:** Using a clean microfiber cloth, wipe the cabinets in a circular motion. Apply gentle pressure to remove stubborn stains. For textured cabinets or hard-to-reach areas, use a soft-bristled brush to scrub gently.
7. **Rinse (Optional):** If you used a lot of cleaner or if you’re concerned about residue, you can rinse the cabinets with a damp cloth. Be sure to use clean water and wring out the cloth well to avoid over-wetting the wood.
8. **Dry the Cabinets:** Use a clean, dry microfiber cloth to dry the cabinets thoroughly. This will prevent water spots and help to restore the shine.
9. **Repeat:** Repeat steps 4-8 on the remaining sections of your cabinets until they are all clean.
Tackling Specific Problems
Sometimes, you’ll encounter specific problems that require a little extra attention. Here are a few tips for dealing with common cabinet cleaning challenges:
* **Grease Splatter:** For stubborn grease splatters, try applying a paste of baking soda and water to the area. Let it sit for a few minutes, then scrub gently with a soft-bristled brush.
* **Sticky Residue:** If you have sticky residue on your cabinets, try using a mixture of equal parts white vinegar and warm water. Let it sit for a few minutes, then wipe clean.
* **Water Stains:** Water stains can be tricky to remove. Try using a mixture of equal parts olive oil and white vinegar. Apply it to the stain with a soft cloth, let it sit for a few minutes, then wipe clean.
* **Fingerprints:** Fingerprints are easily removed with a damp microfiber cloth. You can also add a drop of dish soap to the water for extra cleaning power.
Maintaining Your Clean Cabinets
Once you’ve cleaned your cabinets, you’ll want to keep them looking their best. Here are a few tips for maintaining your clean cabinets:
* **Wipe Up Spills Immediately:** Don’t let spills sit on your cabinets, as they can stain or damage the finish.
* **Regularly Dust Your Cabinets:** Dusting your cabinets regularly will prevent grime from building up.
* **Avoid Harsh Cleaners:** Harsh cleaners can damage the finish on your cabinets. Stick to gentle, natural cleaners like the ones I’ve shared.
* **Protect Your Cabinets from Heat and Moisture:** Avoid placing hot pots or pans directly on your cabinets, as this can damage the finish. Also, be sure to ventilate your kitchen when cooking to prevent moisture buildup.
Safety Precautions
While these DIY cleaners are generally safe, it’s always a good idea to take a few safety precautions:
* **Wear Gloves:** If you have sensitive skin, wear gloves to protect your hands from irritation.
* **Avoid Contact with Eyes:** Avoid getting the cleaning solution in your eyes. If you do, rinse immediately with plenty of water.
* **Ventilate the Area:** When cleaning, be sure to ventilate the area to avoid inhaling fumes.
* **Keep Out of Reach of Children and Pets:** Store the cleaning solution in a safe place, out of reach of children and pets.
Alternative Cleaning Solutions
While I love the vinegar and baking soda method, here are a few other natural cleaning solutions you can try:
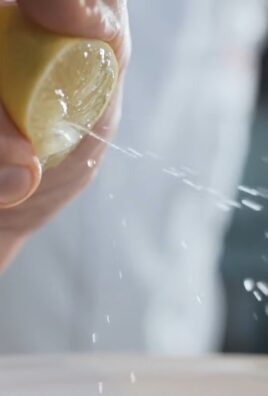
* **Lemon Juice:** Lemon juice is a natural degreaser and disinfectant. Mix equal parts lemon juice and water in a spray bottle and use it to clean your cabinets.
* **Olive Oil and Vinegar:** This combination is great for polishing wood cabinets. Mix equal parts olive oil and white vinegar in a spray bottle and use it to clean and polish your cabinets.
* **Castile Soap:** Castile soap is a gentle, all-natural soap that can be used to clean a variety of surfaces. Dilute a small amount of castile soap in warm water and use it to clean your cabinets.
Troubleshooting
Sometimes, things don’t go as planned. Here are a few troubleshooting tips:
* **Cleaner is Leaving a Residue:** If your cleaner is leaving a residue, try rinsing the cabinets with a damp cloth and drying them thoroughly. You may also need to dilute the cleaner with more water.
* **Cleaner is Not Removing Grime:** If your cleaner is not removing grime, try using a stronger recipe or letting the cleaner sit on the surface for a longer period of time. You can also try scrubbing the area with a soft-bristled brush.
* **Cleaner is Damaging the Finish:** If your cleaner is
Conclusion
So, there you have it! Ditching the harsh chemicals and embracing this DIY cabinet cleaner is more than just a trend; it’s a smart, sustainable, and surprisingly effective way to keep your kitchen gleaming. We’ve walked you through a simple recipe that utilizes ingredients you likely already have in your pantry. Think about it: no more mysterious fumes, no more worrying about what your kids or pets might accidentally ingest, and a significant reduction in plastic waste. It’s a win-win-win!
But the benefits extend beyond just peace of mind. This homemade cleaner is gentle yet powerful, effectively cutting through grease, grime, and everyday spills without stripping the finish from your precious cabinets. You’ll be amazed at how easily it lifts away stubborn stains, leaving behind a fresh, clean scent that’s far more appealing than the artificial fragrances of commercial products.
Don’t be afraid to experiment a little, too! For an extra boost of cleaning power, especially on heavily soiled areas, consider adding a teaspoon of borax to the mixture. If you prefer a different scent, swap out the lemon essential oil for lavender, orange, or even a blend of your favorites. Just be sure to test any new additions on an inconspicuous area of your cabinets first to ensure compatibility.
For those with particularly delicate or antique cabinets, a gentler approach might be necessary. In this case, dilute the vinegar solution even further, or consider using a mild dish soap and warm water as your base. Remember, the key is to find a balance between effective cleaning and preserving the integrity of your cabinet finish.
We truly believe that once you try this DIY cabinet cleaner, you’ll never go back to store-bought alternatives. It’s cost-effective, environmentally friendly, and delivers exceptional results. Plus, there’s a certain satisfaction that comes from knowing exactly what you’re using to clean your home.
So, what are you waiting for? Gather your ingredients, mix up a batch, and prepare to be amazed. We’re confident that you’ll love the results. And more importantly, we want to hear about your experience! Share your before-and-after photos, your variations on the recipe, and any tips or tricks you discover along the way. Let’s build a community of DIY cleaning enthusiasts who are passionate about creating a healthier, cleaner home, one cabinet at a time. Head over to our social media pages or leave a comment below to share your thoughts and connect with other readers. We can’t wait to see your sparkling cabinets!
Frequently Asked Questions (FAQ)
What types of cabinets is this DIY cleaner safe for?
This DIY cabinet cleaner is generally safe for most types of cabinets, including those made of wood, laminate, and painted surfaces. However, it’s always a good idea to test the cleaner on an inconspicuous area first, especially if you have antique or delicate cabinets. This will help you ensure that the cleaner doesn’t damage or discolor the finish. For cabinets with a high-gloss finish, you may want to dilute the vinegar solution further to prevent streaking. If you are unsure about the type of finish on your cabinets, consult with a professional before using any cleaning product.
Can I use this cleaner on other surfaces in my kitchen?
While this cleaner is primarily designed for cabinets, it can also be used on other surfaces in your kitchen, such as countertops, backsplashes, and even appliances. However, it’s important to exercise caution and test the cleaner on a small, hidden area first to ensure that it doesn’t damage the surface. Avoid using this cleaner on porous surfaces like marble or granite, as the vinegar can etch the stone. For stainless steel appliances, be sure to wipe the surface dry after cleaning to prevent water spots.
How often should I clean my cabinets with this DIY cleaner?
The frequency of cleaning your cabinets will depend on how often you cook and how much grease and grime accumulates on the surfaces. As a general rule, it’s a good idea to wipe down your cabinets with this DIY cabinet cleaner once a week to prevent buildup. For areas that are prone to splatters and spills, such as the area around the stove, you may need to clean them more frequently. Regular cleaning will not only keep your cabinets looking their best but also prevent the buildup of stubborn stains that are more difficult to remove.
What if I don’t have essential oils? Can I still make this cleaner?
Yes, you can still make this cleaner without essential oils. The essential oils are primarily added for their scent and antibacterial properties, but they are not essential for the cleaning power of the solution. If you don’t have essential oils, you can simply omit them from the recipe. Alternatively, you can add a few drops of lemon juice or another natural fragrance to the mixture.
How should I store the leftover cleaner?
Store any leftover DIY cabinet cleaner in a clean, airtight spray bottle. Be sure to label the bottle clearly so that you don’t accidentally mistake it for another cleaning product. Store the bottle in a cool, dark place away from direct sunlight and heat. The cleaner should last for several weeks, but it’s always a good idea to discard it if it starts to look cloudy or develop an unusual odor.
My cabinets are really greasy. Will this cleaner be strong enough?
For heavily soiled or greasy cabinets, you may need to increase the concentration of vinegar in the solution. You can also try adding a teaspoon of borax to the mixture for an extra boost of cleaning power. Another option is to pre-treat the greasy areas with a paste made from baking soda and water. Apply the paste to the grease, let it sit for a few minutes, and then wipe it away before cleaning with the DIY cabinet cleaner. Remember to always test any new cleaning methods on an inconspicuous area first.
Can I use a different type of vinegar?
While white vinegar is the most commonly used type of vinegar for cleaning, you can also use apple cider vinegar. Apple cider vinegar has a slightly milder scent than white vinegar and also possesses antibacterial properties. However, avoid using balsamic vinegar or other dark-colored vinegars, as they can stain your cabinets.
Is this cleaner safe for pets and children?
This DIY cabinet cleaner is generally safer for pets and children than commercial cleaning products, as it doesn’t contain harsh chemicals or artificial fragrances. However, it’s still important to keep the cleaner out of reach of children and pets. Vinegar can be irritating if ingested, so be sure to store the cleaner in a secure location. If your pet or child accidentally ingests the cleaner, contact your veterinarian or poison control center immediately.
What kind of cloth should I use to clean my cabinets?
Microfiber cloths are the best choice for cleaning cabinets, as they are gentle, absorbent, and effective at removing dirt and grime. Avoid using abrasive cloths or sponges, as they can scratch the finish on your cabinets. You can also use a soft cotton cloth or an old t-shirt. Be sure to use a clean cloth for each cleaning session to prevent spreading dirt and bacteria.
How do I prevent streaks when cleaning my cabinets?
To prevent streaks when cleaning your cabinets, be sure to use a clean, damp cloth and avoid using too much cleaner. After wiping down the cabinets with the cleaner, use a dry cloth to buff the surface and remove any excess moisture. You can also try diluting the vinegar solution further to prevent streaking, especially on cabinets with a high-gloss finish.


Leave a Comment