

DIY Beard Balm Recipe: Unlock the secret to a softer, healthier, and more manageable beard with this simple, all-natural recipe! Have you ever wondered how those impeccably groomed beards achieve their majestic sheen and perfect shape? The answer, my friend, often lies in the magic of a good beard balm.
Throughout history, well-groomed beards have symbolized wisdom, strength, and status across various cultures. From the elaborate beards of ancient Egyptians to the meticulously styled facial hair of Victorian gentlemen, a well-maintained beard has always made a statement. But achieving that level of beard brilliance doesn’t require a trip to an expensive barber or a cabinet full of chemical-laden products.
That’s where this DIY beard balm recipe comes in! I know, I know, the world of beard care can seem overwhelming, but trust me, crafting your own balm is surprisingly easy and incredibly rewarding. In today’s world, where we’re all becoming more conscious of the ingredients we put on our bodies, making your own beard balm allows you to control exactly what goes into it. Plus, it’s a fantastic way to save money and customize the scent and hold to perfectly suit your preferences. So, ditch the store-bought stuff and let’s get ready to whip up a beard balm that will leave you feeling confident and looking your absolute best!
DIY Beard Balm: Tame That Mane!
Alright, fellas, let’s talk beard balm. Store-bought stuff can be pricey, and sometimes it’s packed with ingredients you can’t even pronounce. So, I’m going to walk you through how to make your own beard balm at home. It’s easier than you think, and you get to customize it exactly to your liking! Plus, it’s a great way to save some cash and know exactly what’s going on your face.
What is Beard Balm and Why Use It?
Before we dive into the recipe, let’s quickly cover what beard balm actually *does*. Think of it as a leave-in conditioner and styling aid all in one. It helps:
* Tame flyaways and unruly hairs: Gives your beard a neater, more polished look.
* Condition and moisturize: Prevents dryness, itchiness, and beard dandruff (yes, it’s a thing!).
* Promote healthy growth: Keeps your beard soft and manageable, reducing breakage.
* Add a subtle hold: Helps shape your beard and keep it looking its best throughout the day.
* Smell amazing: You get to choose your own scent!
Ingredients You’ll Need
Here’s the breakdown of what you’ll need. Don’t worry, most of these ingredients are readily available online or at your local health food store.
* 2 tablespoons Beeswax: This is the foundation of your balm, providing hold and structure. You can use beeswax pellets or a block, just make sure it’s cosmetic grade.
* 2 tablespoons Shea Butter: Shea butter is incredibly moisturizing and adds a creamy texture. It helps soften your beard and soothe your skin.
* 2 tablespoons Carrier Oil (Jojoba, Argan, or Sweet Almond): Carrier oils provide essential nutrients and hydration. I personally love jojoba oil because it closely mimics the natural sebum produced by your skin. Argan oil is another great choice for its moisturizing and shine-enhancing properties. Sweet almond oil is a more affordable option that still delivers excellent results.
* 10-20 drops Essential Oils (for scent): This is where you get to personalize your balm! Choose scents that you enjoy and that have beneficial properties. Some popular choices include:
* Cedarwood: A classic masculine scent with grounding and calming properties.
* Sandalwood: A warm, woody scent that’s both sophisticated and relaxing.
* Peppermint: A refreshing and invigorating scent that can also help stimulate hair growth. Use sparingly, as it can be irritating in high concentrations.
* Tea Tree: An antiseptic and anti-inflammatory oil that can help prevent beard acne and dandruff.
* Lavender: A calming and relaxing scent that can also promote healthy skin.
* Citrus Oils (Orange, Lemon, Grapefruit): Bright and uplifting scents that can add a touch of freshness. Be aware that citrus oils can make your skin more sensitive to the sun, so use them with caution if you’ll be spending time outdoors.
* Double Boiler or Heat-Safe Bowl and Saucepan: You’ll need a way to gently melt the ingredients together. A double boiler is ideal, but a heat-safe bowl set over a saucepan of simmering water works just as well.
* Small Jars or Tins: To store your finished beard balm. I recommend using dark-colored glass jars to protect the essential oils from light degradation.
* Spoon or Spatula: For stirring the ingredients.
* Optional: Vitamin E Oil: A few drops of vitamin E oil can help extend the shelf life of your balm and provide additional antioxidant benefits.
Step-by-Step Instructions: Making Your Beard Balm
Okay, let’s get down to business! Here’s how to make your own beard balm:
1. Prepare Your Double Boiler: If you’re using a double boiler, fill the bottom pot with water and bring it to a simmer. If you’re using a bowl and saucepan, fill the saucepan with a couple of inches of water and bring it to a simmer. Make sure the bowl fits snugly over the saucepan without touching the water.
2. Combine Beeswax and Shea Butter: Place the beeswax and shea butter in the top of the double boiler or in the heat-safe bowl.
3. Melt the Ingredients: Gently heat the beeswax and shea butter, stirring occasionally, until they are completely melted. This may take a few minutes, so be patient.
4. Add Carrier Oil: Once the beeswax and shea butter are melted, remove the mixture from the heat and stir in your chosen carrier oil (jojoba, argan, or sweet almond).
5. Incorporate Essential Oils: Allow the mixture to cool slightly for a minute or two before adding your essential oils. This will help prevent the heat from degrading the oils and affecting their scent and therapeutic properties. Add 10-20 drops of your chosen essential oils, starting with a smaller amount and adding more to achieve your desired scent strength.
6. Optional: Add Vitamin E Oil: If you’re using vitamin E oil, add a few drops to the mixture at this stage.
7. Stir Well: Stir all the ingredients together thoroughly to ensure they are evenly distributed.
8. Pour into Jars or Tins: Carefully pour the mixture into your small jars or tins.
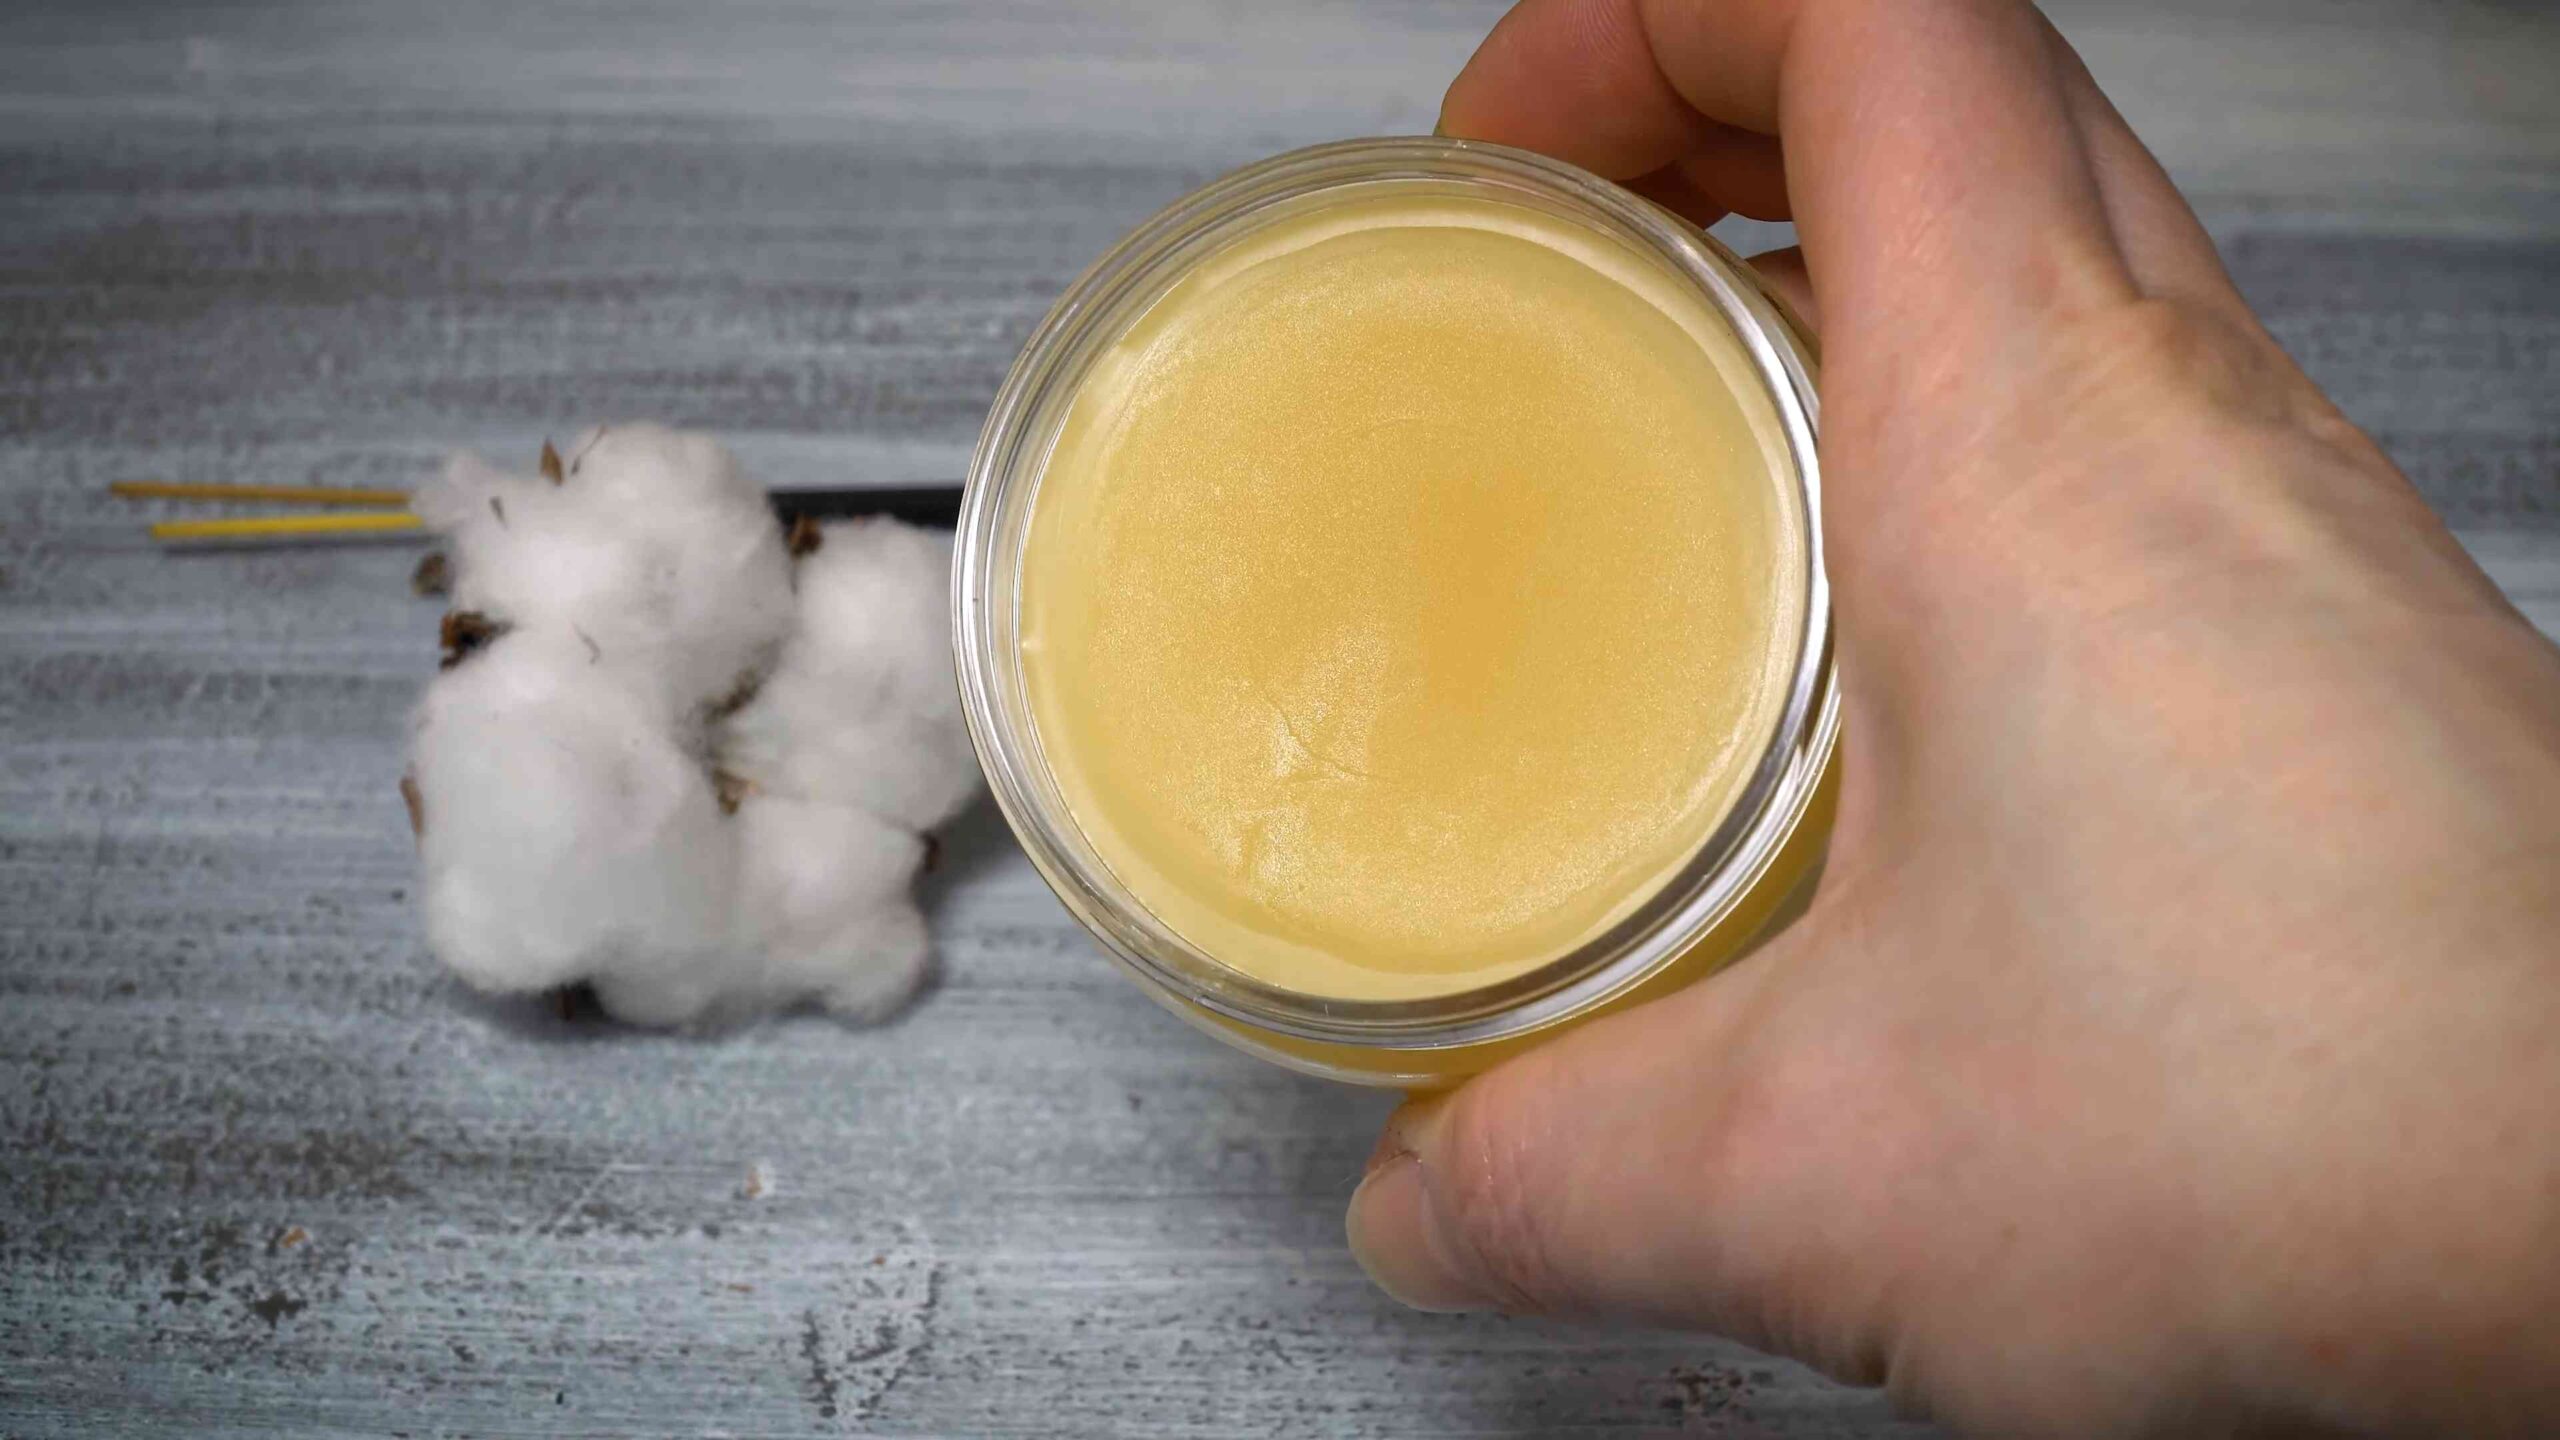
9. Let it Cool and Harden: Allow the beard balm to cool and harden completely at room temperature. This may take several hours or even overnight. Avoid placing it in the refrigerator, as this can cause it to become too hard and difficult to use.
10. Test and Adjust: Once the balm has hardened, test it out on your beard. If you find that it’s too hard, you can remelt it and add more carrier oil to soften it. If it’s too soft, you can add more beeswax to harden it.
Troubleshooting and Customization
Making beard balm is pretty straightforward, but here are a few tips and tricks to help you get the best results:
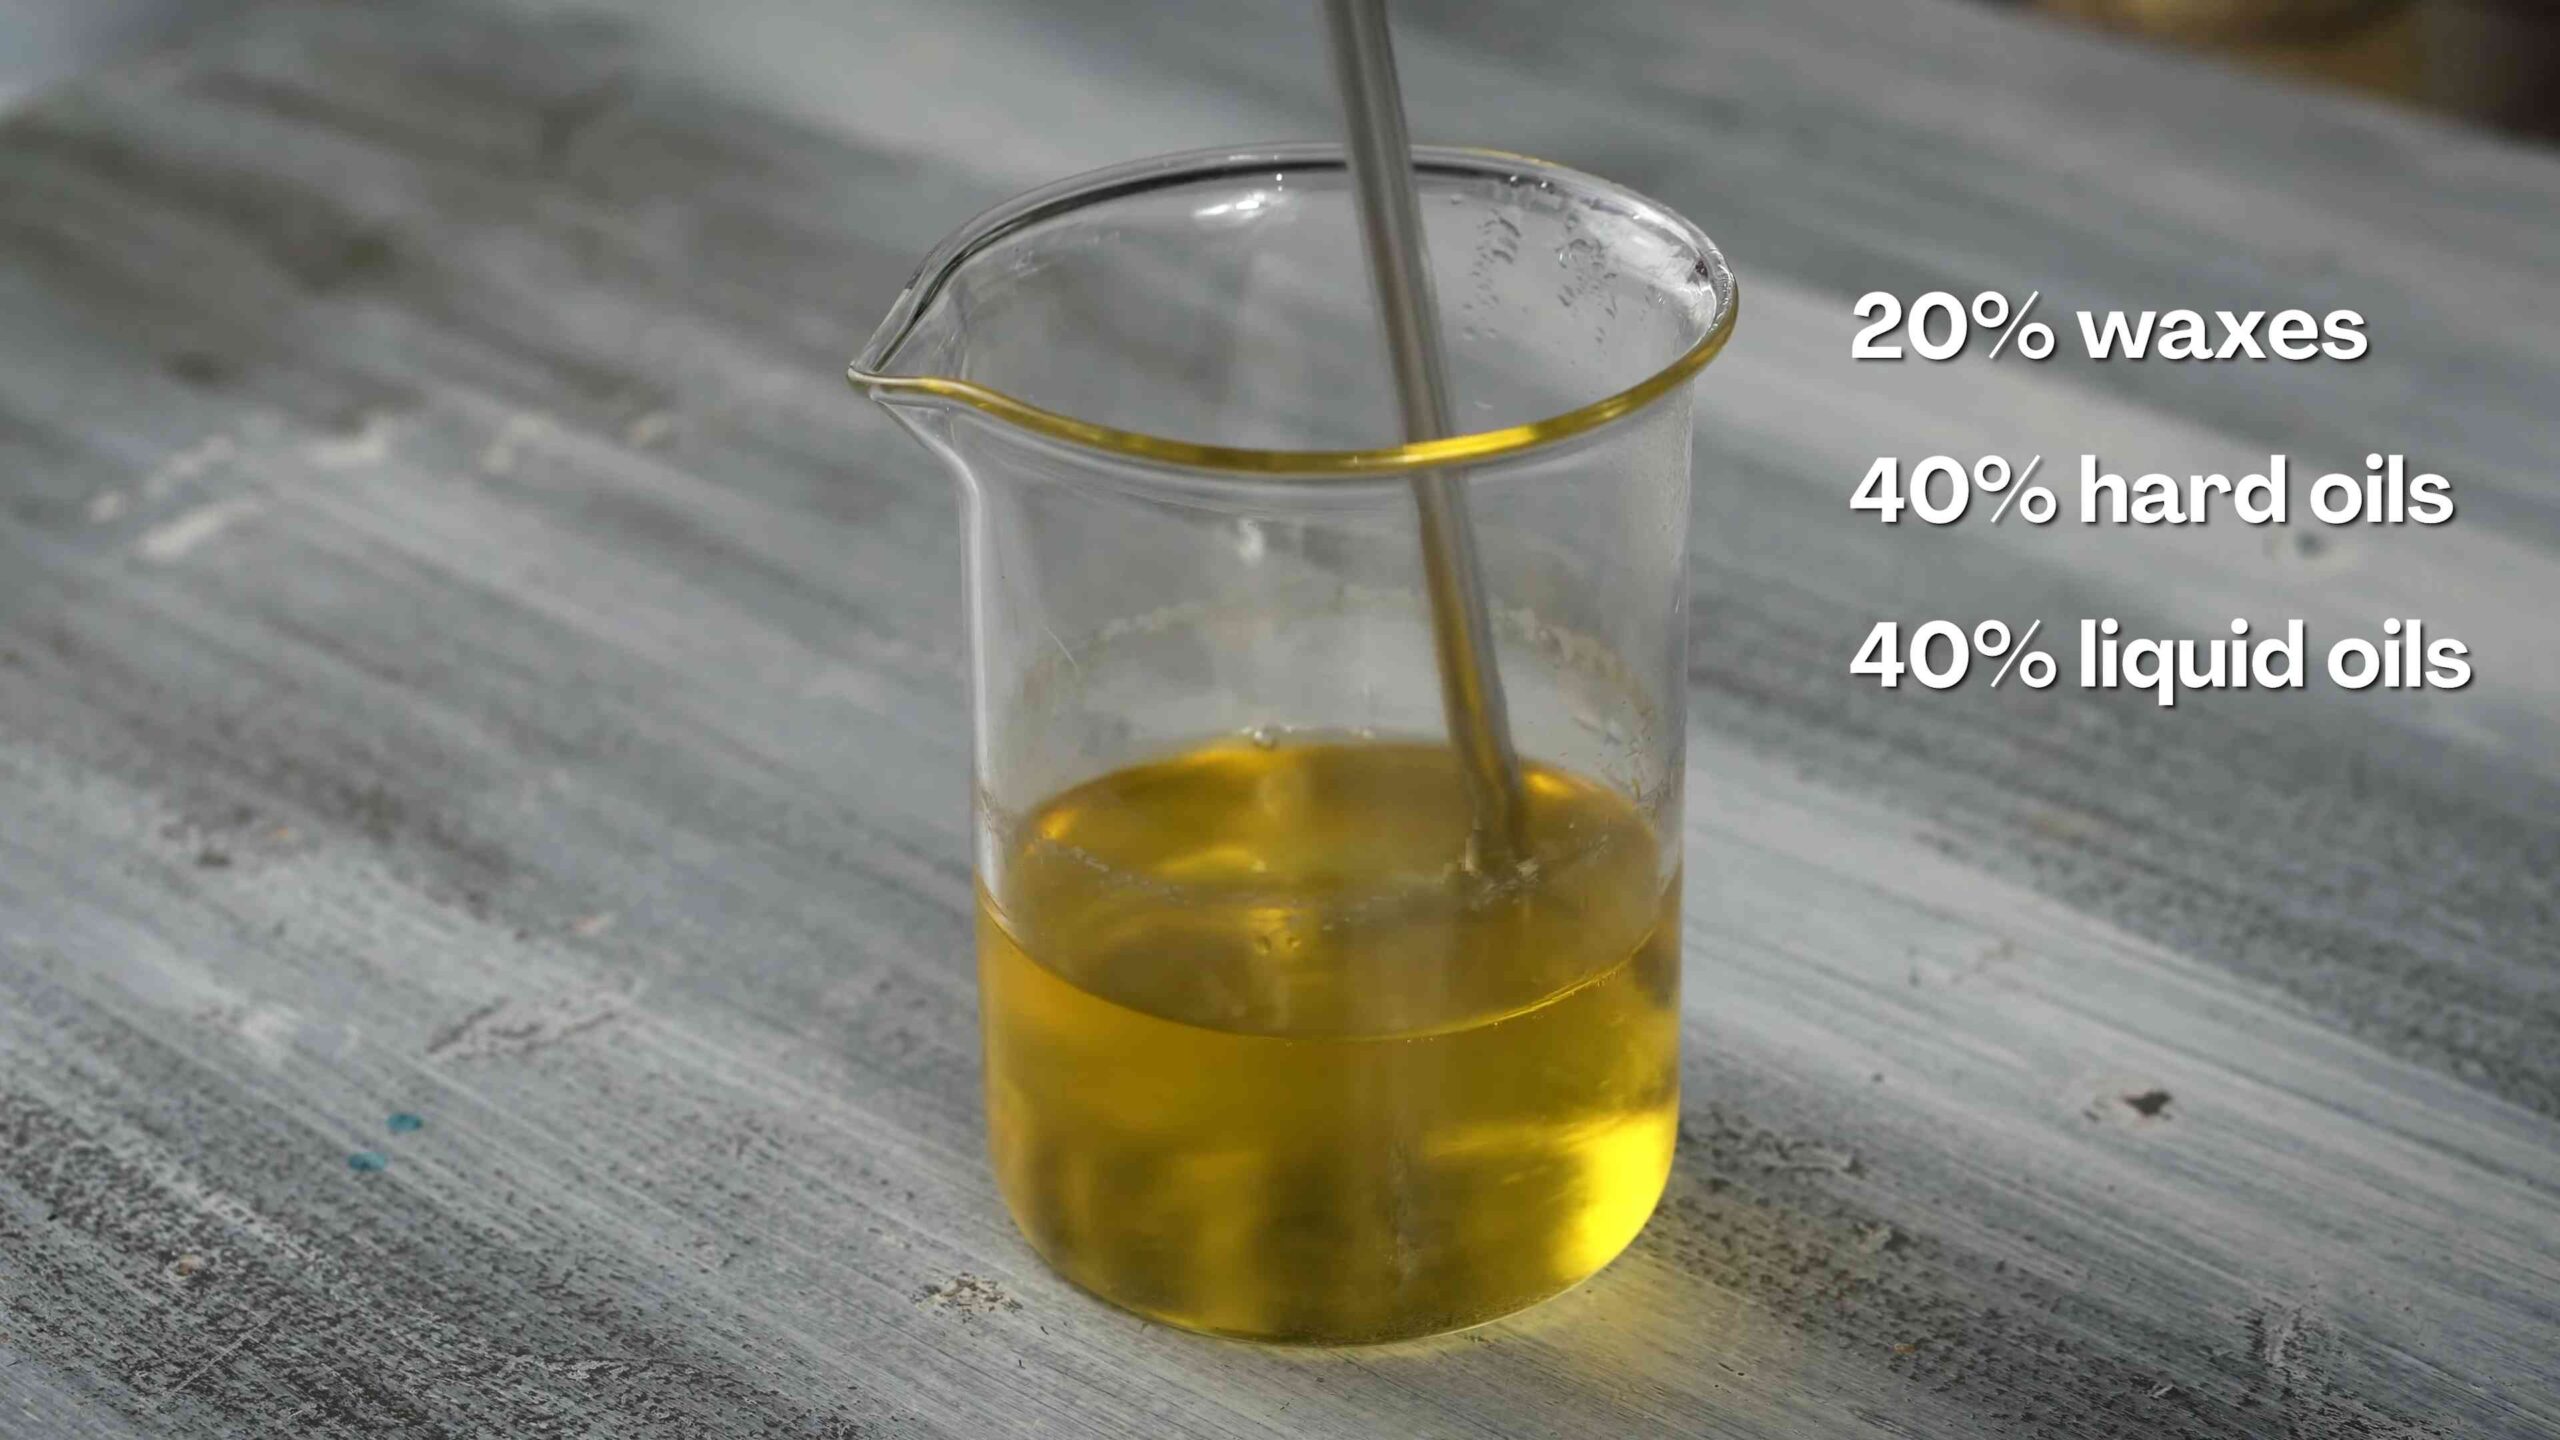
* Adjusting the Consistency: The ratio of beeswax to shea butter and carrier oil will determine the consistency of your balm. If you want a firmer balm, use more beeswax. If you want a softer balm, use less beeswax and more shea butter or carrier oil.
* Choosing the Right Essential Oils: Experiment with different essential oil blends to find scents that you love. You can also research the therapeutic properties of different oils to create a balm that addresses your specific needs. For example, if you have dry skin, you might want to use essential oils that are known for their moisturizing properties, such as lavender or sandalwood.
* Dealing with Graininess: Sometimes, shea butter can become grainy in homemade products. To prevent this, melt the shea butter completely and then cool it rapidly in the freezer for about 15 minutes before adding the other ingredients.
* Shelf Life: Homemade beard balm typically has a shelf life of about 6-12 months, depending on the ingredients used. To extend the shelf life, store it in a cool, dark place and avoid exposing it to direct sunlight.
* Allergies: Be mindful of any allergies you may have when choosing your ingredients. If you’re allergic to nuts, avoid using sweet almond oil. If you’re allergic to bees, avoid using beeswax.
Using Your Homemade Beard Balm
Now that you’ve made your own beard balm, here’s how to use it:
1. Start with a Clean Beard: For best results, apply beard balm to a clean, dry beard.
2. Scoop a Small Amount: Use your finger to scoop out a small amount of balm from the jar. Start with a pea-sized amount and add more as needed.
3. Warm it Up: Rub the balm between your palms to warm it up and melt it slightly. This will make it easier to apply.
4. Apply to Your Beard: Work the balm evenly through your beard, starting at the roots and working your way to the tips. Make sure to distribute it thoroughly to coat all of the hairs.
5. Style as Desired: Use a beard comb or brush to style your beard as desired. The balm will help to tame flyaways and give your beard a neater, more polished look.
6. Reapply as Needed: You can reapply beard balm throughout the day as needed to maintain your desired style and keep your beard moisturized.
Experiment and Have Fun!
The best part about making your own beard balm is that you can experiment with different ingredients and scents to create a product that’s perfectly tailored to your needs and preferences. Don’t be afraid to try new things and have fun with it! You might just discover your new favorite beard care product.
So there you have it! A complete guide to making your own beard balm. Go forth and conquer that beard, my friend!
Conclusion
So, there you have it! Crafting your own DIY beard balm is not just a fun project; it’s a game-changer for your beard care routine. We’ve walked you through a simple, effective recipe that puts you in control of the ingredients, the scent, and ultimately, the health and appearance of your facial hair.
Why is this a must-try? Because commercial beard balms, while convenient, often contain synthetic ingredients, harsh chemicals, and artificial fragrances that can irritate your skin and leave your beard feeling greasy or weighed down. With this DIY approach, you know exactly what’s going into your balm – only the good stuff! Think nourishing oils, moisturizing butters, and essential oils that promote growth, softness, and a healthy shine.
Beyond the control over ingredients, making your own beard balm is incredibly cost-effective. You’ll be surprised at how much money you can save by ditching the store-bought options and embracing the DIY route. Plus, it’s a fantastic way to reduce waste and contribute to a more sustainable lifestyle.
But the benefits don’t stop there. This recipe is incredibly versatile. Feel free to experiment with different essential oil blends to create a scent that perfectly matches your personality and style. Looking for a woodsy aroma? Try cedarwood, sandalwood, and pine. Prefer something more invigorating? Opt for peppermint, eucalyptus, and rosemary. The possibilities are endless!
You can also adjust the ratios of beeswax, shea butter, and carrier oils to achieve your desired consistency. Want a balm with a stronger hold? Increase the amount of beeswax. Prefer a softer, more moisturizing balm? Add more shea butter and carrier oils. The beauty of DIY is that you can tailor the recipe to your specific needs and preferences.
Consider adding a touch of lanolin for extra moisture and shine, or a small amount of vitamin E oil to extend the shelf life of your balm. For a vegan option, replace the beeswax with candelilla wax, although you may need to experiment with the ratios to achieve the desired consistency.
Don’t be intimidated by the idea of making your own beard balm. It’s a surprisingly simple process that requires minimal equipment and ingredients. Once you’ve made your first batch, you’ll be hooked!
We wholeheartedly encourage you to give this DIY beard balm recipe a try. It’s a rewarding experience that will transform your beard care routine and leave you with a healthier, softer, and more manageable beard.
And most importantly, we want to hear about your experience! Share your creations, your variations, and your tips in the comments below. Let’s build a community of DIY beard balm enthusiasts and help each other achieve the best beards possible! We are confident that once you try this, you’ll never go back to store-bought beard balm again. It’s time to take control of your beard and unlock its full potential with this simple, effective, and customizable recipe.
Frequently Asked Questions (FAQ)
What exactly is beard balm and why do I need it?
Beard balm is a leave-in conditioner for your beard. It’s designed to moisturize, condition, and style your facial hair. It helps to tame unruly hairs, reduce beard itch, and promote healthy beard growth. Unlike beard oil, which primarily focuses on moisturizing the skin underneath the beard, beard balm provides a light hold, allowing you to shape and style your beard to your desired look. If you’re aiming for a well-groomed, healthy-looking beard, beard balm is an essential part of your grooming routine. It’s especially beneficial for longer beards that require more control and hydration.
What are the key ingredients in this DIY beard balm and what do they do?
This DIY beard balm recipe typically includes beeswax, shea butter, and carrier oils (like jojoba, argan, or coconut oil), and essential oils. Beeswax provides hold and helps to seal in moisture. Shea butter is a fantastic moisturizer that softens the beard and reduces inflammation. Carrier oils nourish the beard and skin, promoting healthy growth and preventing dryness. Essential oils add fragrance and can also offer therapeutic benefits, such as promoting hair growth or reducing skin irritation. Each ingredient plays a crucial role in creating a balm that moisturizes, conditions, and styles your beard.
Can I substitute any of the ingredients in this recipe?
Absolutely! This recipe is highly customizable. If you’re allergic to shea butter, you can substitute it with mango butter or cocoa butter. For carrier oils, feel free to experiment with different options like almond oil, grapeseed oil, or avocado oil, depending on your skin type and preferences. If you’re vegan, you can replace beeswax with candelilla wax, but you may need to adjust the ratios to achieve the desired consistency. When it comes to essential oils, the possibilities are endless! Choose scents that you enjoy and that offer the benefits you’re looking for. Just be sure to use high-quality, pure essential oils and dilute them properly to avoid skin irritation.
How do I adjust the recipe for a stronger or weaker hold?
The hold of your beard balm is primarily determined by the amount of beeswax you use. To increase the hold, add more beeswax to the recipe. Start with small increments (e.g., an extra 1/4 teaspoon) and test the consistency until you achieve your desired level of hold. If you prefer a weaker hold, reduce the amount of beeswax. Remember to melt the ingredients together and allow the balm to cool completely before assessing the hold. It’s always best to make small adjustments and test the results before making significant changes to the recipe.
How long will this DIY beard balm last?
The shelf life of your DIY beard balm depends on the quality of the ingredients you use and how you store it. Generally, it should last for 6-12 months. To extend its shelf life, use fresh, high-quality ingredients and store the balm in an airtight container in a cool, dark place. Adding a small amount of vitamin E oil to the recipe can also help to prevent oxidation and extend the shelf life. Be sure to check the balm periodically for any signs of spoilage, such as a change in color, odor, or texture.
How do I apply beard balm correctly?
To apply beard balm, start by scooping out a small amount (about the size of a pea or dime, depending on the length of your beard) and rub it between your palms to warm it up and melt it. Once the balm is melted and evenly distributed on your hands, gently massage it into your beard, starting at the roots and working your way to the tips. Make sure to distribute the balm evenly throughout your beard, paying attention to any dry or unruly areas. Use a beard comb or brush to style your beard and distribute the balm further. Start with a small amount of balm and add more as needed to avoid weighing down your beard.
Can I use this DIY beard balm on my skin?
Yes, you can! The ingredients in this DIY beard balm are generally beneficial for the skin as well. Shea butter and carrier oils are excellent moisturizers that can help to soothe dry, itchy skin. However, if you have sensitive skin, it’s always a good idea to do a patch test before applying the balm to your entire face. Apply a small amount of balm to a discreet area of your skin and wait 24 hours to see if any irritation occurs. If you experience any redness, itching, or burning, discontinue use.
What essential oils are best for beard growth?
Several essential oils are believed to promote beard growth by stimulating blood circulation and nourishing hair follicles. Some popular choices include rosemary, cedarwood, lavender, peppermint, and tea tree oil. Rosemary oil is known for its ability to improve circulation and promote hair growth. Cedarwood oil can help to balance oil production and reduce inflammation. Lavender oil has calming properties and can promote relaxation, which can indirectly benefit hair growth. Peppermint oil can stimulate blood flow and create a tingling sensation on the scalp. Tea tree oil has antiseptic and antifungal properties that can help to keep the scalp healthy. When using essential oils, always dilute them properly with a carrier oil to avoid skin irritation.
My beard balm is too hard/soft. How can I fix it?
If your beard balm is too hard, it likely contains too much beeswax. To soften it, gently melt the balm in a double boiler or microwave (in short intervals) and add more carrier oil or shea butter. Mix well and allow it to cool completely. If your beard balm is too soft, it likely contains too little beeswax. To harden it, gently melt the balm and add more beeswax. Mix well and allow it to cool completely. Remember to make small adjustments and test the consistency until you achieve your desired texture.
Where can I buy the ingredients for this DIY beard balm?
You can find the ingredients for this DIY beard balm at most health food stores, online retailers, and craft supply stores. Look for high-quality, pure ingredients to ensure the best results. When purchasing essential oils, be sure to choose reputable brands that offer 100% pure essential oils. You can often find beeswax, shea butter, and carrier oils in bulk, which can save you money in the long run.

Leave a Comment