

Defog Mirror DIY: Are you tired of stepping out of a hot shower only to be greeted by a foggy mirror? It’s a daily annoyance, isn’t it? You’re not alone! For years, people have battled this steamy nemesis, resorting to wiping, waiting, or even blasting the mirror with a hairdryer. But what if I told you there’s a simple, cost-effective, and totally DIY solution to banish that fog for good?
The struggle with foggy mirrors is as old as mirrors themselves! While the Romans used polished metal, the invention of glass mirrors brought this problem to the forefront. Imagine the frustration of trying to admire your reflection after a relaxing bath in a Victorian-era tub, only to be met with a hazy surface! Thankfully, we’ve come a long way since then.
This article is your ultimate guide to creating your own defog mirror DIY solution. We’ll explore easy-to-follow methods using common household ingredients. Why spend money on expensive, pre-made sprays when you can whip up your own effective formula in minutes? Not only will you save money, but you’ll also gain the satisfaction of knowing you’ve conquered that pesky fog with your own two hands. Get ready to say goodbye to blurry reflections and hello to a clear view, every single time!
DIY Defog Your Bathroom Mirror: A Simple and Effective Guide
Hey there! Tired of wiping down your bathroom mirror every time you shower? I totally get it. That foggy mirror is a real pain, especially when you’re rushing to get ready. But don’t worry, I’ve got you covered with a few super easy and effective DIY methods to keep your mirror crystal clear, even after the hottest shower. Let’s dive in!
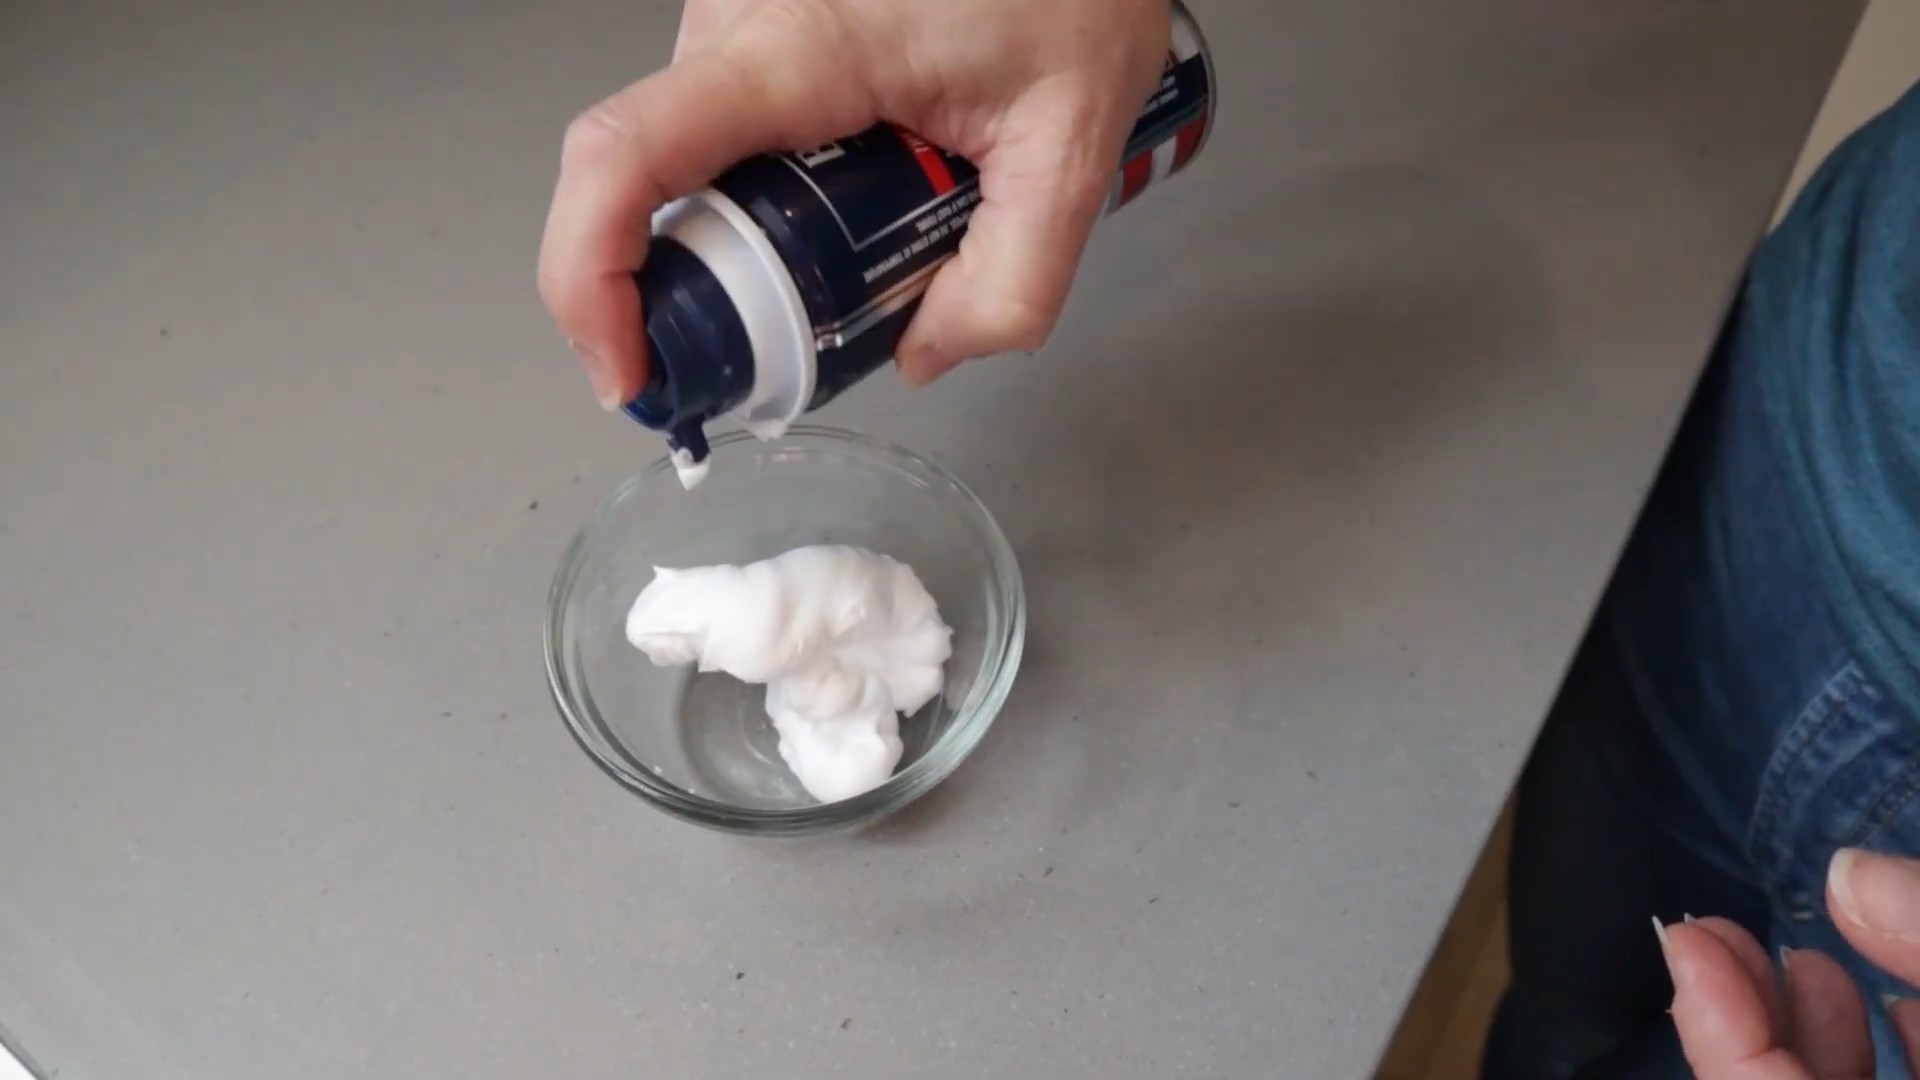
Method 1: The Shaving Cream Trick
This is probably the most popular and widely known method, and for good reason – it works like a charm! Shaving cream creates a protective layer on the mirror that prevents condensation from sticking.
What You’ll Need:
* Shaving cream (any kind will do, but foam works best)
* A clean, soft cloth (microfiber is ideal)
* Water (optional, for rinsing)
Step-by-Step Instructions:
1. Apply the Shaving Cream: Squirt a small amount of shaving cream onto your dry bathroom mirror. You don’t need a ton – a dollop about the size of a golf ball should be enough for a standard-sized mirror.
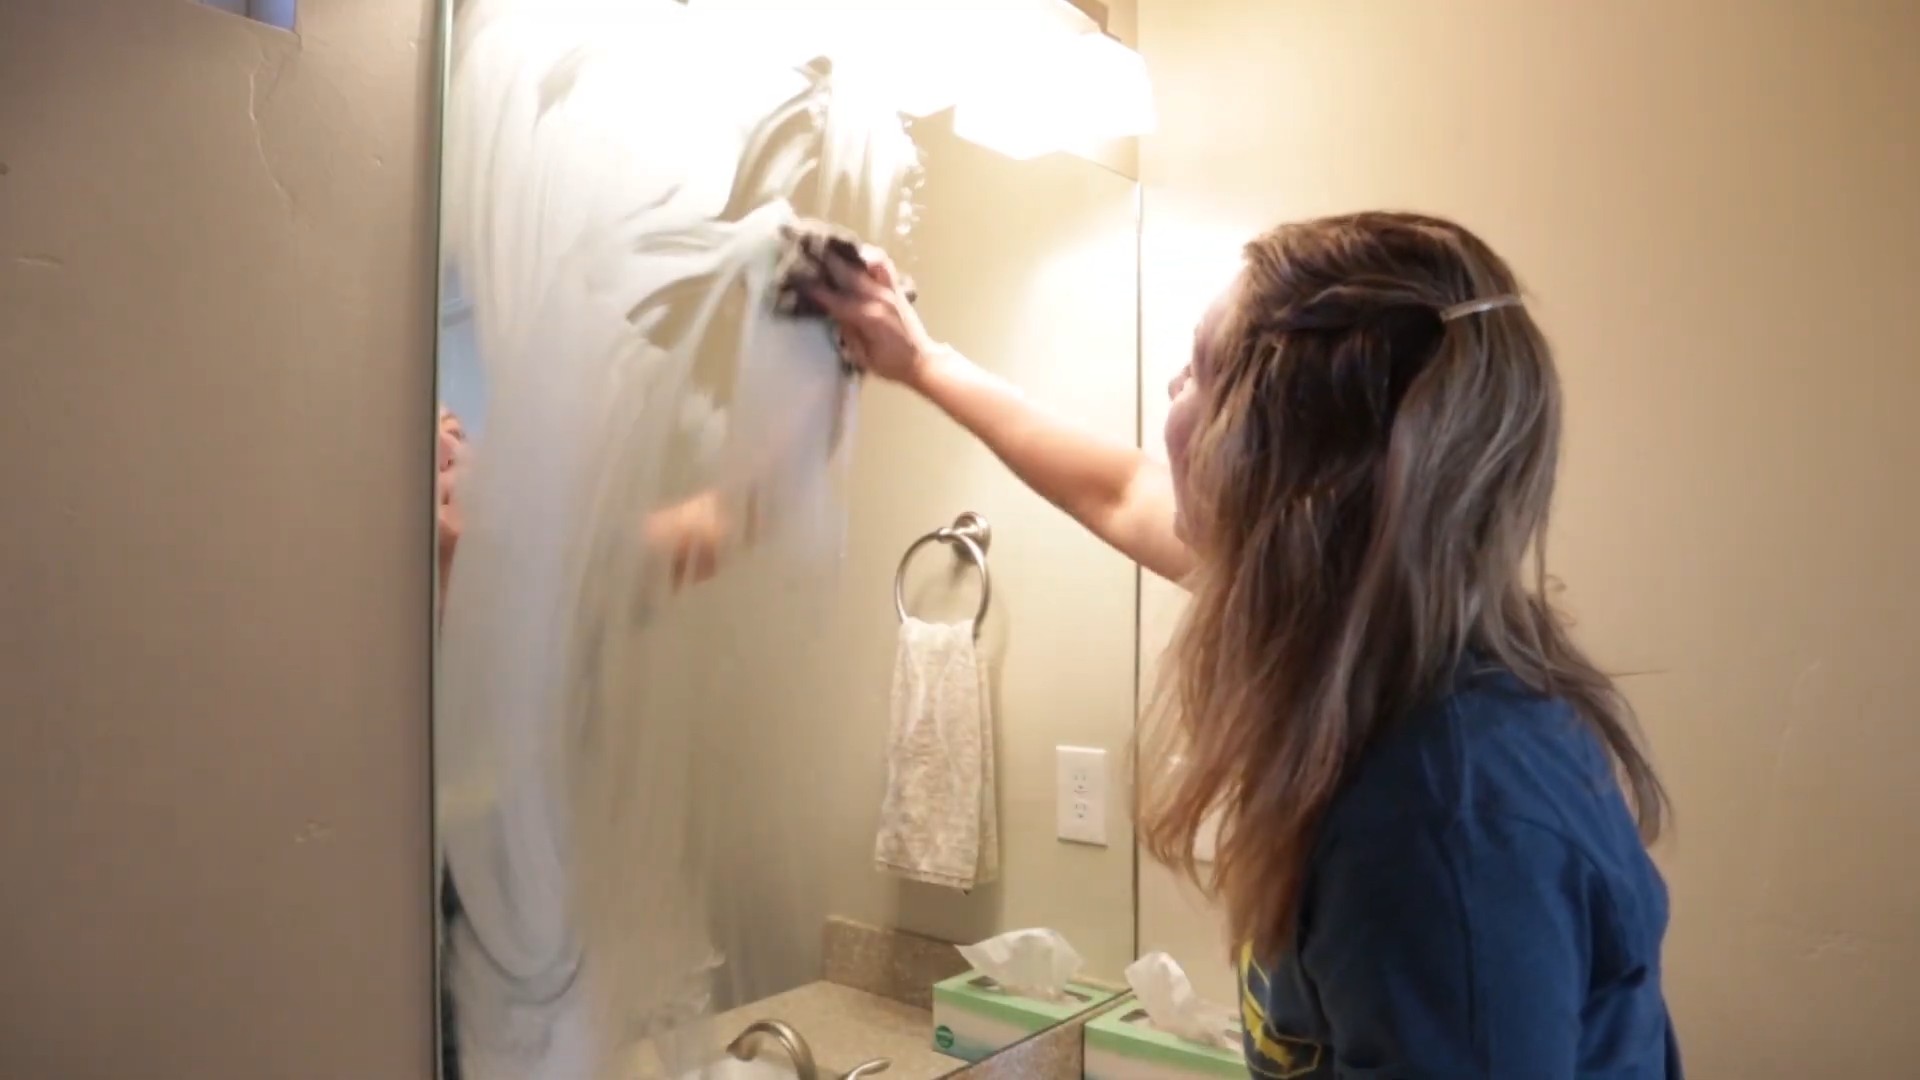
2. Spread it Evenly: Using your fingers or the soft cloth, spread the shaving cream evenly across the entire surface of the mirror. Make sure you cover every inch!
3. Wipe it Away: Now, this is where the magic happens. Take your clean, dry cloth and wipe away the shaving cream. You want to buff it into the mirror until it’s almost completely clear. Don’t worry if there’s a slight haze – that’s what you want.
4. Optional Rinse: If you find there’s too much residue, you can lightly dampen your cloth with water and wipe the mirror again. Just make sure to dry it thoroughly afterward with a clean, dry cloth.
Why this works: The shaving cream leaves a thin film of surfactants on the mirror’s surface. These surfactants reduce the surface tension of water, preventing it from forming droplets and causing fog. Instead, the water spreads out into a thin, invisible layer.
Method 2: The Vinegar Solution
Vinegar is a fantastic natural cleaner and also works wonders as a defogger. It’s a great option if you’re looking for a more eco-friendly solution.
What You’ll Need:
* White vinegar
* Water
* A spray bottle
* A clean, soft cloth
Step-by-Step Instructions:
1. Mix the Solution: In your spray bottle, combine equal parts white vinegar and water. A 50/50 solution works perfectly.
2. Spray the Mirror: Lightly spray the vinegar solution onto your bathroom mirror. Don’t overdo it – a few spritzes are all you need.
3. Wipe it Clean: Using your clean, soft cloth, wipe the mirror clean. Make sure to remove all the vinegar solution and dry the mirror thoroughly.
Why this works: Vinegar is a mild acid that helps to clean the mirror and prevent the buildup of soap scum and other residues that can contribute to fogging. It also leaves a thin, protective layer that repels water.
Method 3: The Glycerin and Dish Soap Combo
This method is a bit less common, but it’s surprisingly effective and uses ingredients you probably already have in your home.
What You’ll Need:
* Glycerin (available at most pharmacies)
* Dish soap (a small amount)
* Water
* A spray bottle
* A clean, soft cloth
Step-by-Step Instructions:
1. Mix the Solution: In your spray bottle, combine 1 tablespoon of glycerin, 1 teaspoon of dish soap, and 1 cup of water. Shake well to ensure everything is properly mixed.
2. Spray the Mirror: Lightly spray the solution onto your bathroom mirror. Again, a few spritzes will do the trick.
3. Wipe it Clean: Using your clean, soft cloth, wipe the mirror clean and dry. Make sure to remove any streaks or residue.
Why this works: Glycerin is a humectant, meaning it attracts moisture. This helps to create a thin layer on the mirror that prevents water droplets from forming. The dish soap helps to break down any existing grime and ensures the solution spreads evenly.
Method 4: Commercial Defogging Sprays
Okay, this isn’t exactly a DIY method, but it’s worth mentioning because it’s a readily available and effective solution. You can find commercial defogging sprays at most drugstores or online.
What You’ll Need:
* Commercial defogging spray
* A clean, soft cloth
Step-by-Step Instructions:
1. Read the Instructions: Always read the instructions on the product label before using it. Different sprays may have slightly different application methods.
2. Spray the Mirror: Spray the defogging spray onto your bathroom mirror according to the instructions.
3. Wipe it Clean: Using your clean, soft cloth, wipe the mirror clean and dry.
Why this works: Commercial defogging sprays contain chemicals that create a barrier on the mirror’s surface, preventing condensation from forming.
Tips for Success and Longevity
* Clean the Mirror First: Before applying any of these defogging methods, make sure your mirror is clean and free of any dirt, grime, or soap scum. This will ensure the defogging solution adheres properly and works effectively. I usually use a glass cleaner and a microfiber cloth for this.
* Apply Sparingly: Less is more! Applying too much of any of these solutions can leave streaks or residue. Start with a small amount and add more if needed.
* Use a Microfiber Cloth: Microfiber cloths are ideal for cleaning mirrors because they’re soft, absorbent, and won’t leave lint behind.
* Reapply as Needed: The frequency with which you’ll need to reapply these solutions will depend on how often you shower and how steamy your bathroom gets. Generally, you’ll need to reapply every few days or once a week. I usually reapply the shaving cream every 5-7 days.
* Ventilate Your Bathroom: While these methods will help to defog your mirror, it’s also important to ventilate your bathroom properly. Turn on the exhaust fan during and after your shower to help remove excess moisture from the air. If you don’t have an exhaust fan, open a window.
* Test in an Inconspicuous Area: Before applying any of these solutions to the entire mirror, test it in a small, inconspicuous area first to make sure it doesn’t damage the mirror’s surface. This is especially important if you have an antique or delicate mirror.
* Avoid Abrasive Cleaners: Never use abrasive cleaners or scouring pads on your mirror, as these can scratch the surface.
* Consider a Heated Mirror: If you’re looking for a more permanent solution, you might consider installing a heated mirror. These mirrors have a heating element built into them that prevents condensation from forming. They can be a bit pricey, but they’re a great option if you’re renovating your bathroom.
* Regular Cleaning is Key: Even with these defogging methods, regular cleaning of your mirror is still important to remove dirt, grime, and soap scum.
Troubleshooting
* Streaks: If you’re getting streaks after applying the solution, try using a clean, dry microfiber cloth to buff the mirror. You may also be using too much of the solution.
* Residue: If you’re getting residue, try rinsing the mirror with water and drying it thoroughly with a clean cloth.
* Solution Not Working: If the solution isn’t working, make sure you’ve cleaned the mirror thoroughly before applying it. You may also need to reapply the solution more frequently.
I hope these DIY defogging methods help you keep your bathroom mirror clear and fog-free! Let me know in the comments which method works best for you. Happy showering!
Conclusion
So, there you have it! This simple, yet incredibly effective, DIY defog mirror solution is a game-changer for anyone tired of wiping down their bathroom mirror after every shower. No more foggy reflections obscuring your morning routine or delaying your getting-ready process. This isn’t just about convenience; it’s about reclaiming those precious minutes and starting your day with a clear view – literally!
Why is this a must-try? Because it’s cost-effective, using ingredients you likely already have in your home. It’s quick to make, taking only a few minutes of your time. And most importantly, it works! The science behind it is simple: the surfactant in the soap or shampoo reduces the surface tension of the water, preventing it from forming those tiny droplets that cause fog. Instead, the water spreads out in a thin, invisible film, leaving your mirror crystal clear.
But don’t just take our word for it. Experiment! While we’ve suggested a few variations, like using dish soap or even a touch of glycerin for added moisture, the possibilities are endless. Consider adding a few drops of your favorite essential oil for a subtle, spa-like aroma every time you shower. Lavender, eucalyptus, or peppermint would be excellent choices, adding a touch of aromatherapy to your daily routine. You could also try different ratios of water to soap to find the perfect balance that works best for your bathroom’s humidity levels.
For those with sensitive skin, be sure to test your chosen soap or shampoo on a small, inconspicuous area of the mirror first to ensure it doesn’t leave any residue or discoloration. And remember, a little goes a long way! Over-applying the solution can actually lead to streaking, so start with a small amount and add more as needed.
This DIY defog mirror trick is more than just a quick fix; it’s a sustainable solution that reduces waste and saves you money in the long run. Think about all those commercial defogging sprays you won’t have to buy anymore! Plus, you’ll have the satisfaction of knowing you created something effective and useful with your own two hands.
We wholeheartedly encourage you to give this DIY defog mirror solution a try. It’s a small change that can make a big difference in your daily life. And once you’ve experienced the joy of a fog-free mirror, we’re confident you’ll be hooked!
Don’t keep this secret to yourself! Share your experiences with us and the rest of the community. Did you try a different variation? Did you find a particular soap or shampoo that worked exceptionally well? We’d love to hear your tips and tricks in the comments below. Let’s work together to create the ultimate guide to fog-free mirrors!
Ready to say goodbye to foggy mirrors forever?
Frequently Asked Questions (FAQ)
What exactly causes my bathroom mirror to fog up?
The fog you see on your bathroom mirror is caused by condensation. When hot, humid air from your shower comes into contact with the cooler surface of the mirror, the water vapor in the air condenses into tiny droplets. These droplets scatter light, making the mirror appear foggy and preventing you from seeing a clear reflection.
How long does the DIY defog mirror solution last?
The longevity of the solution depends on several factors, including the humidity levels in your bathroom, the frequency of showers, and the type of soap or shampoo you use. Generally, you can expect the solution to last for several days to a week. You’ll know it’s time to reapply when you start to notice fog forming on the mirror again.
Can I use any type of soap or shampoo for this DIY defog mirror solution?
While most soaps and shampoos will work to some extent, some are more effective than others. Look for products that contain surfactants, which are the key ingredients that reduce surface tension and prevent fogging. Clear soaps and shampoos tend to leave less residue than opaque or heavily fragranced ones. Dish soap is a great option. Avoid using soaps or shampoos that contain oils or moisturizers, as these can leave a greasy film on the mirror.
Will this DIY defog mirror solution damage my mirror?
When used properly, this solution should not damage your mirror. However, it’s always a good idea to test it on a small, inconspicuous area first to ensure it doesn’t cause any discoloration or streaking. Avoid using abrasive cleaners or scrub brushes, as these can scratch the surface of the mirror.
How often should I reapply the DIY defog mirror solution?
As mentioned earlier, the frequency of reapplication depends on several factors. A good rule of thumb is to reapply the solution whenever you start to notice fog forming on the mirror again. This could be every few days or once a week, depending on your bathroom’s humidity levels and showering habits.
Can I use this DIY defog mirror solution on other surfaces, like car windows or eyeglasses?
While the basic principle is the same, this solution may not be ideal for all surfaces. Car windows, for example, require specialized defogging products that are designed to withstand extreme temperatures and weather conditions. Eyeglasses are also delicate and require gentle cleaning solutions that won’t scratch the lenses. It’s best to use products specifically designed for these surfaces.
What if I see streaks on my mirror after applying the solution?
Streaking is usually caused by using too much solution or not wiping it off properly. To remove streaks, simply dampen a clean microfiber cloth with water and wipe the mirror until it’s clear. You can also try using a glass cleaner to remove any stubborn streaks. Next time, use less solution and make sure to wipe it off thoroughly.
Is there a more permanent solution to prevent my bathroom mirror from fogging up?
While this DIY solution is effective and affordable, it’s not a permanent fix. For a more permanent solution, you could consider installing a heated mirror or a mirror defogger pad. These devices use electricity to warm the mirror, preventing condensation from forming. They are more expensive than the DIY solution, but they offer a long-term, hassle-free solution to foggy mirrors.
Can I add essential oils to the solution?
Yes, adding a few drops of your favorite essential oil can add a pleasant aroma to your bathroom every time you shower. Lavender, eucalyptus, and peppermint are all popular choices. However, be sure to use pure essential oils and avoid adding too much, as some oils can leave a residue on the mirror. Start with just a few drops and adjust the amount to your liking.
What is the best way to store the DIY defog mirror solution?
Store the solution in a clean, airtight spray bottle in a cool, dry place. This will help prevent the solution from evaporating or becoming contaminated. Be sure to label the bottle clearly so you don’t accidentally use it for something else.

Leave a Comment