

Deep clean kitchen like a pro? Absolutely! Let’s face it, the kitchen is the heart of the home, but it’s also a magnet for grime, spills, and lingering odors. We’ve all been there, staring at that sticky stovetop or the mysterious gunk in the fridge, wondering where to even begin. But fear not, because I’m about to share some game-changing DIY tricks that will transform your kitchen from a chaotic mess to a sparkling sanctuary.
The concept of a meticulously clean kitchen isn’t new. Throughout history, cultures have emphasized the importance of a clean cooking space for both hygiene and well-being. From ancient Roman kitchens with their dedicated cleaning rituals to modern-day culinary schools that demand spotless environments, the pursuit of a pristine kitchen has always been a priority.
But why is it so important to deep clean kitchen like a pro? Beyond the obvious aesthetic appeal, a clean kitchen is crucial for food safety, preventing the spread of bacteria, and creating a more enjoyable cooking experience. Plus, let’s be honest, a clean kitchen just makes you feel good! It’s a space where you can relax, experiment with new recipes, and create delicious meals for yourself and your loved ones. So, ditch the overwhelm and get ready to roll up your sleeves. I’m going to show you how to deep clean your kitchen like a seasoned professional, using simple DIY methods and readily available ingredients. Get ready to say goodbye to grime and hello to a sparkling, healthy, and happy kitchen!
Deep Cleaning Your Kitchen: A DIY Guide to Sparkling Perfection
Hey there! Ready to transform your kitchen from a chaotic mess to a gleaming sanctuary? I know, deep cleaning sounds daunting, but trust me, breaking it down into manageable steps makes it totally achievable. Plus, the feeling of accomplishment afterward? Priceless! So, grab your gloves, crank up your favorite tunes, and let’s get started!
Gather Your Supplies
Before we dive in, let’s make sure we have everything we need. Nothing’s worse than being halfway through scrubbing and realizing you’re missing a crucial tool!
* Cleaning Solutions:
* All-purpose cleaner (I prefer a natural one, but use what you like!)
* Dish soap
* Glass cleaner
* Baking soda
* White vinegar
* Degreaser (especially important for the stovetop and range hood)
* Tools:
* Microfiber cloths (lots of them!)
* Sponges (with a scrubbing side)
* Scrub brush (for tougher grime)
* Old toothbrush (for those hard-to-reach spots)
* Rubber gloves
* Spray bottles (for your cleaning solutions)
* Paper towels
* Trash bags
* Vacuum cleaner with attachments
* Bucket
* Step stool (if needed)
* Screwdriver (for removing vent covers)
Phase 1: Clearing the Decks
This is all about prepping the kitchen for the real cleaning. We need to remove everything that’s in the way.
1. Clear the Countertops: Take everything off the countertops – appliances, canisters, utensils, mail, everything! This gives you a clear surface to work with and allows you to really see the grime. Place everything on the dining table or another clear surface.
2. Empty the Sink: Make sure the sink is completely empty. No dirty dishes allowed! Load the dishwasher or wash them by hand and put them away.
3. Remove Items from the Refrigerator: Take out all the food from your refrigerator. Check expiration dates and toss anything that’s past its prime. Group similar items together on the counter or in coolers to keep them cold.
4. Empty the Pantry: Similar to the fridge, remove everything from your pantry shelves. Check for expired items and donate any non-perishable food you won’t use.
5. Sweep or Vacuum the Floor: Get rid of any loose crumbs, dirt, or debris on the floor. This will prevent you from spreading it around while you’re cleaning.
Phase 2: Tackling the Appliances
Now, let’s get those appliances sparkling!
Cleaning the Refrigerator
1. Unplug the Refrigerator: This is important for safety!
2. Remove Shelves and Drawers: Take out all the removable shelves, drawers, and bins. Wash them in warm, soapy water. For stubborn stains, soak them in a solution of baking soda and water.
3. Clean the Interior: Wipe down the interior walls, ceiling, and floor of the refrigerator with a solution of warm water and baking soda. This will help neutralize odors and remove stains. Pay special attention to spills and sticky spots.
4. Clean the Door Seals: Use a damp cloth to wipe down the door seals. These can accumulate dirt and grime, which can prevent the refrigerator from sealing properly.
5. Clean the Exterior: Wipe down the exterior of the refrigerator with a damp cloth and all-purpose cleaner. Pay attention to the handles, which can get particularly grimy.
6. Reassemble the Refrigerator: Once everything is clean and dry, reassemble the shelves, drawers, and bins.
7. Plug in the Refrigerator: Plug the refrigerator back in and wait for it to cool down before putting the food back in.
8. Organize Food: As you put the food back in, organize it by category. This will make it easier to find what you’re looking for and prevent food from spoiling.
Cleaning the Oven
1. Self-Cleaning Option (If Available): If your oven has a self-cleaning option, follow the manufacturer’s instructions. Be aware that this process can produce smoke and odors, so make sure to ventilate your kitchen well.
2. Manual Cleaning (If No Self-Cleaning):
* Remove Racks: Take out the oven racks and soak them in warm, soapy water.
* Make a Baking Soda Paste: Mix baking soda with water to form a thick paste.
* Apply the Paste: Spread the paste all over the interior of the oven, avoiding the heating elements.
* Let it Sit Overnight: Allow the paste to sit overnight to loosen the grime.
* Scrub and Wipe: The next day, scrub the oven with a sponge or scrub brush. Wipe away the paste with a damp cloth. You may need to repeat this process for stubborn stains.
* Clean the Racks: Scrub the oven racks with a sponge or scrub brush. Rinse them thoroughly and dry them before putting them back in the oven.
* Clean the Oven Door: Clean the oven door with glass cleaner.
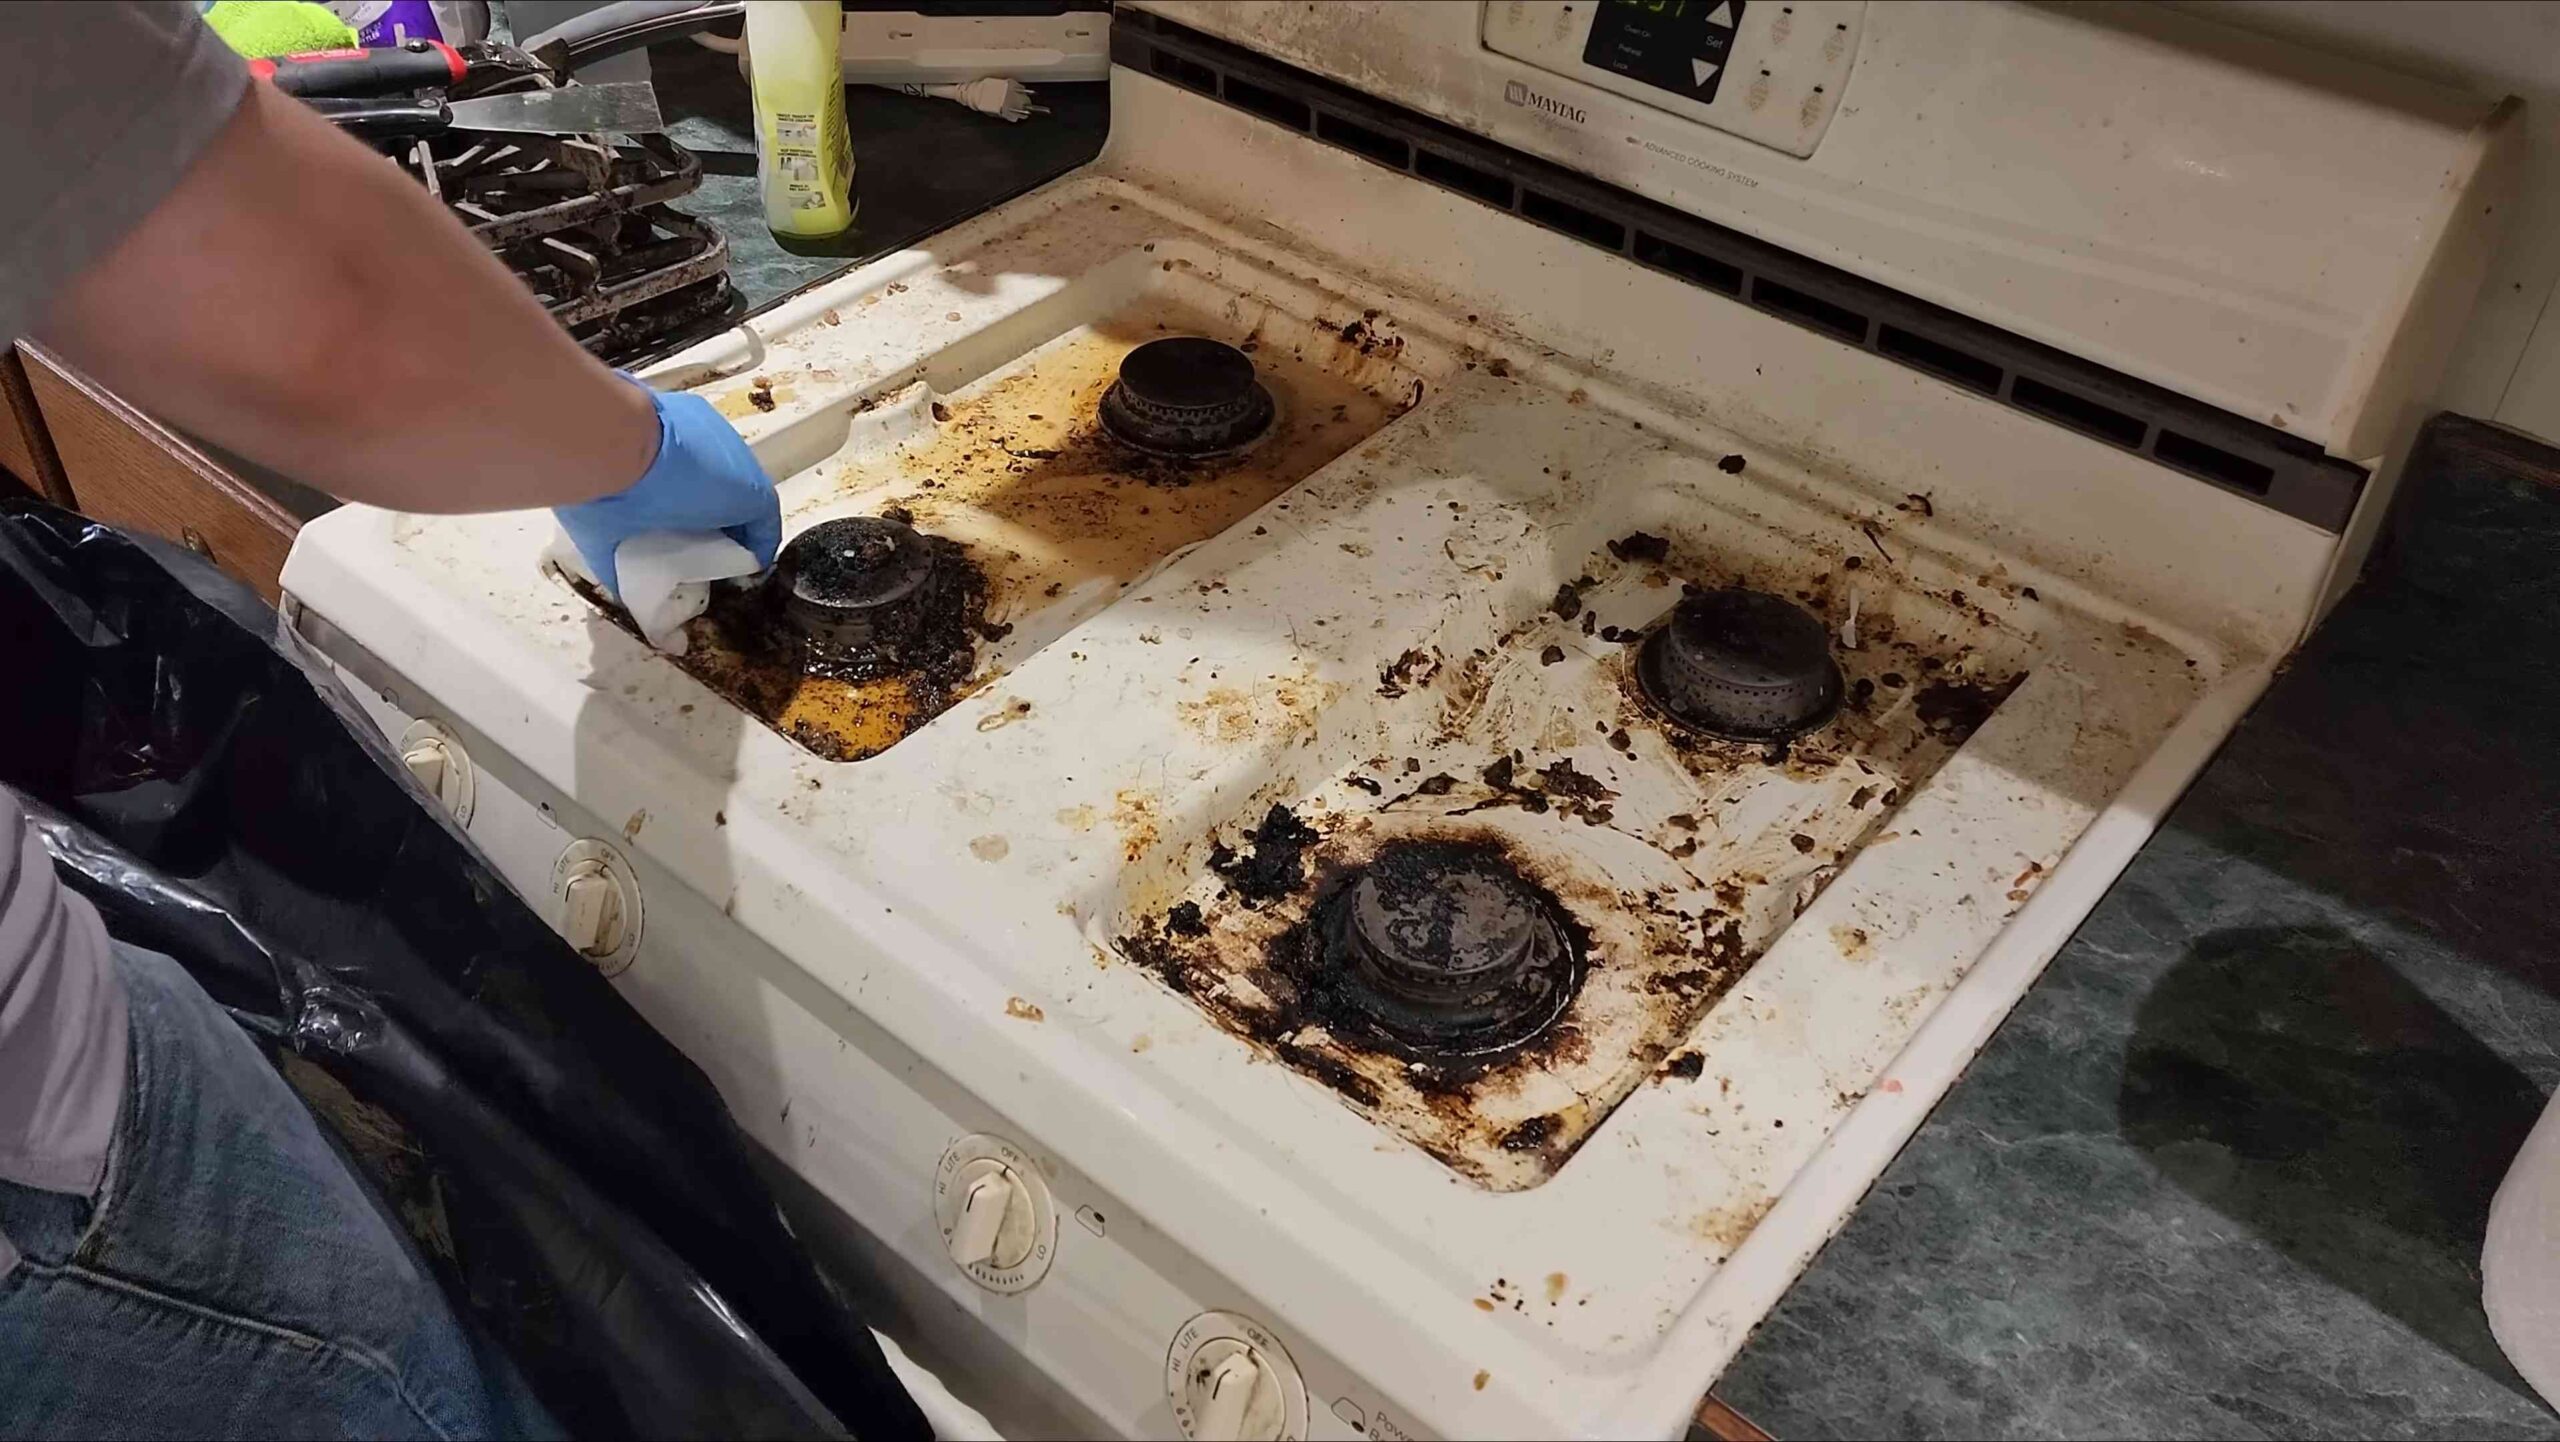
Cleaning the Stovetop
1. Remove Grates and Burner Caps: Take off the grates and burner caps.
2. Soak Grates and Burner Caps: Soak the grates and burner caps in warm, soapy water. For stubborn grease, add a degreaser to the water.
3. Clean the Stovetop Surface: Wipe down the stovetop surface with a damp cloth and all-purpose cleaner. For burnt-on food, use a baking soda paste or a specialized stovetop cleaner.
4. Scrub Grates and Burner Caps: Scrub the grates and burner caps with a sponge or scrub brush. Rinse them thoroughly and dry them before putting them back on the stovetop.
5. Clean Burner Bowls (If Applicable): If your stovetop has burner bowls, remove them and wash them in warm, soapy water.
Cleaning the Microwave
1. Microwave a Bowl of Water: Fill a microwave-safe bowl with water and add a few tablespoons of vinegar or lemon juice. Microwave on high for 5 minutes. This will create steam that will loosen the grime inside the microwave.
2. Let it Sit: Let the bowl sit in the microwave for a few minutes to allow the steam to work its magic.
3. Wipe Clean: Carefully remove the bowl and wipe down the interior of the microwave with a damp cloth. The grime should come off easily.
4. Clean the Turntable: Remove the turntable and wash it in warm, soapy water.
Cleaning the Dishwasher
1. Remove Food Debris: Check the bottom of the dishwasher for any food debris and remove it.
2. Clean the Filter: Remove the filter and wash it in warm, soapy water.
3. Run a Cleaning Cycle: Add a dishwasher cleaner to the dispenser and run a cleaning cycle. You can also use a cup of white vinegar instead of dishwasher cleaner.
4. Clean the Exterior: Wipe down the exterior of the dishwasher with a damp cloth and all-purpose cleaner.
Phase 3: Countertops, Sink, and Backsplash
Time to make these surfaces shine!
1. Clean the Countertops: Wipe down the countertops with a damp cloth and all-purpose cleaner. For stubborn stains, use a baking soda paste or a specialized countertop cleaner. Be sure to check what type of cleaner is safe for your countertop material (granite, laminate, etc.).
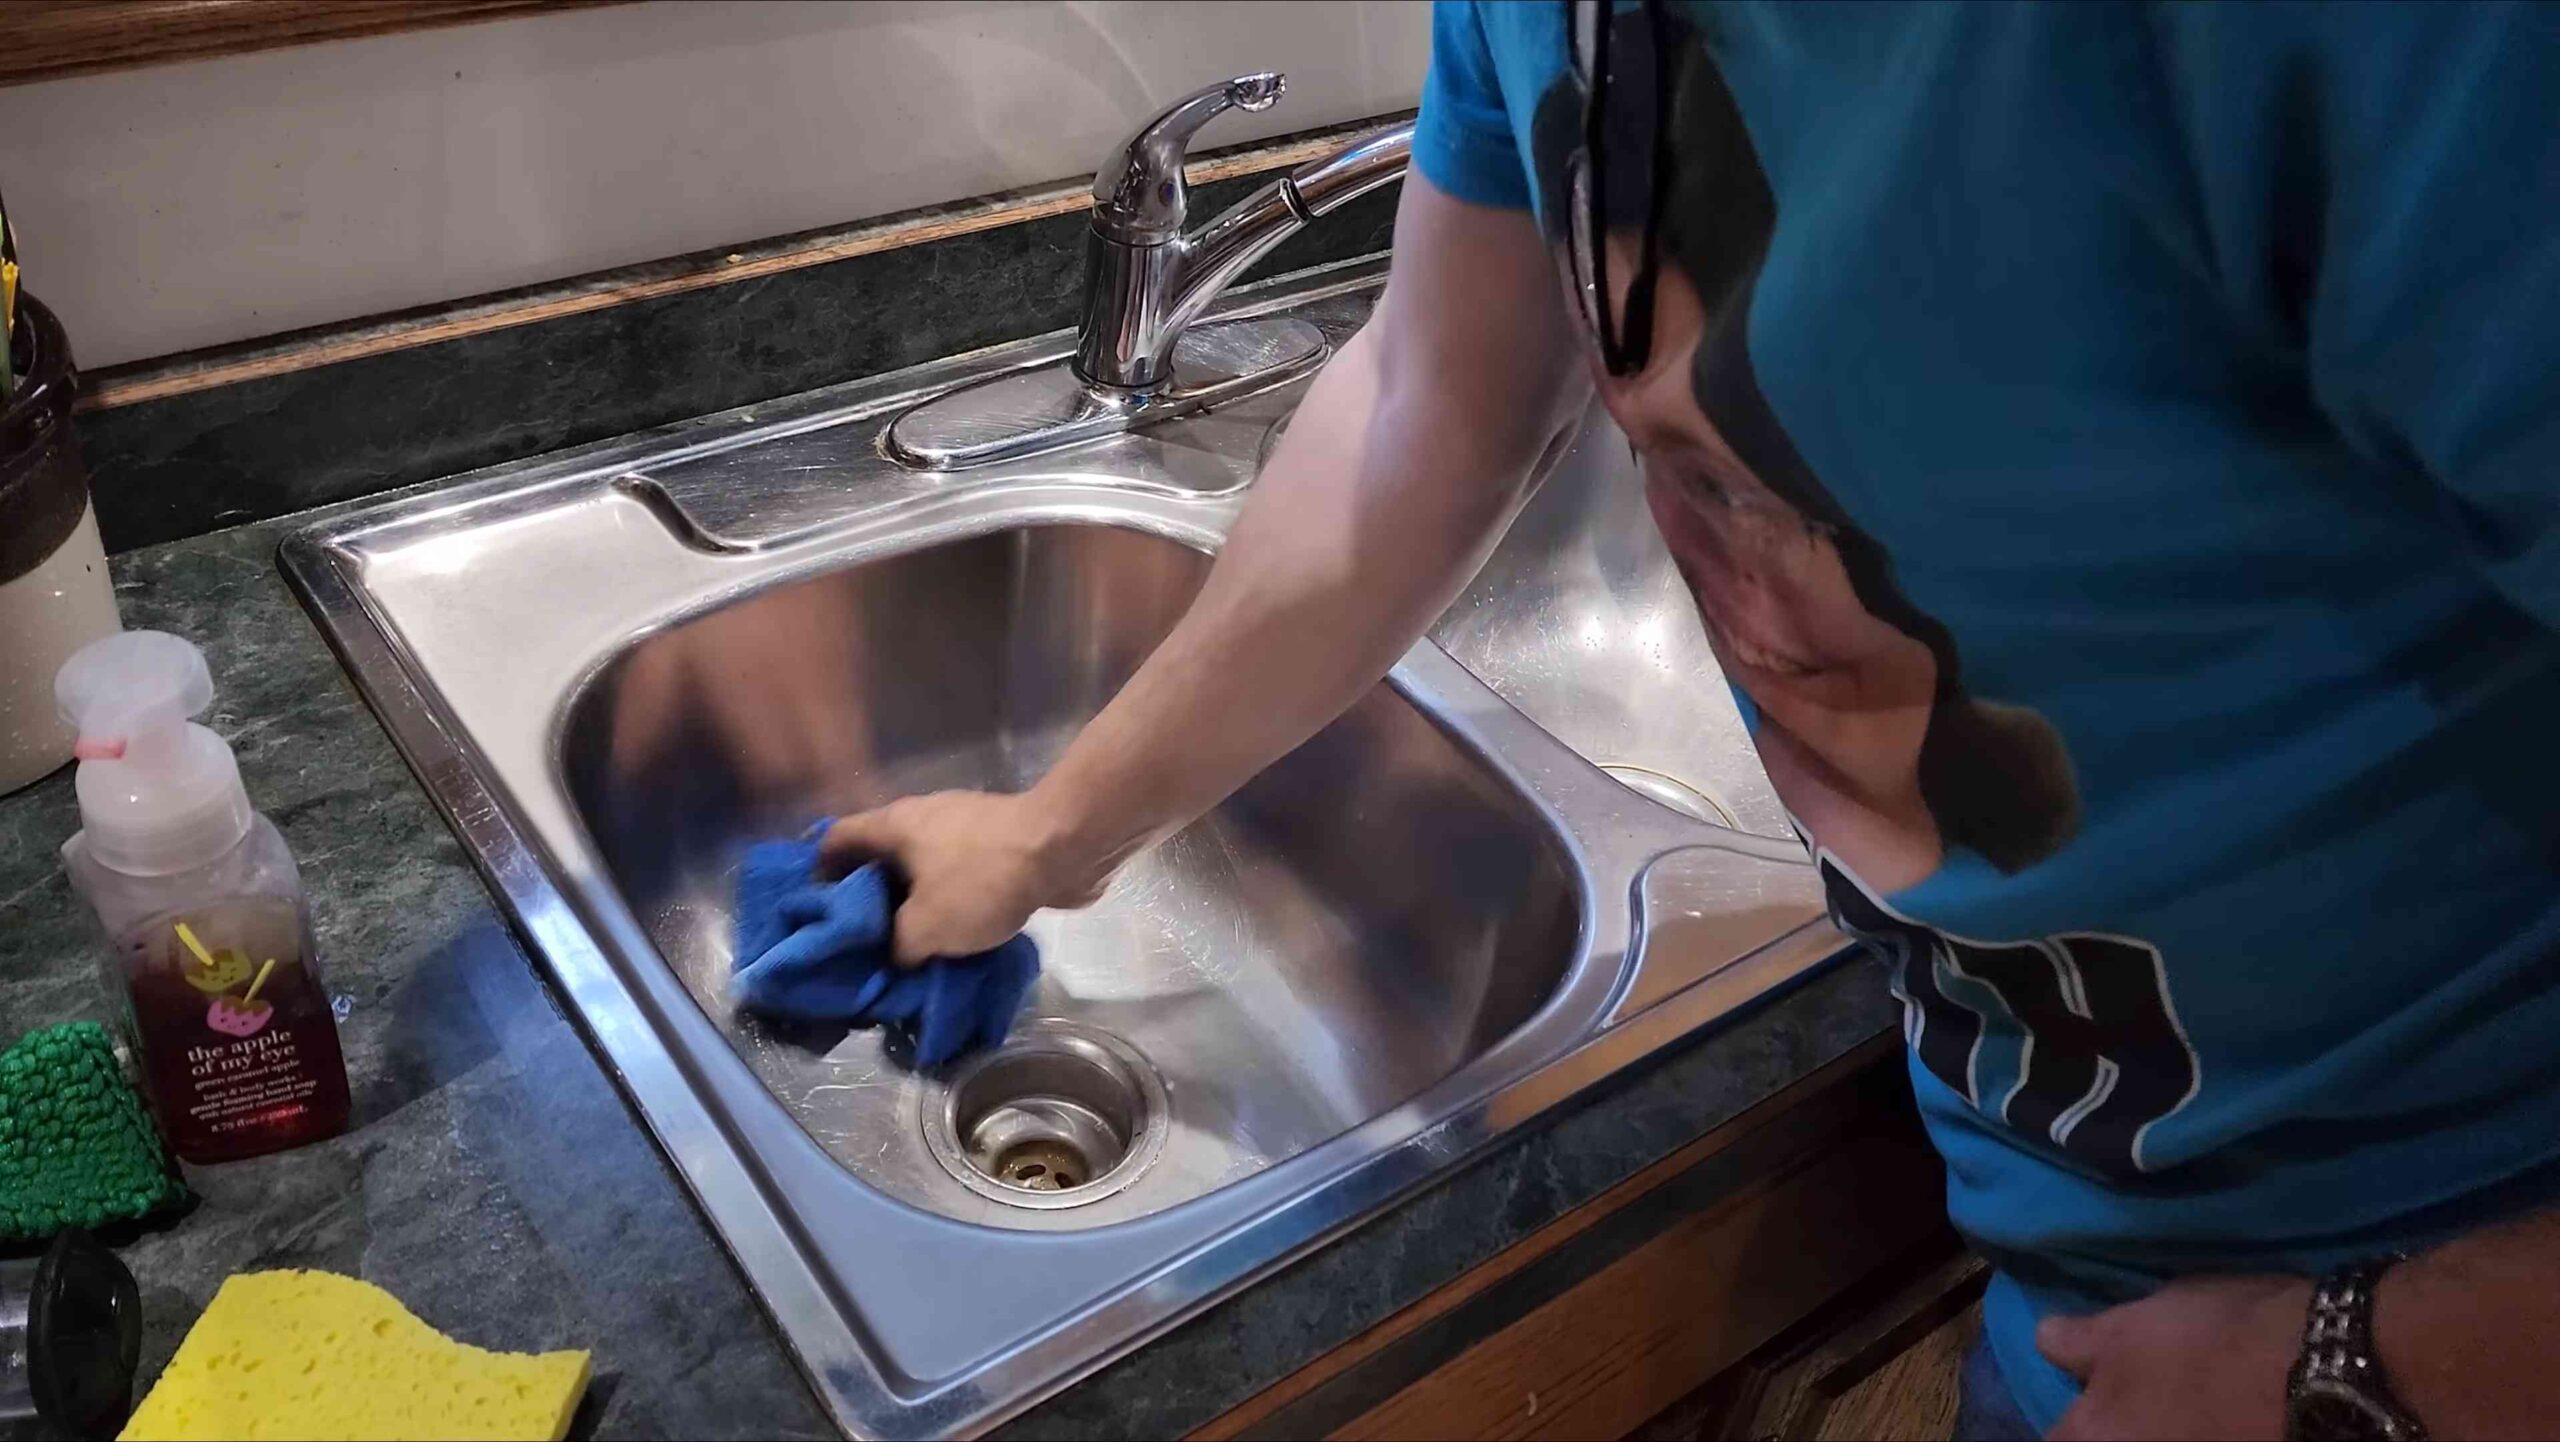
2. Clean the Sink: Scrub the sink with a sponge and dish soap. For stainless steel sinks, use a stainless steel cleaner to remove water spots and fingerprints. For porcelain sinks, use a mild abrasive cleaner to remove stains.
3. Clean the Faucet: Clean the faucet with a damp cloth and all-purpose cleaner. Use an old toothbrush to clean around the base of the faucet.
4. Clean the Backsplash: Wipe down the backsplash with a damp cloth and all-purpose cleaner. For greasy splatters, use a degreaser.
Phase 4: Cabinets and Drawers
Let’s give those cabinets some love!
1. Dust the Cabinets: Use a microfiber cloth to dust the cabinets.
2. Clean the Cabinet Doors: Wipe down the cabinet doors with a damp cloth and all-purpose cleaner. For greasy fingerprints, use a degreaser.
3. Clean the Cabinet Interiors: Remove everything from the cabinets and drawers. Wipe down the interiors with a damp cloth and all-purpose cleaner.
4. Organize the Cabinets and Drawers: As you put things back in the cabinets and drawers, organize them by category. This will make it easier to find what you’re
Conclusion
So, there you have it! Mastering the art of deep cleaning your kitchen like a pro isn’t about expensive gadgets or harsh chemicals. It’s about understanding the right techniques and leveraging simple, readily available ingredients to achieve a sparkling, hygienic space. This DIY approach not only saves you money but also allows you to control the products you’re using, ensuring a safer and healthier environment for you and your family.
Why is this deep cleaning kitchen method a must-try? Because it delivers professional-level results without the professional price tag. It tackles grime, grease, and stubborn stains with ease, leaving your kitchen looking and feeling brand new. Imagine the satisfaction of knowing you’ve created a truly clean and healthy space, all thanks to your own efforts and a few clever tricks.
Beyond the basic steps outlined, there’s plenty of room for customization. For instance, if you’re dealing with particularly stubborn grease buildup on your stovetop, consider creating a paste of baking soda and water, letting it sit for a few hours before scrubbing. For stainless steel appliances, a simple wipe down with white vinegar followed by a microfiber cloth will leave them gleaming. If you prefer a more fragrant cleaning experience, add a few drops of your favorite essential oil, like lemon or lavender, to your cleaning solutions. Just be sure to test the essential oil on an inconspicuous area first to ensure it doesn’t discolor the surface.
Don’t be afraid to experiment and adapt these techniques to suit your specific needs and preferences. The key is to be consistent and thorough, tackling each area of your kitchen with attention to detail. Remember, a deep clean isn’t just about aesthetics; it’s about creating a healthier and more enjoyable space for cooking and gathering.
We wholeheartedly encourage you to try this DIY deep cleaning kitchen method. You’ll be amazed at the difference it makes. And more importantly, we want to hear about your experience! Share your before-and-after photos, your favorite tips and tricks, and any variations you’ve discovered in the comments below. Let’s create a community of clean kitchen enthusiasts, sharing our knowledge and inspiring each other to maintain sparkling, healthy homes. So, grab your supplies, roll up your sleeves, and get ready to transform your kitchen into a pristine paradise! You won’t regret it.
Frequently Asked Questions (FAQ)
What’s the best way to tackle stubborn grease buildup on my stovetop?
Stubborn grease can be a real challenge, but don’t despair! A powerful solution involves creating a paste of baking soda and water. Mix enough water with baking soda to form a thick, spreadable paste. Apply this paste generously to the greasy areas of your stovetop and let it sit for several hours, or even overnight for particularly tough buildup. The baking soda will help to loosen the grease, making it easier to scrub away. After the soaking period, use a non-abrasive sponge or cloth to scrub the area thoroughly. Rinse with clean water and dry with a microfiber cloth. For extra cleaning power, you can add a few drops of dish soap to the baking soda paste. Remember to always test any cleaning solution on an inconspicuous area first to ensure it doesn’t damage the surface.
How often should I deep clean my kitchen?
The frequency of deep cleaning your kitchen depends on how often you cook and how much use your kitchen gets. As a general guideline, a deep clean every 3-6 months is recommended. However, if you cook frequently or have a large family, you might want to deep clean more often, perhaps every 2-3 months. Regular maintenance, such as wiping down countertops and cleaning spills immediately, can help to extend the time between deep cleans. Pay attention to areas that tend to accumulate grease and grime, such as the stovetop, oven, and range hood, and address these areas as needed.
What are some natural alternatives to harsh chemical cleaners?
There are many effective and eco-friendly alternatives to harsh chemical cleaners. White vinegar is a fantastic all-purpose cleaner and disinfectant. It can be used to clean countertops, floors, and appliances. Baking soda is a gentle abrasive that’s great for scrubbing away grime and stains. Lemon juice is a natural degreaser and deodorizer. It can be used to clean cutting boards, microwaves, and other surfaces. Essential oils, such as tea tree oil and eucalyptus oil, have antibacterial and antifungal properties and can be added to cleaning solutions for extra disinfecting power. When using natural cleaners, it’s important to test them on an inconspicuous area first to ensure they don’t damage the surface.
How can I prevent my stainless steel appliances from streaking after cleaning?
Streaking on stainless steel appliances is a common problem, but it’s easily avoidable. The key is to use the right cleaning technique and materials. Always wipe stainless steel in the direction of the grain to prevent streaks. Use a microfiber cloth, as it’s less likely to leave behind lint or streaks. For cleaning, you can use a stainless steel cleaner or a mixture of mild dish soap and water. After cleaning, rinse the surface with clean water and dry it immediately with a clean, dry microfiber cloth. You can also use a small amount of mineral oil or stainless steel polish to protect the surface and prevent streaks.
What’s the best way to clean my oven without using harsh chemicals?
Cleaning your oven without harsh chemicals is possible and healthier for you and your family. One effective method is to use a baking soda paste. Mix baking soda with water to form a thick paste and spread it all over the inside of your oven, avoiding the heating elements. Let the paste sit overnight. The next day, use a damp sponge or cloth to wipe away the baking soda paste. For stubborn areas, you can use a plastic scraper. After removing the paste, spray the inside of your oven with white vinegar and wipe it clean. The vinegar will react with any remaining baking soda, creating a fizzing action that helps to loosen any remaining grime. Rinse with clean water and dry with a clean cloth.
How do I clean my kitchen sink effectively?
The kitchen sink can harbor bacteria and grime, so it’s important to clean it regularly. For stainless steel sinks, you can use a mixture of baking soda and water to scrub away stains and grime. For porcelain sinks, avoid using abrasive cleaners, as they can scratch the surface. Instead, use a mild dish soap and water. To disinfect your sink, you can use a solution of bleach and water. Be sure to rinse the sink thoroughly after using bleach. To remove hard water stains, you can use white vinegar. Pour vinegar into the sink and let it sit for a few minutes before scrubbing. Rinse with clean water.
What’s the best way to clean my kitchen cabinets?
The best way to clean your kitchen cabinets depends on the material they’re made of. For wood cabinets, use a mild dish soap and water. Avoid using harsh chemicals or abrasive cleaners, as they can damage the finish. Wipe the cabinets with a damp cloth and dry them immediately with a clean cloth. For laminate cabinets, you can use a multi-purpose cleaner. Be sure to test the cleaner on an inconspicuous area first to ensure it doesn’t damage the surface. For painted cabinets, use a mild dish soap and water. Avoid using harsh chemicals or abrasive cleaners, as they can chip the paint. Wipe the cabinets with a damp cloth and dry them immediately with a clean cloth.
How can I keep my kitchen clean between deep cleans?
Maintaining a clean kitchen between deep cleans is all about establishing good habits. Wipe down countertops and clean up spills immediately. Wash dishes after each meal. Sweep or vacuum the floor regularly. Empty the trash can frequently. Clean the microwave after each use. By following these simple tips, you can keep your kitchen clean and tidy, making your next deep clean much easier.


Leave a Comment