

Deep Clean Fridge Tips: Is your refrigerator looking less like a food sanctuary and more like a science experiment gone wrong? Don’t worry, you’re not alone! We’ve all been there, staring into the abyss of forgotten leftovers and sticky spills. But fear not, because I’m about to share some game-changing DIY deep clean fridge tips that will transform your fridge from a biohazard zone to a sparkling, organized haven.
Refrigeration, as we know it, is a relatively modern invention, but the desire to keep food fresh dates back centuries. From ancient ice houses to the development of mechanical refrigeration in the 19th century, humans have always sought ways to preserve their food. Now, with our modern marvels, it’s our responsibility to maintain them properly. A clean fridge isn’t just about aesthetics; it’s about food safety, preventing cross-contamination, and extending the life of your groceries.
Let’s be honest, nobody enjoys cleaning the fridge. It’s often a task we put off until it becomes absolutely necessary. But with these simple, effective, and budget-friendly deep clean fridge tips, you can make the process less daunting and more manageable. I’ll guide you through the steps, from gathering your supplies to tackling those stubborn stains, ensuring your fridge is not only clean but also organized and efficient. Get ready to say goodbye to funky odors and hello to a fresh, inviting refrigerator!
DIY Deep Clean Fridge: From Grime to Gleaming!
Okay, friends, let’s be honest. When was the last time you *really* cleaned your fridge? Like, *really* cleaned it? If you’re anything like me, it’s probably been a while. But fear not! I’m here to guide you through a deep clean that will leave your fridge sparkling, smelling fresh, and functioning at its best. Get ready to say goodbye to mystery spills, forgotten leftovers, and that lingering “fridge smell.”
What You’ll Need: Your Cleaning Arsenal
Before we dive in, let’s gather our supplies. Having everything ready will make the process so much smoother. Trust me on this one!
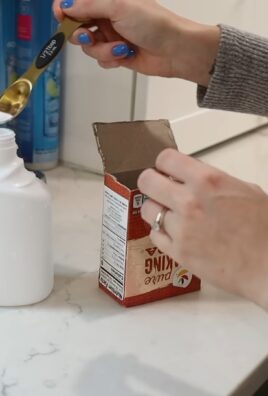
* Cleaning Solution: I prefer a mixture of warm water and baking soda. It’s natural, effective, and absorbs odors. You can also use a mild dish soap solution. Avoid harsh chemicals, as they can leave residue and affect your food.
* Spray Bottle: For easy application of your cleaning solution.
* Microfiber Cloths: These are my go-to for wiping surfaces. They’re absorbent, lint-free, and reusable.
* Sponges: For tackling tougher grime. Make sure you have a non-abrasive sponge to avoid scratching.
* Old Toothbrush: Perfect for getting into those hard-to-reach corners and crevices.
* Trash Bags: For disposing of old food and packaging.
* Cooler or Ice Chest: To keep your perishable food cold while you’re cleaning.
* Dry Towels: For drying shelves and drawers after cleaning.
* Baking Soda (for odor absorption): A fresh box to place in the fridge after cleaning.
* Optional: Lemon essential oil (for a fresh scent), vinegar (for stubborn stains), rubber gloves (to protect your hands).
Phase 1: Emptying and Prepping Your Fridge
This is the least fun part, but it’s absolutely essential. We need a blank canvas to work with!
1. Unplug the Fridge: Safety first! Unplugging the fridge will prevent any accidental shocks and allow it to warm up slightly, making it easier to remove stuck-on food.
2. Remove All Food: Take everything out of the fridge and freezer. Check expiration dates and toss anything that’s past its prime or looks questionable. Be honest with yourself – that wilted lettuce isn’t going to magically revive itself.
3. Sort and Organize: As you remove food, sort it into categories: items to keep in the cooler, items to discard, and items to put back in the fridge later. This will help you stay organized and prevent food waste.
4. Place Perishables in the Cooler: Pack your perishable items (milk, meat, eggs, etc.) into the cooler with ice packs to keep them cold while you’re cleaning.
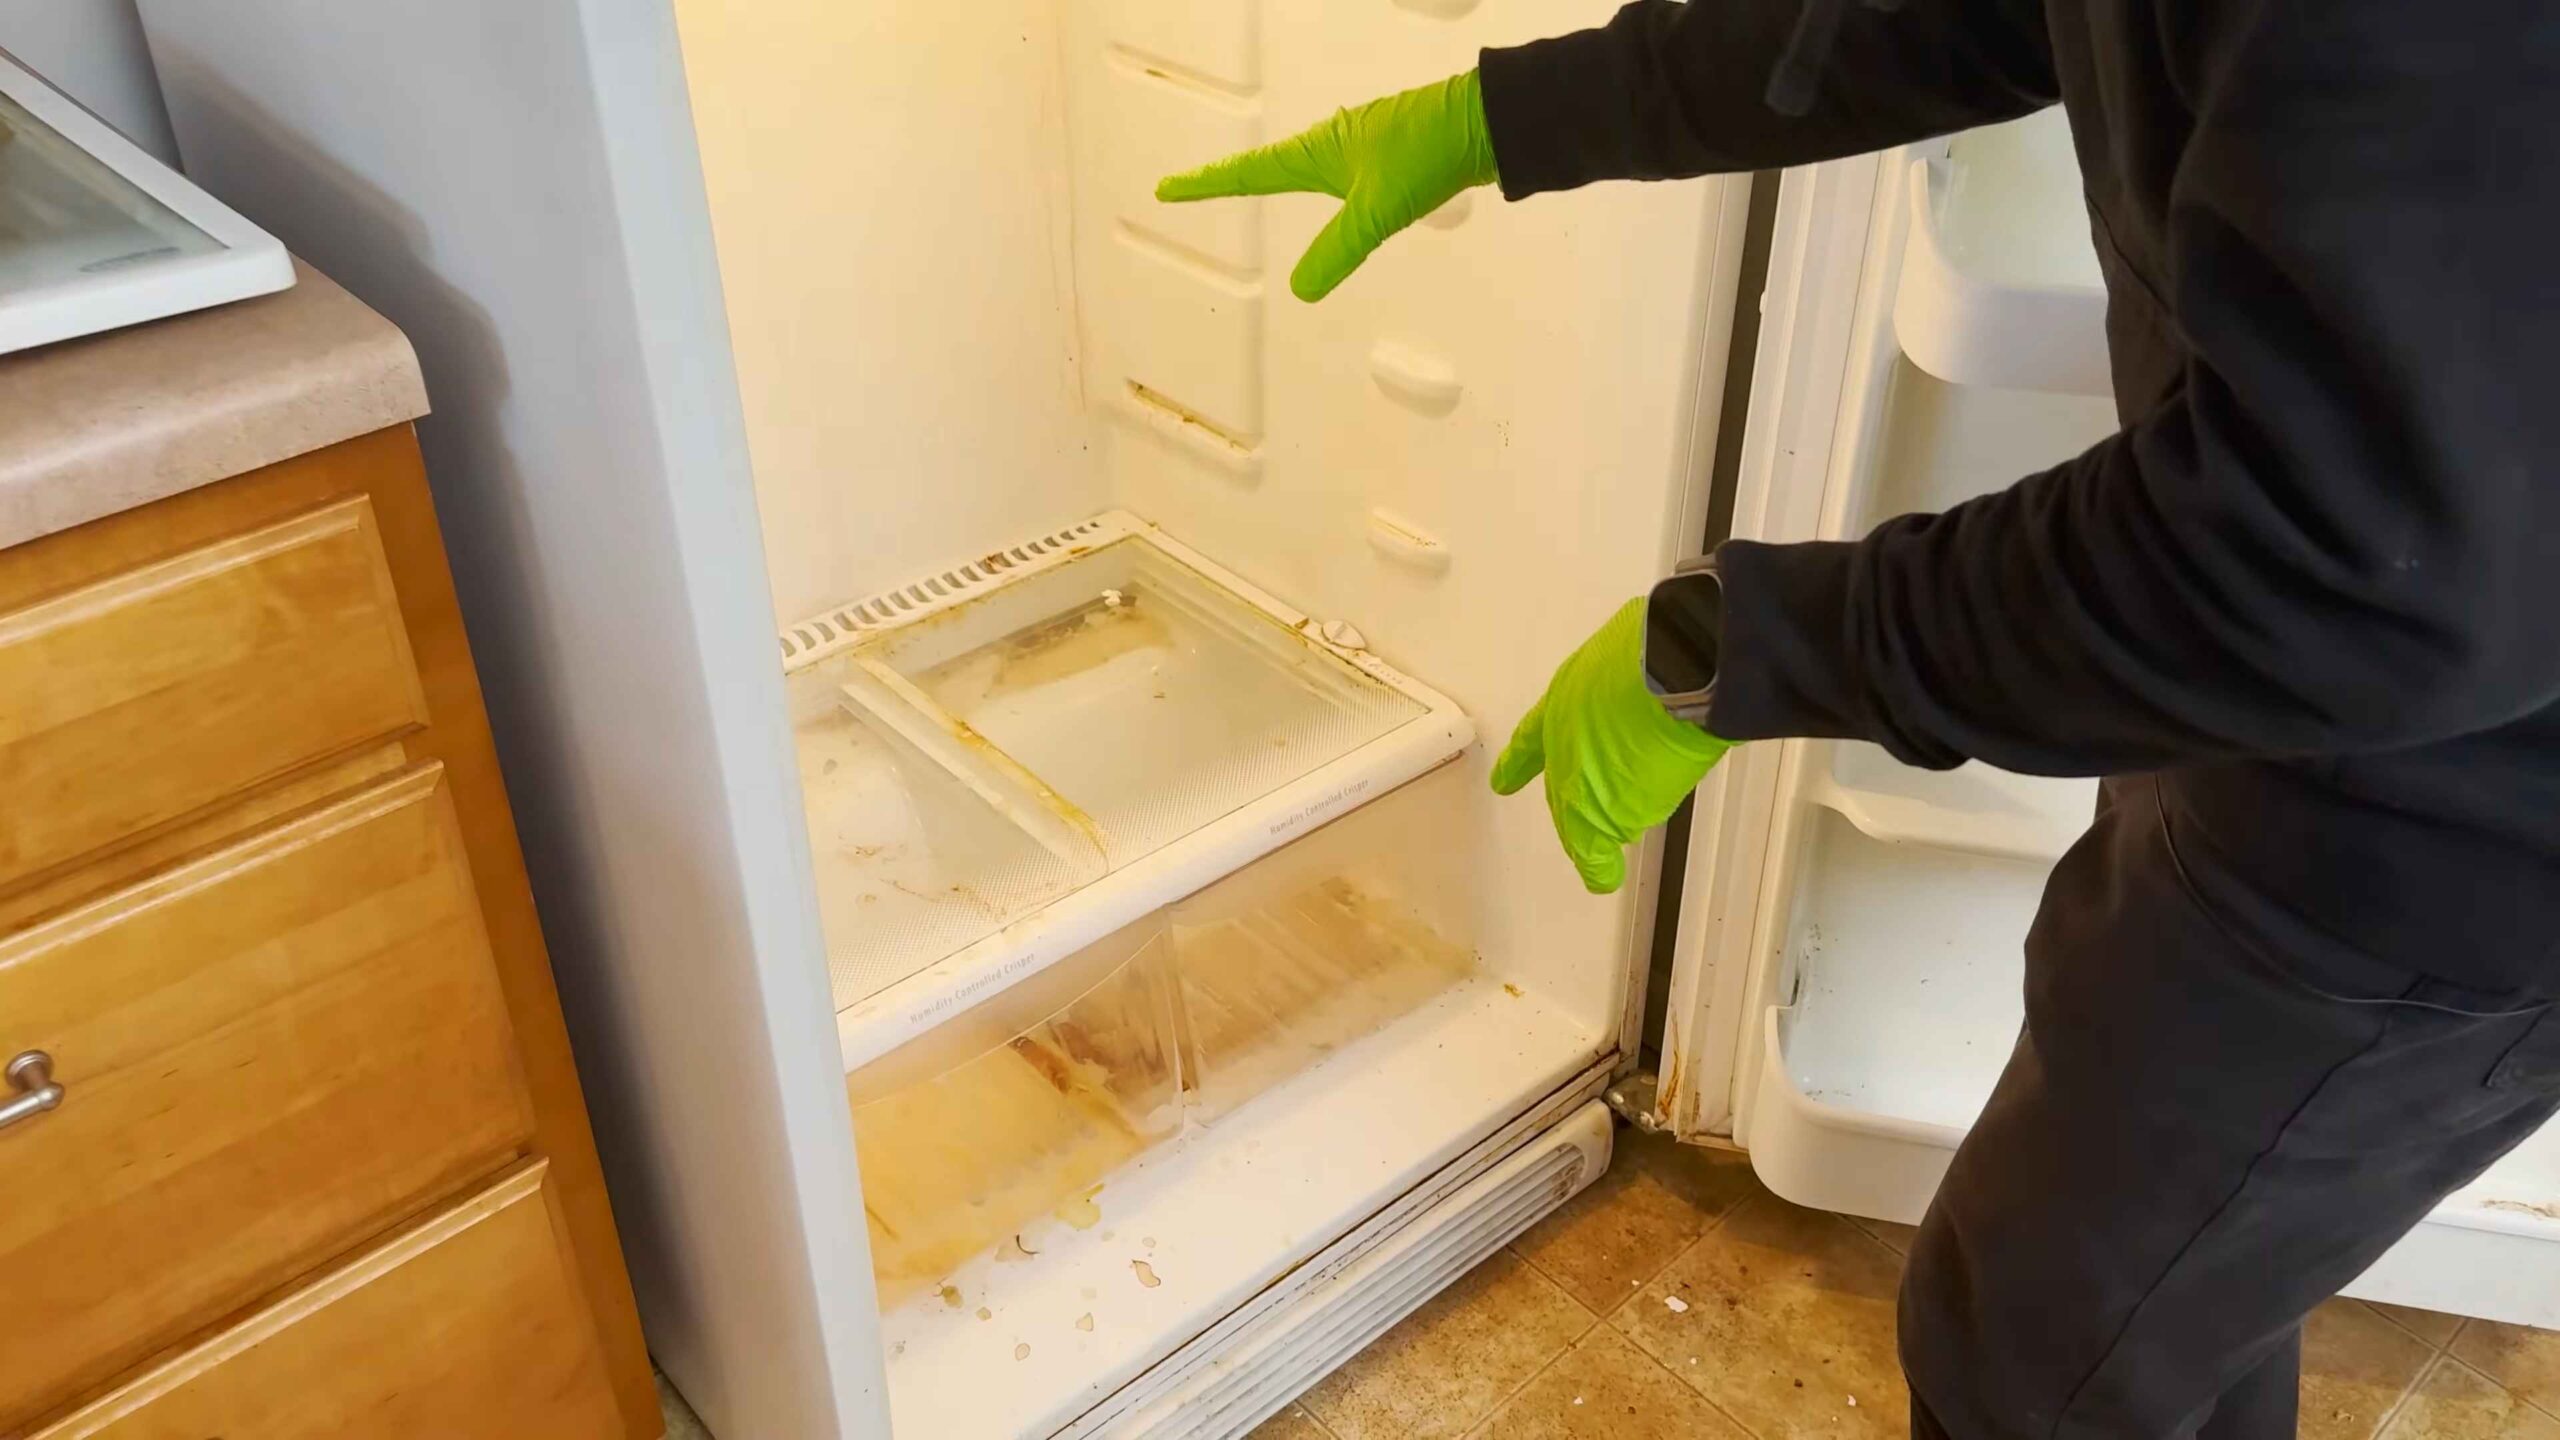
5. Remove Shelves and Drawers: Take out all removable shelves, drawers, and bins. This will allow you to clean them thoroughly and access every nook and cranny of the fridge interior.
Phase 2: Cleaning the Interior
Now for the main event! We’re going to scrub away all the grime and leave your fridge sparkling.
1. Wash Shelves and Drawers: Wash the shelves, drawers, and bins in warm, soapy water. Use a sponge or microfiber cloth to scrub away any food residue or stains. For stubborn stains, you can soak them in warm water with a little baking soda or vinegar.
2. Rinse Thoroughly: Rinse all the shelves and drawers thoroughly with clean water to remove any soap residue.
3. Dry Completely: Dry the shelves and drawers with a clean towel before putting them back in the fridge. This will prevent water spots and mold growth.
4. Spray the Interior: Spray the interior of the fridge with your cleaning solution (baking soda and water or mild dish soap and water).
5. Wipe Down Surfaces: Use a microfiber cloth or sponge to wipe down all interior surfaces, including the walls, ceiling, floor, and door. Pay special attention to areas where spills are common.
6. Tackle Stubborn Stains: For stubborn stains, make a paste of baking soda and water and apply it to the stain. Let it sit for a few minutes, then scrub with a sponge or old toothbrush. You can also use a solution of equal parts vinegar and water for tough stains.
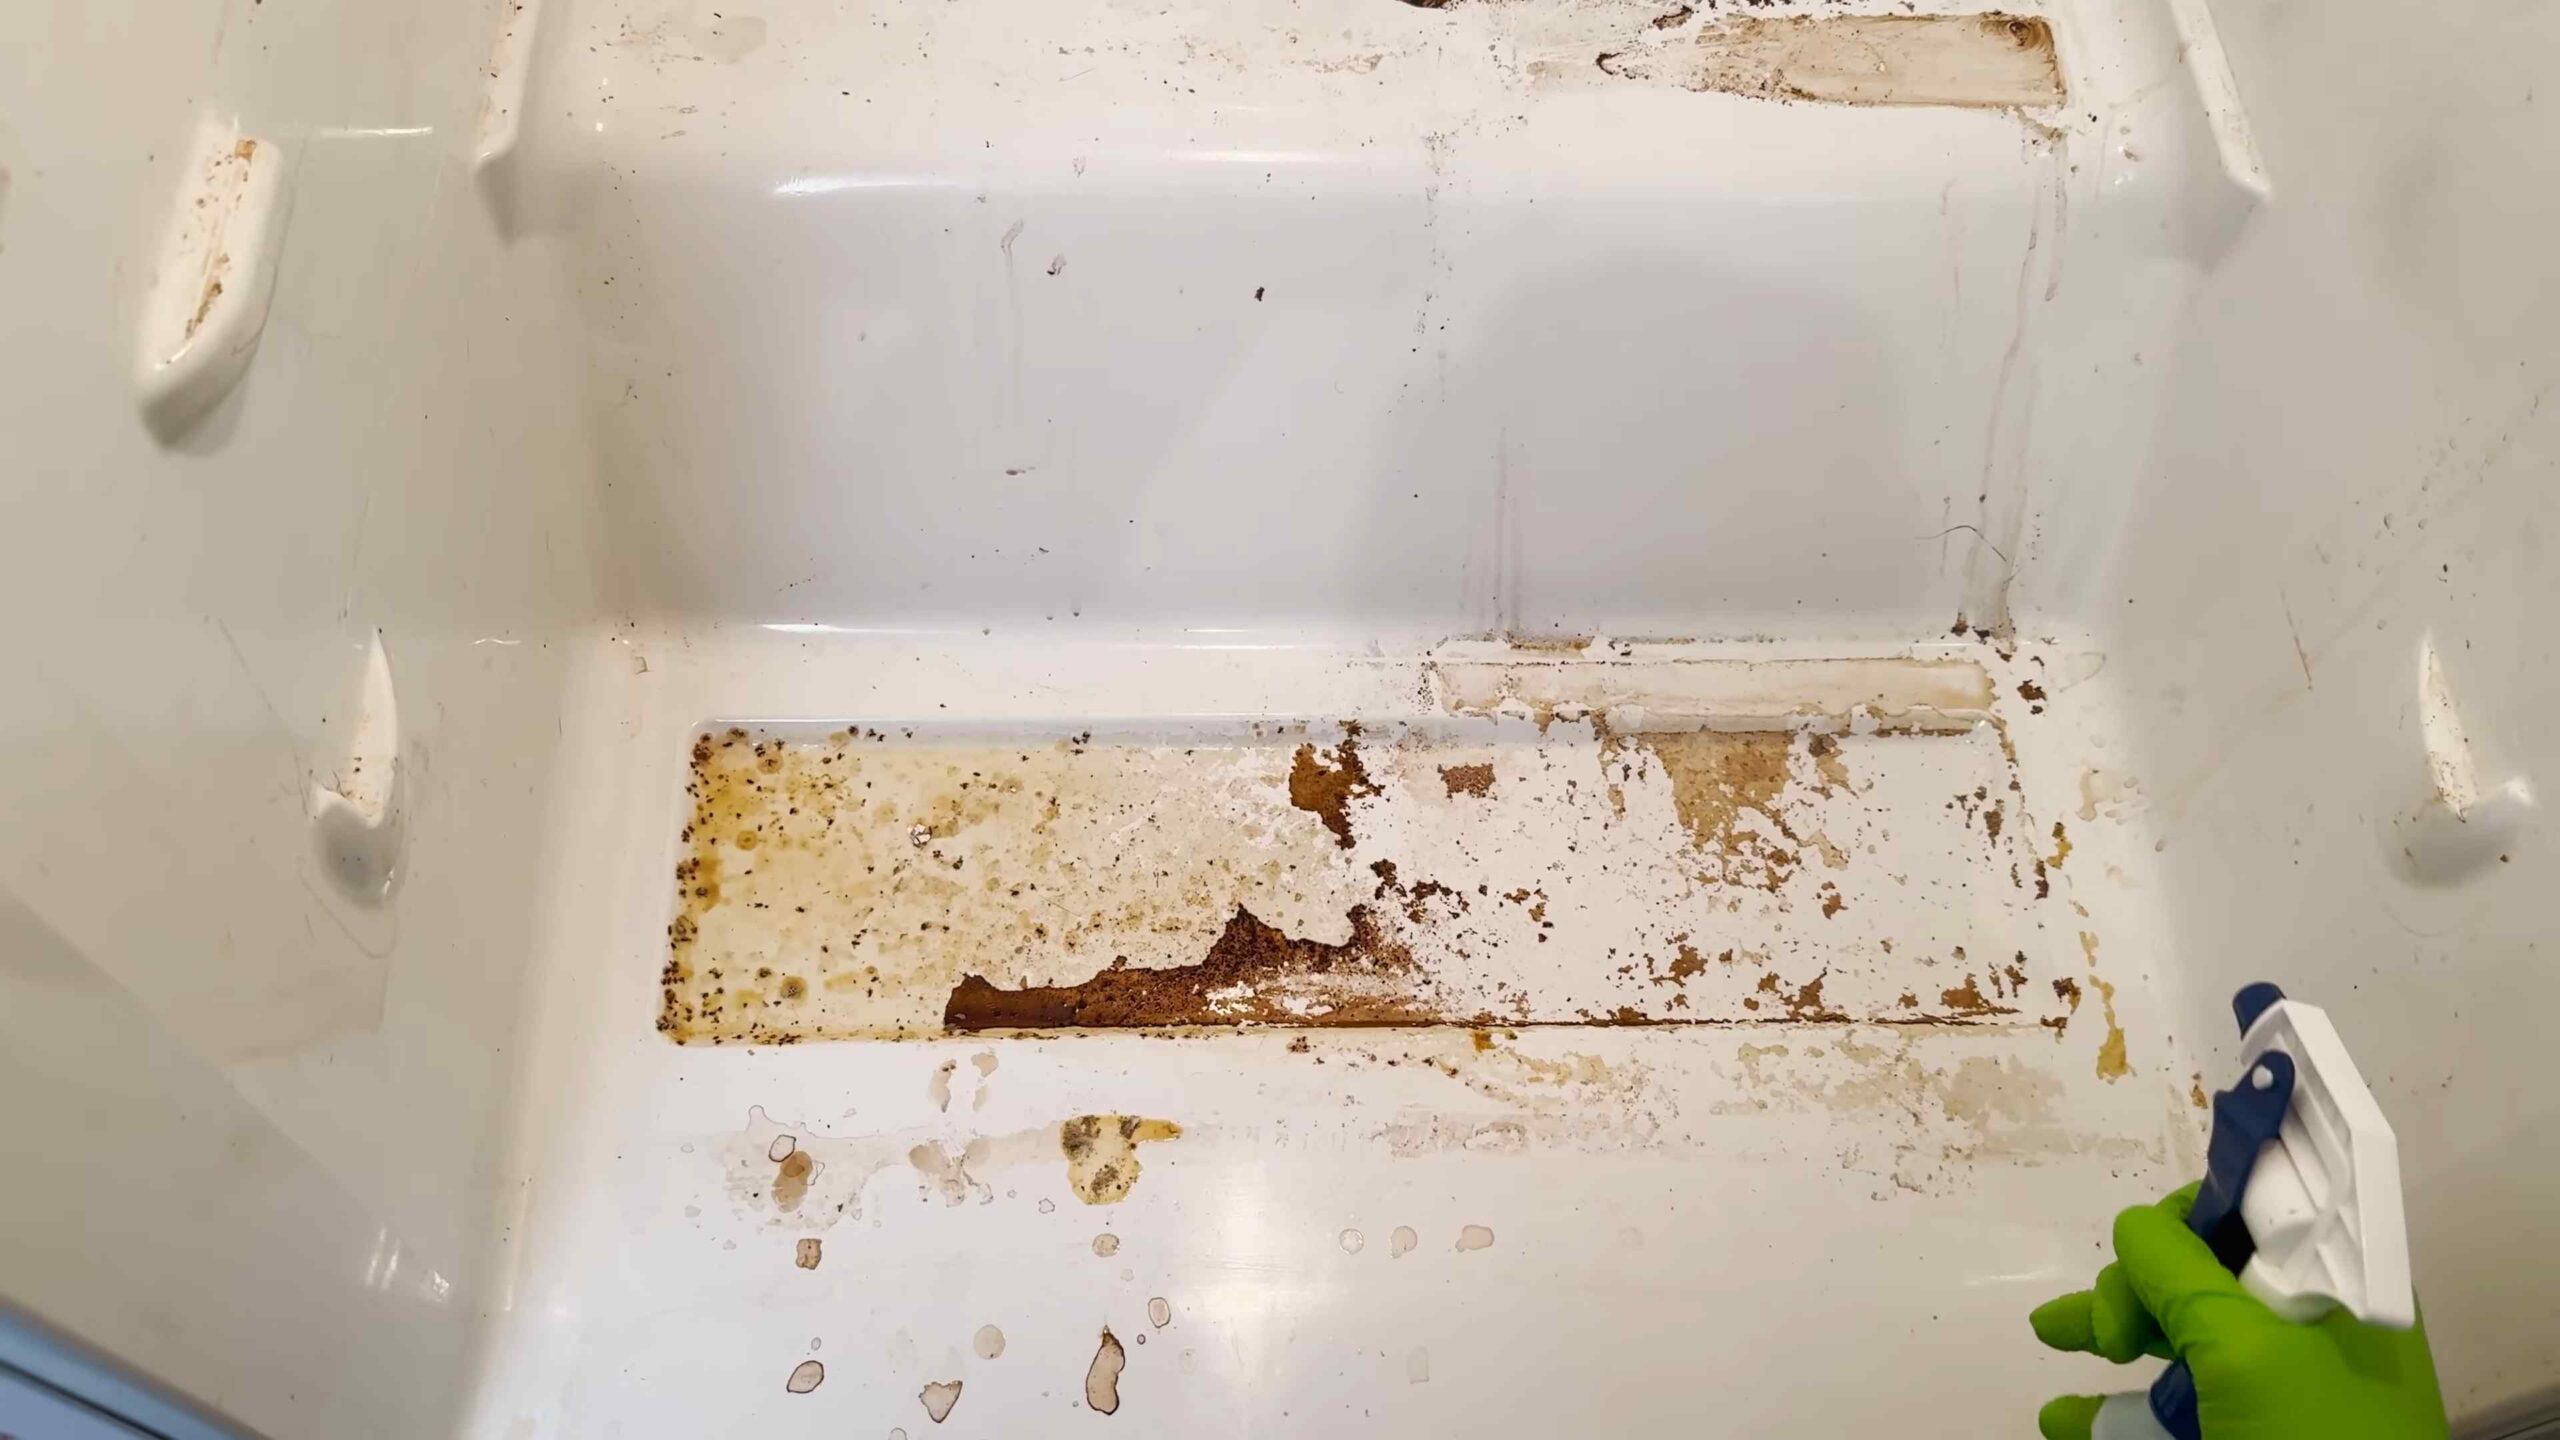
7. Clean the Door Seals: The door seals are often overlooked, but they can accumulate dirt and grime. Use a damp cloth or sponge to clean the door seals, paying attention to the folds and crevices. An old toothbrush can be helpful for this.
8. Rinse and Dry: Rinse the interior of the fridge with a clean, damp cloth to remove any cleaning solution residue. Then, dry all surfaces with a clean towel.
Phase 3: Cleaning the Exterior
Don’t forget the outside! A clean exterior will make your whole kitchen look brighter.
1. Wipe Down the Exterior: Use a damp cloth to wipe down the exterior of the fridge, including the doors, sides, and top.
2. Clean the Handles: Pay special attention to the handles, as they are frequently touched and can accumulate germs. Use a disinfectant wipe or a solution of soap and water to clean the handles.
3. Clean the Top of the Fridge: The top of the fridge can be a dust magnet. Use a vacuum cleaner with a brush attachment or a damp cloth to clean the top of the fridge.
4. Clean the Condenser Coils (Optional): The condenser coils are located on the back or bottom of the fridge. Cleaning them can improve the fridge’s efficiency. Unplug the fridge and use a vacuum cleaner with a brush attachment to remove dust and debris from the coils. Be careful not to damage the coils.
Phase 4: Reassembling and Restocking
We’re almost there! Time to put everything back in its place.
1. Replace Shelves and Drawers: Once the interior is completely dry, replace the shelves, drawers, and bins.
2. Organize Food: As you put food back in the fridge, take the opportunity to organize it. Place items that expire sooner in the front and items that you use frequently within easy reach.
3. Use Storage Containers: Use clear storage containers to organize leftovers and produce. This will help you see what you have and prevent food waste.
4. Place Baking Soda: Place an open box of baking soda in the fridge to absorb odors. Replace the baking soda every three months.
5. Optional: Add a Fresh Scent: Add a few drops of lemon essential oil to a cotton ball and place it in the fridge for a fresh scent.
6. Plug in the Fridge: Plug the fridge back in and let it cool down before adding more food.
7. Monitor Temperature: Make sure your fridge is set to the correct temperature (around 37-40°F or 3-4°C) to keep your food safe.
Extra Tips and Tricks for a Sparkling Fridge
* Prevent Spills: Place mats or liners on the shelves to catch spills and make cleanup easier.
* Clean Regularly: Wipe up spills immediately and do a quick clean of the fridge once a week to prevent buildup.
* Rotate Food: Rotate food regularly to ensure that older items are used before they expire.
* Don’t Overcrowd: Overcrowding the fridge can restrict airflow and make it less efficient.
* Check Expiration Dates: Regularly check expiration dates and discard any expired food.
* Use a Fridge Thermometer: A fridge thermometer can help you ensure that your fridge is maintaining the correct temperature.
* Consider a Water Filter: If your fridge has a water filter, replace it regularly according to the manufacturer’s instructions.
* Clean the Ice Maker: If your fridge has an ice maker, clean it regularly to prevent mold and bacteria growth. Consult your fridge’s manual for specific cleaning instructions.
Maintaining Your Clean Fridge: A Proactive Approach
The key to keeping your fridge clean is to be proactive. Don’t wait until it’s a disaster zone to clean it. A little bit of maintenance each week can go a long way.
* Weekly Wipe-Down: Take a few minutes each week to wipe down the shelves and drawers with a damp cloth.
* Check for Spills: Regularly check for spills and wipe them up immediately.
* Toss Expired Food: Check expiration dates and discard any expired food.
* Restock Strategically: When you restock your fridge after grocery shopping, place older items in the front and newer items in the back.
By following these tips and tricks, you can keep your fridge clean, organized, and smelling fresh. Happy cleaning!
Conclusion
So, there you have it! Transforming your fridge from a biohazard zone to a sparkling sanctuary is not only achievable but surprisingly simple with these deep clean fridge tips. We’ve walked you through the process, highlighting the importance of each step, from the initial purge to the final wipe-down. But why is this DIY approach a must-try?
Firstly, it’s about control. You know exactly what’s going into cleaning your fridge. No harsh chemicals, no lingering artificial scents – just good, old-fashioned elbow grease and natural cleaning agents. This is especially crucial if you have young children, pets, or anyone with sensitivities in your household. You can rest assured that the surfaces where your food is stored are safe and healthy.
Secondly, it’s incredibly cost-effective. Forget expensive commercial fridge cleaners loaded with unnecessary ingredients. Our method relies on readily available household staples like baking soda, vinegar, and lemon juice. These are not only budget-friendly but also environmentally conscious choices. You’re reducing your reliance on plastic packaging and minimizing your impact on the planet.
Thirdly, a deep clean fridge isn’t just about aesthetics; it’s about food preservation. By removing spills, crumbs, and mold spores, you’re creating an environment that’s less conducive to bacterial growth. This translates to fresher food for longer, reducing food waste and saving you money in the long run. Imagine throwing away less wilted lettuce, fewer moldy berries, and less forgotten leftovers. That’s the power of a truly clean fridge.
But don’t stop there! Feel free to experiment with variations to personalize your deep cleaning routine. For instance, if you’re dealing with particularly stubborn odors, try placing an open box of baking soda in your fridge to absorb lingering smells. You can also add a few drops of essential oils, like lemon or grapefruit, to your cleaning solution for an extra boost of freshness. For tough stains, create a paste of baking soda and water and let it sit on the affected area for a few minutes before scrubbing.
Consider using microfiber cloths instead of paper towels for a more sustainable cleaning option. These cloths are highly absorbent, reusable, and gentle on surfaces. You can also invest in some fridge organizers to help maintain cleanliness and prevent future spills. Clear bins and containers make it easy to see what’s inside and prevent food from getting lost in the back of the fridge.
Ultimately, the key to a successful deep clean fridge is consistency. Aim to do a thorough cleaning at least once a month, or more frequently if needed. A little bit of maintenance goes a long way in preventing build-up and keeping your fridge in tip-top shape.
So, what are you waiting for? Roll up your sleeves, gather your supplies, and get ready to transform your fridge. We’re confident that you’ll be amazed at the difference a deep clean can make. And most importantly, we want to hear about your experience! Share your before-and-after photos, your favorite cleaning tips, and any variations you tried in the comments below. Let’s create a community of fridge-cleaning enthusiasts and inspire each other to maintain healthy and happy homes. Your feedback will not only help other readers but also provide valuable insights for improving our deep clean fridge tips. Happy cleaning!
Frequently Asked Questions (FAQ)
1. How often should I deep clean my fridge?
The ideal frequency for a deep clean fridge depends on your lifestyle and how often you use your fridge. However, a good rule of thumb is to aim for a deep clean at least once a month. If you frequently have spills or notice food spoiling quickly, you may want to increase the frequency to every two weeks. Regular spot cleaning, such as wiping up spills as they occur, can help extend the time between deep cleans. Consider setting a reminder on your phone or calendar to ensure you stay on track.
2. What are the best cleaning solutions to use for a deep clean fridge?
For a natural and effective deep clean fridge, consider using a combination of baking soda, vinegar, and lemon juice. Baking soda is excellent for absorbing odors and gently scrubbing away grime. Vinegar is a natural disinfectant and can help remove stubborn stains. Lemon juice adds a fresh scent and has antibacterial properties. Avoid using harsh chemicals or abrasive cleaners, as these can damage the surfaces of your fridge and leave behind harmful residues. A simple solution of warm water and dish soap can also be effective for general cleaning.
3. How do I get rid of stubborn odors in my fridge?
Stubborn odors in the fridge can be challenging to eliminate, but several methods can help. As mentioned earlier, placing an open box of baking soda in your fridge is a classic and effective solution. You can also try placing a bowl of activated charcoal or coffee grounds in the fridge to absorb odors. Another option is to soak a cotton ball in vanilla extract and leave it in the fridge overnight. For particularly persistent odors, try wiping down the interior of your fridge with a solution of vinegar and water. Make sure to remove all food items before attempting any of these methods.
4. What’s the best way to prevent food from spoiling quickly in the fridge?
Proper food storage is crucial for preventing spoilage and maintaining a clean fridge. Store leftovers in airtight containers to prevent them from drying out and absorbing odors. Keep fruits and vegetables in designated crisper drawers to maintain optimal humidity levels. Avoid overcrowding your fridge, as this can restrict airflow and lead to uneven cooling. Check expiration dates regularly and discard any expired or spoiled food items. Consider using fridge organizers to help keep your food items visible and accessible, reducing the likelihood of forgotten leftovers.
5. How do I clean the ice maker and water dispenser in my fridge?
Cleaning the ice maker and water dispenser is an important part of maintaining a clean and healthy fridge. For the ice maker, follow the manufacturer’s instructions for cleaning and sanitizing. This typically involves emptying the ice bin, cleaning the interior with a mild detergent solution, and running a batch of ice to flush out any residue. For the water dispenser, wipe down the nozzle regularly with a damp cloth to prevent the build-up of bacteria and mold. You can also run a solution of vinegar and water through the dispenser to clean the internal components. Refer to your fridge’s user manual for specific instructions and recommendations.
6. Can I use bleach to clean my fridge?
While bleach is a powerful disinfectant, it’s generally not recommended for cleaning your fridge. Bleach can be harsh on the surfaces of your fridge and may leave behind harmful residues that can contaminate your food. Additionally, the strong odor of bleach can be difficult to remove and may linger in your fridge for an extended period. Stick to natural cleaning solutions like baking soda, vinegar, and lemon juice, which are effective and safe for cleaning food storage areas. If you’re concerned about sanitizing your fridge, consider using a food-grade sanitizer specifically designed for use in refrigerators.
7. How do I clean the rubber seals around the fridge doors?
The rubber seals around the fridge doors can accumulate dirt, mold, and mildew over time, compromising their ability to create a tight seal. To clean these seals, use a soft cloth or sponge dampened with warm water and dish soap. Gently scrub the seals to remove any dirt or debris. For stubborn mold or mildew, you can use a solution of vinegar and water. Be sure to dry the seals thoroughly after cleaning to prevent moisture build-up. Regularly cleaning the seals will help maintain their integrity and ensure that your fridge is properly sealed, keeping your food fresh and energy costs down.
8. What are some eco-friendly alternatives to traditional fridge cleaning products?
If you’re looking for eco-friendly alternatives to traditional fridge cleaning products, consider using baking soda, vinegar, lemon juice, and essential oils. These natural ingredients are effective, safe, and readily available. You can also use reusable microfiber cloths instead of paper towels to reduce waste. Look for cleaning products that are labeled as eco-friendly, biodegradable, and non-toxic. Avoid products that contain harsh chemicals, artificial fragrances, and dyes. By making conscious choices about the cleaning products you use, you can minimize your impact on the environment and create a healthier home.


Leave a Comment