

Corn Sacks Home Growing: Ever dreamt of harvesting your own sweet corn, right in your backyard, but thought you didn’t have the space? I’m here to tell you that dream can absolutely become a reality, even if you’re working with a tiny balcony or a small patio! This isn’t just another gardening article; it’s your passport to a bountiful harvest using a surprisingly simple and effective method: corn sacks!
Growing corn has deep roots in human history, dating back thousands of years in Mesoamerica. It’s a staple crop that has nourished civilizations, and now, you can bring that rich history to your own home. Forget sprawling fields; we’re talking about compact, manageable, and incredibly rewarding corn sacks home growing.
Why should you try this DIY trick? Because it’s a game-changer! Traditional corn farming requires significant land and resources. But with this method, you bypass those limitations. It’s perfect for urban gardeners, apartment dwellers, or anyone who wants to enjoy fresh, homegrown corn without the hassle of a large garden. Plus, it’s a fantastic way to recycle old sacks and reduce waste. I’m excited to share these simple steps that will transform your space into a mini cornfield, providing you with delicious, homegrown corn all season long!
Grow Your Own Corn in a Sack: A DIY Guide
Hey there, fellow gardening enthusiasts! Ever dreamed of having fresh, homegrown corn but thought you didn’t have the space? Well, I’m here to tell you that you absolutely can, even if you only have a small patio or balcony! We’re going to dive into a super fun and surprisingly effective method: growing corn in sacks! It’s a fantastic way to maximize your yield in a limited area, and honestly, it’s just plain cool.
Why Grow Corn in Sacks?
Before we get started, let’s quickly touch on why this method is so great:
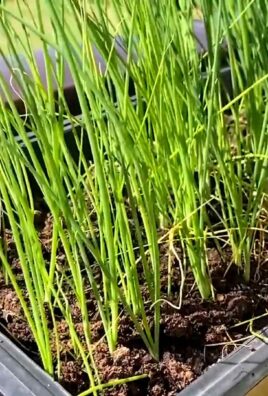
* Space-Saving: This is the biggest advantage! Sacks take up far less ground space than a traditional cornfield.
* Portability: Need to move your corn due to changing sunlight or weather? No problem! Just shift the sack.
* Improved Drainage: Sacks generally offer better drainage than heavy clay soil, which corn loves.
* Weed Control: It’s much easier to manage weeds in a contained environment.
* Fun and Unique: Let’s be honest, it’s a conversation starter!
What You’ll Need
Alright, let’s gather our supplies. Here’s what you’ll need to get your corn-growing operation underway:
* Large, Sturdy Sacks: Burlap sacks are ideal because they’re breathable, but heavy-duty polypropylene feed sacks (cleaned thoroughly, of course!) work well too. Aim for sacks that are at least 24 inches in diameter and 36 inches tall. The bigger, the better!
* Corn Seeds: Choose a variety that’s suitable for your climate and growing season. Sweet corn is a popular choice, but dent corn (for cornmeal) and popcorn varieties also work. Make sure you get non-GMO seeds if that’s important to you.
* Potting Mix: Don’t skimp on this! Use a high-quality potting mix that’s well-draining and rich in nutrients. A mix specifically formulated for vegetables is a great option.
* Compost: Compost is your corn’s best friend! It adds essential nutrients and improves soil structure.
* Slow-Release Fertilizer: A balanced slow-release fertilizer will provide a steady supply of nutrients throughout the growing season. Look for a fertilizer with an NPK ratio (nitrogen, phosphorus, potassium) that’s appropriate for corn.
* Watering Can or Hose: Essential for keeping your corn hydrated.
* Trowel or Shovel: For filling the sacks with soil.
* Optional: Stakes or Tomato Cages: Depending on the corn variety and your local weather conditions, you might need to provide some support to prevent the stalks from falling over.
* Optional: Mulch: Mulch helps retain moisture and suppress weeds. Straw, wood chips, or shredded leaves work well.
Step-by-Step Instructions: Planting Your Corn
Okay, let’s get our hands dirty! Here’s how to plant your corn in sacks:
1. Prepare the Sacks:
* First, give your sacks a good shake to remove any loose debris. If you’re using feed sacks, wash them thoroughly with soap and water to remove any residue.
* Next, roll down the top edges of the sacks a few times to create a sturdy rim. This will make it easier to fill the sacks and prevent them from collapsing.
* Place the sacks in their final location. Remember, they’ll be heavy once filled, so choose a spot that gets at least 6-8 hours of direct sunlight per day.
2. Mix Your Soil:
* In a large container or on a tarp, combine your potting mix, compost, and slow-release fertilizer. A good ratio is about 2 parts potting mix, 1 part compost, and the amount of fertilizer recommended on the package.
* Mix everything thoroughly until it’s evenly distributed.
3. Fill the Sacks:
* Using your trowel or shovel, carefully fill the sacks with the soil mixture. Leave about 4-6 inches of space at the top of the sack.
* Gently tamp down the soil to remove any air pockets.
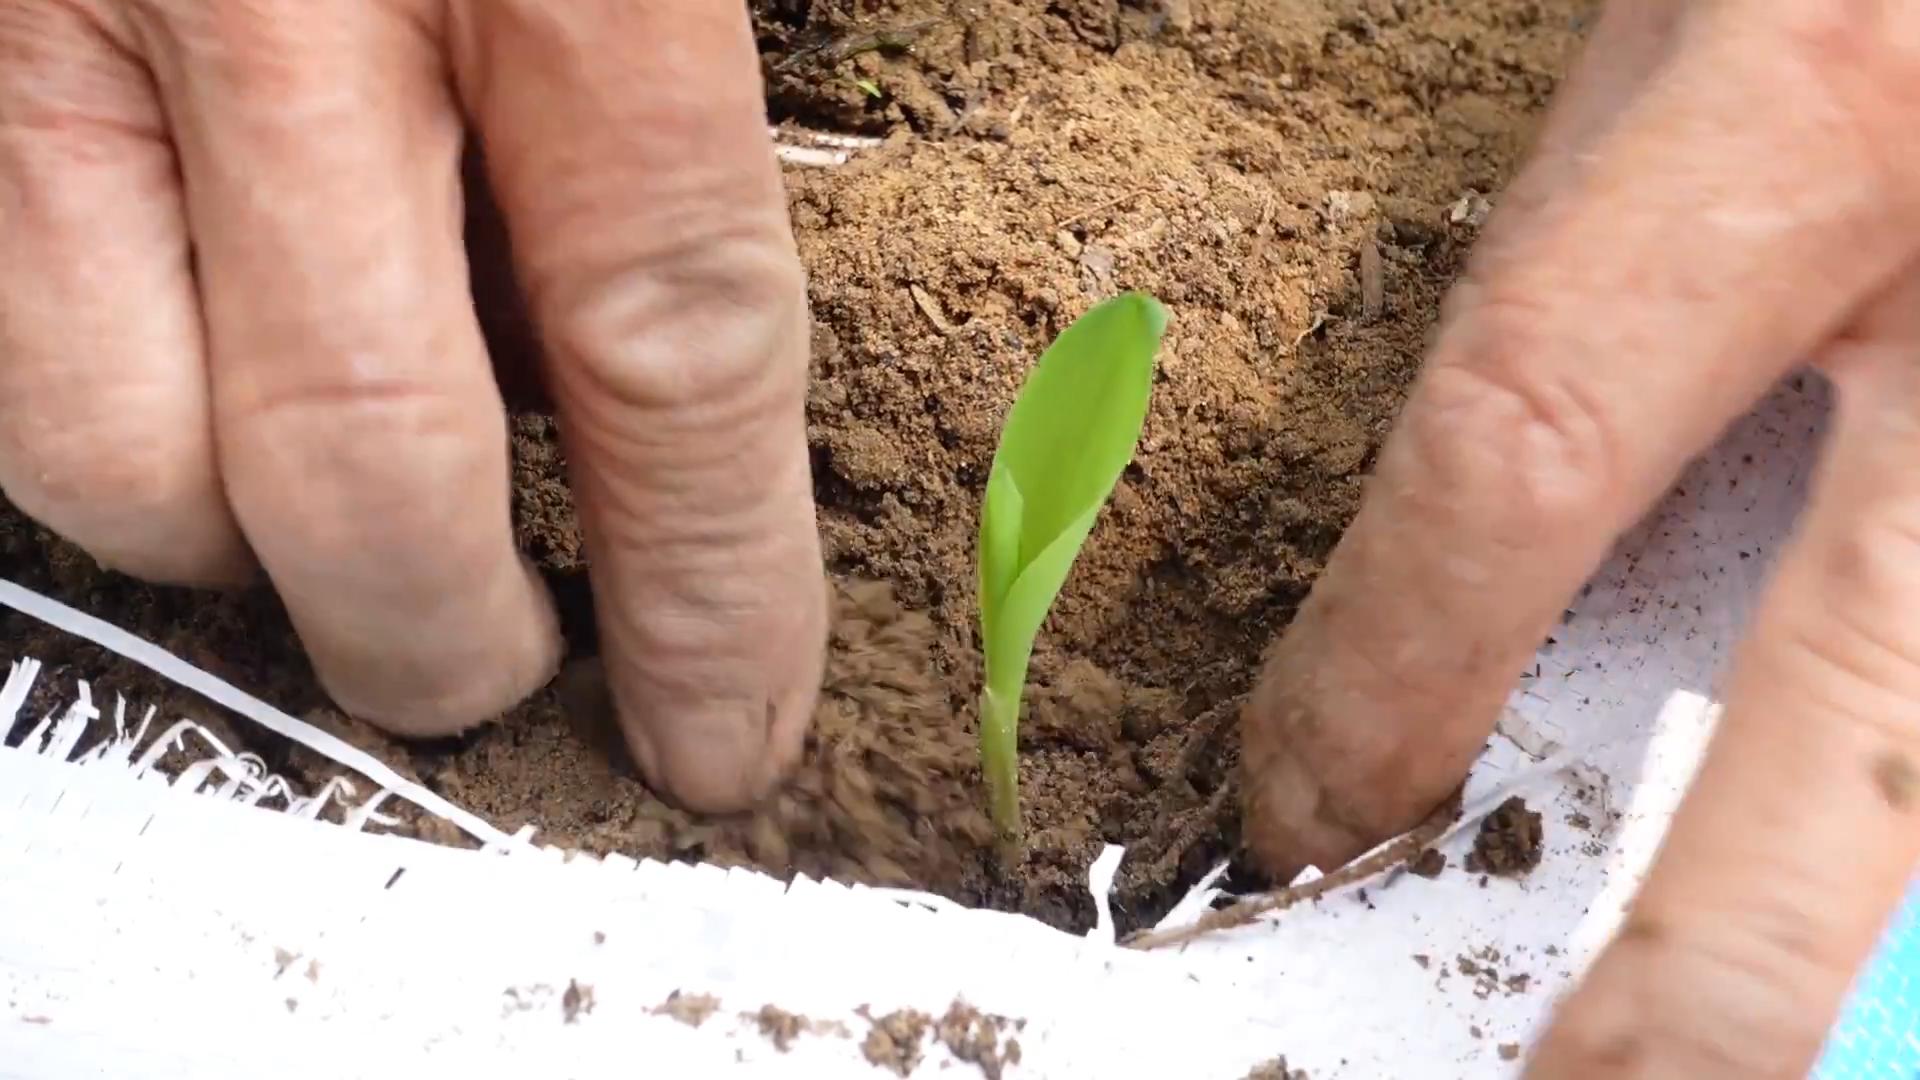
4. Plant the Seeds:
* Now for the fun part! Plant your corn seeds about 1-2 inches deep and 4-6 inches apart. I usually plant 4-6 seeds per sack to ensure good pollination.
* Cover the seeds with soil and gently water them in.
5. Water Thoroughly:
* Water the sacks thoroughly until the water drains out of the bottom. This will help settle the soil and ensure that the seeds have good contact with the moisture.
6. Mulch (Optional):
* If you’re using mulch, spread a 2-3 inch layer around the base of the corn stalks. This will help retain moisture, suppress weeds, and regulate soil temperature.
Caring for Your Corn
Now that your corn is planted, it’s time to provide it with the care it needs to thrive.
1. Watering:
* Corn needs consistent moisture, especially during germination and tasseling (when the silks emerge). Water deeply whenever the top inch of soil feels dry to the touch.
* Avoid overwatering, as this can lead to root rot.
* Consider using a soaker hose or drip irrigation system to deliver water directly to the roots.
2. Fertilizing:
* Even with slow-release fertilizer, corn is a heavy feeder and may need additional nutrients. Side-dress your corn with compost tea or a liquid fertilizer every 2-3 weeks.
* Pay attention to the color of the leaves. Yellowing leaves can indicate a nitrogen deficiency.
3. Pollination:
* Corn is wind-pollinated, so it’s important to ensure good air circulation around your plants. If you’re growing corn in a sheltered location, you may need to hand-pollinate.
* To hand-pollinate, gently shake the tassels (the male flowers at the top of the plant) over the silks (the female flowers that emerge from the ears). Do this in the morning when the pollen is most active.
4. Weed Control:
* Keep the area around your corn sacks free of weeds. Hand-pull any weeds that emerge.
* Mulch can help suppress weed growth.
5. Pest and Disease Control:
* Keep an eye out for common corn pests, such as corn earworms, aphids, and spider mites.
* Treat any infestations promptly with organic pest control methods, such as insecticidal soap or neem oil.
* Ensure good air circulation to prevent fungal diseases.
6. Support (Optional):
* If your corn stalks are getting tall and wobbly, provide them with support using stakes or tomato cages. This will prevent them from falling over in strong winds.
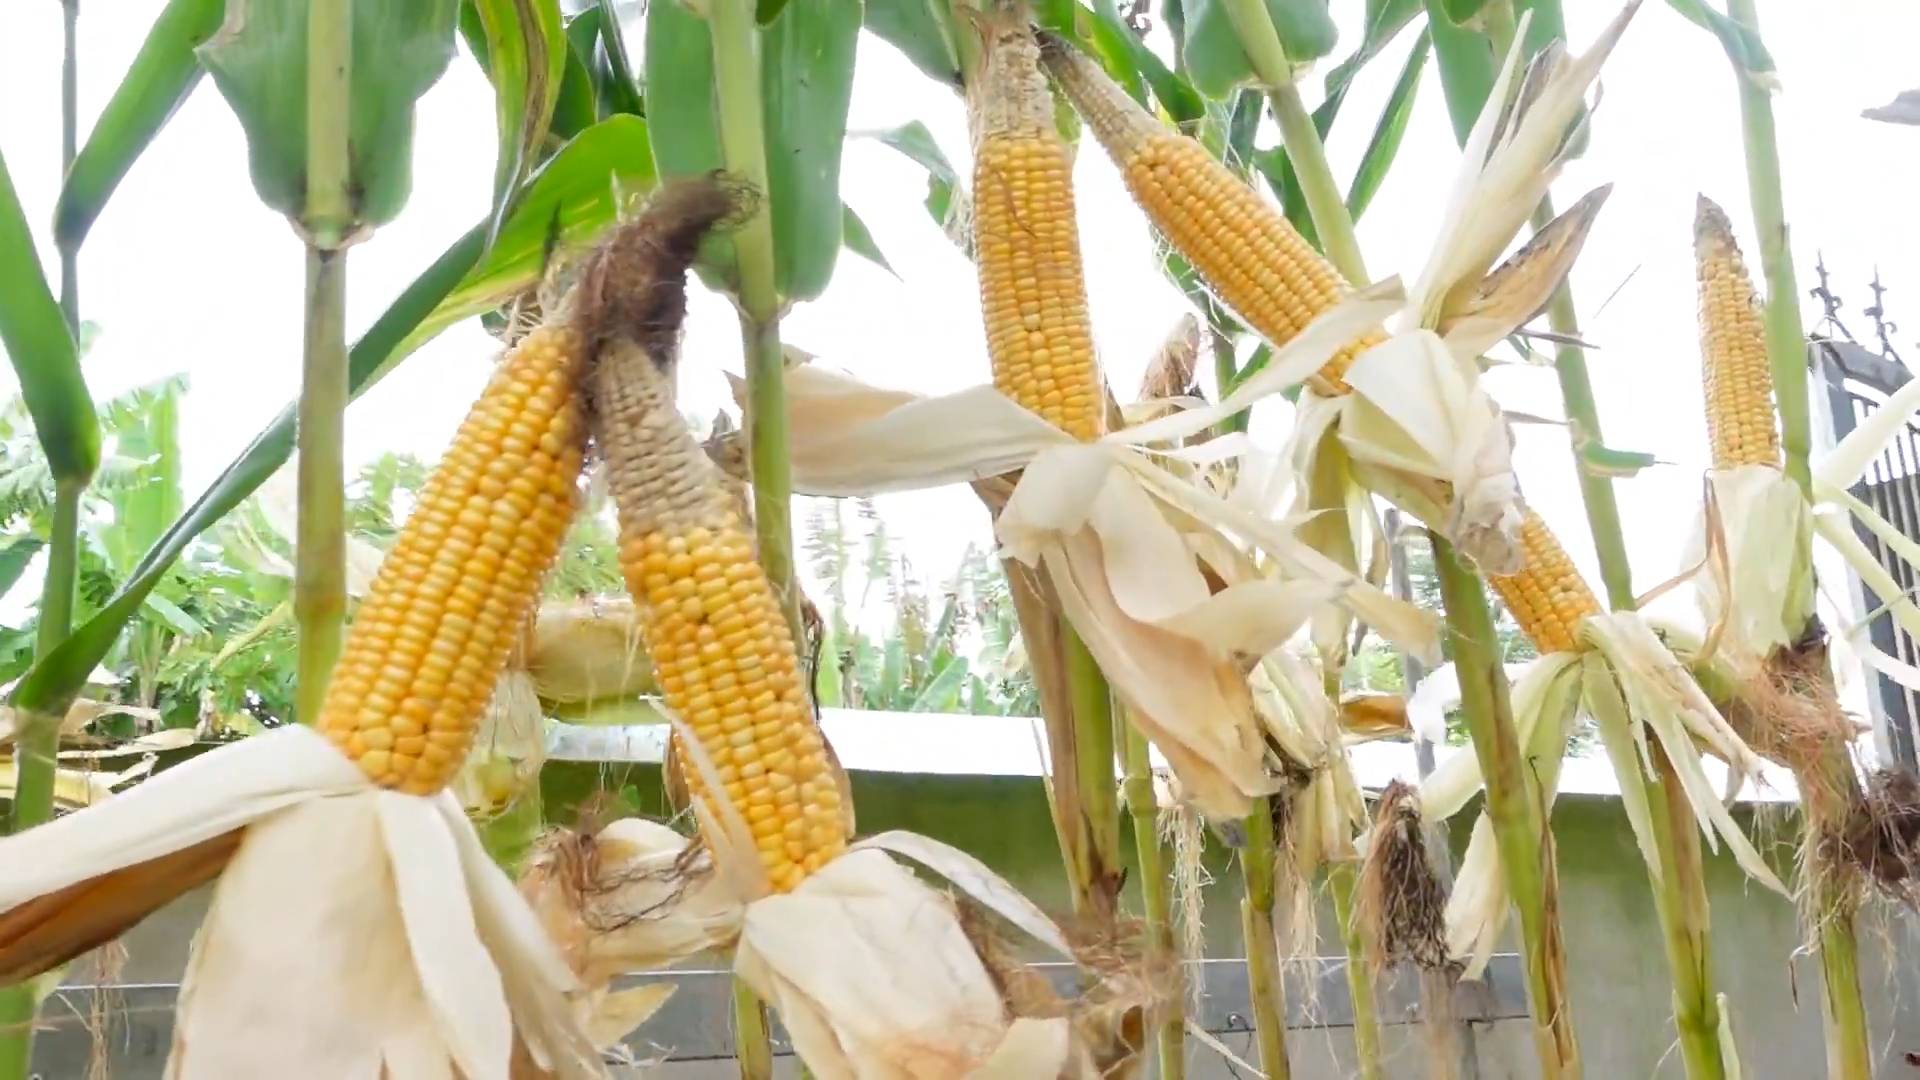
Harvesting Your Corn
The moment we’ve all been waiting for! Here’s how to know when your corn is ready to harvest:
1. Check the Silks:
* The silks should be dry and brown.
2. Feel the Ears:
* Gently squeeze the ears. They should feel plump and full.
3. Peel Back the Husk:
* Carefully peel back a small portion of the husk and puncture a kernel with your fingernail. If the liquid that comes out is milky, the corn is ready to harvest. If it’s clear, it needs more time.
4. Harvest:
* To harvest, grasp the ear firmly and twist it downward. It should snap off easily from the stalk.
5. Enjoy!
* Eat your corn as soon as possible after harvesting for the best flavor. You can grill it, boil it, roast it, or use it in your favorite recipes.
Troubleshooting
Even with the best planning, things can sometimes go wrong. Here are a few common problems you might encounter and how to fix them:
* Poor Germination: Make sure your seeds are fresh and viable. Plant them in warm soil and keep the soil consistently moist.
* Yellowing Leaves: This could indicate a nitrogen deficiency. Side-dress your corn with compost tea or a nitrogen-rich fertilizer.
* Stunted Growth: This could be due to a lack of nutrients, poor drainage, or pest infestation. Check the soil pH and nutrient levels, improve drainage, and treat any pests.
* Poor Pollination: Hand-pollinate your corn if necessary. Ensure good air circulation around your plants.
* Ears Not Filling Out: This could be due to a lack of water or nutrients. Water deeply and fertilize regularly.
Final Thoughts
Growing corn
Conclusion
So, there you have it! Transforming humble corn sacks into thriving home gardens is not just a quirky DIY project; it’s a game-changer for anyone looking to maximize space, minimize waste, and cultivate a flourishing patch of goodness, even in the most unlikely of locations. This method of corn sacks home growing offers a unique blend of sustainability, convenience, and surprisingly effective results.
Why is this a must-try? Because it democratizes gardening. You don’t need acres of land, meticulously prepared soil, or expensive equipment. All you need are a few corn sacks (easily sourced from local farms or feed stores), some quality soil, and a dash of enthusiasm. It’s an incredibly accessible way to connect with nature, grow your own food, and reduce your environmental footprint.
But the beauty of this DIY trick lies in its adaptability. Feel free to experiment with different types of plants. While we’ve focused on vegetables and herbs, consider using corn sacks for growing flowers, creating a vibrant vertical garden that adds color and life to your balcony or patio. You can also adjust the size of the sacks to suit your needs. Smaller sacks are perfect for individual herbs or smaller vegetables, while larger sacks can accommodate larger plants like tomatoes or peppers.
Another exciting variation is to incorporate companion planting techniques. Plant basil alongside your tomatoes to deter pests and improve flavor, or interplant marigolds to ward off nematodes. The possibilities are endless!
Don’t be afraid to get creative with your watering system. While hand-watering is perfectly fine, you can also explore drip irrigation systems to ensure consistent moisture levels, especially during hot summer months. You can even repurpose plastic bottles to create a simple and effective drip irrigation system.
We understand that venturing into new gardening techniques can be a little daunting, but trust us, the rewards are well worth the effort. The satisfaction of harvesting your own homegrown produce, knowing that you’ve nurtured it from seed to table, is simply unparalleled. Plus, you’ll be contributing to a more sustainable and eco-friendly lifestyle.
So, what are you waiting for? Grab some corn sacks, gather your supplies, and embark on this exciting gardening adventure. We’re confident that you’ll be amazed by the results. And most importantly, we want to hear about your experience! Share your photos, tips, and stories with us in the comments below. Let’s build a community of corn sack gardeners and inspire others to embrace this innovative and sustainable way of growing. Let us know what worked for you, what challenges you faced, and what delicious harvests you reaped. Your feedback will help us refine this technique and make it even more accessible to everyone. Happy gardening!
Frequently Asked Questions (FAQ)
What kind of soil should I use for corn sack gardening?
The best soil for corn sack gardening is a well-draining, nutrient-rich potting mix. Avoid using garden soil directly, as it can become compacted in the sacks and hinder root growth. Look for a potting mix that contains a blend of peat moss, perlite, and vermiculite. You can also amend your potting mix with compost or other organic matter to boost its fertility. A slightly acidic to neutral pH is ideal for most vegetables and herbs. Consider testing your soil’s pH and adjusting it accordingly if necessary. Remember, healthy soil is the foundation for healthy plants.
How often should I water my corn sack garden?
Watering frequency depends on several factors, including the type of plants you’re growing, the weather conditions, and the drainage of your soil. As a general rule, water your corn sack garden when the top inch of soil feels dry to the touch. During hot, dry weather, you may need to water daily, or even twice a day. Be sure to water thoroughly, allowing the water to drain out of the bottom of the sack. Avoid overwatering, as this can lead to root rot. A good way to check if your plants need water is to stick your finger into the soil. If it feels dry an inch or two down, it’s time to water.
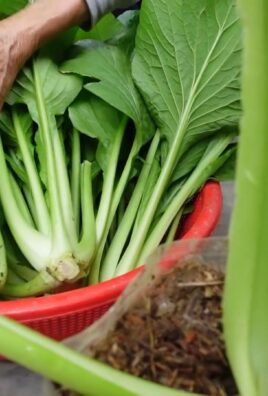
What plants grow best in corn sacks?
Many different types of plants thrive in corn sacks. Vegetables like tomatoes, peppers, cucumbers, zucchini, and lettuce are all excellent choices. Herbs such as basil, rosemary, thyme, and oregano also do well in corn sacks. Strawberries are another popular option. When choosing plants, consider the size of the sack and the mature size of the plant. Avoid planting large, sprawling plants in small sacks. Also, be sure to choose plants that are well-suited to your local climate. Consider starting with easy-to-grow options like lettuce or herbs before tackling more challenging vegetables.
How do I prevent pests and diseases in my corn sack garden?
Preventing pests and diseases is crucial for a successful corn sack garden. Start by using healthy, disease-free seedlings or seeds. Choose disease-resistant varieties whenever possible. Regularly inspect your plants for signs of pests or diseases. Remove any affected leaves or plants immediately. Encourage beneficial insects, such as ladybugs and lacewings, by planting flowers that attract them. Use organic pest control methods, such as insecticidal soap or neem oil, if necessary. Avoid overwatering, as this can create a favorable environment for fungal diseases. Proper air circulation is also important, so space your plants adequately.
How long will a corn sack last?
The lifespan of a corn sack depends on the material it’s made from and the weather conditions. Burlap sacks will typically last for one to two growing seasons, while synthetic sacks may last longer. To prolong the life of your sacks, avoid dragging them across rough surfaces. You can also line the inside of the sacks with plastic to protect them from moisture. When the sacks eventually start to deteriorate, you can simply replace them with new ones. The old sacks can be composted or used as mulch.
Can I reuse the soil in my corn sacks?
Yes, you can reuse the soil in your corn sacks, but it’s important to replenish its nutrients. After each growing season, amend the soil with compost, aged manure, or other organic matter. You can also add a slow-release fertilizer to provide essential nutrients for the next crop. Consider rotating your crops to prevent nutrient depletion and reduce the risk of soilborne diseases. If you notice any signs of soilborne diseases, it’s best to replace the soil entirely.
How do I fertilize my corn sack garden?
Fertilizing your corn sack garden is essential for healthy plant growth. You can use a variety of fertilizers, including organic and synthetic options. Organic fertilizers, such as compost tea, fish emulsion, and bone meal, are a great way to provide slow-release nutrients. Synthetic fertilizers provide a quick boost of nutrients, but they can also be harmful to the environment if used improperly. Follow the instructions on the fertilizer label carefully. Avoid over-fertilizing, as this can burn the roots of your plants. A balanced fertilizer with equal amounts of nitrogen, phosphorus, and potassium is generally a good choice for most vegetables and herbs.
What if my corn sacks are too heavy to move?
Corn sacks filled with soil can be quite heavy, especially when wet. If you need to move your sacks, consider using a hand truck or dolly. You can also place the sacks on a wheeled platform to make them easier to move. Another option is to partially empty the sacks before moving them. Remove some of the soil and place it in a separate container. Once you’ve moved the sacks, you can add the soil back in.
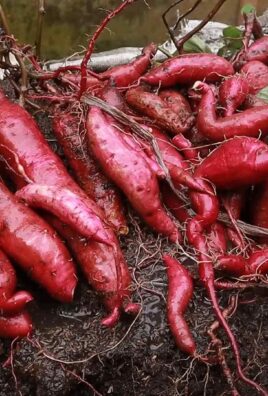
Can I grow root vegetables in corn sacks?
While it’s possible to grow some root vegetables in corn sacks, it’s important to choose varieties that don’t require a lot of depth. Carrots, radishes, and beets are all good options. Be sure to use a deep sack and provide plenty of loose, well-draining soil. Avoid planting root vegetables in compacted soil, as this can hinder their growth. You may also need to thin the seedlings to provide adequate space for the roots to develop.
How does corn sacks home growing help the environment?
Corn sacks home growing is an environmentally friendly gardening method for several reasons. It reduces waste by repurposing corn sacks that would otherwise be discarded. It minimizes the need for tilling and soil preparation, which can damage soil structure and release carbon dioxide into the atmosphere. It allows you to grow your own food locally, reducing your reliance on commercially grown produce that is often transported long distances. It also promotes biodiversity by creating a habitat for beneficial insects and other wildlife. By embracing corn sack gardening, you can contribute to a more sustainable and eco-friendly lifestyle.
Leave a Comment