

Cleaning walls and baseboards – sounds like a chore, right? But what if I told you it’s the secret weapon to a sparkling clean home and a healthier living space? We often overlook these surfaces, but they silently accumulate dust, grime, and even mold, impacting both the aesthetics and air quality of our homes.
Think about it: baseboards are constantly kicked and brushed against, while walls act as magnets for airborne particles. Historically, keeping walls clean was a sign of prosperity and good hygiene, dating back to ancient civilizations who used natural materials to scrub and maintain their dwellings. While we’ve come a long way from clay and straw, the need for clean walls and baseboards remains crucial.
This DIY guide is your ultimate resource for tackling this often-dreaded task. I’m going to share simple, effective, and budget-friendly tricks that will transform your walls and baseboards from dull and dirty to gleaming and gorgeous. You’ll learn how to identify different types of wall finishes, choose the right cleaning solutions, and master techniques that minimize streaks and damage. Trust me, once you see the difference cleaning walls and baseboards makes, you’ll wonder why you didn’t do it sooner! Let’s get started and breathe new life into your home!
DIY Deep Clean: Walls and Baseboards Like a Pro!
Okay, let’s face it, cleaning walls and baseboards isn’t exactly anyone’s idea of a fun Saturday afternoon. But trust me, a little elbow grease can make a HUGE difference in how clean and fresh your whole house feels. I’m going to walk you through my tried-and-true method for getting those surfaces sparkling, and you’ll be amazed at the results!
What You’ll Need: Your Cleaning Arsenal
Before we dive in, let’s gather our supplies. Having everything ready to go will make the process so much smoother. Here’s my go-to list:
* Microfiber cloths: These are my absolute favorite for cleaning. They’re gentle, absorbent, and reusable! Get a bunch – you’ll need them.
* Buckets (at least two): One for your cleaning solution and one for rinsing.
* Warm water: The foundation of our cleaning power.
* Mild dish soap: A few drops go a long way. Avoid anything too harsh that could damage your paint.
* Baking soda: My secret weapon for tackling stubborn scuffs and marks.
* White vinegar: Another fantastic natural cleaner. We’ll use it for extra grime-fighting power.
* Spray bottle: For applying cleaning solutions to specific areas.
* Magic Eraser: Handle with care! These are great for tough spots, but can remove paint if you scrub too hard.
* Soft-bristled brush: Perfect for getting into those nooks and crannies on your baseboards. An old toothbrush works great too!
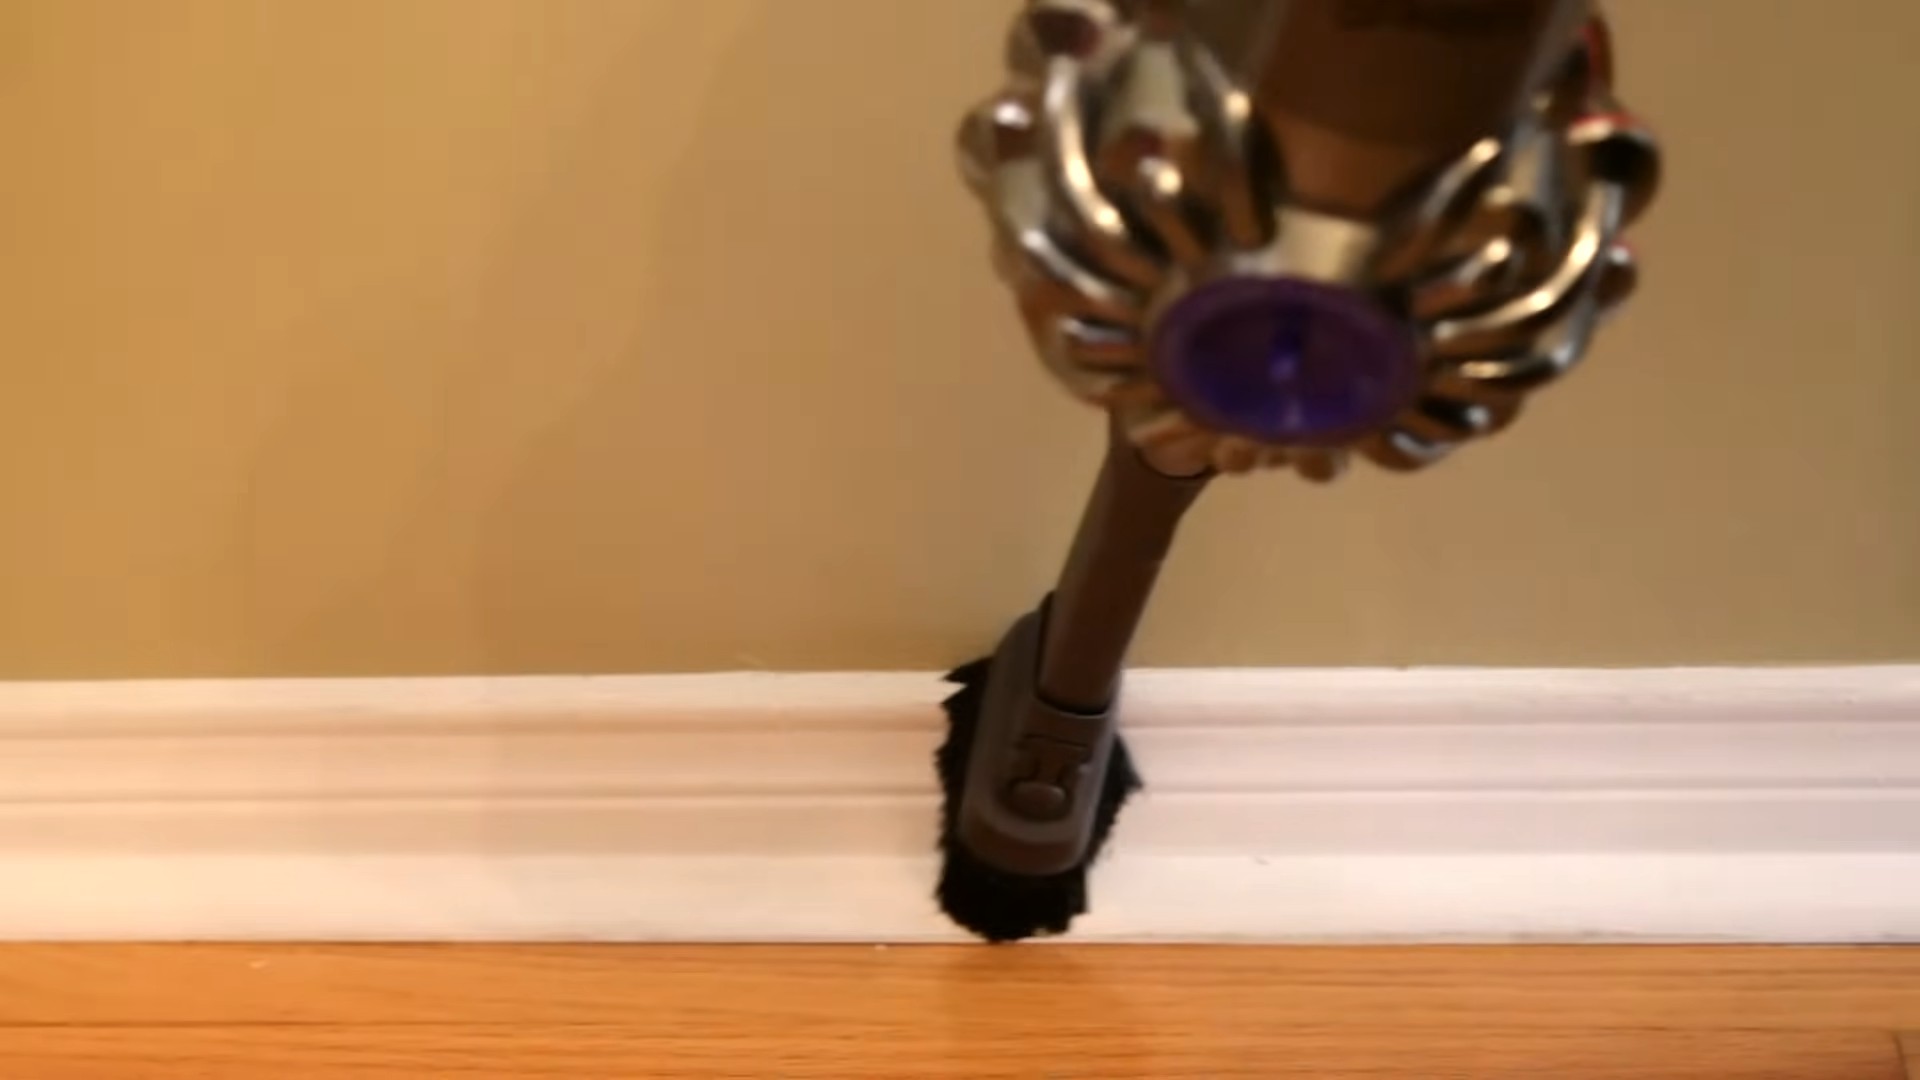
* Vacuum cleaner with brush attachment: To remove loose dust and debris before we start washing.
* Rubber gloves: Protect your hands!
* Ladder or step stool: For reaching high areas. Safety first!
* Old towel or drop cloth: To protect your floors.
Prepping for Success: Getting Ready to Clean
Before we start scrubbing, let’s get the area ready. This will make the whole process more efficient and prevent any accidental messes.
1. Clear the Area: Move any furniture away from the walls and baseboards. This will give you plenty of room to maneuver and prevent you from bumping into things.
2. Protect Your Floors: Lay down an old towel or drop cloth along the baseboards to catch any drips. This will save you from having to clean the floors afterward!
3. Dust First: Use your vacuum cleaner with the brush attachment to remove any loose dust, cobwebs, or debris from the walls and baseboards. Pay special attention to corners and crevices. This step is crucial because washing dusty surfaces just creates a muddy mess.
4. Ventilate the Room: Open windows or turn on a fan to ensure good ventilation. This will help the cleaning solutions dry faster and prevent any lingering odors.
Cleaning the Walls: From Top to Bottom
Now for the main event! We’ll start with the walls and work our way down.
1. Prepare Your Cleaning Solution: In one of your buckets, mix warm water with a few drops of mild dish soap. You want the water to be sudsy, but not overly soapy.
2. Test in an Inconspicuous Area: Before you start cleaning the entire wall, test your cleaning solution in a small, hidden area (like behind a piece of furniture or in a corner). This will ensure that the solution doesn’t damage or discolor your paint.
3. Dip and Wring: Dip a clean microfiber cloth into the cleaning solution, and wring it out thoroughly. You want the cloth to be damp, not soaking wet. Excess water can drip down the walls and cause streaks.
4. Wash the Walls: Starting at the top of the wall, gently wipe down the surface in overlapping strokes. Work your way down to the bottom, rinsing your cloth frequently in the clean water bucket.
5. Tackle Stubborn Marks: For stubborn scuffs or marks, make a paste of baking soda and water. Apply the paste to the mark, let it sit for a few minutes, and then gently scrub with a clean, damp cloth. Rinse thoroughly.
6. Magic Eraser Caution: If the baking soda paste doesn’t work, you can try using a Magic Eraser. However, be very careful! Magic Erasers are abrasive and can remove paint if you scrub too hard. Test in an inconspicuous area first, and use light pressure.
7. Rinse with Clean Water: Once you’ve washed the entire wall, rinse it with a clean, damp microfiber cloth. This will remove any soap residue.
8. Dry the Walls: Use a clean, dry microfiber cloth to dry the walls. This will prevent water spots and streaks.
Cleaning the Baseboards: Getting Down and Dirty
Baseboards tend to accumulate a lot of dust, dirt, and grime, so they often require a little extra attention.
1. Prepare Your Cleaning Solution: In your second bucket, mix warm water with a few drops of mild dish soap and a splash of white vinegar. The vinegar will help cut through grease and grime.
2. Scrub the Baseboards: Dip your soft-bristled brush or old toothbrush into the cleaning solution, and scrub the baseboards thoroughly. Pay special attention to corners, crevices, and areas where dirt tends to accumulate.
3. Wipe Clean: Use a clean, damp microfiber cloth to wipe down the baseboards, removing any soap residue and dirt.
4. Tackle Stubborn Grime: For stubborn grime, you can try using a Magic Eraser or a baking soda paste. Again, be careful not to scrub too hard and damage the finish.
5. Dry the Baseboards: Use a clean, dry microfiber cloth to dry the baseboards.
Extra Tips and Tricks: Level Up Your Cleaning Game
Here are a few extra tips and tricks that I’ve learned over the years to make cleaning walls and baseboards even easier and more effective:
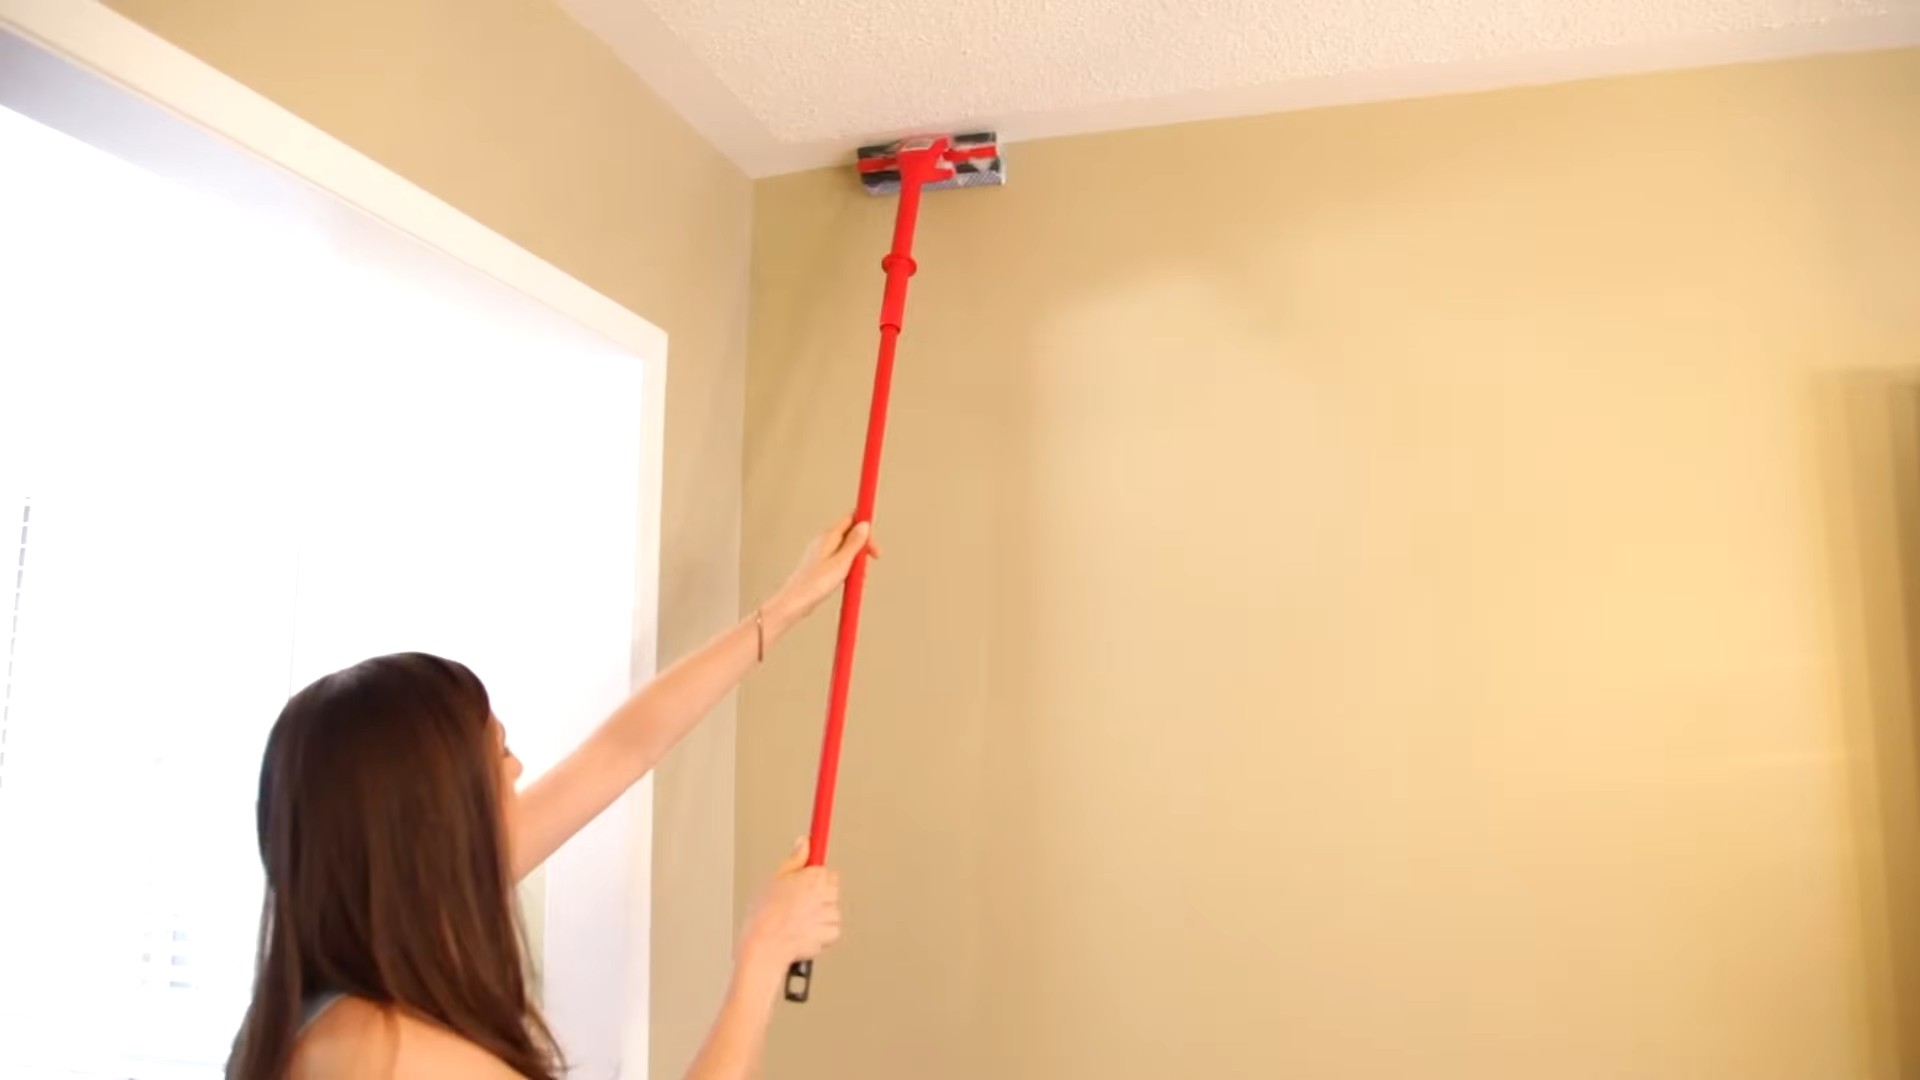
* Use a Paint Roller Extension Pole: If you have high ceilings, consider using a paint roller extension pole with your microfiber cloth attached. This will save you from having to climb up and down a ladder.
* Clean in Sections: Don’t try to clean the entire house at once. Break it down into smaller sections and tackle one room at a time. This will make the task less daunting.
* Preventative Measures: To keep your walls and baseboards cleaner for longer, consider applying a coat of sealant or paint with a stain-resistant finish.
* Spot Clean Regularly: Don’t wait until your walls and baseboards are covered in grime before you clean them. Spot clean regularly to remove any spills or marks as soon as they occur.
* Consider Your Paint Type: Different paint types react differently to cleaning solutions. Matte paint is more delicate than semi-gloss or gloss paint, so use a gentler cleaning solution and avoid scrubbing too hard.
* Don’t Forget the Corners: Corners are notorious for accumulating dust and cobwebs. Use a small brush or the crevice tool on your vacuum cleaner to clean them thoroughly.
* Clean from Top to Bottom: Always clean from top to bottom to prevent dirt and grime from dripping down onto already cleaned areas.
* Rinse Your Cloths Frequently: Rinse your microfiber cloths frequently in clean water to prevent spreading dirt and grime around.
* Let the Walls Dry Completely: Before replacing furniture or hanging pictures, make sure the walls are completely dry. This will prevent moisture from getting trapped and causing mold or mildew.
* Listen to Music or Podcasts: Cleaning can be boring, so put on some music or listen to a podcast to make the time go by faster.
* Enlist Help: If you have a large house, consider enlisting the help of family members or friends. Many hands make light work!
* Reward Yourself: After you’ve finished cleaning, reward yourself with a treat or a relaxing activity. You deserve it!
Dealing with Specific Wall Types: A Quick Guide
Different wall types require different cleaning approaches. Here’s a quick guide to help you navigate the process:
* Painted Walls: As we discussed above, use a mild dish soap and water solution. Test in an inconspicuous area first.
* Wallpapered Walls: Wallpaper can be delicate, so use a very gentle cleaning solution and avoid scrubbing. A damp microfiber cloth is usually sufficient.
* Wood Paneling: Use a wood cleaner specifically designed for wood paneling. Follow the manufacturer’s instructions carefully.
* Tile Walls: Tile walls are generally easy to clean. Use a tile cleaner or a solution of vinegar and water.
* Drywall: Drywall is porous and can be easily damaged by water. Use a very dry cloth and avoid getting the drywall too wet.
Maintaining Your Sparkling Surfaces: Prevention is Key
Once you’ve gone through the effort of deep cleaning your walls and baseboards,
Conclusion
So, there you have it! This simple yet incredibly effective DIY trick for cleaning walls and baseboards is a game-changer for anyone looking to maintain a spotless home without resorting to harsh chemicals or spending a fortune on professional services. We’ve walked you through the process, highlighting the ease and affordability of using readily available household items to achieve sparkling clean surfaces.
But why is this DIY method a must-try? Firstly, it’s gentle on your walls and baseboards. Unlike abrasive cleaners that can strip paint or damage delicate surfaces, our solution is designed to lift dirt and grime without causing harm. Secondly, it’s incredibly cost-effective. You likely already have everything you need in your pantry or cleaning cabinet, making it a budget-friendly alternative to expensive commercial products. Thirdly, it’s environmentally conscious. By using natural ingredients, you’re reducing your exposure to harmful chemicals and minimizing your impact on the planet.
Beyond the basic recipe, there are several variations you can explore to customize the cleaning solution to your specific needs. For instance, if you’re dealing with stubborn stains or grease, adding a tablespoon of baking soda to the mixture can provide extra cleaning power. For a refreshing scent, consider adding a few drops of your favorite essential oil, such as lemon, lavender, or tea tree oil. Remember to always test any new solution on an inconspicuous area first to ensure it doesn’t damage the surface.
Another variation involves the type of cleaning tool you use. While a microfiber cloth is generally recommended for its gentle yet effective cleaning properties, you can also use a sponge, a soft-bristled brush, or even a magic eraser for particularly challenging spots. Just be sure to use a light touch to avoid scratching or damaging the walls and baseboards.
For baseboards, especially those with intricate moldings, a toothbrush can be your best friend. It allows you to get into those hard-to-reach crevices and remove accumulated dust and dirt. You can also wrap a microfiber cloth around a flathead screwdriver to clean narrow gaps and corners.
We understand that cleaning walls and baseboards can sometimes feel like a daunting task, but with this DIY trick, it becomes a manageable and even enjoyable process. Imagine the satisfaction of seeing your walls and baseboards looking fresh and clean, knowing that you achieved it with your own two hands and a few simple ingredients.
Don’t just take our word for it – we encourage you to try this DIY trick for cleaning walls and baseboards and experience the difference for yourself. We’re confident that you’ll be amazed by the results. And once you’ve tried it, we’d love to hear about your experience! Share your tips, variations, and before-and-after photos in the comments section below. Let’s build a community of clean-home enthusiasts and inspire each other to create sparkling spaces. Your feedback will not only help other readers but also allow us to refine and improve this DIY trick even further. So, grab your supplies, roll up your sleeves, and get ready to transform your walls and baseboards! Happy cleaning!
Frequently Asked Questions (FAQ)
1. What kind of walls is this DIY cleaning solution safe for?
This DIY cleaning solution is generally safe for most painted walls, including those with latex, acrylic, and enamel finishes. However, it’s crucial to test the solution on an inconspicuous area first, especially if you have wallpaper, delicate paint, or textured walls. Avoid using this solution on unsealed or porous surfaces, as it may cause staining or damage. For wallpaper, consider using a dry sponge or a specialized wallpaper cleaner. If you’re unsure about the type of paint or wall covering you have, consult with a professional painter or home improvement expert before proceeding.
2. How often should I clean my walls and baseboards?
The frequency of cleaning your walls and baseboards depends on several factors, including the number of people and pets in your household, the level of activity in your home, and the presence of allergens or pollutants. As a general guideline, you should aim to clean your walls and baseboards at least twice a year, or more frequently if you notice visible dirt, dust, or stains. High-traffic areas, such as hallways, kitchens, and bathrooms, may require more frequent cleaning. Regular dusting can also help prevent the buildup of dirt and grime, reducing the need for deep cleaning.
3. Can I use this solution to clean other surfaces in my home?
While this DIY cleaning solution is primarily designed for walls and baseboards, it can also be used to clean other surfaces, such as doors, trim, and even some types of furniture. However, it’s essential to test the solution on an inconspicuous area first to ensure it doesn’t damage the surface. Avoid using this solution on delicate or porous materials, such as wood furniture with a wax finish or natural stone surfaces. For these types of surfaces, consider using a specialized cleaner or consulting with a professional cleaning service.
4. What if I have stubborn stains or marks on my walls?
For stubborn stains or marks on your walls, you can try a few different approaches. First, try applying a small amount of baking soda paste directly to the stain and gently rubbing it with a soft cloth. You can also use a magic eraser, but be careful not to rub too hard, as it can damage the paint. For grease stains, try using a degreasing dish soap diluted in water. If the stain persists, you may need to repaint the affected area. Before repainting, be sure to clean the wall thoroughly and prime it to ensure proper adhesion.
5. How can I prevent my baseboards from getting dirty so quickly?
There are several things you can do to prevent your baseboards from getting dirty so quickly. First, regularly dust or vacuum your floors to remove dirt and debris that can accumulate on the baseboards. You can also use a baseboard buddy or a similar tool to easily clean the baseboards without having to bend over. Consider placing mats or rugs near doorways to trap dirt and prevent it from being tracked onto the floors and baseboards. Finally, be mindful of spills and splatters and clean them up immediately to prevent them from staining the baseboards.
6. Is vinegar safe to use on all types of paint?
While vinegar is generally safe for most painted surfaces, it’s important to dilute it properly and test it on an inconspicuous area first. Highly concentrated vinegar can be acidic and may damage certain types of paint, especially those with a matte or flat finish. Always dilute the vinegar with water according to the recipe instructions, and avoid using it on delicate or porous surfaces. If you’re unsure about the type of paint you have, consult with a professional painter or home improvement expert before proceeding.
7. Can I add bleach to this cleaning solution for extra disinfecting power?
While bleach is a powerful disinfectant, it’s generally not recommended to add it to this DIY cleaning solution. Bleach can react with other ingredients, such as vinegar, and create harmful fumes. It can also damage certain types of paint and surfaces. If you need to disinfect your walls or baseboards, consider using a separate disinfectant cleaner specifically designed for that purpose. Always follow the manufacturer’s instructions and wear appropriate safety gear, such as gloves and eye protection, when using disinfectants.
8. What is the best way to dry the walls and baseboards after cleaning?
After cleaning your walls and baseboards, it’s important to dry them thoroughly to prevent water spots or mildew growth. You can use a clean, dry microfiber cloth to wipe down the surfaces. For baseboards, you can also use a fan to circulate air and speed up the drying process. Avoid using a hair dryer or other heat source, as it can damage the paint or cause it to peel. If you live in a humid climate, consider using a dehumidifier to help remove excess moisture from the air.
Leave a Comment